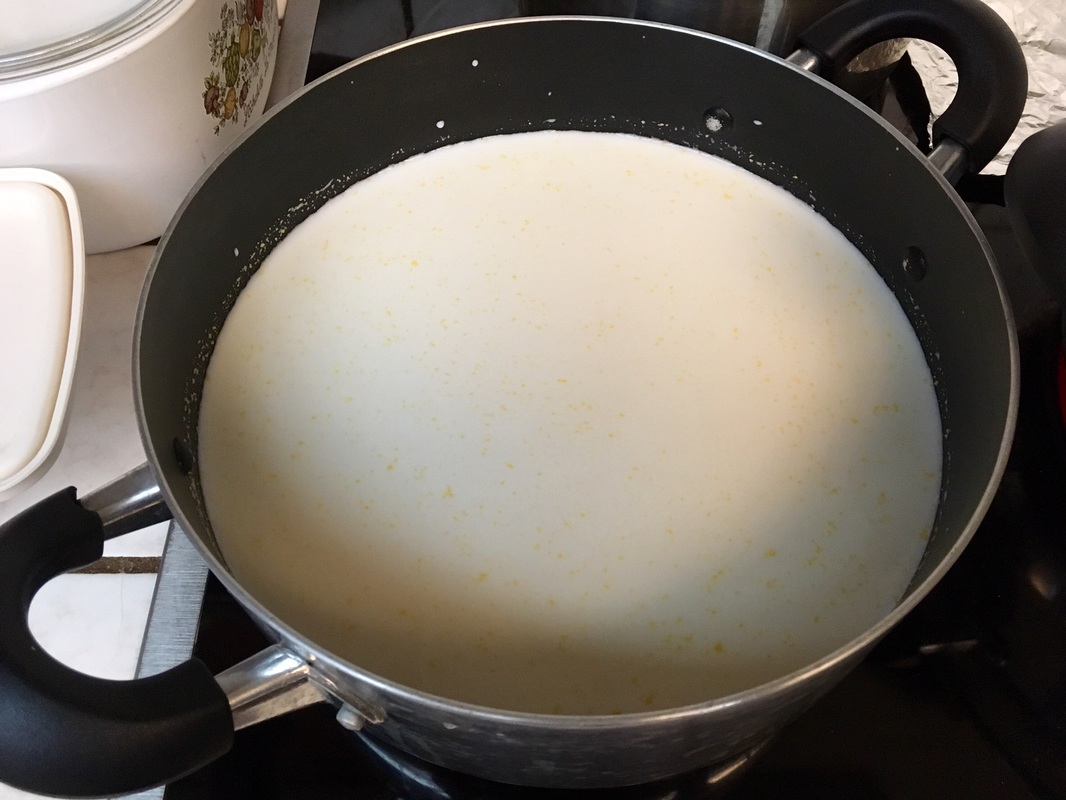
- Pour both the milk and buttermilk into a pot on the stove and turn the heat up to medium-high.
- As the milk heats up, stir it once in a while. (Avoid over-stirring. As the milk starts to separate, you don't want to break up the curds too much.)
- While the milk is heating, dampen two sheets of paper towels with a little water and line a colander with them.
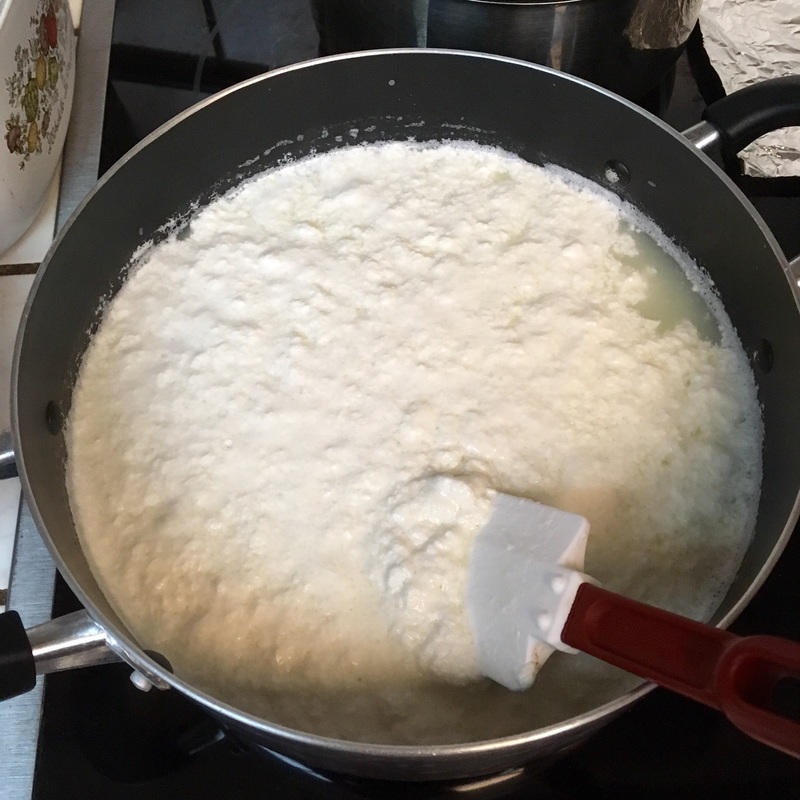
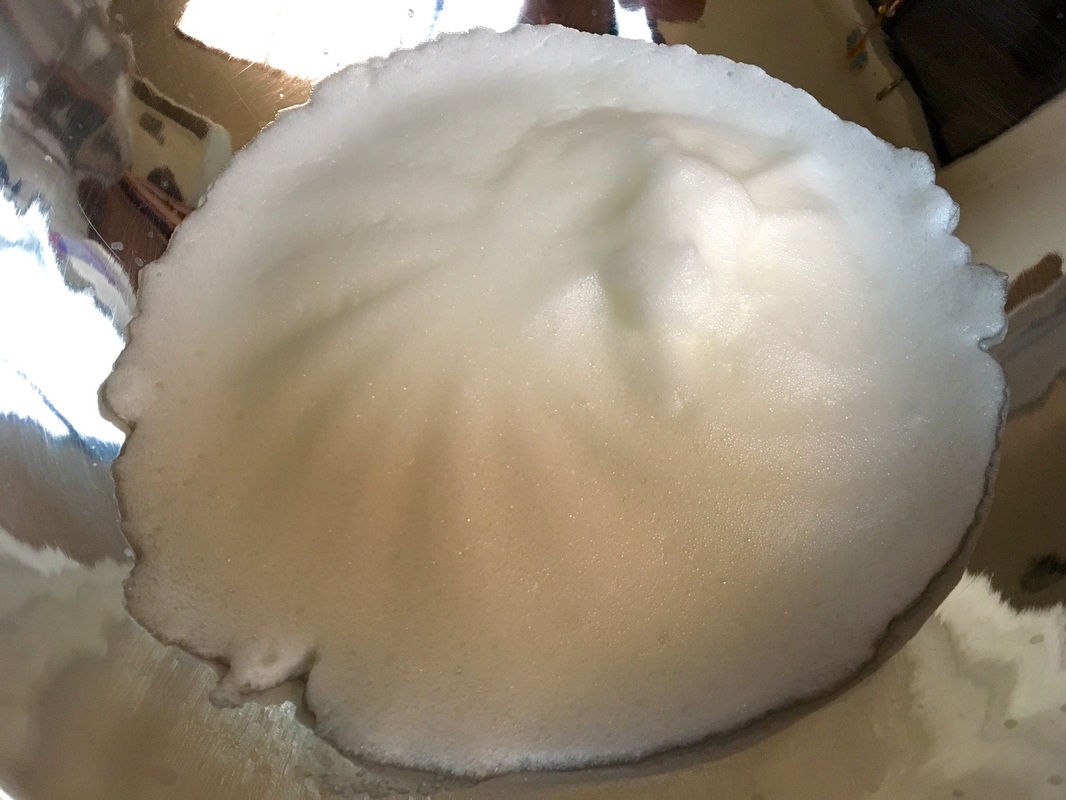
- The milk should be fully separated just before it hits the simmering stage. The milk should never actually reach a simmer or boil - you can shut off the heat as soon as you are satisfied that it has separated completely.
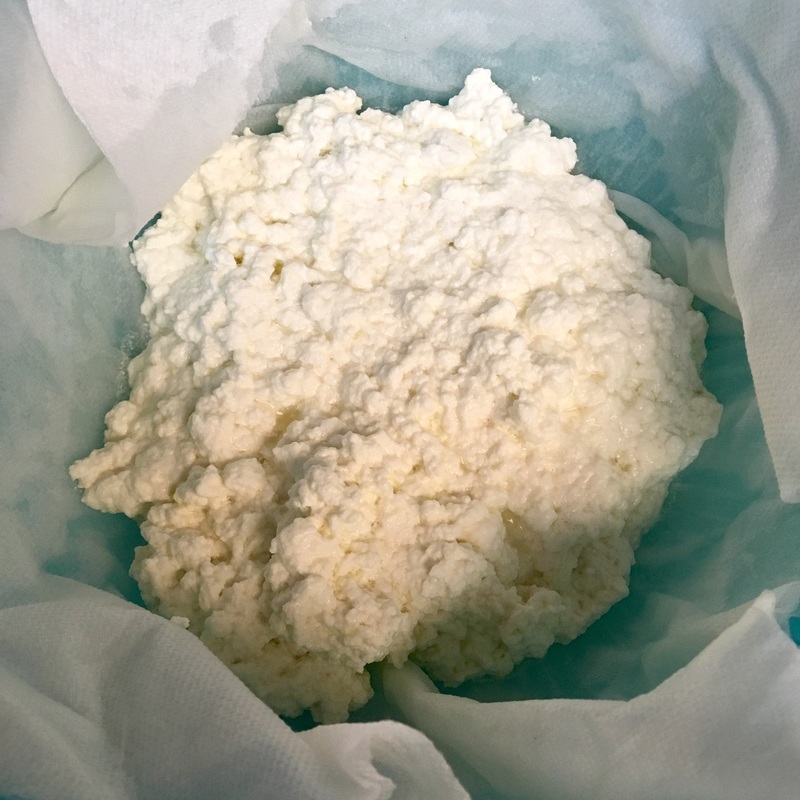
- Using a slotted spoon, fish out the curds and dump them in the colander.
- (optional) Depending on how wet or dry you want your ricotta, you can take the additional step of gathering up the paper towels with the curds inside and giving them a light squeeze (be careful, the whey that comes out will be really hot!). Otherwise, you can just leave the curds to drain for 10-20 minutes.
- The ricotta can be used immediately, or it can be left in the refrigerator to chill.
I don't even remember what had me first looking up how to make ricotta cheese from scratch out of nothing more than morbid curiosity, but boy am I glad I did. It's stunningly simple, but all the same, there were enough experiments and subtleties (not to mention just plain laziness) that I'm going to write up a whole entry on the process so that I don't forget. I tried the vinegar and lemon juice routes, but I never achieved the consistent results with full separation that I always got with buttermilk, and without any of the funny aftertastes that most people complain about when using vinegar.
0 Comments
How could I possible resist trying something calling itself "Magic Cake"? While the supposed "magic" is in how it separates itself into layers during the baking process and maintains a soft, moist center with an almost quiche-like crust, I think the real magic is in how easy it was to make and how quickly it disappeared - a 9" round disappeared in literally less than 24 hours. Twice.
I also made a "pie" version, where I pieced together some puff-pastry from the store and used it as a rough/rustic crust. This version was much more complicated in terms of timings and what needed to be done, but roughly:
I received this recipe in my inbox one day, and it was a perfect opportunity to use up some of the mystery vegetables lying around the kitchen. I actually don't know what the squash-family veggie it was that I ended up putting into the bread, except that it definitely wasn't a zucchini. Nevertheless, even with such liberties taken - and, after I couldn't find either my loaf pans or my muffin-sized liners, falling back to my cupcake tins out of desperation - I could see why the recipe had a 4 out of 4-spoon rating. Nobody in my entire family stopped at just one cupcake, and my dad even accused me of lacing it with opium! *eyeshifts*
There's now a much more thorough treatment of this recipe on Jen Reviews - Cozy, Crumbly Zucchini Bread Recipe, chock full of high-res photos! It's a great guide for anyone who has any questions about the many details that I admittedly elide here for the sake of reading and baking brevity. |
Sweet EnoughPart of the reason I started baking was because I like my goodies to be less obviously sweet - I want to taste the flavor, not just the sugar. So most of these recipes will have the sugar dialed down. Categories
All
Archives
September 2021
|