DragonWarden
  • Adventures
  • The Oven
  • The Un-Tea Party
  • Secret Ingredients
  • About

Rhubarb Tart

5/10/2016

0 Comments

 
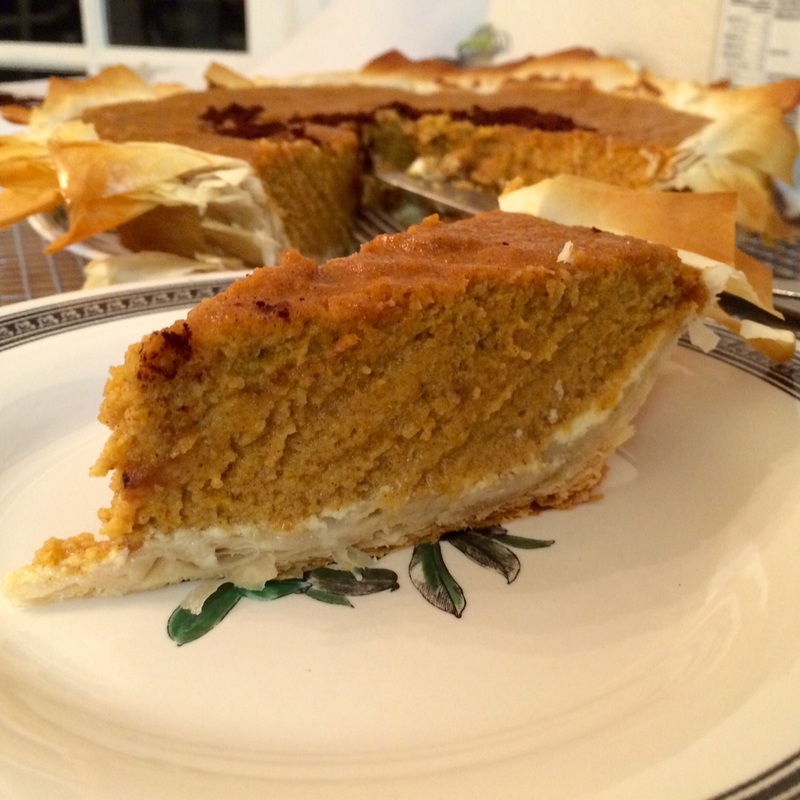
Long story short, I attempted this recipe due to the convergence of a challenge from an old friend (who, after seeing my koi pond pie, commented that I should next make something reflecting my namesake/internet handle) and another friend having spied cheap rhubarb for sale in another state and hand-carrying a pound's worth of stalks back for me. I then promptly ended up doing a whole bunch of substitutions, both intentional and unintentional, and in the end determined that this is really just a sweet rather than savory pizza-like dessert that is pretty forgiving of whatever you want to do with it. Thus, if you wish to try it, I wish you many happy experiments!
Picture
  • 1 cup fresh orange juice
  • 1 tablespoon fresh lime juice
  • 1/2 cup sugar
  • 3/4 pound rhubarb stalks, thinly sliced diagonally (1/8 inch)
  • 1 sheet frozen puff pastry (from a 17 1/4-ounces package), thawed (see note below
  • 1/2 teaspoon grated orange zest
  1. Preheat oven to 400°F with rack in middle.
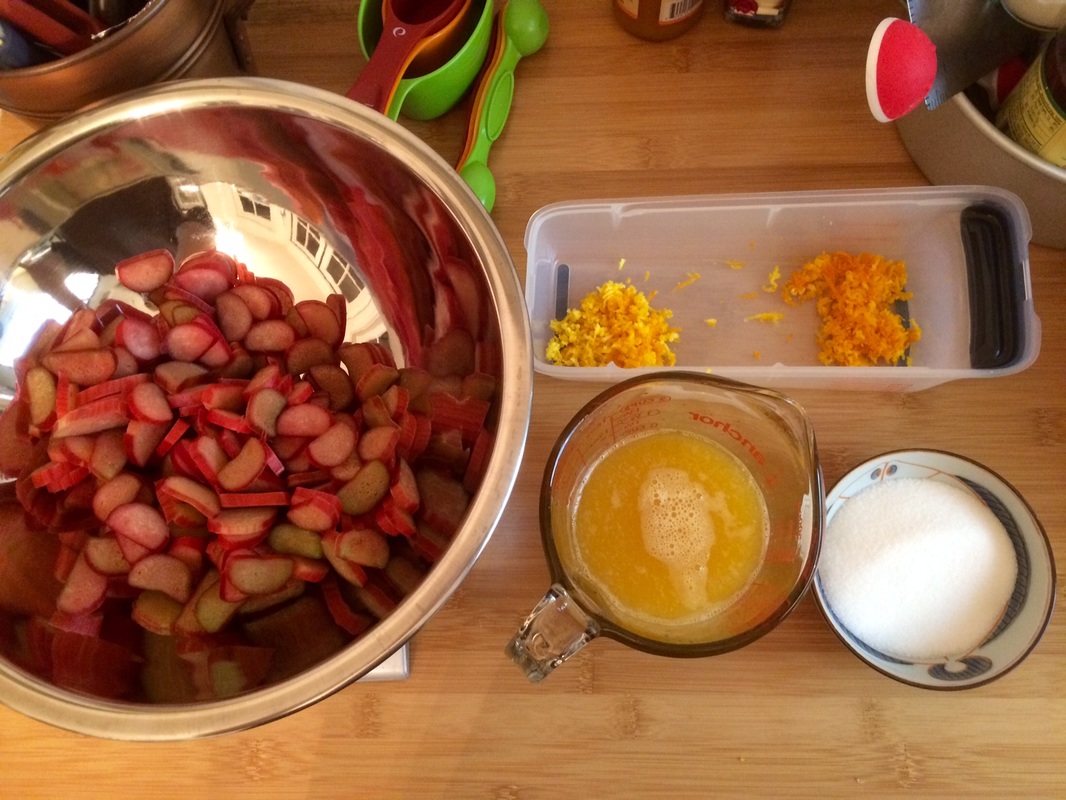
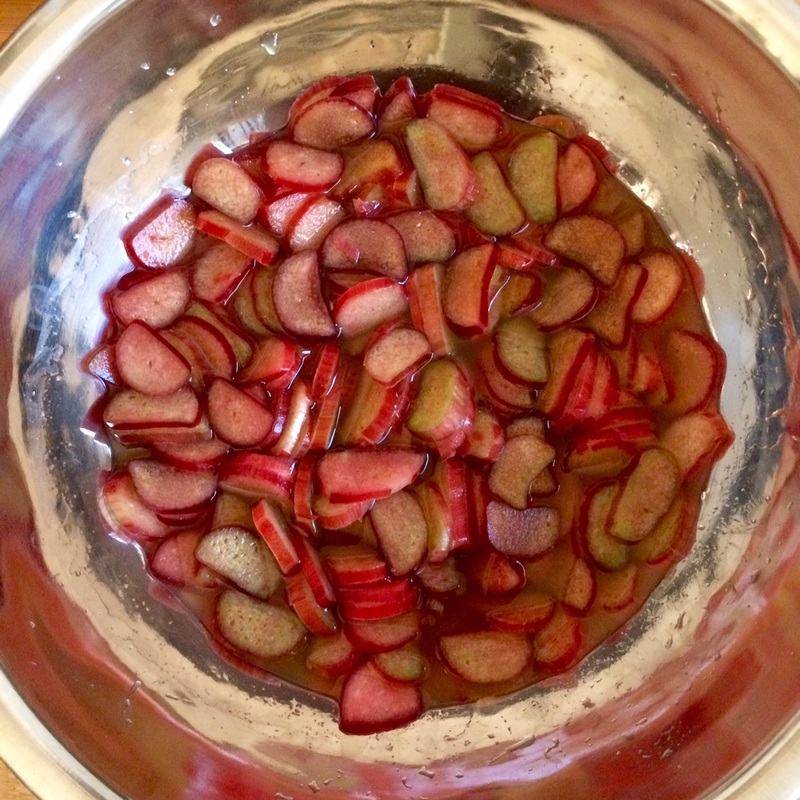
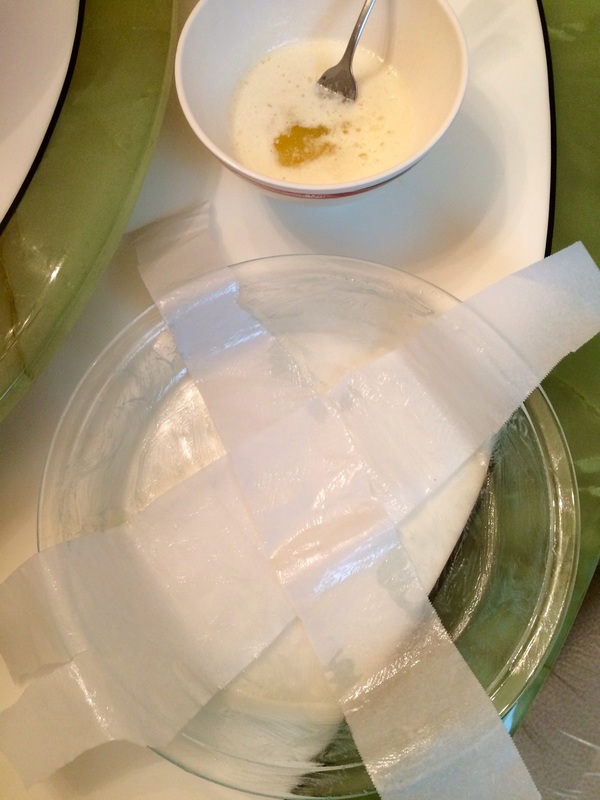
  2. Stir together orange juice, lime juice, and sugar in a bowl. Add rhubarb and let stand, stirring occasionally, 10 minutes.
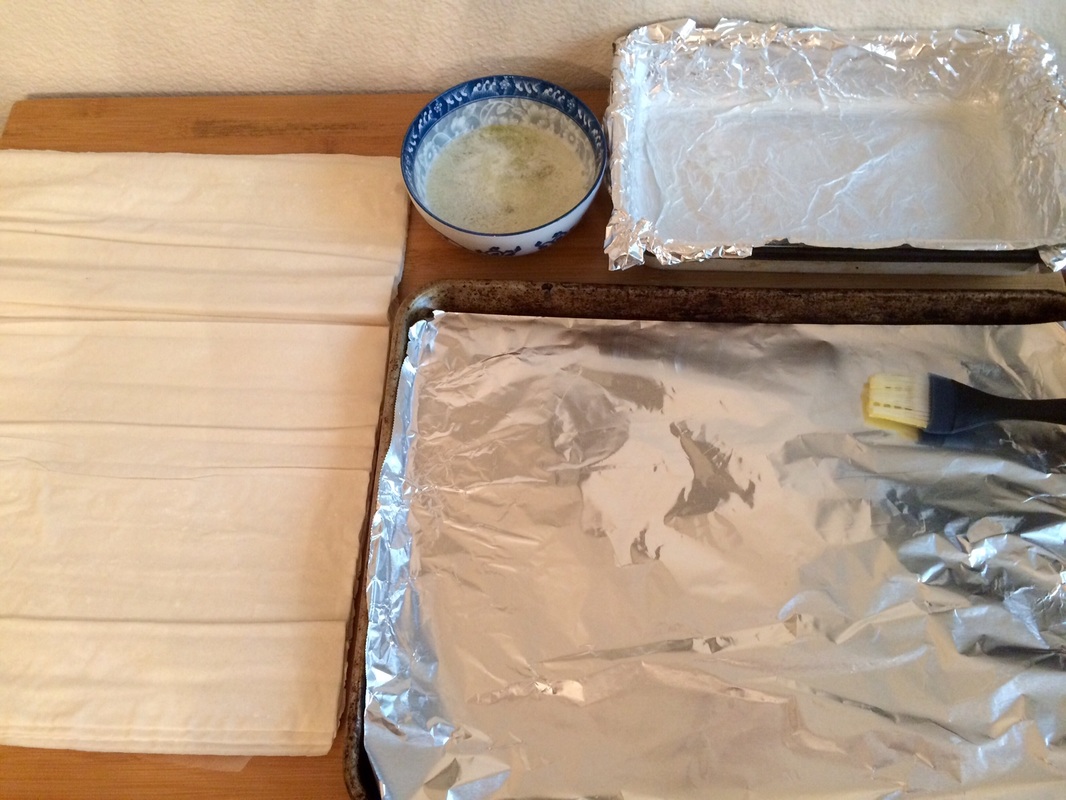
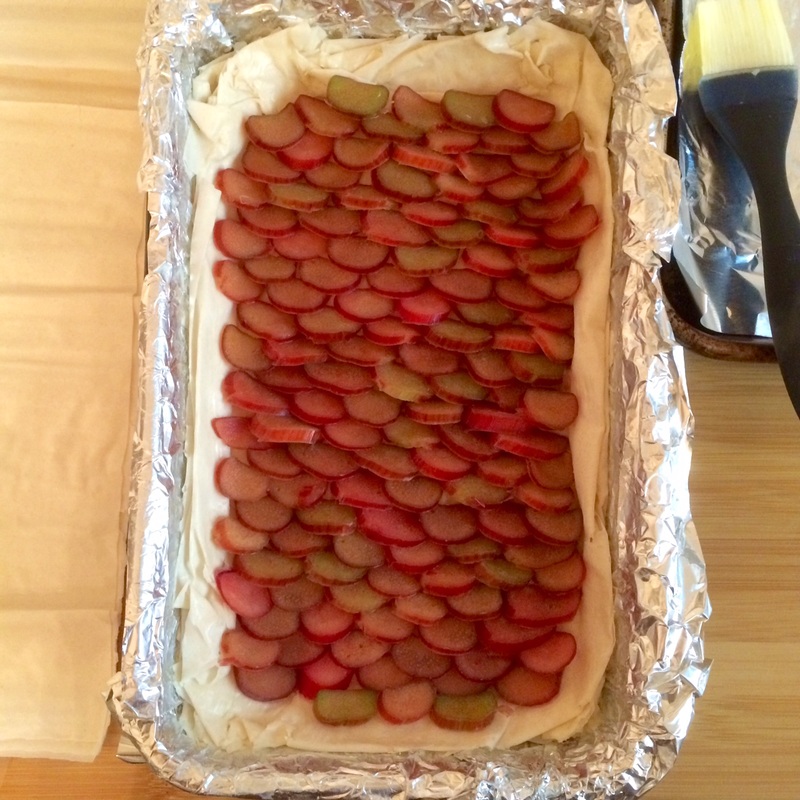
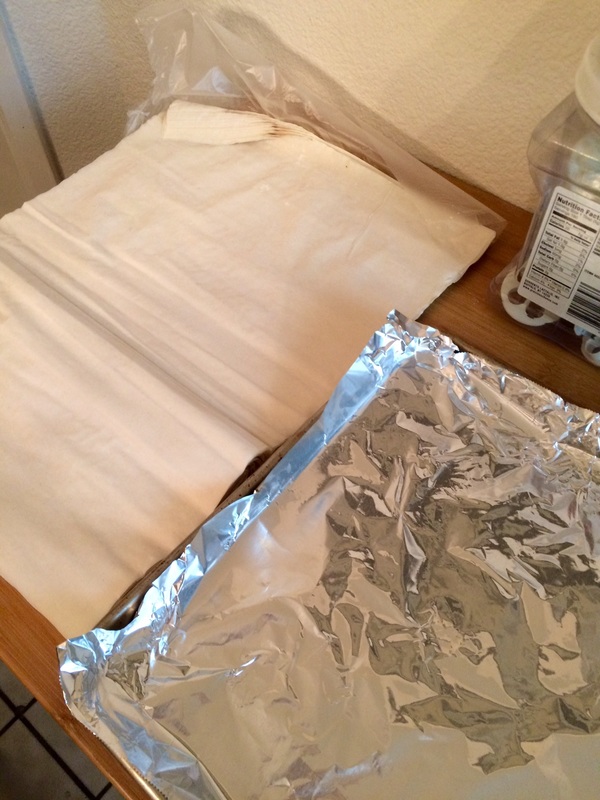
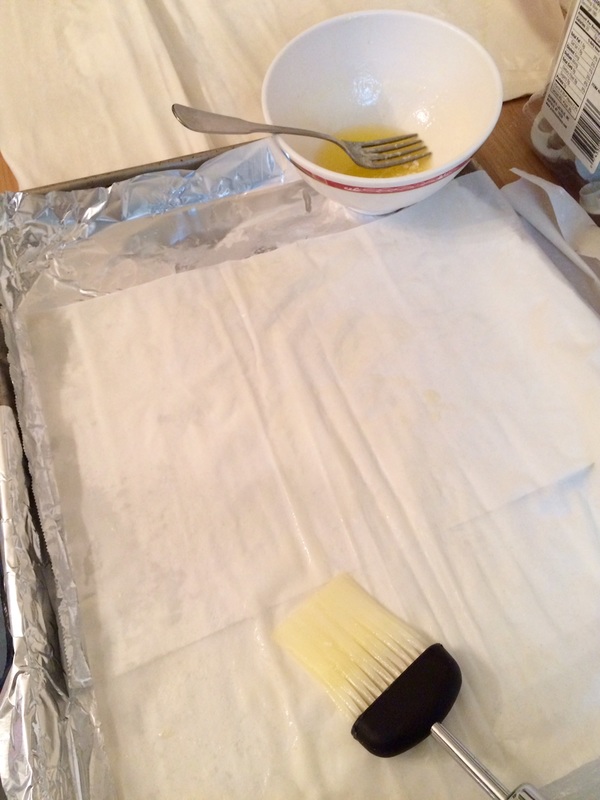
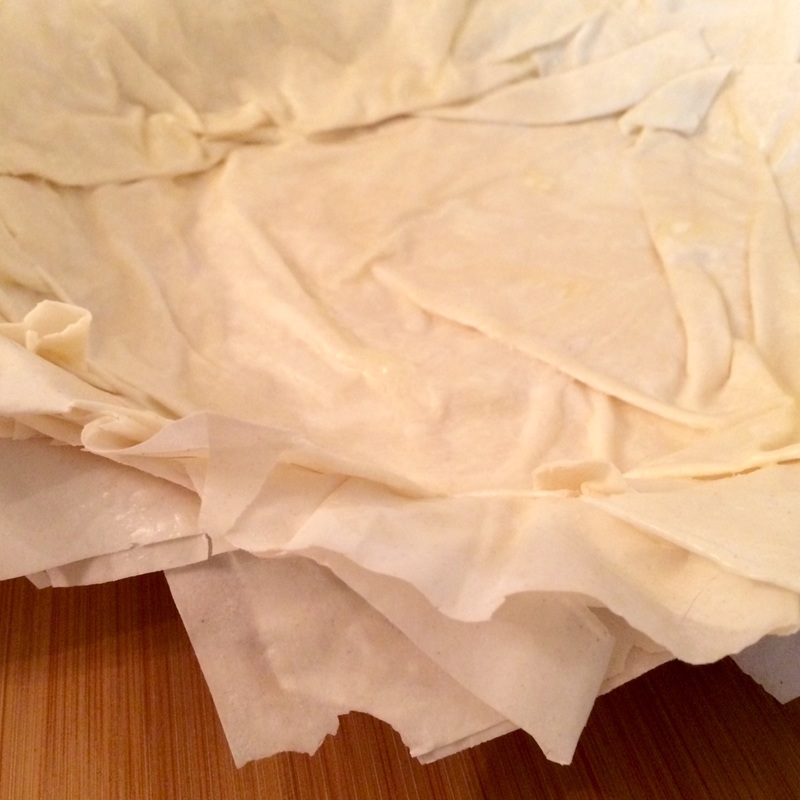
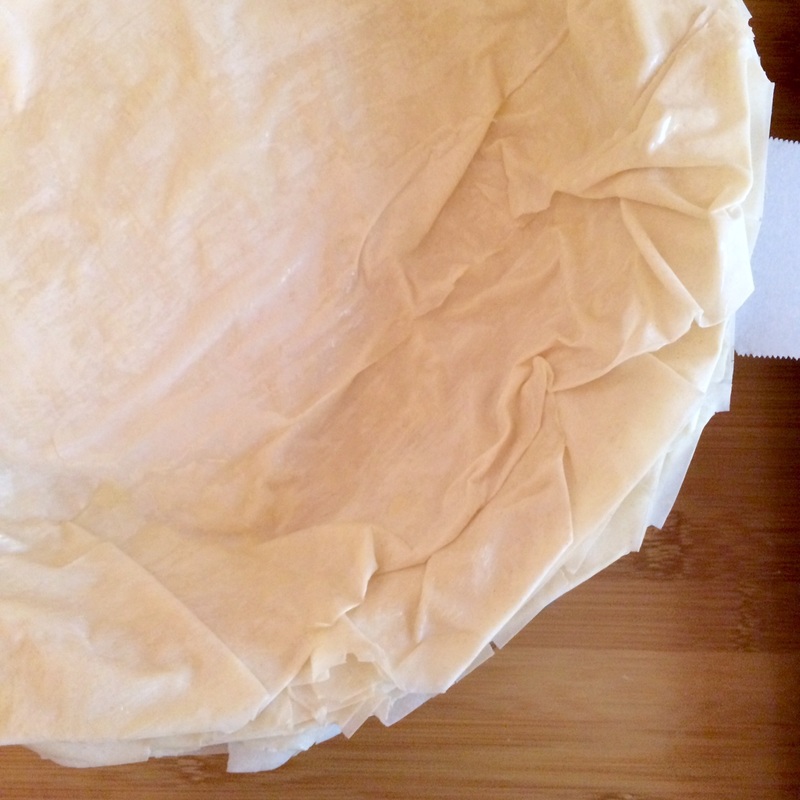
  3. Meanwhile, cut pastry in half lengthwise, then roll out each piece into an 11-by 7-inch rectangle on a lightly floured surface with a floured rolling pin. Arrange pastry rectangles side by side on an ungreased large baking sheet.
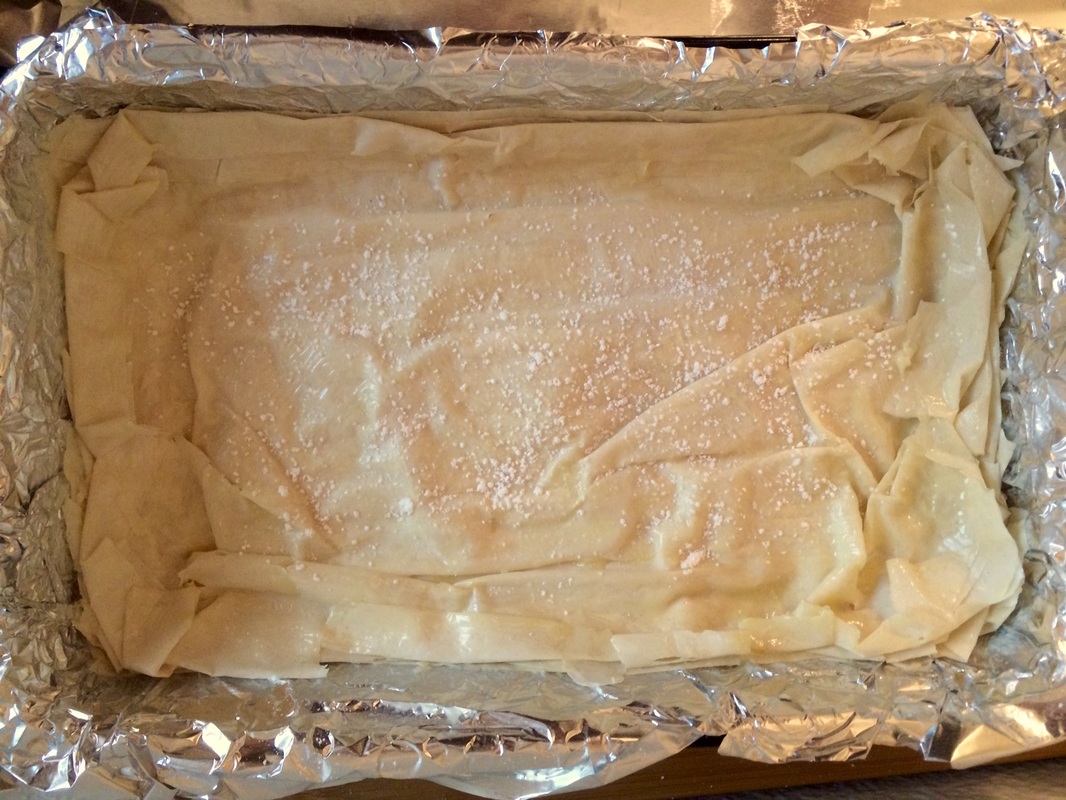
  4. Make a 1/2-inch border around each pastry rectangle by lightly scoring a line parallel to each edge (do not cut all the way through). Prick pastry inside border all over with a fork.
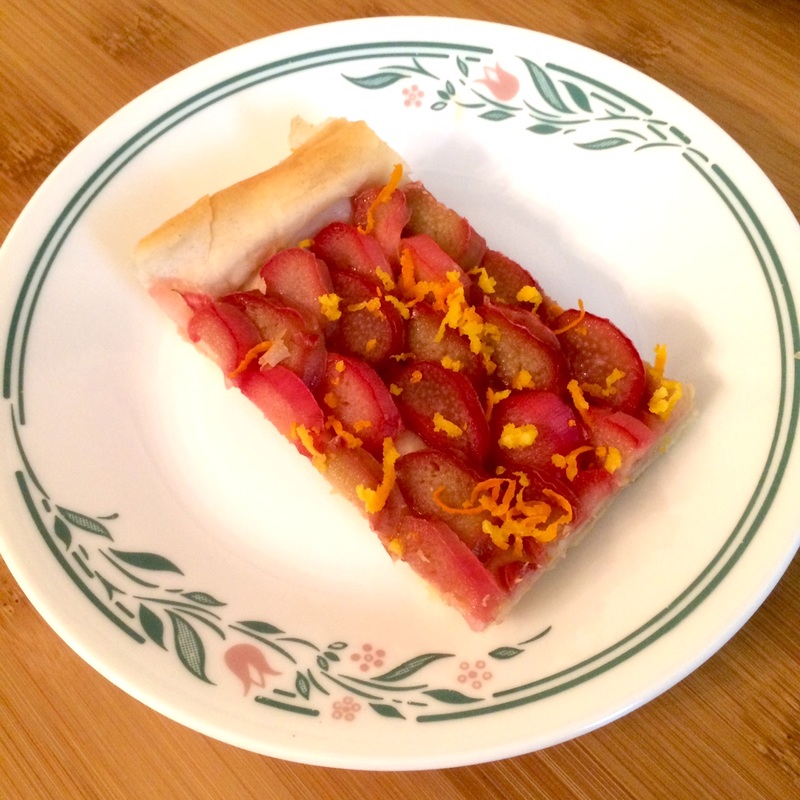
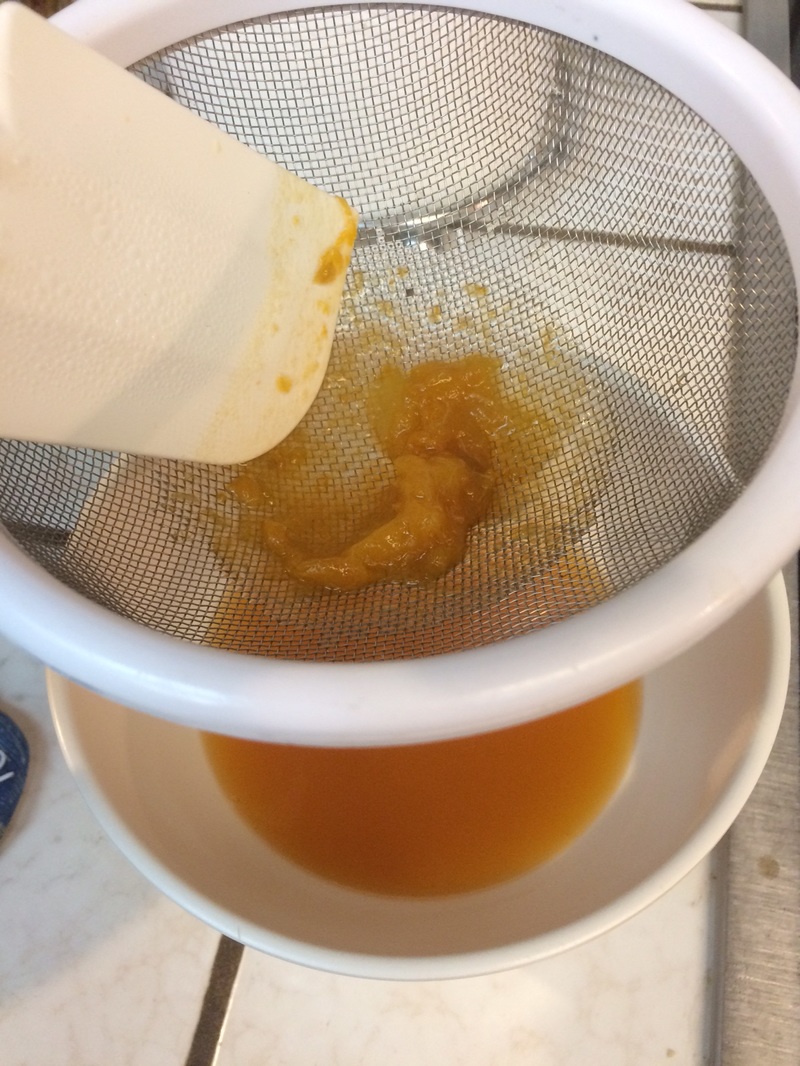
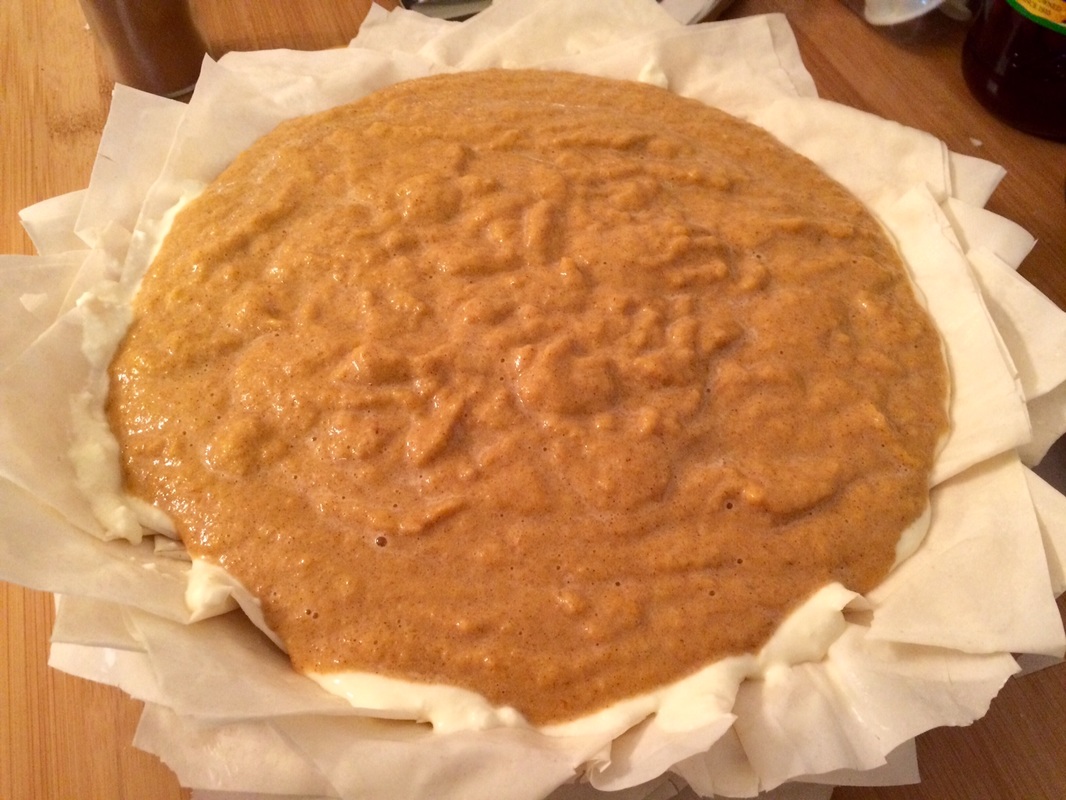
  5. Strain rhubarb mixture through a sieve set over a bowl, reserving liquid. Top 1 pastry rectangle (within border) with half of rhubarb, overlapping slices slightly. Repeat with remaining pastry and rhubarb.
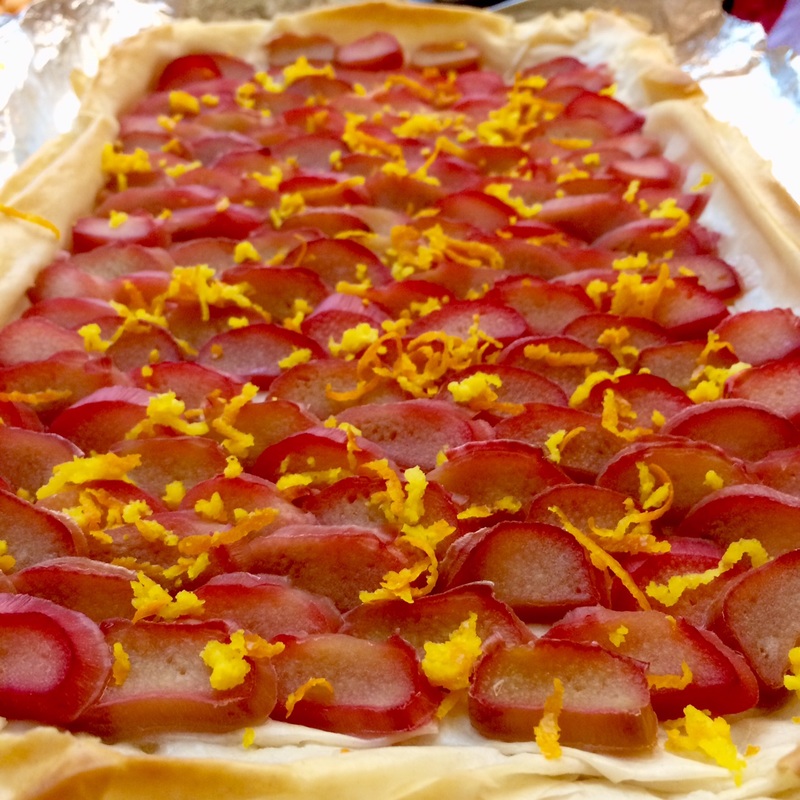
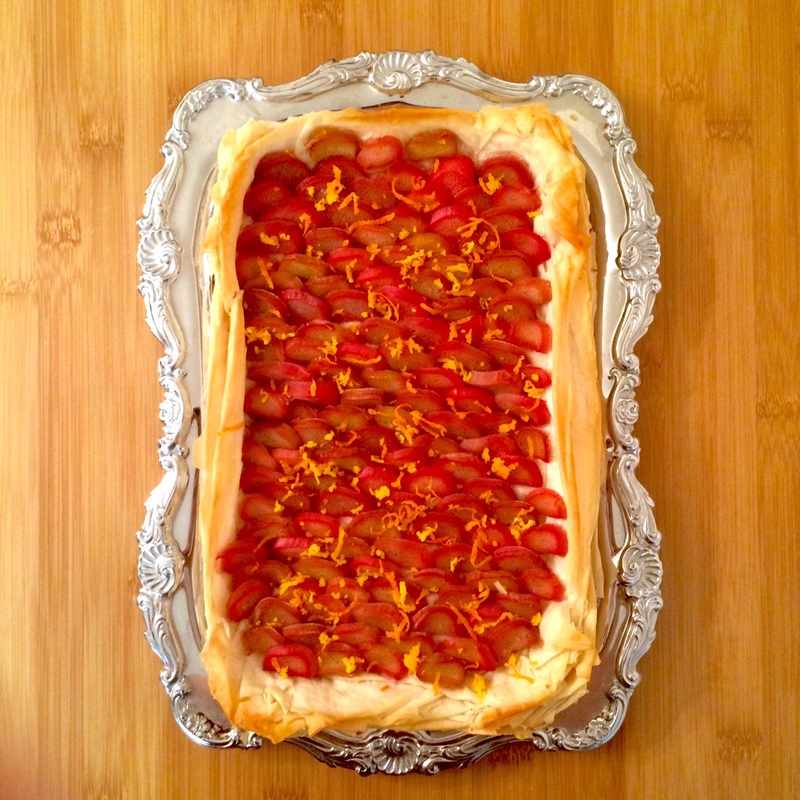
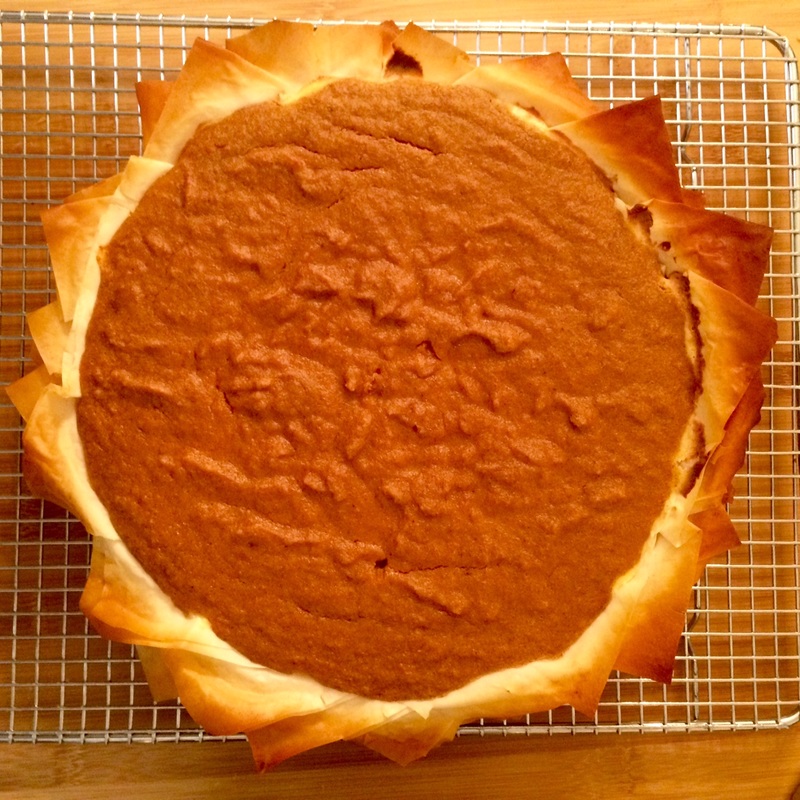
    Bake until pastry is puffed and golden (underside of pastry should also be golden), about 30 minutes.
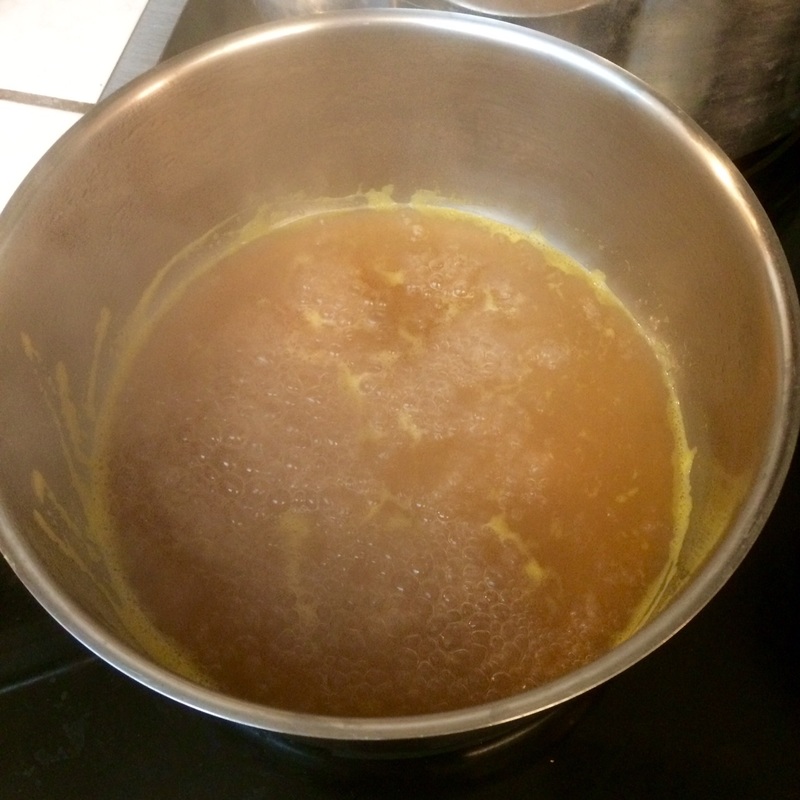
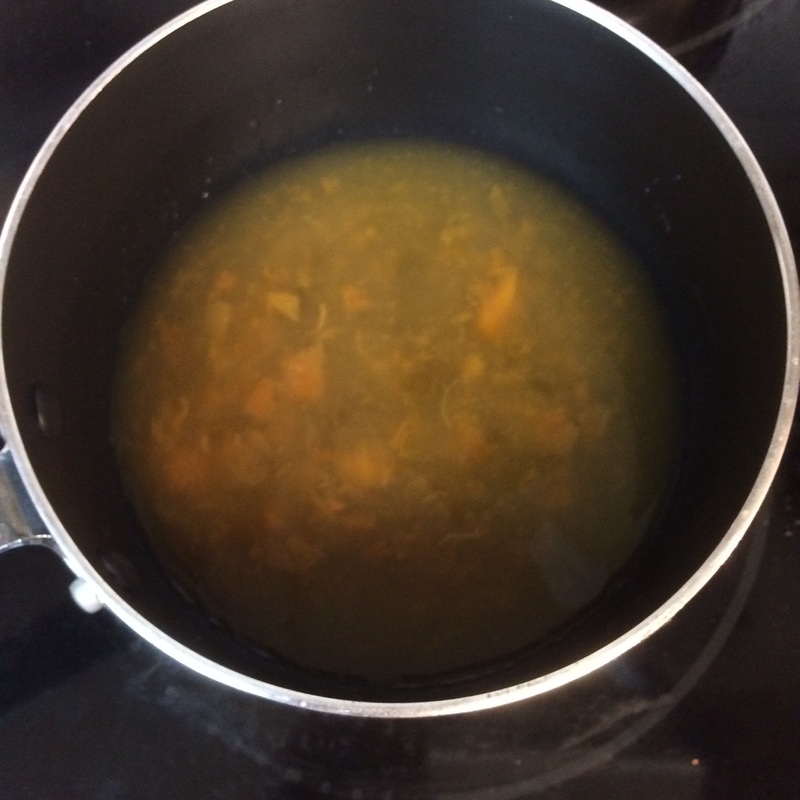
    Meanwhile, boil reserved rhubarb liquid in a small saucepan, skimming foam if necessary, until reduced to about 1/4 cup, 15 to 18 minutes.
  6. Transfer tarts to a rack. Brush rhubarb and pastry with glaze and sprinkle with zest.
Note: The first time I made this, I had leftover phyllo sheets in the fridge that I wanted to use up, so I substituted that for the puff pastry. It actually worked really well, though the process ate up my time like you wouldn't believe. (Note that, due to the toughness of baked phyllo, you may want to "cut" the tart using kitchen shears rather than a fork and knife.) Also, I accidentally burned the orange-lime glaze when I turned away from the stove for the crucial last minute - as a substitute, I spooned out some apricot reserves into a saucepan, added some water, then stirred as it simmered. Once the bubbles started looking syrupy, I strained the liquid into a bowl and used that as a substitute glaze - which actually worked beautifully.
0 Comments

Phyllo Pie Crust

3/16/2016

0 Comments

 
I love the delicate crunchiness of phyllo, and always wanted to try it out in a pie. It's not the easiest thing to work with in terms of both handling and baking with fillings, but perseverance found a way! Presentation-wise, I think a deep dish pie pan looks more interesting than a standard pie, but either way, this is an interesting twist on the conventional crust. Just be prepared to serve it with both a knife and a fork - for all of phyllo's flakiness, it's not the easiest to cut through with just the edge of a fork, particularly the bottom of the crust.
Picture
  • 1/2 package of phyllo dough (defrosted)
  • 1 stick of unsalted butter, melted
  • (optional) sugar
  1. Using the melted butter, coat the pie pan.
  2. Lay two strips of parchment paper, about 2" wide each and long enough to overhang the pan by another 2", in an "x" across the pie pan and gently press them in. Also butter the parchment paper.
  3. Set the oven to 350 F.
  4. Lay out the phyllo dough flat. Cover your work surface with foil (you only need enough for a little more than half the size of a phyllo sheet). Carefully separate out one of the phyllo sheets and lay one half of it on the foil area. Gently brush butter over half the sheet. (If you wish to sweeten the crust, you can sprinkle some of the sugar over the buttered area.) Fold the other half of the sheet over it and lightly press them together.
  5. Drape the halved phyllo sheet in the pie pan and gently ruffle it as you press it in - the ruffles not only add visual interest, but will keep the phyllo sheets from compressing and baking into one single mass (particularly on the bottom). You can choose to fold the corners that overhang the pan's edge under themselves, or leave them extending out (just keep in mind that extended corners tend to be very delicate and burn easily - be prepared to cover them with a heat shield during baking if necessary). Gently brush butter over the top of this layer.
  6. Keep layering and buttering the sheets until the entire pie pan is covered. Continue until you have used up the phyllo sheets.
  7. Bake the phyllo crust for about 10 minutes, check if it needs to be turned in the oven, and then continue for another 5-10 minutes until it turns golden (keep a close eye on it so that it does not burn). Remove from the oven and let cool for 10 minutes, then using the parchment strips, lift the crust from the pan onto a wire rack to prevent the bottom from being steamed into softness.
  8. When filling, it's best to let everything cool down (the crust and the filling) to room temperature so that steam isn't trapped between the filling and the crust.
Notes: You may wish to keep the phyllo covered with a sheet of saran wrap so that it doesn't dry out - I personally find though that if I work efficiently and steadily, that I don't need a covering sheet.

I tried this method initially by baking the filling inside the raw phyllo and having both bake at the same time, but this both compressed the bottom too much and made it not as crunchy. Also, since phyllo is prone to getting soaked by wet fillings, you can experiment with "lining" the bottom with something like a mix of ricotta cheese and flour to help buffer the liquids.
0 Comments

Baklava

4/9/2015

0 Comments

 
While this recipe is listed as "easy", any attempts at baklava are probably going to be more labor-intensive than any other backing project ever (short of needing to whip your own meringues from scratch). Definitely a good workout for the arms! I didn't use the damp cloth and still managed it all right, but you should definitely prepare to work fast so that the phyllo sheets don't dry out.
Picture
  • 1 pound chopped mixed nuts
  • 1 teaspoon ground cinnamon
  • 1 (16 ounce) package phyllo dough
  • 1 cup butter, melted
  • 1 cup white sugar
  • 1 cup water
  • 1/2 cup honey
  • 1 teaspoon vanilla extract
  • 1 teaspoon grated lemon zest

  1. Preheat oven to 350 degrees F (175 degrees C). Butter a 9x13 inch baking dish.
  2. Toss together cinnamon and nuts. Unroll phyllo and cut whole stack in half to fit the dish. Cover phyllo with a damp cloth while assembling the baklava, to keep it from drying out.
  3. Place two sheets of phyllo in the bottom of the prepared dish. Brush generously with butter. Sprinkle 2 to 3 tablespoons of the nut mixture on top. Repeat layers until all ingredients are used, ending with about 6 sheets of phyllo. Using a sharp knife, cut baklava (all the way through to the bottom of the dish) into four long rows, then (nine times) diagonally to make 36 diamond shapes.
  4. Bake in preheated oven 50 minutes, until golden and crisp.
  5. While baklava is baking, combine sugar and water in a small saucepan over medium heat and bring to a boil. Stir in honey, vanilla and lemon zest, reduce heat and simmer 20 minutes.
  6. Remove the baklava from the oven and immediately spoon the syrup over it. Let cool completely before serving. Store uncovered.
0 Comments

Easy Baklava

1/1/2015

0 Comments

 
  • 1 pound chopped mixed nuts (walnuts, pecan, pistachios, etc)
  • 1 tsp ground cinnamon, cloves, allspice
  • 1 (16 oz) package phyllo dough
  • 1 cup butter, melted
  • 1 cup white sugar
  • 1 cup water
  • 3/4 cup honey
  • 1 tsp vanilla extract
  • 1 tsp grated lemon or orange zest
  1. Preheat oven to 350 F. Butter a 9" x 13" baking dish.
  2. Toss together the spices and nuts. Unroll phyllo and cut whole stack in half to fit the dish. Cover phyllo with a damp cloth while assembling the baklava, to keep it from drying out.
  3. Place 6 sheets of phyllo in the bottom of the prepared dish. Brush generously with butter. Sprinkle 2-3 tbsp of the nut mixture on top. Cover with 2 sheets of phyllo, brush with butter, sprinkle nuts over, and repeat layers until all ingredients are used. (You may wish to end with another 6 sheets of phyllo instead of just 2, though, for a thicker top.)
  4. Using a sharp knife, cut baklava all the way through into four long rows, then diagonally to make diamond shapes.
  5. Bake for 40 minutes, and keep checking after that, until it is golden and crisp.
  6. While baklava is baking, combine sugar and water in a small saucepan over medium heat and bring to a boil. Stir in honey, vanilla, and zest, reduce heat and simmer 20 minutes.
  7. Remove the baklava from the oven and immediately spoon the syrup over it. Let cool completely before serving. Store uncovered.
0 Comments
    Picture

    Sweet Enough

    Part of the reason I started baking was because I like my goodies to be less obviously sweet - I want to taste the flavor, not just the sugar. So most of these recipes will have the sugar dialed down.

    This site also acts as my mobile recipe box, so instructions are often pared down to a minimum - very few frills but for some hints and suggestions!

    RSS Feed

    Categories

    All
    Alcohol
    Almond
    Apple
    Avocado
    Baklava
    Banana
    Bars
    Biscotti
    Blackberry
    Blueberry
    Bread
    Buttercream
    Cake
    Candy
    Carrot
    Cheese
    Cherry
    Chicken
    Chickpea
    Chinese
    Chocolate
    Cider
    Cobbler
    Coconut
    Coconut Milk
    Cookie
    Corn
    Cranberry
    Cream
    Cream Cheese
    Creme Brulee
    Crumb
    Crust
    Cupcake
    Custard
    Dates
    Decoration
    Dip
    Dough
    Doughnut
    Dumpling
    Easy Peasy
    Egg
    Filling
    Flowers
    Frosting
    Fruit
    Garnish
    Gelee
    Granola
    Green Tea
    Honey
    Ice Cream
    Icing
    Jam
    Lamb
    Lemon
    Lime
    Lobster
    Lotus Seed
    Macaron
    Mango
    Marshmallow
    Meringue
    Mochi
    Muffin
    Nectarine
    Nutella
    Nuts
    Oat
    Oats
    Onion
    Orange
    Pancake
    Panna Cotta
    Peach
    Peanut Butter
    Pear
    Pecan
    Phyllo
    Pie
    Pistachio
    Plum
    Popsicle
    Pound Cake
    Pumpkin
    Quiche
    Raspberry
    Red Bean
    Rhubarb
    Rice
    Ricotta Cheese
    Rugelach
    Sauce
    Savory
    Scone
    Sesame
    Shortbread
    Soup
    Sponge
    Sponge Cake
    Strawberry
    Streusel
    Tahini
    Tart
    Tofu
    Topping
    Torte
    Vegetable
    Vinaigrette
    Walnut
    Watermelon
    Yogurt
    Zucchini

    Archives

    September 2021
    March 2021
    February 2021
    December 2020
    November 2020
    October 2020
    July 2020
    May 2020
    April 2020
    March 2020
    October 2019
    December 2018
    October 2018
    August 2018
    April 2017
    July 2016
    May 2016
    March 2016
    February 2016
    January 2016
    December 2015
    November 2015
    October 2015
    September 2015
    July 2015
    June 2015
    May 2015
    April 2015
    February 2015
    January 2015
    November 2014

© 2019 Jacqueline Teng | DragonWarden