DragonWarden
  • Adventures
  • The Oven
  • The Un-Tea Party
  • Secret Ingredients
  • About

(Magical) Cream Cheese Frosting

11/16/2020

0 Comments

 
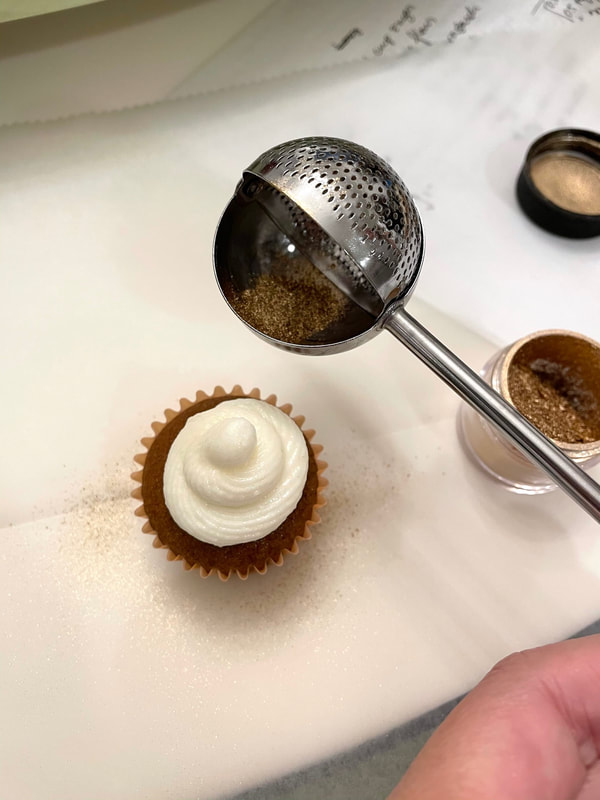
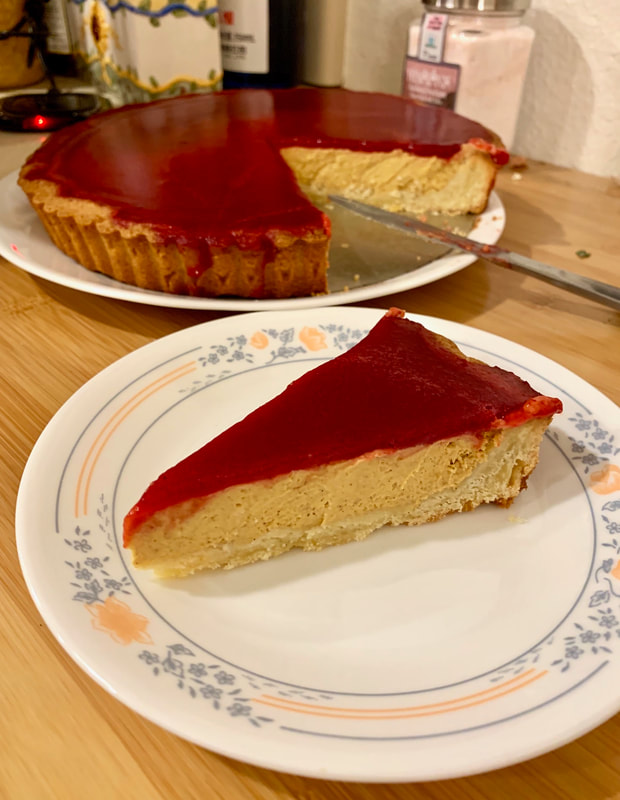
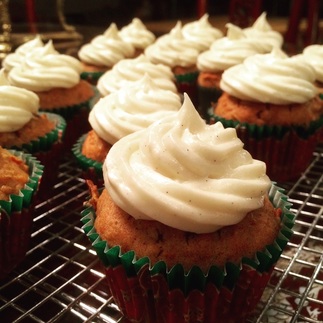
I love cream cheese frosting but hate the amount of sugar that's needed to stiffen it up if you're planning on doing anything more than slapping fat dollops onto a cupcake with a butter knife. So on one of my quests to find a less-sugared pipe-able cream cheese frosting, I stumbled across this - which I was skeptical of at first! But wonder of wonders, it actually held up beautifully as promised; even the tiny ridges in the examples below held up for hours at a time at room temperature! AND it preserved the tangy taste of the cream cheese. This was definitely worth the extra effort!
Picture
  • 1 cup granulated sugar
  • 1/4 cup all-purpose flour
  • 3 tablespoons cornstarch
  • 1/4 teaspoon salt
  • 1 1/2 cups milk
  • 1 tablespoon lemon juice
  • 1 teaspoon vanilla extract
  • 4 ounces cream cheese softened but still cool
  • 1/2 cup unsalted butter softened but still cool
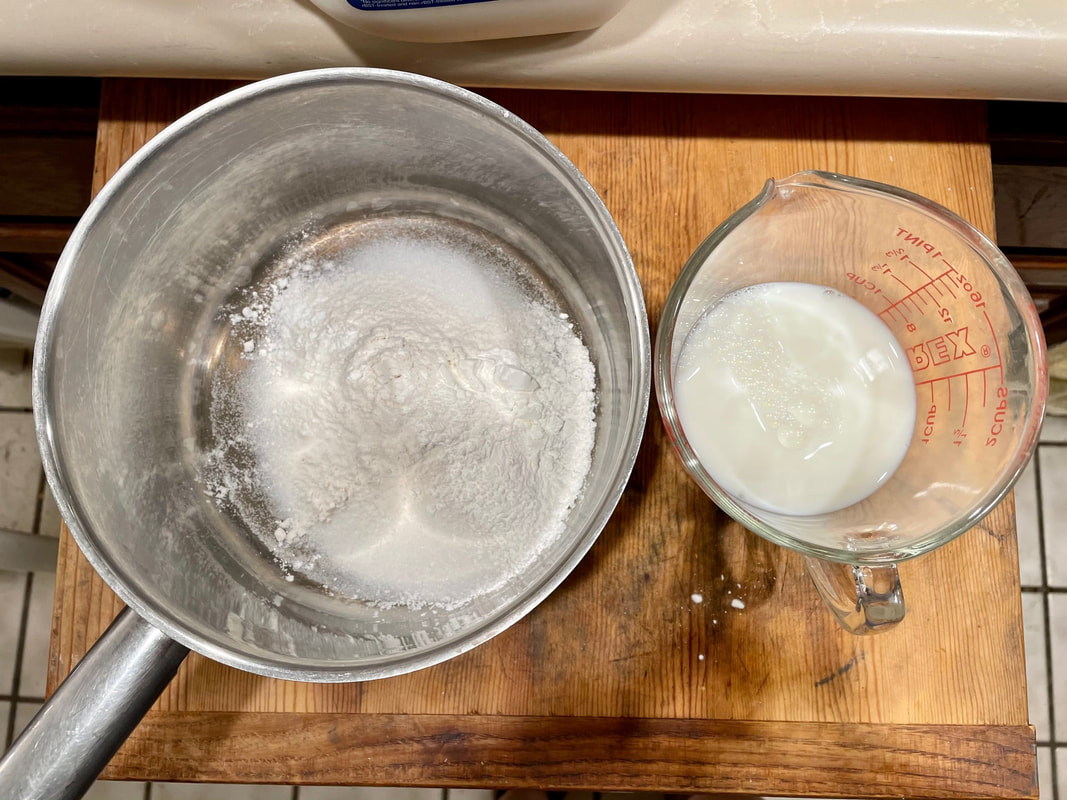
  1. Sift sugar, flour, cornstarch and salt into a small bowl and whisk to combine.
  2. Pour milk into a small pot. Gradually whisk in the dry ingredients, ensuring there are no lumps.
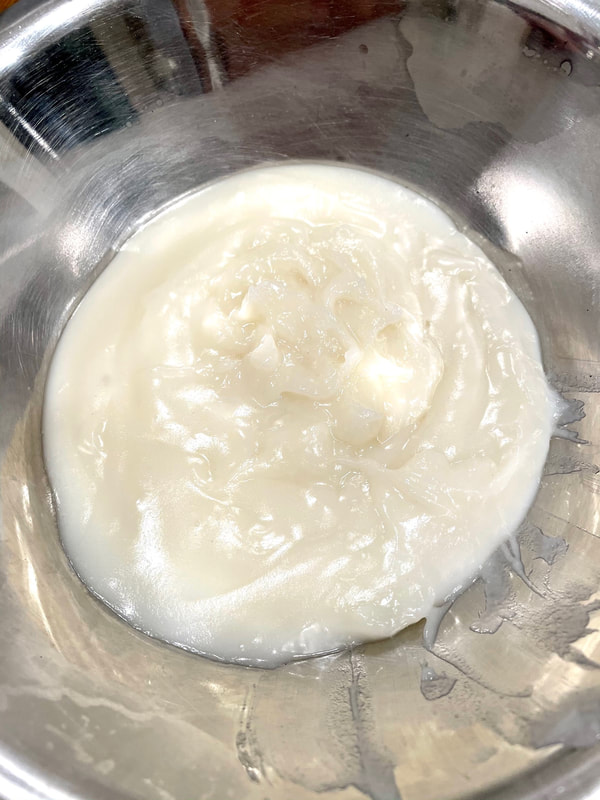
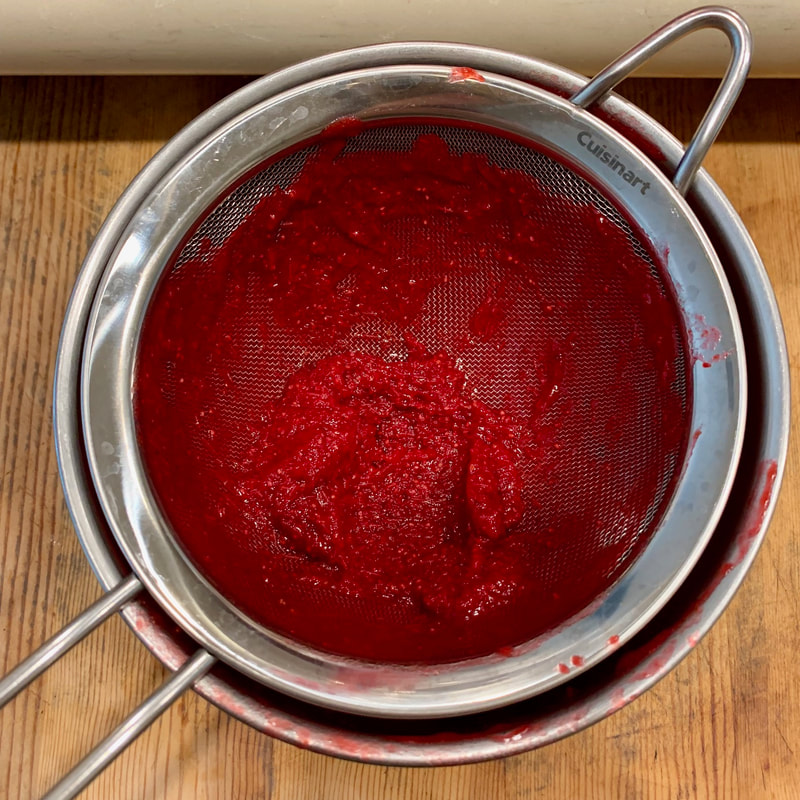
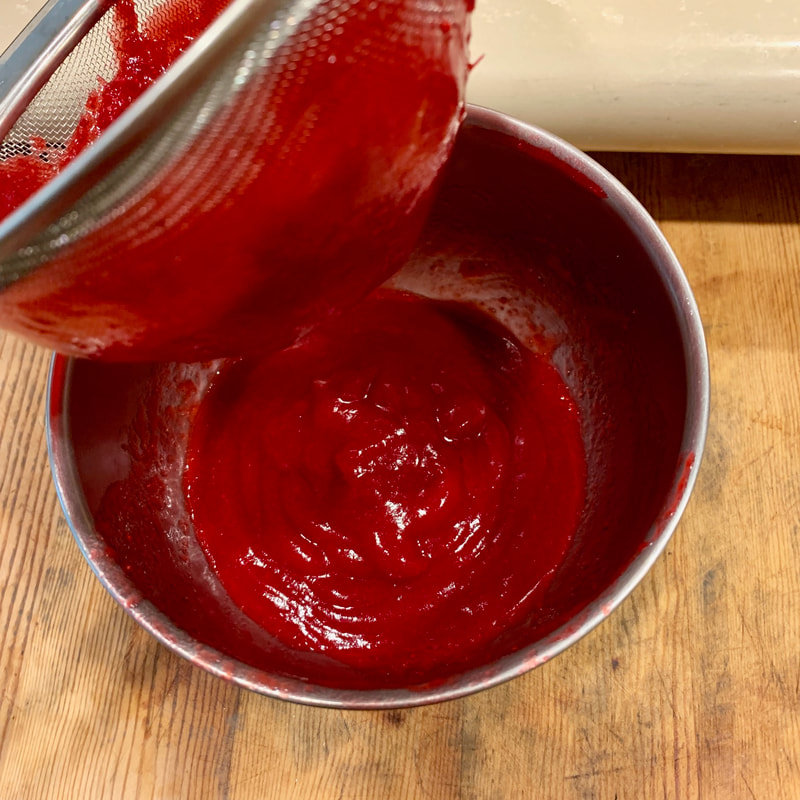
  3. Place over medium-low heat and cook, stirring often, until thickened. Pass mixture through a fine mesh strainer and into a heat-safe container.
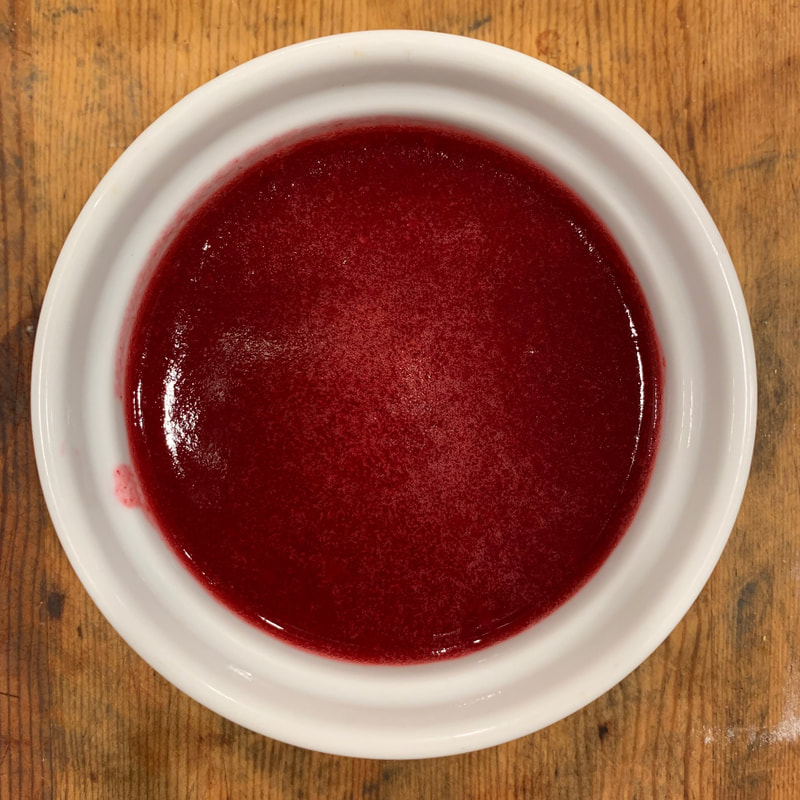
  4. Refrigerate for 2 hours.
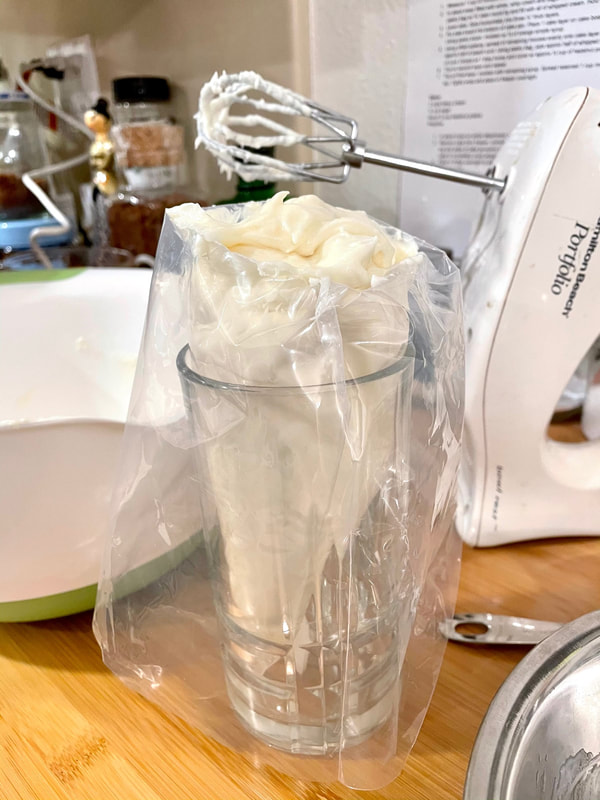
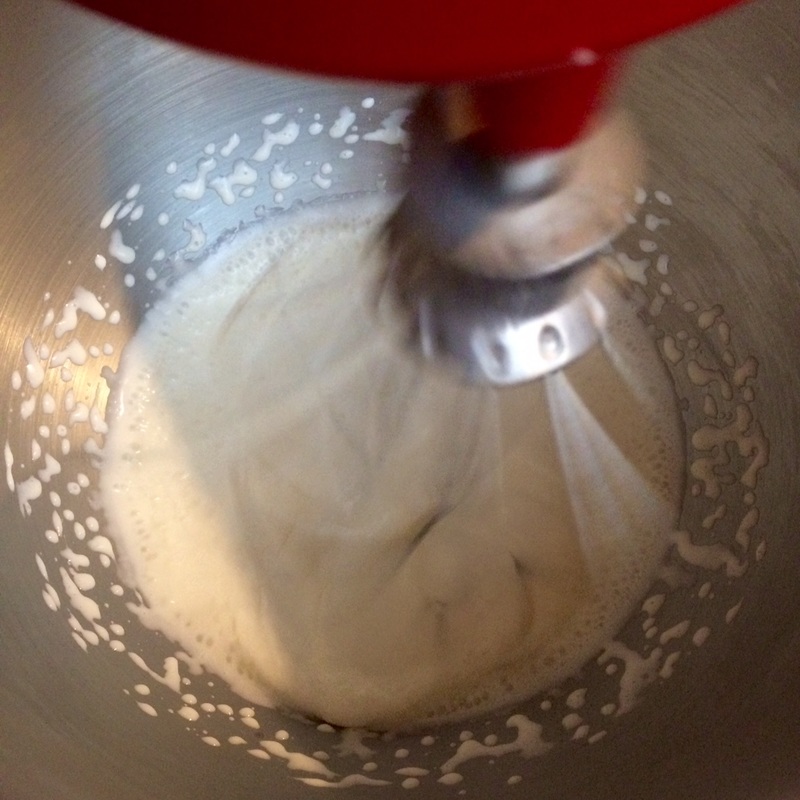
  5. Place the cooled mixture in a large mixing bowl, along with the lemon juice and vanilla, and whip on medium-high speed.
  6. Whip in cream cheese, a tablespoon at a time, allowing each addition to fully incorporate before adding the next. 
  7. Whip in butter, a tablespoon at a time, allowing each addition to fully incorporate before adding the next.
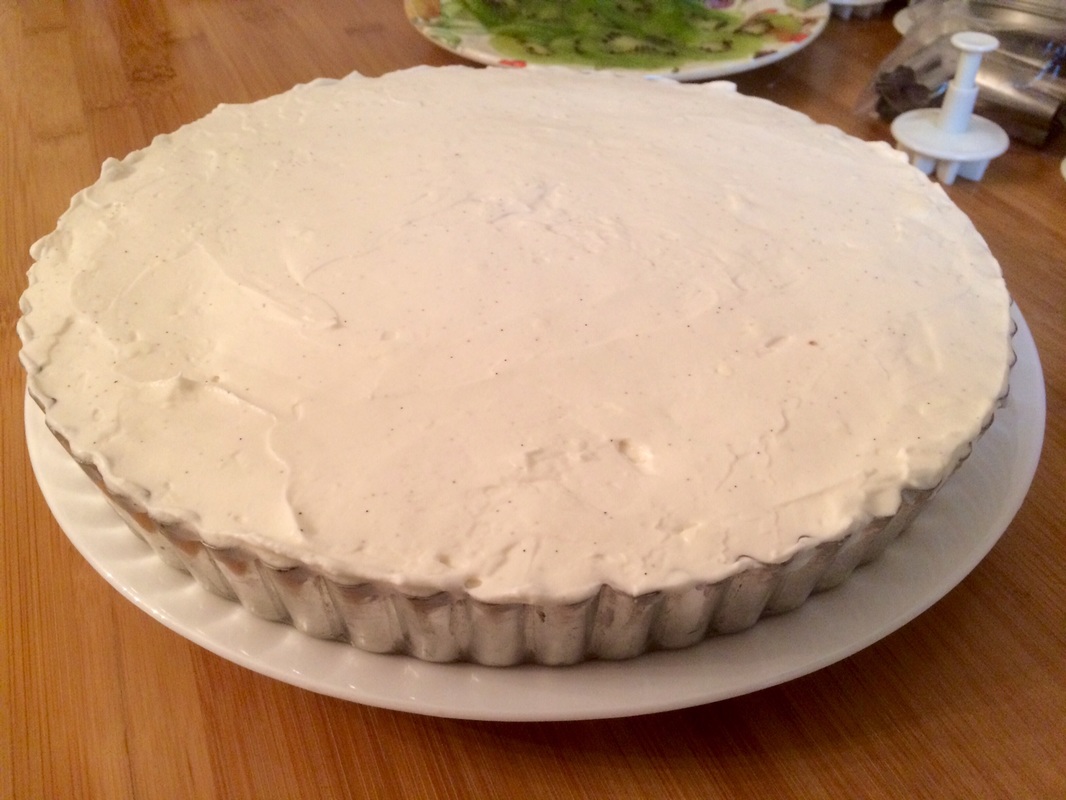
  8. Turn the mixer up to high speed, and continue to whip until very fluffy.
0 Comments

Pumpkin Cheesecake Tart with Cranberry Gelee

12/20/2018

0 Comments

 
For once, I was actively hunting for something new to make when I stumbled across this recipe. The inspiration was the very first Thanksgiving feast I would be making on my lonesome, and I wanted to top it off with a dessert that was traditionally-themed without being completely traditional. This was, arguably, the biggest hit not only of the night's feasting (and not just because it was sweet) but nearly out of all the things I have ever baked for my family. Even my father, the most famous scrooge of the family, prompted me no less than three times as to when I was going to make it again!
Picture
Pastry:
  • 6 tablespoons blanched almonds
  • 1 1/2 cups plus 1 tablespoon all-purpose flour
  • 1 1/2 sticks (6 ounces) unsalted butter, at room temperature
  • 3/4 cup plus 2 tablespoons confectioners' sugar
  • 1 large egg
  • 3/4 teaspoon pure vanilla extract
  • Pinch of salt
Filling:
  • 12 ounces cream cheese, at room temperature
  • 1/2 cup packed light brown sugar
  • 1/2 teaspoon cinnamon
  • 1/4 teaspoon ground ginger
  • 1/8 teaspoon ground allspice
  • 1/8 teaspoon ground cardamom
  • 1/8 teaspoon ground cloves
  • Pinch of freshly ground white pepper
  • Pinch of freshly grated nutmeg
  • Pinch of salt
  • 1 1/4 cups canned pumpkin puree (10 ounces)
  • 1/4 cup heavy cream
  • 3 tablespoons pure maple syrup
  • 1 1/2 teaspoons pure vanilla extract
  • 2 large eggs, at room temperature
Gelee:
  • 2 cups fresh cranberries (1/2 pound)
  • 1/2 cup sugar
  • 1/4 cup orange juice
  • 1 1/2 teaspoons unflavored gelatin
  1. In food processor, pulse almonds until coarsely ground. Add 1/2 cup of the flour and process to a fine powder; transfer to a bowl. In food processor, pulse the butter and confectioners' sugar until creamy. Pulse in egg and vanilla. Pulse in remaining 1 cup plus 1 tablespoon of flour, almond flour, and salt until a soft dough forms. Pat pastry into a disk, wrap in plastic, and refrigerate until firm, at least 1 hour.
  2. Preheat oven to 325° F. On lightly floured surface, roll out pastry to 14-inch round about 1/8 inch thick. Roll pastry into 11 1/2-inch fluted tart pan with removable bottom. Gently press pastry into the rim. Fold in overhanging dough and press to reinforce the sides; sides should be twice as thick as the bottom. Trim off excess pastry and refrigerate until firm.
  3. Line pastry with parchment paper or foil and fill with pie weights or dried beans/rice. Bake pastry for about 25 minutes, or until set. Remove parchment/foil and weights and bake for 10 minutes longer, until crust is golden and cooked through. Let cool slightly.
  4. In a large bowl, combine cream cheese, brown sugar, ground spices, nutmeg and salt. Using electric mixer, beat at medium speed until smooth. Beat in pumpkin puree until smooth. Beat in cream, maple syrup, vanilla and eggs at low speed until blended.
  5. Put crust on large, sturdy baking sheet and set in oven. Pour pumpkin custard into crust (make sure to leave a little space at the top for the gelee). Bake for 30 to 35 minutes, until custard is just set but still slightly jiggly in center. Cover edge with foil if crust starts to brown too much. Transfer to a rack and let cool completely.
  6. In medium saucepan, combine cranberries with 1/2 cup of water and cook over moderate heat until they begin to pop, about 5 minutes. Let cool. Transfer to blender and puree until smooth. Strain puree through a fine sieve. Rinse out saucepan.
  7. Add sugar and 1/4 cup of water to saucepan and bring to a boil, stirring, until dissolved. Let cool. Stir in orange juice and cranberry puree.
  8. In small bowl, sprinkle gelatin over 2 tablespoons of water and let stand until softened, 5 minutes. Microwave for 10 seconds, or until completely melted. Whisk gelatin into cranberry mixture and pour gelée over the pumpkin custard; shake gently to even it out. Refrigerate tart until set, at least 1 hour and up to 2 days. Remove the tart ring and serve.
Note: Remember to leave a little space at the top of the custard for the gelee. While you can get away with not doing so because the gelee should be a super-thin layer anyway, it was also very easy for the gelee to spill over the edges when I didn't account for it. While the custard will initially come out of the oven all puffed-up, it will settle in once it cools down, and should still have enough space for the gelee after being baked.

I discovered that I had an excess of filling and gelee after filling the tart to the brim. So have some ramekins ready and you can toss the extra in to be baked at the same time. Then you can "taste-test" guilt-free before the tart ever gets served!

0 Comments

No-Bake Cheesecake

12/22/2015

0 Comments

 
I had pinned this article from Epicurious from back in forever, and had honestly forgotten about it altogether. It wasn't until I offered to make a cake for my mother for the holiday potluck and trawled through my Pinterest board (and quietly panicking when I realized I almost never pay any attention to cakes) when I stumbled across this recipe again.

Since it was for the holidays, I added some green to help complement the red, and had a grand old time carving and essentially playing with the fruit. With a ready-made crust and store-bought whipped topping, this is a quick and easy recipe, though I usually opt to make my own graham cracker crust and whipped cream.
Picture
  • 8 ounces cream cheese, softened
  • 1/3 cup sugar
  • 1 cup sour cream (or 1 1/3 cup for a more NY-style sour cheesecake)
  • 2 teaspoons pure vanilla extract
  • 1 lemon zested
  • 8 ounces prepared whipped topping, thawed
  • 1 prepared graham cracker crust
  • 1 pound fresh strawberries, hulled and halved lengthwise
  1. Beat the cream cheese until smooth with an electric mixer. Gradually beat in the sugar. Beat in the sour cream, vanilla, and lemon zest until just combined.
  2. Fold in the whipped topping. Scrape mixture into the piecrust. (There may be some filling left over. If so, reserve it to be decoratively piped onto the top of the pie.) Chill in the refrigerator for 4 hours.
Notes: Half of those who tried this mentioned that they preferred a thicker graham cracker crust than I usually make for other tarts to go with this cheesecake.

If you're going to use kiwis, find some that are firmer/not-quite-ripe. They will be easier to slice using a mandolin, and they'll be so thin that their not-so-perfect state of ripeness won't be as much of an issue. Also, turn the fruit 180 degrees after each slice; otherwise, the trailing end will start to get ragged after a while depending on the sharpness of your mandolin, particularly if the fruit is already softer than ideal.
0 Comments

Sour Cream Cheese Frosting

12/20/2015

 
I love the extra tang the sour cream gives this version of the common cream cheese frosting. While the sour cream may not be evident if you sample the frosting by itself, when garnishing something else - such as the pumpkin bread/cupcake - the sour tang becomes much more evident.
Picture
  • 1 (8 oz) package cream cheese, softened
  • 1/4 cup butter, softened
  • 2 tbsp sour cream
  • 2 tsp vanilla extract
  • 1.5 - 2.5 cups confectioners' sugar, sifted
    ​(less sugar for a slightly less sweet but softer spread, more sugar for a stiffer spread that will hold its shape - the photo used 2 cups for the frosting)

  1. Beat cream cheese, butter, sour cream, and vanilla in large bowl until light and fluffy.
  2. Gradually beat in confectioners' sugar until smooth. Add more sugar for stiffer frosting, leave some out for softer frosting.

Cream Cheese Frosting (from The Cake Boss)

4/9/2015

0 Comments

 
Due to all the sugar that's needed to provide support, this isn't at the very top of my list of favorite frostings, but the cream cheese really makes a delicious complement to such cupcakes as the Red Velvet. One could try to play with using some gelatin to help provide support instead of the sugar.
  • 2 8oz packages Philly cream cheese
  • 1 stick unsalted butter, softened
  • 1 tsp pure vanilla extract
  • 2 cup confectioners' sugar, sifted
  1. Put the cream cheese and butter in the bowl of a stand mixer fitted with the paddle attachment and paddle at medium speed until creamy, approximately 30 seconds.
  2. With the motor running, pour in the vanilla and paddle for 30 seconds. Add the sugar, a little at a time, and mix until smooth, approximately 1 minute after the last addition.
  3. Use this as soon as you make it, because it will get very stiff in the refrigerator. If you have to refrigerate it (for a maximum of 2 days), do not microwave it to freshen it. Instead, let it rest at room temperature for 4 hours to soften.
0 Comments

Blueberry Cheesecake Ice Cream

1/1/2015

0 Comments

 
Ice Cream:
  • 8 ounces cream cheese
  • Zest of 1 lemon
  • 1 cup sour cream
  • 1 cup milk
  • 2/3 cup sugar
  • Pinch salt
​Swirl:
  • 2 cups blueberries, fresh or frozen
  • 1/4 cup sugar
  • 1 1/2 teaspoons cornstarch
  • 1 tablespoon cold water
  • 1 tablespoon freshly squeezed lemon juice
  • (optional) 2 teaspoons kirsch (If you're using other berries, experiment with liqueurs — maybe Grand Marnier for raspberries, vodka or creme de cacao for strawberries.)
  1. (Note: The "cheesecake" taste may be a bit too heavy for some people, so you may wish to cut the portions of cream cheese and sour cream a bit.) To make the ice cream base, cut the cream cheese into small pieces. Zest the lemon directly into a blender or food processor, then add the cream cheese, sour cream, half-and-half, sugar and salt. Puree until smooth.
  2. Place the mixture in the refrigerator to chill.
  3. While the ice cream mixture is chilling, make the swirl.
  4. In a medium, nonreactive saucepan, heat the blueberries and sugar until the berries begin to release their juices. Mix the cornstarch with the cold water and lemon juice until lump-free. Stir the slurry into the blueberries.
  5. Bring to a boil, then reduce the heat to a simmer and cook for 1 minute. Remove from the heat and stir in the kirsch, if using. Place in the refrigerator to chill.
  6. When the ice cream base is thoroughly chilled, freeze it in your ice cream maker according to the manufacturer's instructions. When it is done, pour roughly 1/3 into a container. Top with half of the chilled blueberry mixture and add another 1/3 ice cream base. Top that layer with the remaining blueberry mixture, then cover with the remaining ice cream base. Put in the freezer to set, 2 to 4 hours.
0 Comments

ARCHIVE: Blueberry Cream Pie

1/1/2015

0 Comments

 
  • 1 cup flour
  • 1/2 cup margarine or butter
  • 1/2 cup chopped walnut
  • 4 oz cream cheese
  • 1/2 cup sugar
  • 8 oz whipped cream
  • 1 can blueberry pie filling
  1. Pre-heat oven to 350 degrees.
  2. For bottom crust: mix flour, margarine/butter, and walnut evenly and pour into pan. Put into oven for 1/2 hour before setting aside to cool.
  3. For middle: Mix cream cheese and sugar, then add whipped cream. Pour into pan and distribute evenly over the crust.
  4. Pour blueberry pie filling evenly over the cream mixture.
  5. Chill in the refrigerator before serving.
0 Comments

Sour Cream Cheese Filling/Frosting

1/1/2015

0 Comments

 
  • 4 (8 oz) packages of cream cheese
  • 1 cup white sugar
  • (optional) 3/4 cup milk
  • 4 eggs
  • 1.25 to 1.5 cups sour cream
  • 1 tbsp vanilla extract
  • 2 tbsp all-purpose flour
  1. Beat cream cheese and sugar together JUST until they're smooth.
  2. Using a spatula, mix in milk (if used), eggs, sour cream, and vanilla.
  3. When baking, set oven to 225 F and cook for 2 hours.
0 Comments

Cream Cheese Frosting

1/1/2015

0 Comments

 
​This came with the recipe to the 14 Karat Cake, so I highly suggest pairing this with it! That being said, obviously, you can always make this for other things where cream cheese frosting is appropriate - which should be plenty!
  • 1 lb Philly cream cheese, softened
  • 1.25 cups (1.5 sticks or 10 oz) sweet unsalted butter, softened
  • 1 tbsp. fresh lemon juice
  • 2 tsp vanilla
  • about 5-2/3 cup (almost 6 cups) powdered sugar, sifted
  1. Using an electric mixer, beat cream cheese, butter, juice, and vanilla until fluffy.
  2. Gradually add sugar as you continue beating it.
  3. Chill for about 1 hour.
0 Comments
    Picture

    Sweet Enough

    Part of the reason I started baking was because I like my goodies to be less obviously sweet - I want to taste the flavor, not just the sugar. So most of these recipes will have the sugar dialed down.

    This site also acts as my mobile recipe box, so instructions are often pared down to a minimum - very few frills but for some hints and suggestions!

    RSS Feed

    Categories

    All
    Alcohol
    Almond
    Apple
    Avocado
    Baklava
    Banana
    Bars
    Biscotti
    Blackberry
    Blueberry
    Bread
    Buttercream
    Cake
    Candy
    Carrot
    Cheese
    Cherry
    Chicken
    Chickpea
    Chinese
    Chocolate
    Cider
    Cobbler
    Coconut
    Coconut Milk
    Cookie
    Corn
    Cranberry
    Cream
    Cream Cheese
    Creme Brulee
    Crumb
    Crust
    Cupcake
    Custard
    Dates
    Decoration
    Dip
    Dough
    Doughnut
    Dumpling
    Easy Peasy
    Egg
    Filling
    Flowers
    Frosting
    Fruit
    Garnish
    Gelee
    Granola
    Green Tea
    Honey
    Ice Cream
    Icing
    Jam
    Lamb
    Lemon
    Lime
    Lobster
    Lotus Seed
    Macaron
    Mango
    Marshmallow
    Meringue
    Mochi
    Muffin
    Nectarine
    Nutella
    Nuts
    Oat
    Oats
    Onion
    Orange
    Pancake
    Panna Cotta
    Peach
    Peanut Butter
    Pear
    Pecan
    Phyllo
    Pie
    Pistachio
    Plum
    Popsicle
    Pound Cake
    Pumpkin
    Quiche
    Raspberry
    Red Bean
    Rhubarb
    Rice
    Ricotta Cheese
    Rugelach
    Sauce
    Savory
    Scone
    Sesame
    Shortbread
    Soup
    Sponge
    Sponge Cake
    Strawberry
    Streusel
    Tahini
    Tart
    Tofu
    Topping
    Torte
    Vegetable
    Vinaigrette
    Walnut
    Watermelon
    Yogurt
    Zucchini

    Archives

    September 2021
    March 2021
    February 2021
    December 2020
    November 2020
    October 2020
    July 2020
    May 2020
    April 2020
    March 2020
    October 2019
    December 2018
    October 2018
    August 2018
    April 2017
    July 2016
    May 2016
    March 2016
    February 2016
    January 2016
    December 2015
    November 2015
    October 2015
    September 2015
    July 2015
    June 2015
    May 2015
    April 2015
    February 2015
    January 2015
    November 2014

© 2019 Jacqueline Teng | DragonWarden