DragonWarden
  • Adventures
  • The Oven
  • The Un-Tea Party
  • Secret Ingredients
  • About

Grain-free Tahini Granola

3/22/2021

0 Comments

 
I love baking with tahini, so I jumped at the excuse to use it in a granola. Obviously, one could adjust the ingredients and ratios as one wishes; my one caveat is that I found the original recipe way too salty, even when using the proper kosher salt. So I've reduced it down to my usual ratio for a single baking recipe. Feel free to adjust it back up to your taste.
Picture
  • 3 cups mixed raw nuts, such as pistachios, pecans, walnuts, and/or almonds
  • 1 cup unsweetened coconut flakes
  • ¼ cup pure maple syrup
  • ¼ cup tahini
  • 2 Tbsp. extra-virgin olive oil
  • ¼ tsp. kosher salt
  • ½ tsp. ground cardamom or cinnamon
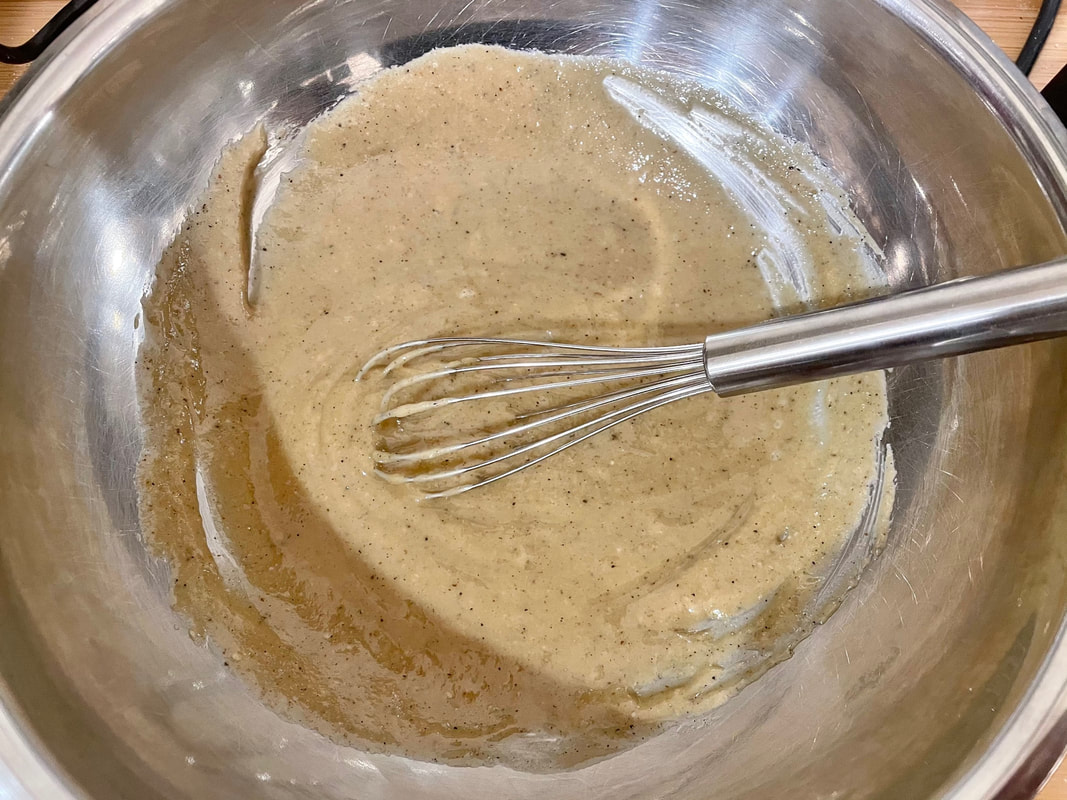
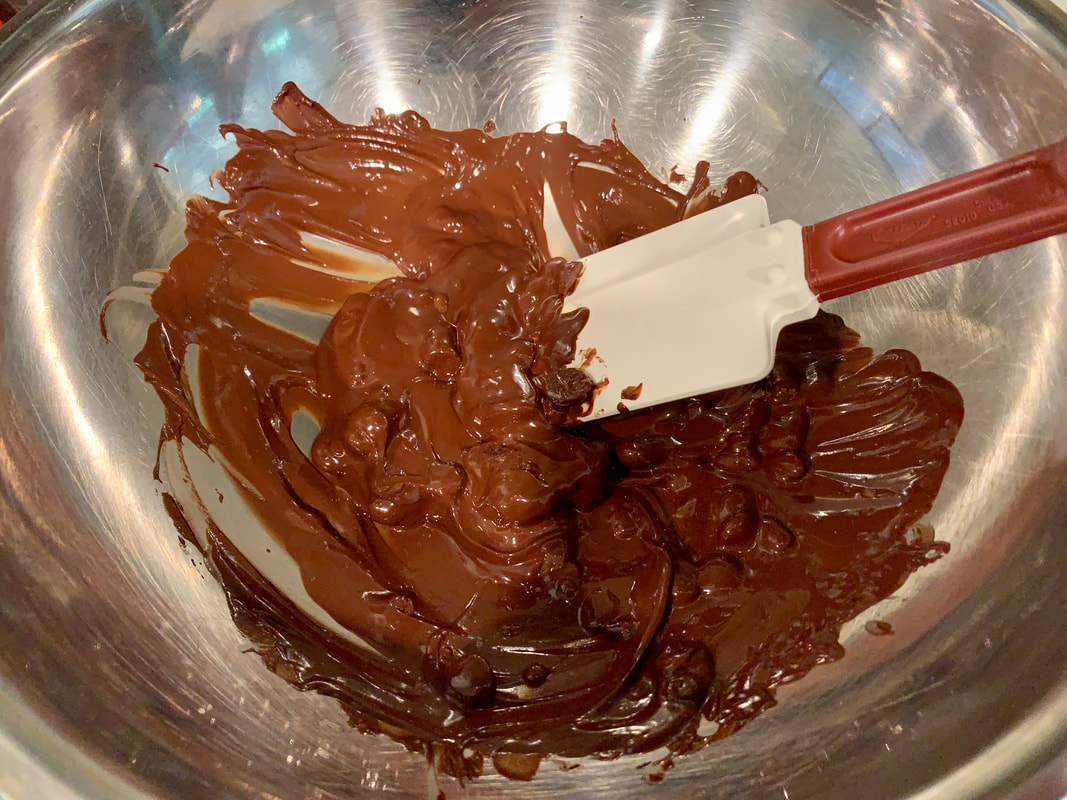
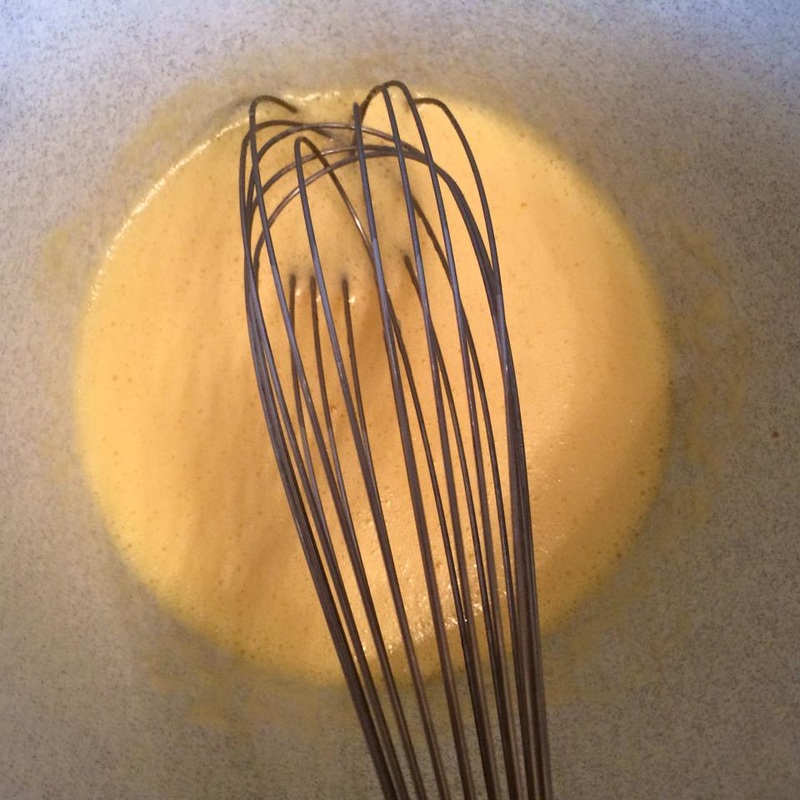
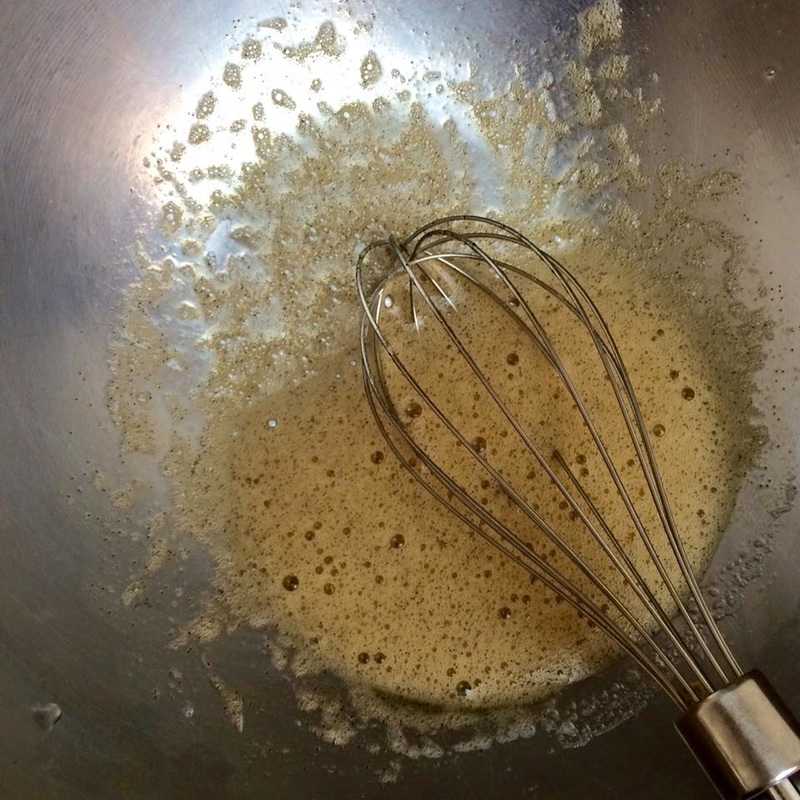
  1. Make sure to pre-mix your tahini so that there are no solids settled at the bottom and it is creamy and smooth. If necessary, try heating it up a bit in the microwave to help it re-emulsify.
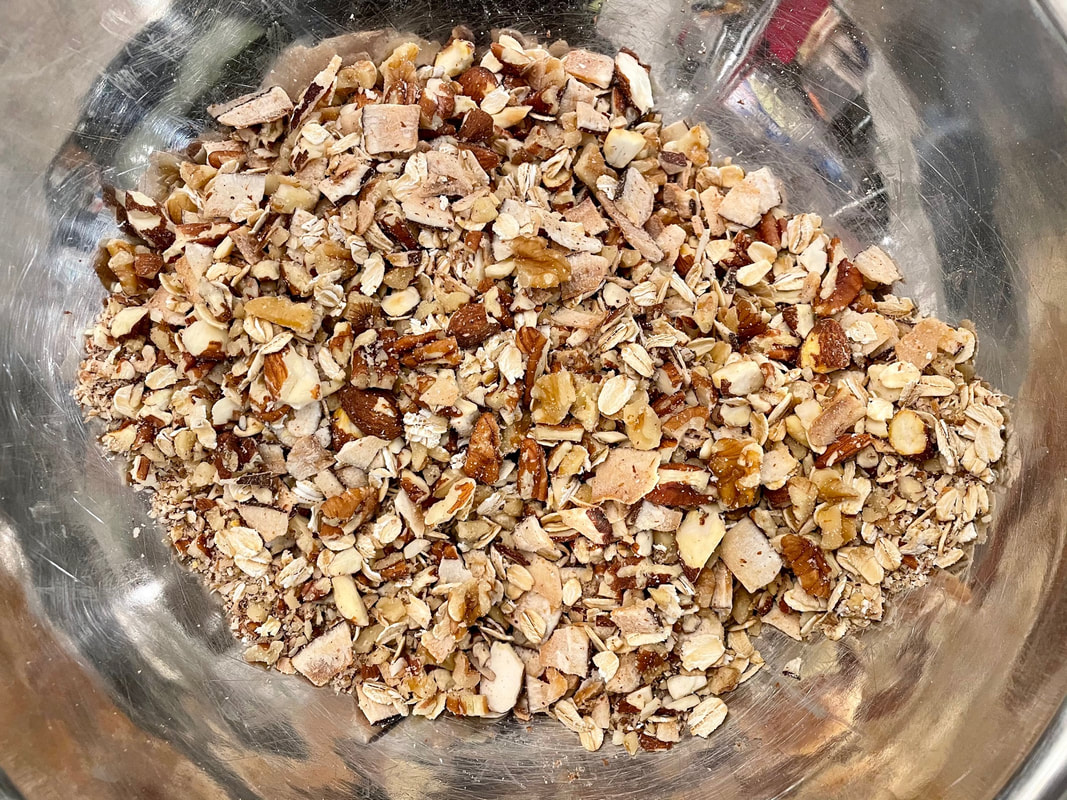
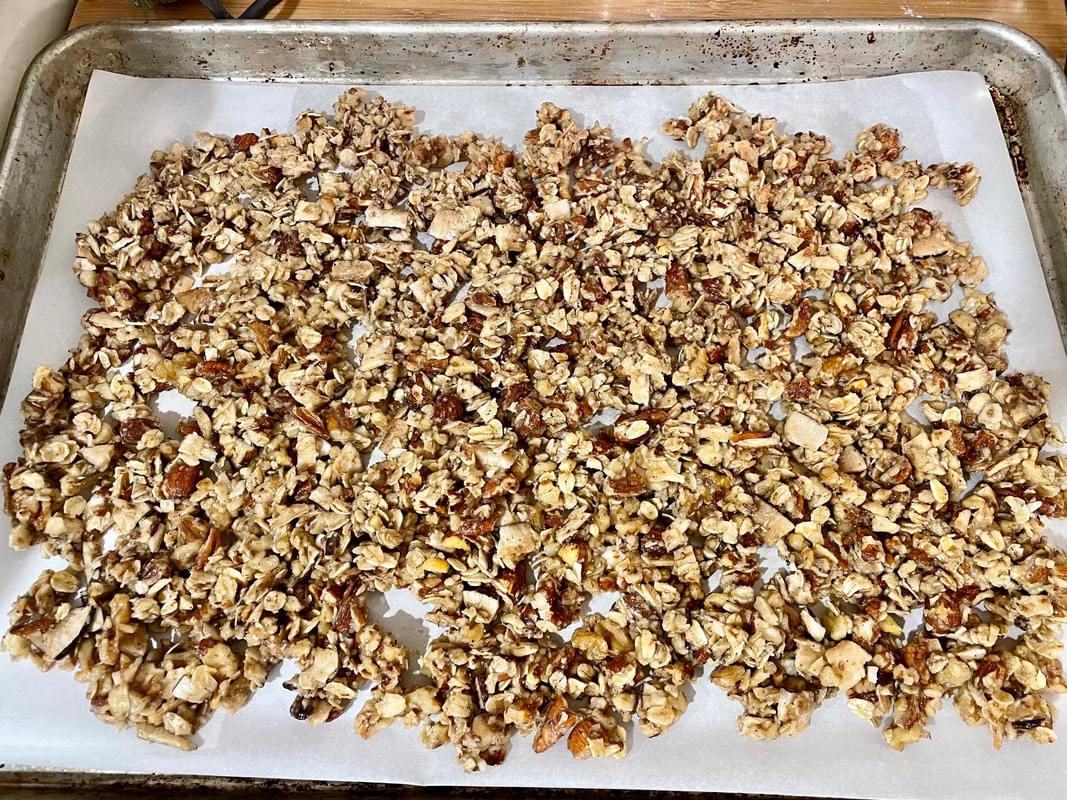
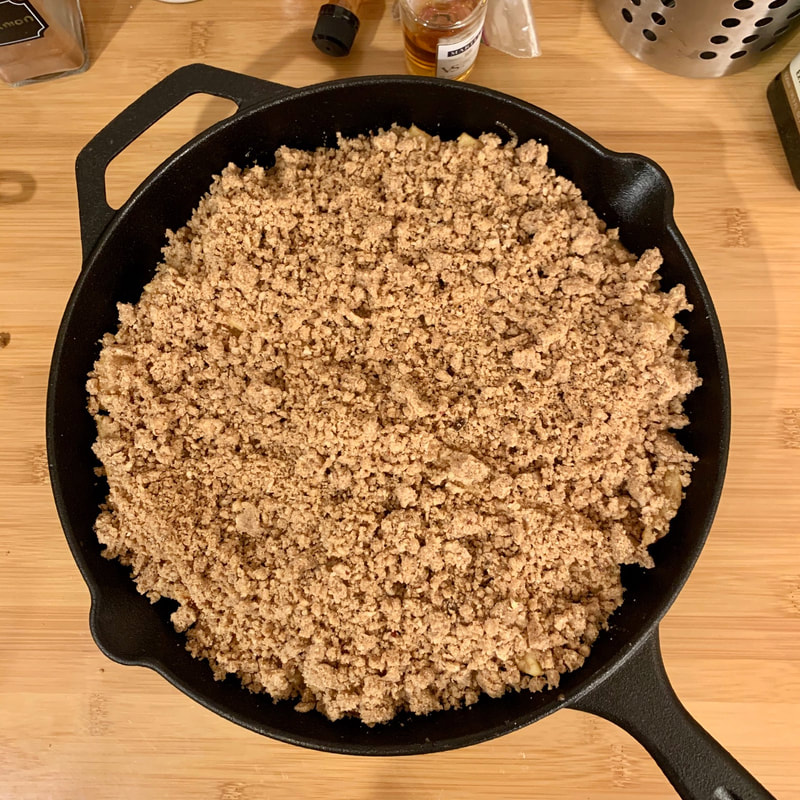
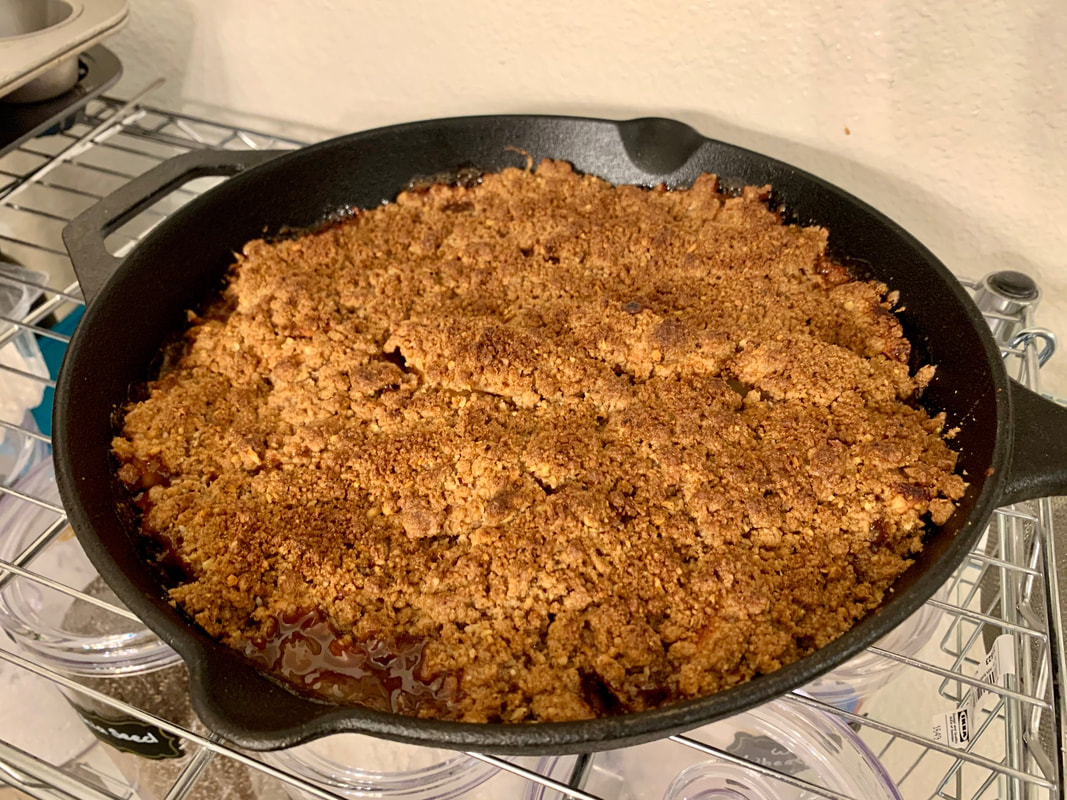
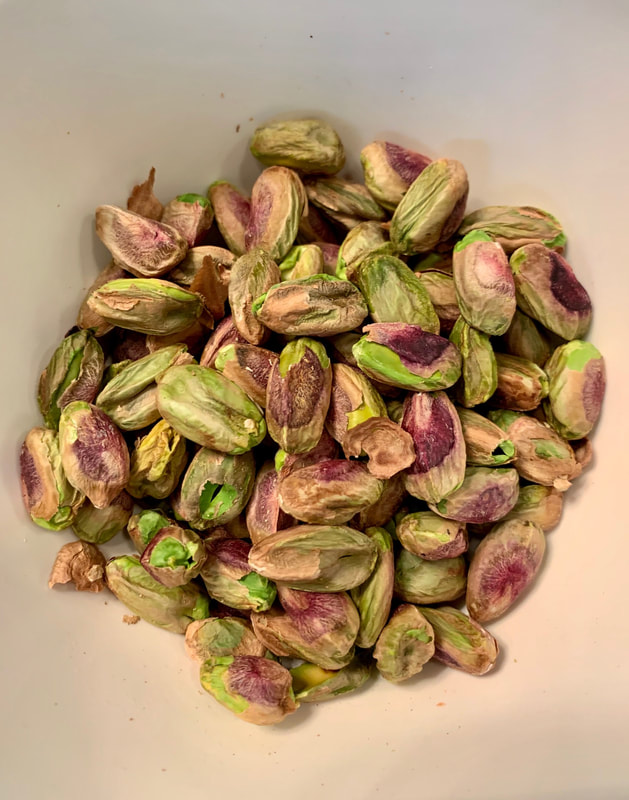
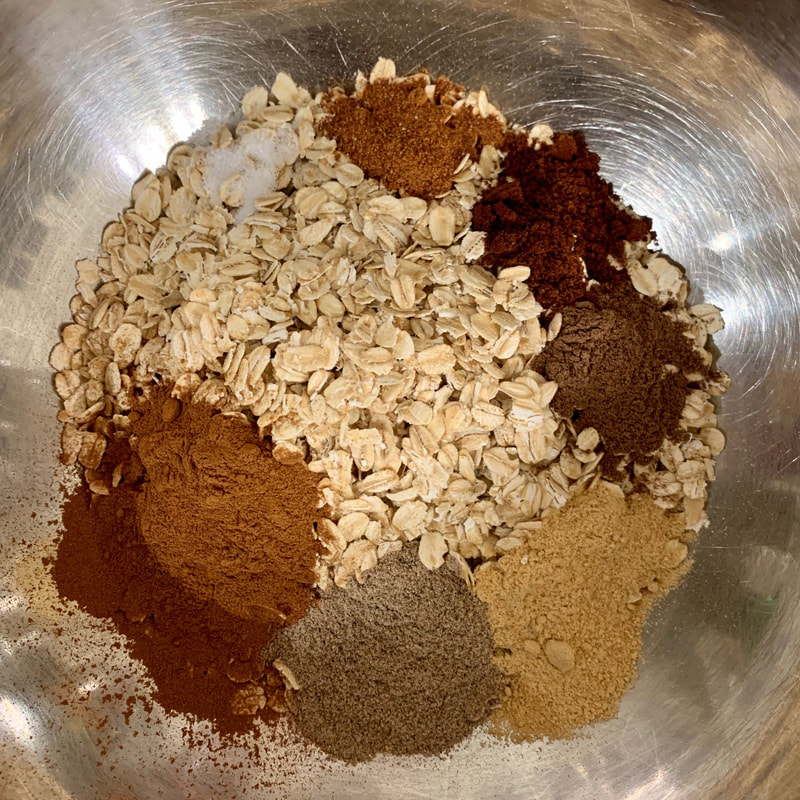
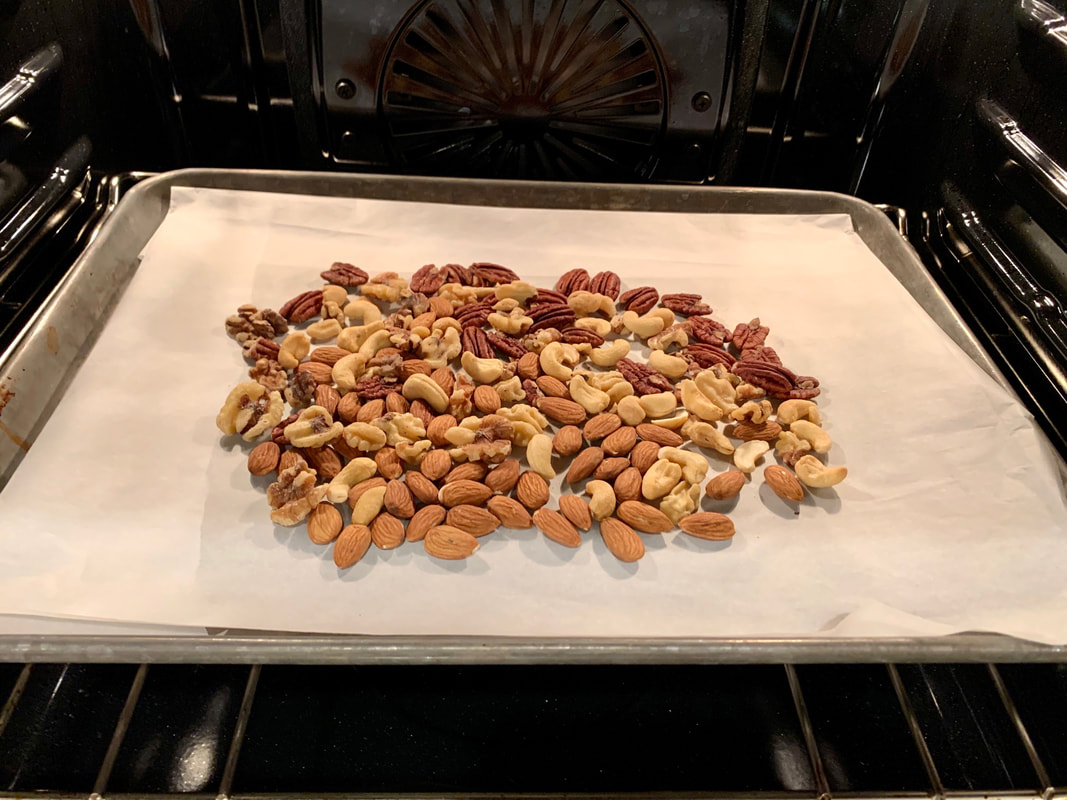
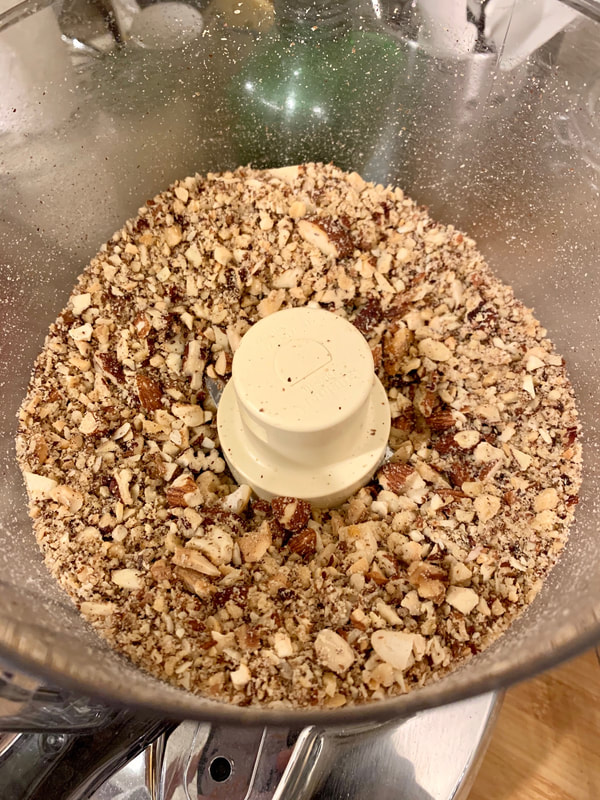
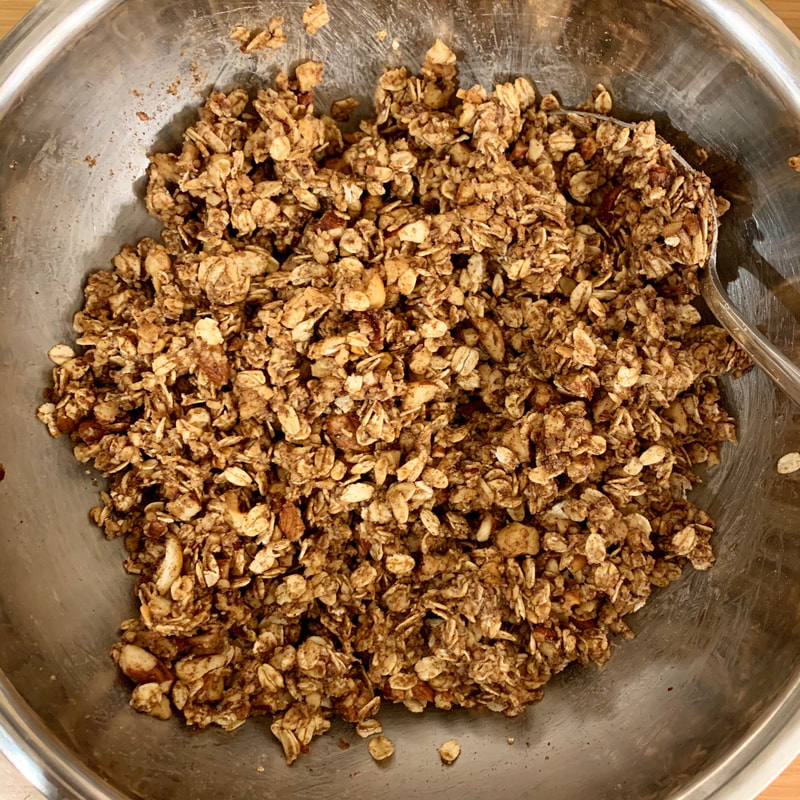
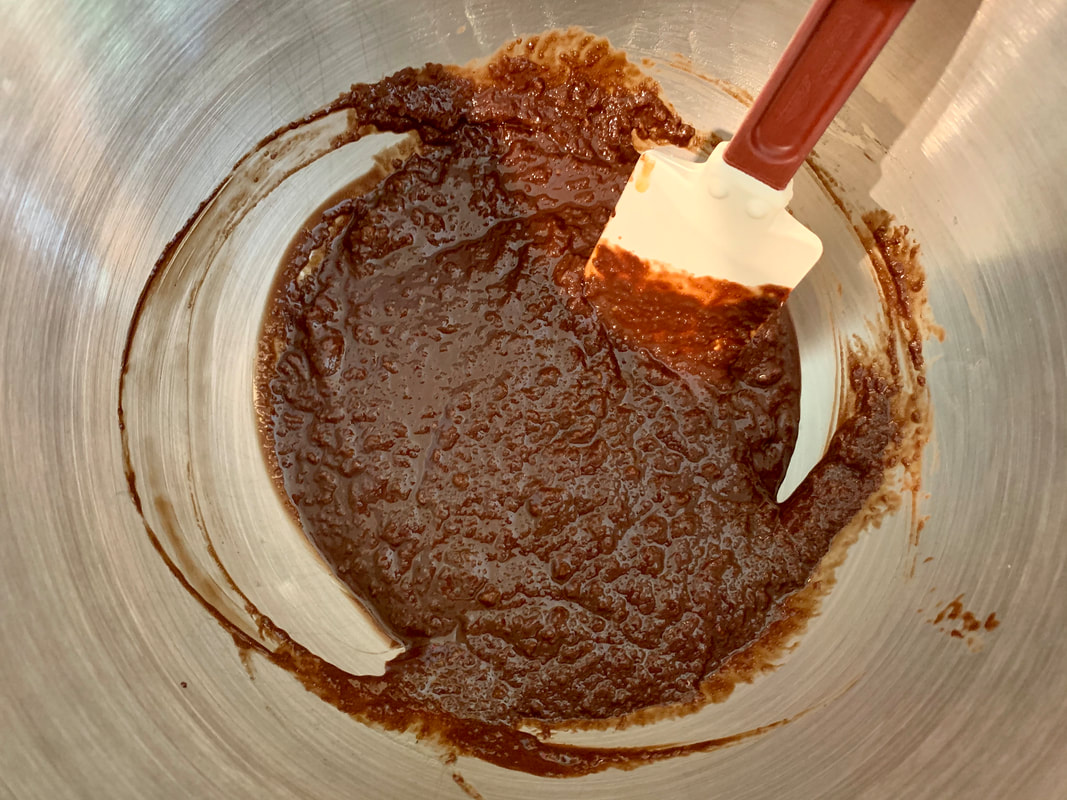
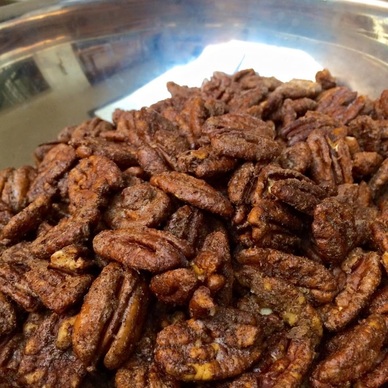
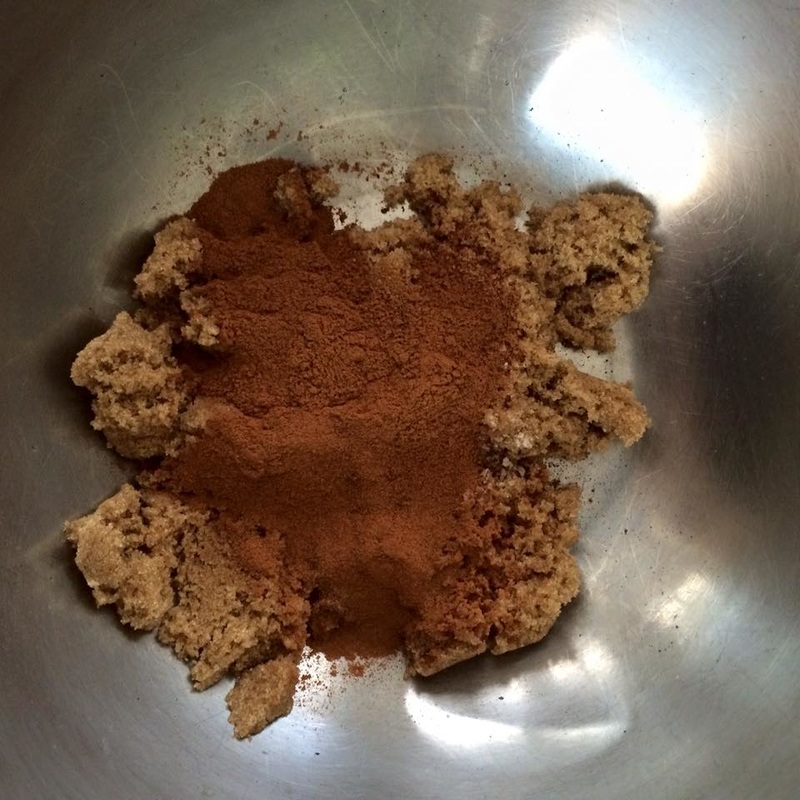
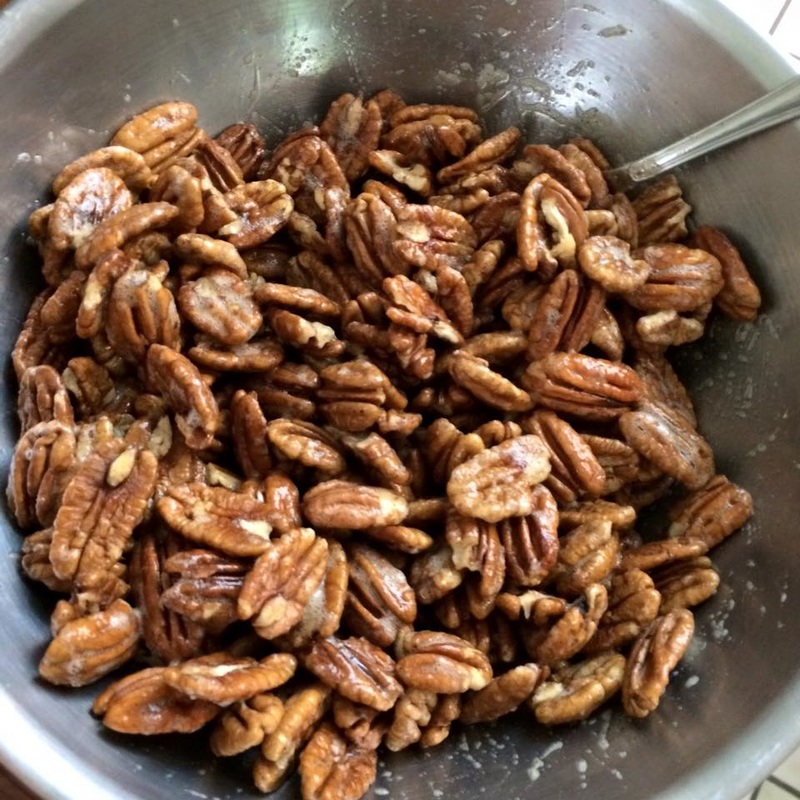
  2. Preheat oven to 300°. Line a rimmed baking sheet with parchment paper or foil. Toss nuts and coconut in a large bowl. Whisk maple syrup, tahini, oil, salt, and cardamom in a medium bowl until combined. Pour tahini syrup over nut mixture and toss with a spatula until evenly coated. Scrape onto prepared sheet. Bake granola, tossing and rotating sheet from front to back every 10–15 minutes, until golden brown, 30–35 minutes total.
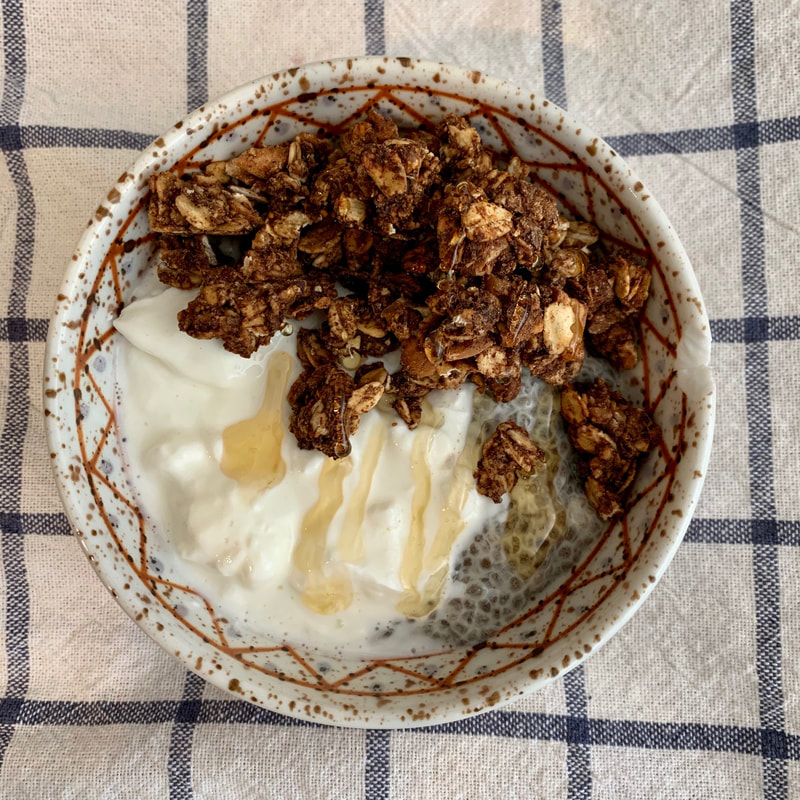
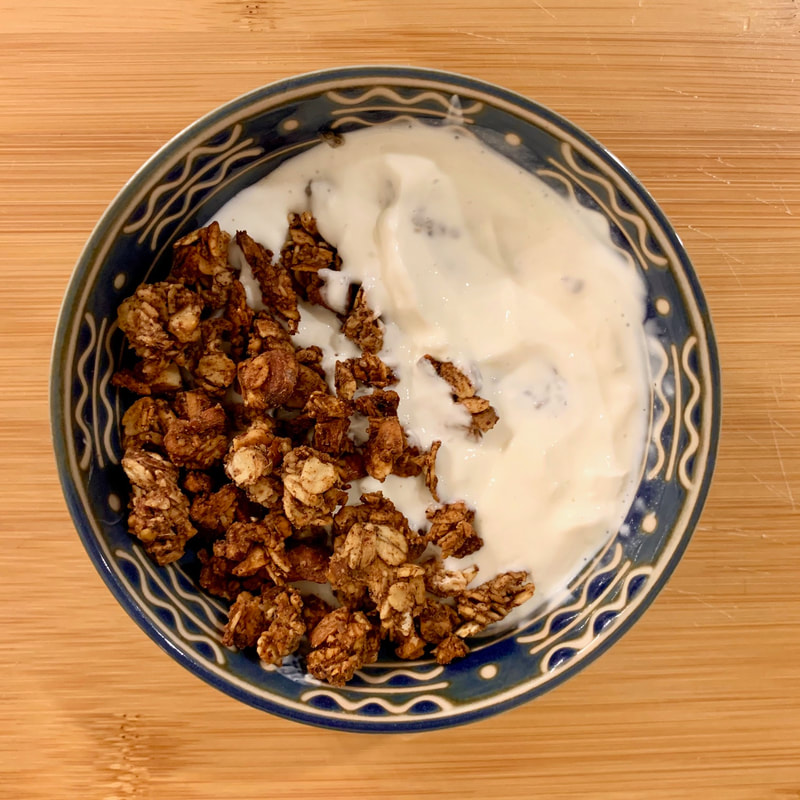
  3. Let cool on baking sheet (granola will crisp as it cools), about 20 minutes. Break into pieces before serving.
  4. Do Ahead: Granola can be made 2 weeks ahead. Store in an airtight container at room temperature.
0 Comments

Almond Cupcakes

7/30/2020

0 Comments

 
This started when one of my best friends gave me some homemade apple jam made from her homegrown apples. Since I don't eat a lot of toast in general, I was trying to figure out if there were baked goods I could use it in without losing it as a flavor. While apple sauce and any fruit in general is a wonderful source of moisture for cakes, I wanted to actually taste it. Also, most baked goods that include apples tend to ask for the original fruit itself, whether in slices or chunks, rather than in jam form.

So, then came the idea of using it as a filling in cored out cupcakes, and I stumbled across this recipe for an almond cupcake that, coincidentally, was already going the jam-filled route! As it so happened, the cupcake itself was good enough to stand on its own even without the extra jam and icing, so it's getting its own recipe space. Extra bonus is that since it's made from almond flour rather than refined flour, I can eat a lot more of it without getting nasty sugar spikes! Yum!
Picture
Cupcake:
  • 3 cups almond flour or meal
  • 1-1/2 tsp baking powder
  • 1/4 tsp kosher salt
  • 6 large eggs
  • 1/2 to 3/4 cup granulated sugar (to taste)
  • 2 tsp vanilla extract
Icing:
  • 1 cup (2 sticks) unsalted butter, room temperature
  • 2 cups powdered sugar
  • 1/4 tsp kosher salt
  • 2 tsp vanilla extract
  • 1/4 cup heavy cream
  • 1/4 teaspoon almond extract
  • 1/2 cup fig (or your favorite) jam
  • Toasted sliced almonds (for serving)
  • ½
Cupcake:
  1. Preheat oven to 325°. Place cupcake liners in a 12-cup cupcake tray.
  2. Sift almond flour through a fine-mesh sieve into a medium bowl; discard any large pieces. Whisk in baking powder and salt.
  3. Using a stand mixer fitted with a whisk attachment, whisk eggs and granulated sugar on medium-high speed until pale and fluffy, about 5 minutes. Reduce speed to low and whisk in almond-flour mixture and vanilla until smooth, about 1 minute.
  4. Divide batter among cupcake cups (each one should hold a little less than 1/3 cups). Bake cupcakes, rotating pan partway through, until the tops are golden and a tester inserted into the centers comes out clean, about 15–20 minutes. Transfer cupcakes to a wire rack and let cool.
Icing:
  1. Using an electric mixer on medium-high speed, beat butter until light and fluffy, about 3 minutes.
  2. Reduce speed to low and, with motor running, add powdered sugar in 2 additions, beating until fully incorporated after each, about 2 minutes.
  3. Add cream, almond extract, vanilla, and salt and beat until light and creamy, about 1 minute.
  4. Using an apple corer or a knife, punch out about 1" from the top of each cupcake to form a hole in the center. Fill hole with a heaping teaspoonful of jam.
  5. Spread frosting over cupcakes and top each with a small handful of almonds.
Note: While the cupcake can have the sugar reduced a little more if you wish, the icing depends on the sugar for stiffening (and to help mask the pure butter taste, which I personally don't find as fun when eating straight unless it's salted butter). If you're set on reducing the sugar in the icing, then reduce how much cream you add as well, and watch the icing on warm days - you may need to keep it refrigerated to prevent melting.
0 Comments

Pistachio Crusted Rack of Lamb

4/28/2020

0 Comments

 
This was everything it promised to be and my entire family was blown away. I stumbled across this recipe looking for pistachio-related things to make, and it turned out absolutely beautifully. The dijon mustard gave it a lovely tangy depth (and as an otherwise avowed mustard-hater, I would NOT leave this off or substitute it with anything else) and everything else crusted up just as promised. 
Picture
  • 2 racks of lamb, trimmed
  • 1 teaspoon herbes de Provence
  • salt and ground black pepper to taste
  • 1 tablespoon vegetable oil
  • 2/3 cup chopped pistachio nuts
  • 2 tablespoons dry bread crumbs
  • 1 tablespoon melted butter
  • 1 teaspoon olive oil
  • salt and ground black pepper to taste
  • 3 tbsp dijon mustard
  1. Preheat oven to 400 degrees F (200 degrees C). Line a baking sheet with aluminum foil. Generously season each rack of lamb with herbes de Provence, salt, and black pepper.
  2. Heat oil in a large skillet over high heat. Place lamb in skillet and cook, browning on all sides, 6 to 8 minutes. Transfer lamb to a foil-lined baking sheet; set aside.
  3. Stir pistachios, bread crumbs, butter, olive oil, and a pinch of salt and black pepper in a bowl. Spread mustard on the fat-side of each rack of lamb. Pat pistachio mixture on top of mustard. Bake in the preheated oven until the crust is golden and lamb is pink in the center, 20 to 25 minutes. Transfer to a plate and let rest 10 minutes before slicing.
0 Comments

Skillet-Baked Pear and Apple Crisp

4/21/2020

0 Comments

 
I've been on a huge skillet kick lately, and this seemed like the perfect way to get my apple pie fix the quick-and-easy way. It's not quite easy-peasy, but easy enough with the right tools - a food processor and a 12" skillet, which might seem humongous for a single family dessert, but with all the fruit spread out, is mostly just a single layer thick, so quite manageable for two evenings' worth of enjoyment!
Picture
Topping
  • 1 cup light brown sugar
  • 1 cup all-purpose flour
  • 1/4 cup pecans
  • 2 teaspoons ground cinnamon
  • 1 stick unsalted butter, cut into cubes
Filling
  • 1 1/2 pounds Granny Smith apples—peeled, cored and thinly sliced
  • 1 1/2 pounds firm Bartlett pears—peeled, cored and thinly sliced
  • 3/4 cup dried currants
  • 1/4 cup light brown sugar
  • 2 teaspoons ground cinnamon
  • 1/4 teaspoon ground cardamom
  • 1/4 cup honey
  • 2 tablespoons Cognac
  • Vanilla ice cream, for serving
  1. Preheat the oven to 350° and butter a 12-inch cast-iron skillet.
  2. In a food processor, combine the sugar with the flour, pecans and cinnamon. Add the butter and pulse until the mixture is fine. Transfer the topping to a bowl and press into clumps.
  3. In a large bowl, combine the apples and pears with the currants, sugar, cinnamon, cardamom, honey and Cognac and stir until the sugar is dissolved. Spread the fruit in the skillet and scatter the topping over the fruit.
  4. Bake the crisp in the center of the oven for about 45 minutes (for firmer fruit, start checking around 30 minutes), until the fruit is bubbling and the topping is browned. Let cool for 20 minutes before serving with ice cream.
0 Comments

Pistachio-Orange Ricotta Cake

4/13/2020

0 Comments

 
This was a surprisingly extraordinary cake considering its borderline easy-peasy status! From the Better Baking book by Genevieve Ko, it was a surprise hit as I had only made it because I had leftover ricotta in the fridge. Wonderfully fragrant, with the pistachio's nutty undertones and a density and texture reminiscent of pound cake, the cherry on top was that you can throw all the ingredients into the food processor and be done with it.
Picture
  • 8 tbsp (114 g) unsalted butter, softened (almost melting point)
  • 1_1/4 cups (180 g) white whole wheat flour
  • 2 tsp baking powder
  • 1/2 tsp salt
  • 1/2 cup (64 g) shelled roasted salted pistachios
  • 1 cup (110 g) sugar
  • 1_1/2 cups (339 g) whole-milk ricotta cheese, drained
  • 3 large eggs, room temperature
  • 1 small orange
  • 1 tsp vanilla extract
  1. Position rack in center of oven and preheat to 350 F. Butter 2" deep 9" round cake pan, line bottom with parchment paper, and butter the parchment.
  2. Whisk flour, baking powder, and salt in small bowl. Combine pistachios and sugar in food processor and process until mixture resembles coarse meal. Add butter and ricotta and pulse until smooth, scraping bowl occasionally. Add eggs and process until smooth, scraping bowl occasionally. Zest half the orange into mixture. Squeeze 2 tbsp juice from orange and add to processor, then add vanilla and process until liquids are incorporated.
  3. You can add the flour mixture directly and process, or pour liquid mixture into another bowl and hand-mix flour mixture in until everything is incorporated evenly. Pour batter into prepared pan and smooth the top.
  4. Bake until a toothpick inserted into the center of cake comes out clean, 50-55 mins.
  5. Cool in the pan on wire rack for 10 mins, then run a thin-bladed knife between the edges of the cake and pan. Invert the cake onto the rack and discard parchment paper. Carefully flip cake again to cool completely on rack.
0 Comments

Chai Spice Granola

10/27/2019

0 Comments

 
I love cereals and granola bars, but even eyeing nutritional labels like a hawk, I still find 99% of them sweeter than I prefer these days. So, I started looking up steps for making my own granola - and how can you go wrong with tons of spices like this recipe calls for?

This turned out surprisingly well for a first attempt! Maybe not quite as crunchy as I sometimes prefer, but more than just edible, and endlessly adjustable.
Picture
  • 1/3 cup honey
  • 2 cups rolled oats
  • 1 1/2 cups nuts (pecans, almonds, walnuts, cashews, etc)
  • 1 tablespoon ground cinnamon
  • 2 1/2 teaspoons ground cardamom
  • 1 1/2 teaspoon ground ginger
  • 1 teaspoon ground allspice
  • 1 teaspoon ground cloves
  • 1/2 teaspoon nutmeg
  • 1/4 teaspoon salt
  • 1/2 cup water (or 2/3 cup soymilk for soaked oatmeal alternative)
  • 2 tablespoons almond butter
  • 1 1/2 teaspoons vanilla extract
  • 1/4 teaspoon almond extract
  1. Preheat oven to 325F.
  2. Line a baking sheet with parchment paper. Spread nuts on the baking sheet and toast in oven for 10 minutes. Set aside to cool.
  3. Either by hand or using a food processor, roughly chop up the nuts. In a large bowl, add oats, nuts, cinnamon, cardamom, ginger, allspice, cloves, nutmeg and salt. Stir to combine.
  4. Microwave 1/2 cup of water until warm and mix honey in until blended.
  5. Stir almond butter, vanilla, and almond extract into the honey mix.
  6. Slowly pour the liquid mixture into the dry ingredients. Stir until evenly blended. Pour granola onto the baking sheet in an even layer. If you want a chunkier granola, press the layer into a solid sheet.
  7. Bake for 20 minutes. If you want a looser granola, stir the granola around in the pan and bake for 10 more minutes. For a chunky granola, do not touch; let it cook for 10 more minutes.
  8. Remove from the oven and let it cool in the pan for 5-10 minutes.

Alternative using soaked oatmeal:
  1. At least 6 hours before, microwave the 2/3 cup soymilk (or any other liquid alternative) until warm and mix honey, vanilla, and nut butter in until blended. Mix oatmeal in and let soak.
  2. Preheat oven to 325F. Line a baking sheet with parchment paper. Spread nuts on the baking sheet and toast in oven for 10 minutes. Set aside to cool.
  3. Either by hand or using a food processor, roughly chop up the nuts. In a large bowl, add oats, nuts, cinnamon, cardamom, ginger, allspice, cloves, nutmeg and salt. Stir to combine.
  4. Drain the oatmeal mixture in a sieve, then mix into the dry ingredients. Stir until evenly blended. Pour granola onto the baking sheet in an even layer. 
  5. Bake for 20 minutes. Break up and stir the granola around in the pan and bake for 10 more minutes. For a crispier granola, stir again and let it cook for 10 more minutes.
  6. Remove from the oven and let it cool in the pan for 5-10 minutes.
0 Comments

Chocolate Olive Oil Torte with Cardamom, Pears, and Hazelnuts

10/17/2019

0 Comments

 
I don't even remember how I stumbled across this recipe from Tending the Table anymore, but it was perfect for my needs at the time as I had a friend over who had a gluten allergy. And how can you go wrong with dark chocolate?

It was beautifully decadent, a little bit like a dense brownie except without all the carb guilt, and nicely balanced on sweetness. I didn't want to specially buy coconut sugar just for this, so followed an online guide that indicated one could substitute light brown sugar at about a 2/3 ratio, and it came out beautifully. This is also one of those magical baked goods that is even more delicious after it has sat in the fridge for a bit.
Picture
  • 9" cake pan with removable bottom
  • ¾ cup bittersweet chocolate chips
  • ⅔ cup California Olive Ranch Arbosana Olive Oil
  • ¾ cup coconut sugar or 1/2 cup light brown sugar, loosely packed
  • 1 ¼ cup almond meal
  • 3 eggs, divided
  • 1 teaspoon vanilla
  • ¼ teaspoon salt
  • ¼ teaspoon ground cardamom
  • 2 Anjou pears, thinly sliced (or, if they're not in season, any other firmer pear)
  • ½ cup hazelnuts, chopped
  1. Preheat the oven to 350° F.
  2. Line the bottom of a 9-inch cake pan with a removable bottom with parchment. Grease the pan lightly with olive oil.
  3. In a double boiler set over simmering water, melt the chocolate. Meanwhile, in a medium bowl, combine the olive oil, coconut sugar, almond meal, egg yolks, vanilla, salt and cardamom. Stir well to combine. Once the chocolate is melted add it to the bowl and mix to combine.
  4. In the bowl of stand mixer fitted with the whisk attachment, whip the egg whites until stiff peaks form.
  5. Fold the egg whites into the batter until completely incorporated and smooth.
  6. Transfer the batter to the prepared pan and smooth the top with a spatula. Arrange the sliced pears on top and sprinkle with the chopped hazelnuts.
  7. Bake for 45-50 minutes or until a toothpick inserted into the middle comes out mostly clean.
  8. Allow to cool before serving, or chill in the refrigerator before serving.
0 Comments

Paleo Banana Nut Muffins

8/22/2018

0 Comments

 
Adapted from this recipe, don't let the "paleo" part fool you - this was a super-moist fluffy muffin that had none of the meal-like texture that I usually associate with nut or coconut-based flours. Granted, there's very little "flour" associated with it at all - just enough to hold everything together, which is why I love it since I'm highly sensitive to refined carbs. Even with all the bananas, it didn't taste over-sweet - in fact, some might find it not sweet enough, though I found it perfectly to my taste, especially with the walnuts to help add texture and the addition of some dark chocolate chips. I think this is a fabulous breakfast muffin, where you don't feel like you just ate a cup of sugar, can spread a little bit of butter and salt atop it if you'd rather have some savory than sweet, and feel like you ate something reasonably healthy with all the fruit and nut bases in it (not to mention a nice shot of chocolate)!
Picture
  • 3 - 4 large ripe bananas (1_2/3 cups mashed or 380 grams)
  • 3 eggs room temperature
  • 3 tablespoons coconut oil melted
  • 1 teaspoon vanilla extract
  • 1/3 cup almond butter
  • 1/3 cup (50g) coconut flour
  • 1 teaspoon ground cinnamon
  • 3/4 teaspoon baking soda
  • 3/4 teaspoon baking powder
  • 1/4 teaspoon salt
  • 1 cup toasted walnuts chopped
  • 1/2 - 3/4 cup chocolate chips (optional)
  1. Preheat the oven to 350ºF. Line a 12 pan muffin tin with paper liners or grease with coconut oil.
  2. In a large bowl or mixer, combine the mashed bananas, eggs, coconut oil, vanilla extract and almond butter until fully combined.
  3. Sift the coconut flour, cinnamon, baking soda, baking powder, and salt and add to the wet ingredients and mix well. Fold in the walnuts and chocolate chips.
  4. Divide the batter between the prepared muffin tins.
  5. Bake in the preheated oven for about 17-19 minutes. A toothpick inserted into the center of a muffin should come out clean.
  6. Remove from oven and allow to cool on a wire rack for about 10 minutes. Flip out onto a cooling rack to finish cooling.
0 Comments

Pecan Pie / Tart

11/21/2015

 
My brother adores pecan pie, but they almost unilaterally call for corn syrup in their recipes, which is just ... bleh. This is one of the rare ones that does not ask for corn syrup - and from the way he devoured it on his birthday (in place of a cake), I'd say it did quite well without it. 

(Though this is usually done in a pie crust, I have also substituted the pine nut tart crust for the usual pie crust. One note is that you can't just cook the tart crust first as usual; it may burn if you just put it into the oven with the rest of the filling for 30 minutes. I took the halfway road and cooked the crust for 10 minutes at 350 F, poured the filling in, covered the edges with foil, and then popped it back into the oven to finish.)
Picture
  • 1 9" pie crust
  • 1 egg wash (1 egg + 1 tsp water)
  • 2 eggs
  • 1/2 cup melted butter
  • 1 cup light brown sugar
  • 1/4 cup white sugar
  • ​1 tablespoon all-purpose flour
  • 1 tablespoon milk
  • 1 teaspoon vanilla extract
  • 1 cup chopped pecans

  1. Preheat oven to 425 degrees F.​ To prevent the filling from making the bottom crust a soggy mess, I like to blind bake the pie crust partway and help seal the bottom with an egg wash. Line the bottom and sides of the crust with foil or parchment paper and fill with pie weights or dried beans - make sure to not only cover all over the bottom but up the sides also. Bake for 12 minutes. Remove the pie weights and lining, brush egg wash all over crust, put a heat shield on the edges of the crust, then return to the oven for another 3 minutes. Remove and set aside while you make the filling.
  2. In a large bowl, beat eggs until foamy, and slowly stir in melted butter. Stir in the brown sugar, white sugar and the flour; mix well. Last add the milk, vanilla and nuts.
  3. Pour into the pie shell. Bake in preheated oven for 10 minutes. (Depending on your oven, the nuts on top might get a little burnt-looking. You may wish to cover the entire pie with foil instead of just the crust edges as a heat shield at this time. Make sure you make slits in the top of the foil to allow steam to vent.) Then reduce temperature to 350 degrees and bake for 35 - 40 minutes. Let pie cool completely before serving.

Spiced Pecans

6/13/2015

1 Comment

 
I got this recipe from a coworker of mine many years ago, and it's a great way to help spruce up pecans which, sadly, often become stale or soft really quickly, particularly if you get them from the bulk bins in grocery stores. While the original recipe had called for almost double all the spices and flavors, I found that cutting those down makes these more enjoyable by the handful.
Picture
  • 1 egg white
  • 1 tbsp vanilla
  • 1/4 to 1/2 cup brown sugar
  • 1/4 tsp salt
  • 1 tbsp cinnamon
  • 1/4 tsp nutmeg
  • 1/4 tsp allspice
  • 1/4 tsp cloves
  • 1 pound pecans

  1. Preheat oven to 300 degrees.
  2. In a large bowl, whisk egg white until frothy, then whisk in vanilla.
  3. In a separate bowl, whisk together the brown sugar, salt and spices.
  4. Fold nuts into egg white, then stir in sugar/spice mixture.
  5. Spread onto parchment-lined sheet pans and bake for 10 minutes. Turn the nuts over and then bake for another 10-15 minutes. When you take them out, they will feel tacky, but after they cool off, they will crisp up again.
1 Comment
<<Previous
    Picture

    Sweet Enough

    Part of the reason I started baking was because I like my goodies to be less obviously sweet - I want to taste the flavor, not just the sugar. So most of these recipes will have the sugar dialed down.

    This site also acts as my mobile recipe box, so instructions are often pared down to a minimum - very few frills but for some hints and suggestions!

    RSS Feed

    Categories

    All
    Alcohol
    Almond
    Apple
    Avocado
    Baklava
    Banana
    Bars
    Biscotti
    Blackberry
    Blueberry
    Bread
    Buttercream
    Cake
    Candy
    Carrot
    Cheese
    Cherry
    Chicken
    Chickpea
    Chinese
    Chocolate
    Cider
    Cobbler
    Coconut
    Coconut Milk
    Cookie
    Corn
    Cranberry
    Cream
    Cream Cheese
    Creme Brulee
    Crumb
    Crust
    Cupcake
    Custard
    Dates
    Decoration
    Dip
    Dough
    Doughnut
    Dumpling
    Easy Peasy
    Egg
    Filling
    Flowers
    Frosting
    Fruit
    Garnish
    Gelee
    Granola
    Green Tea
    Honey
    Ice Cream
    Icing
    Jam
    Lamb
    Lemon
    Lime
    Lobster
    Lotus Seed
    Macaron
    Mango
    Marshmallow
    Meringue
    Mochi
    Muffin
    Nectarine
    Nutella
    Nuts
    Oat
    Oats
    Onion
    Orange
    Pancake
    Panna Cotta
    Peach
    Peanut Butter
    Pear
    Pecan
    Phyllo
    Pie
    Pistachio
    Plum
    Popsicle
    Pound Cake
    Pumpkin
    Quiche
    Raspberry
    Red Bean
    Rhubarb
    Rice
    Ricotta Cheese
    Rugelach
    Sauce
    Savory
    Scone
    Sesame
    Shortbread
    Soup
    Sponge
    Sponge Cake
    Strawberry
    Streusel
    Tahini
    Tart
    Tofu
    Topping
    Torte
    Vegetable
    Vinaigrette
    Walnut
    Watermelon
    Yogurt
    Zucchini

    Archives

    September 2021
    March 2021
    February 2021
    December 2020
    November 2020
    October 2020
    July 2020
    May 2020
    April 2020
    March 2020
    October 2019
    December 2018
    October 2018
    August 2018
    April 2017
    July 2016
    May 2016
    March 2016
    February 2016
    January 2016
    December 2015
    November 2015
    October 2015
    September 2015
    July 2015
    June 2015
    May 2015
    April 2015
    February 2015
    January 2015
    November 2014

© 2019 Jacqueline Teng | DragonWarden