DragonWarden
  • Adventures
  • The Oven
  • The Un-Tea Party
  • Secret Ingredients
  • About

Chocolate Plum Cake

10/30/2015

0 Comments

 
I've had this recipe, taken from Epicurious, in the back of my mind for literally months. Long enough that I had one batch of plums go bad and then a second batch on the verge of going bad before I finally bit the bullet and carved out some time to try it.

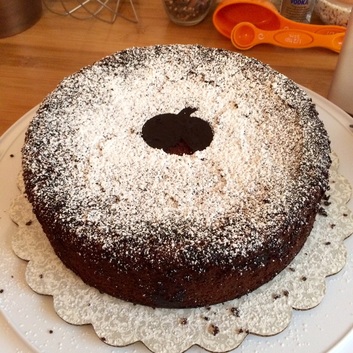
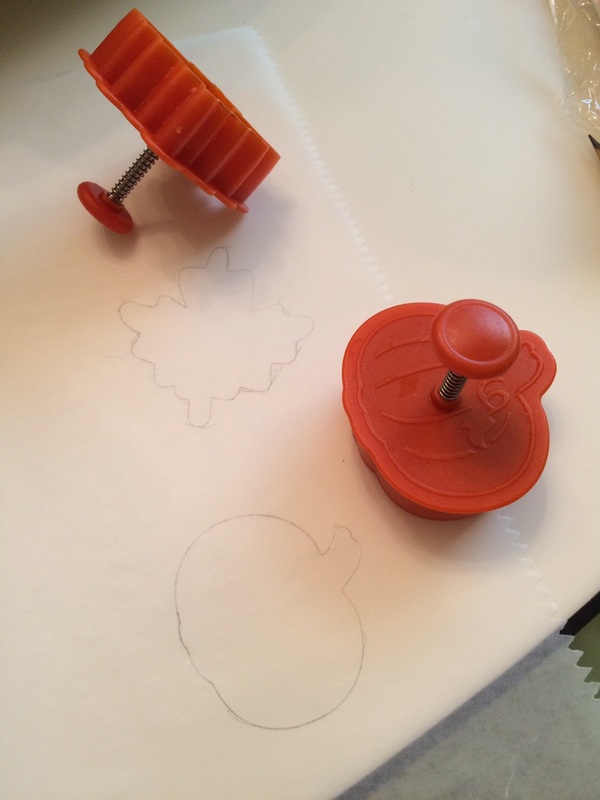
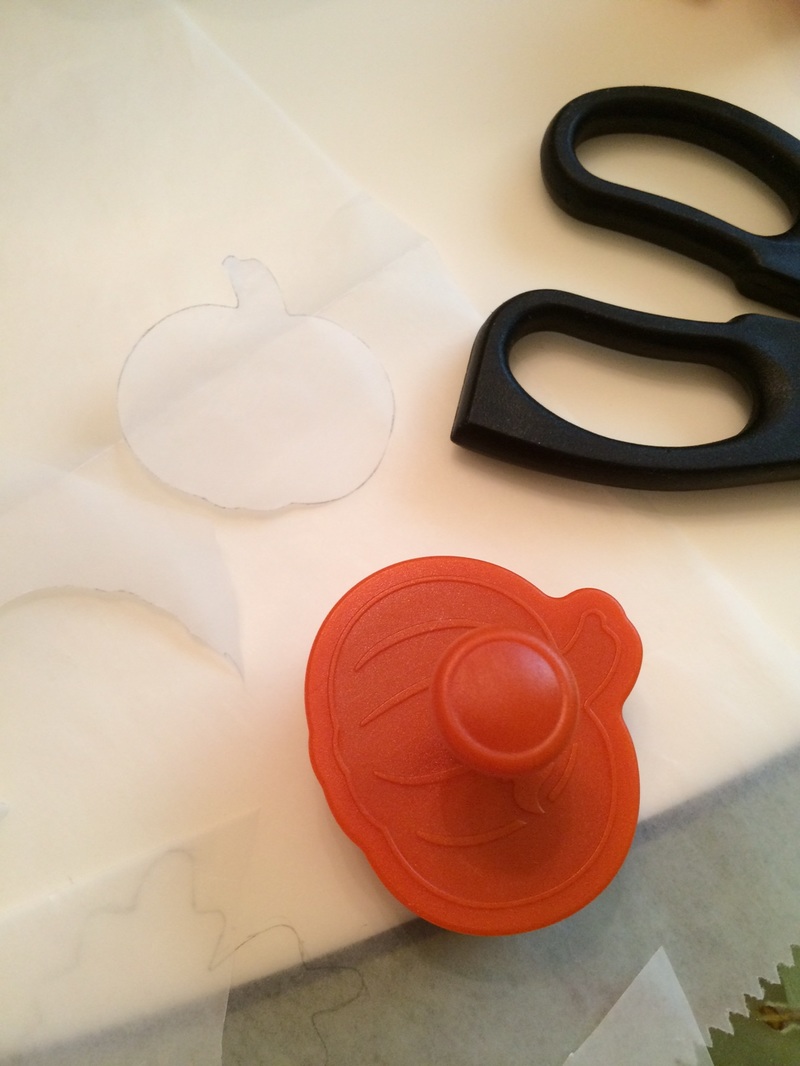
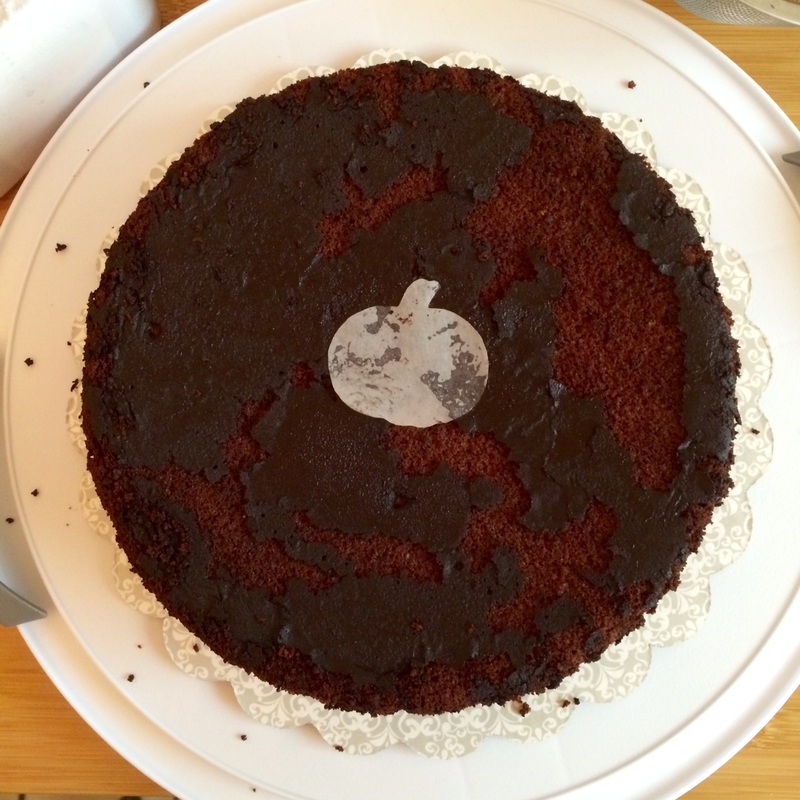
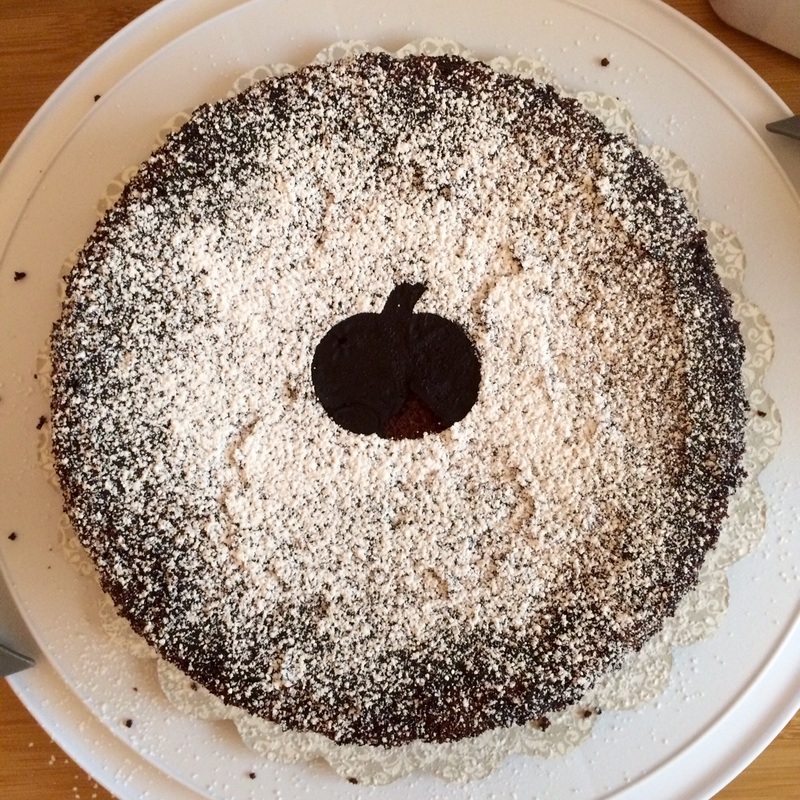
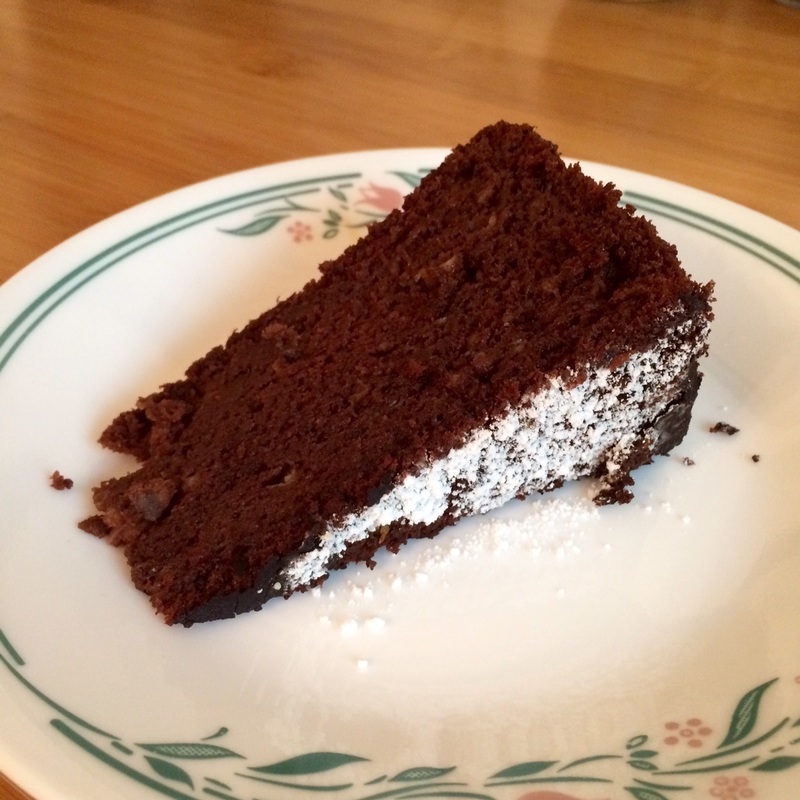
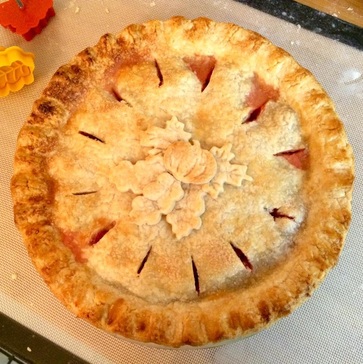
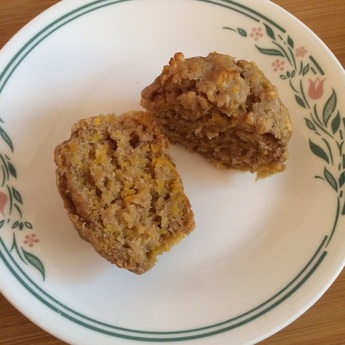
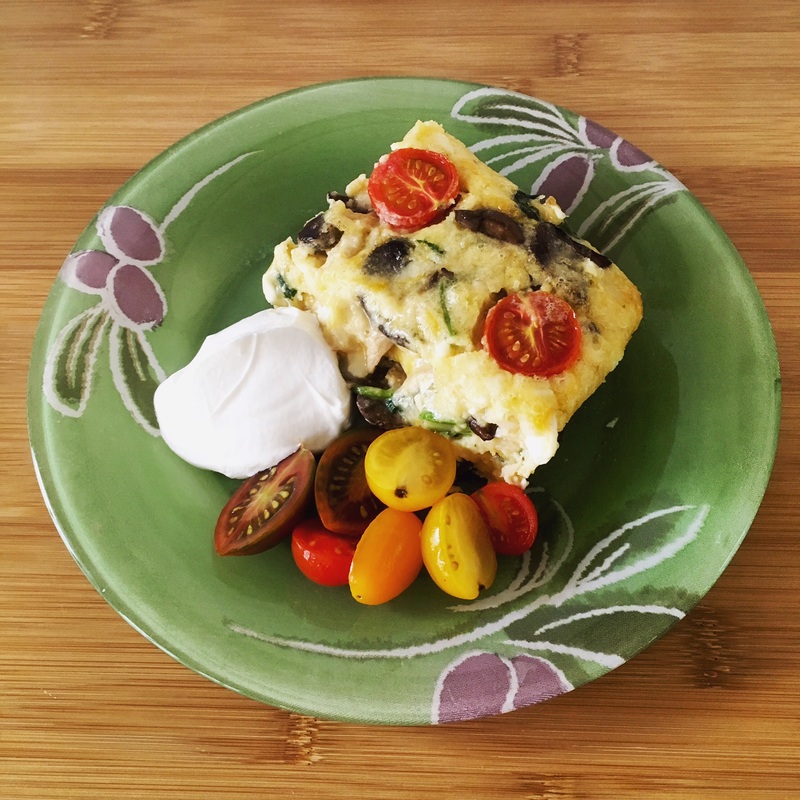
As with most cakes that use fruit purees, this was wonderfully moist. I think most people might also call it "dense", but I've certainly eaten much denser chocolate cakes before. This one felt springy and fluffy, if not exactly light. I decided to be lazy when I made this, and not only just used a regular cake pan rather than a springform (making sure to butter and dust it with cocoa powder VERY thoroughly) but eschewed the whipped top that the original recipe calls for. To be festive, I made a little pumpkin stencil out of parchment paper and sifted the top with powdered sugar.
Picture
  • 9" cake pan
  • Unsweetened cocoa powder (for dusting)
  • 3/4 cup (1 1/2 sticks) unsalted butter, plus more for pan
  • 1 pound ripe or very ripe plums, coarsely chopped (for a total of 1 1/2 cups once pureed)
  • 6 ounces bittersweet chocolate (70–72% cacao), coarsely chopped
  • 5 large eggs, room temperature
  • 1 cup sugar
  • 3/4 cup all-purpose flour
  • 1 tablespoon baking powder
  • 1/4 teaspoon kosher salt
  • 1 1/2 cups cold heavy cream
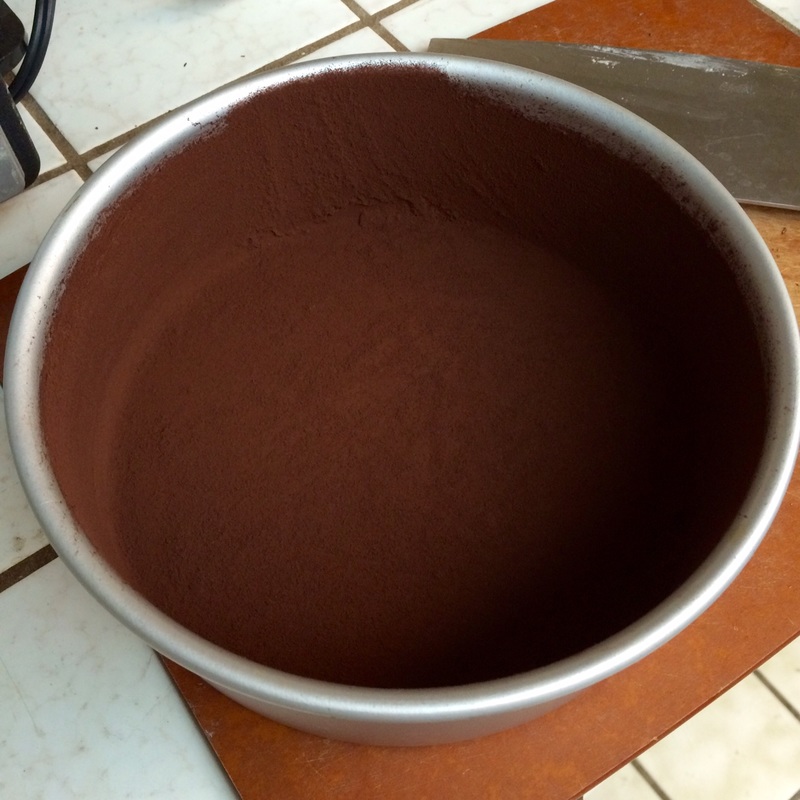
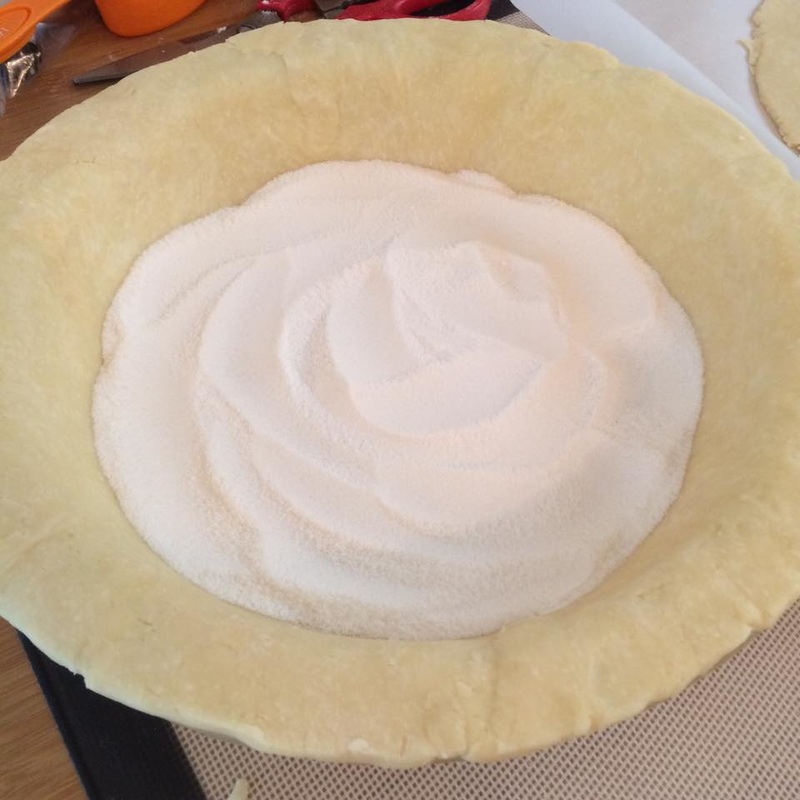
  1. Butter bottom and sides of pan and thoroughly dust with cocoa powder.
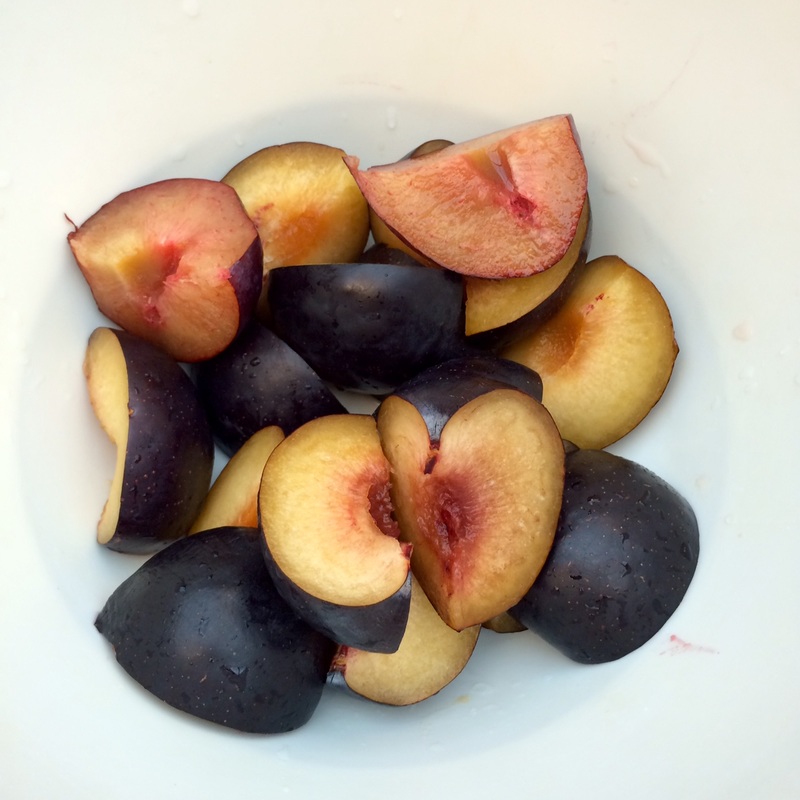
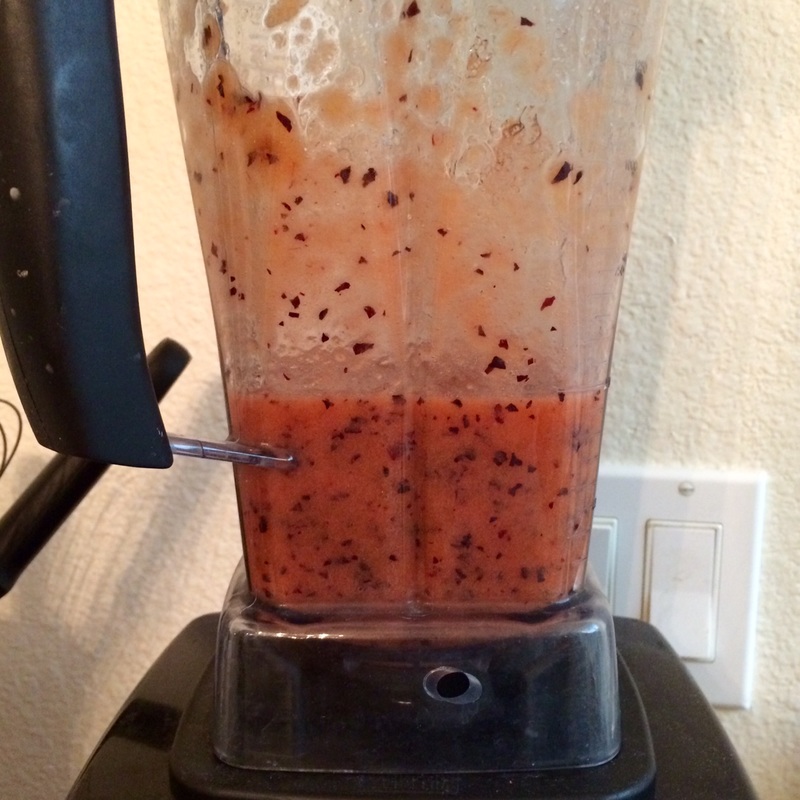
  2. Purée plums in a blender until very smooth (you need 1 1/2 cups; reserve any additional purée for another use). If plums are not ripe enough to form a very smooth purée, strain through a fine-mesh sieve.
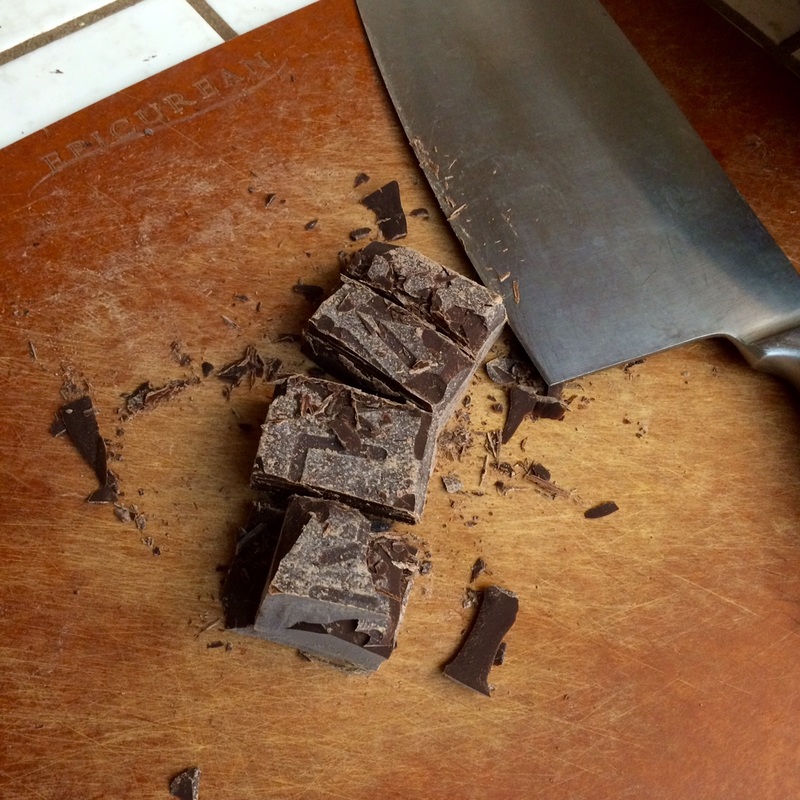
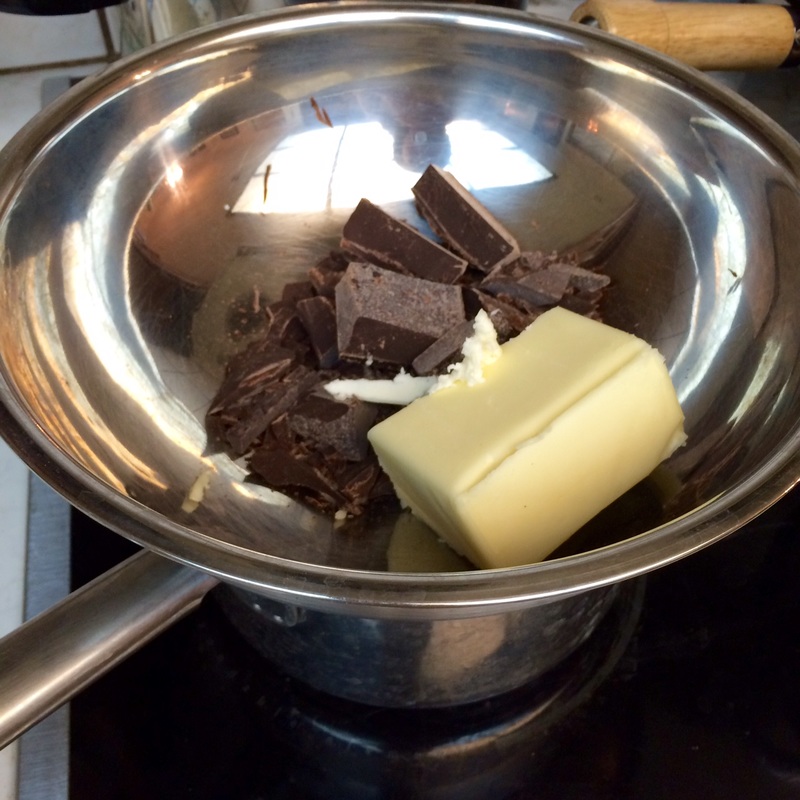
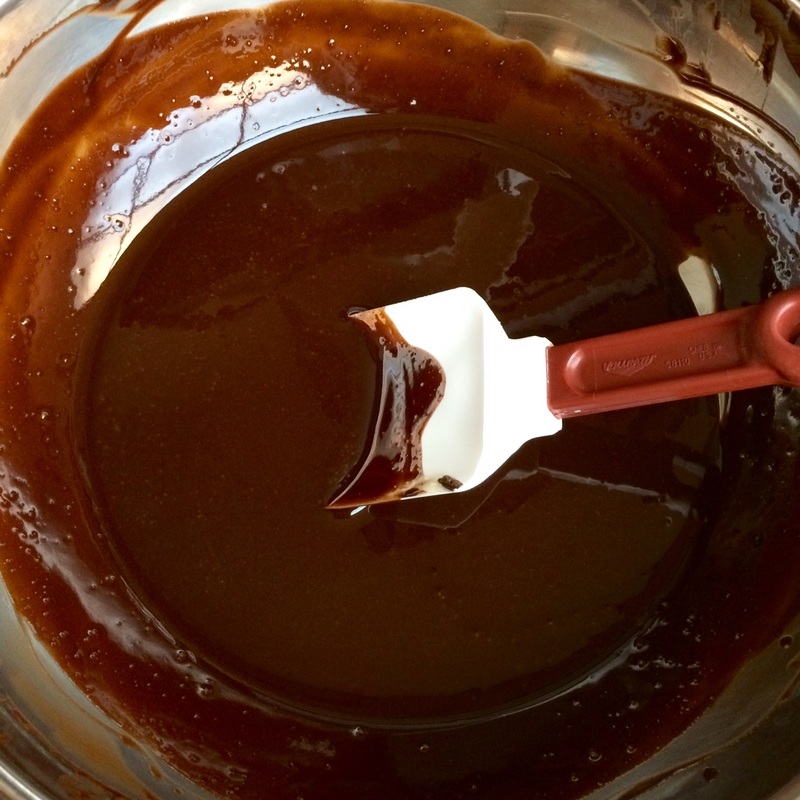
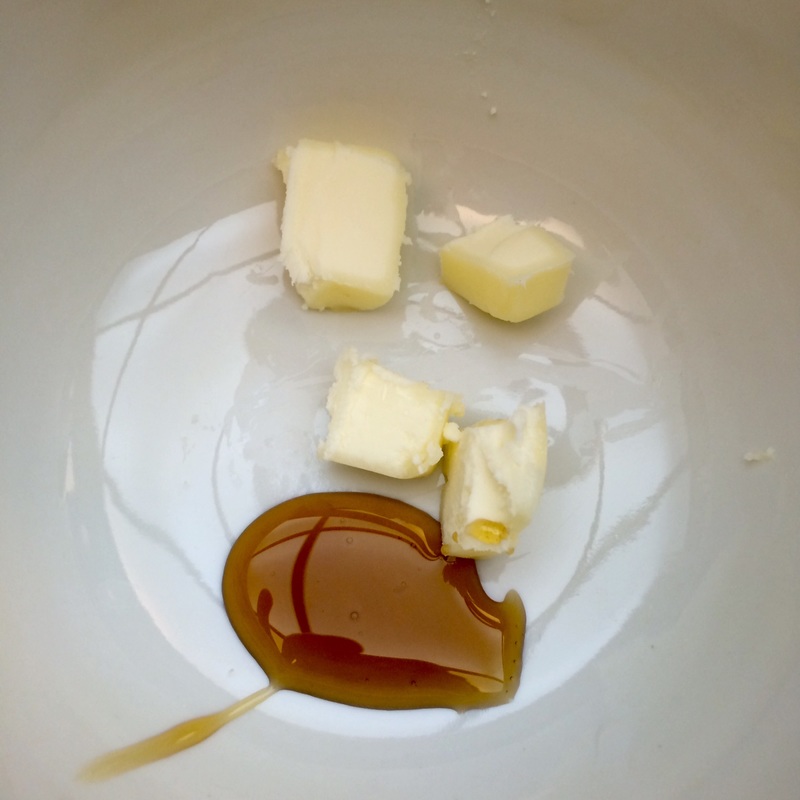
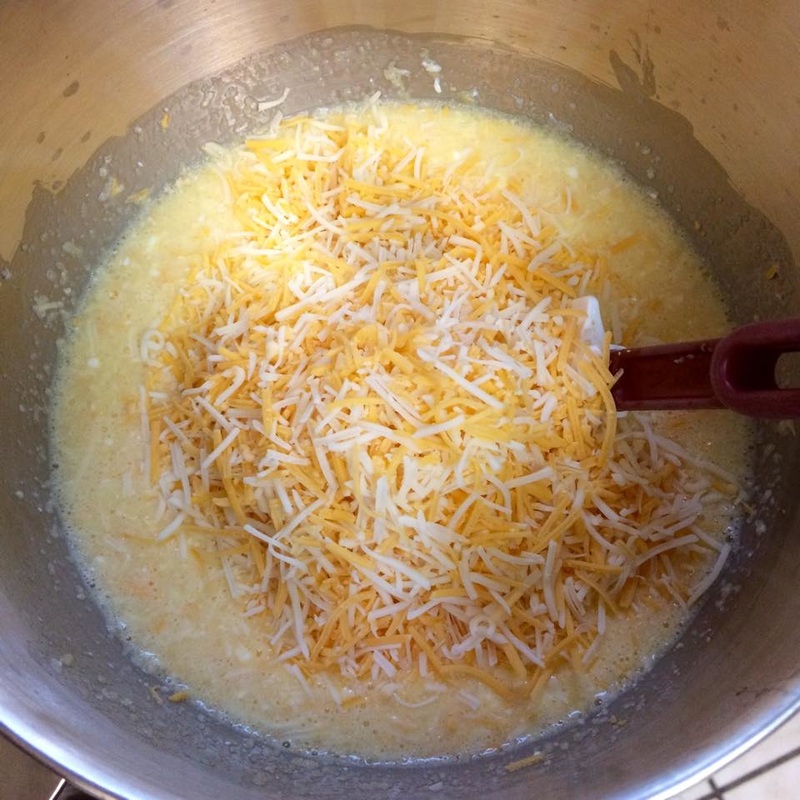
  3. Combine chocolate and 3/4 cup butter in a large heatproof bowl. Set bowl over a medium saucepan of barely simmering water (do not let bowl touch water). Stir until chocolate is melted and smooth. Remove bowl from saucepan. Stir plum purée into chocolate mixture until well combined.
  4. Preheat oven to 350 F.
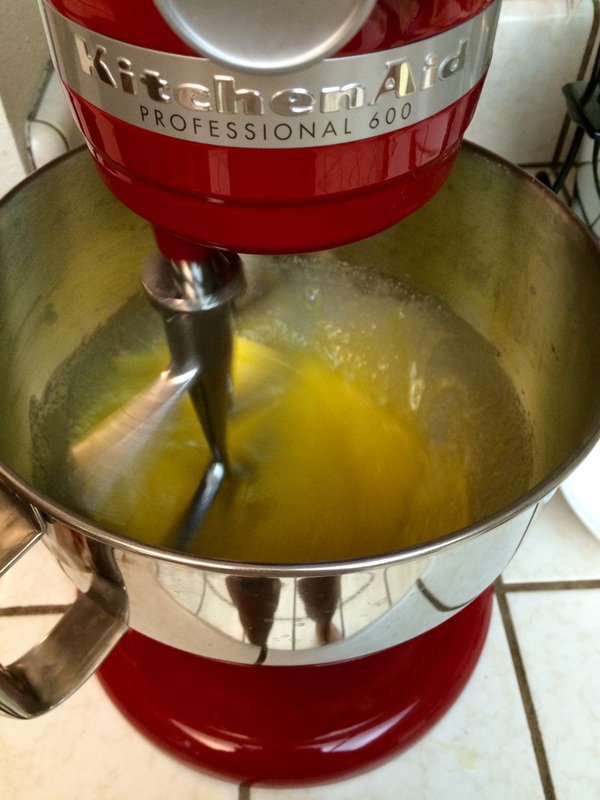
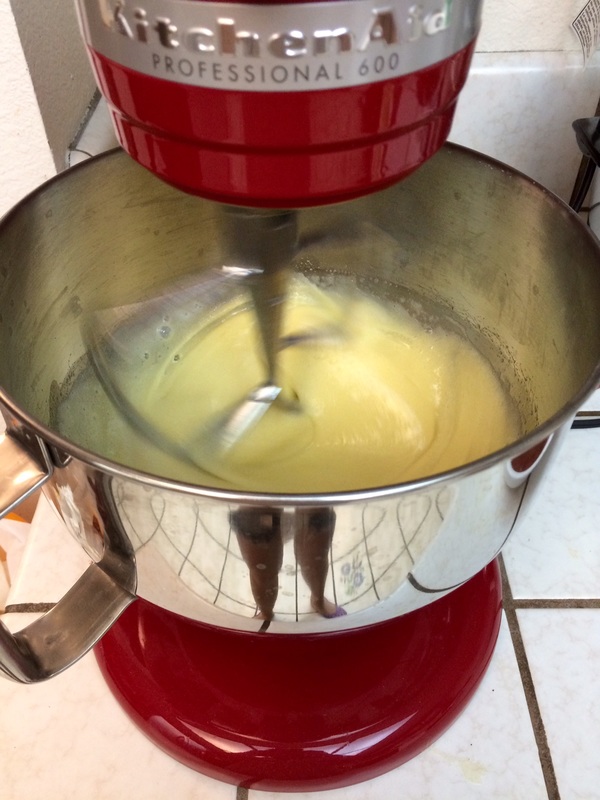
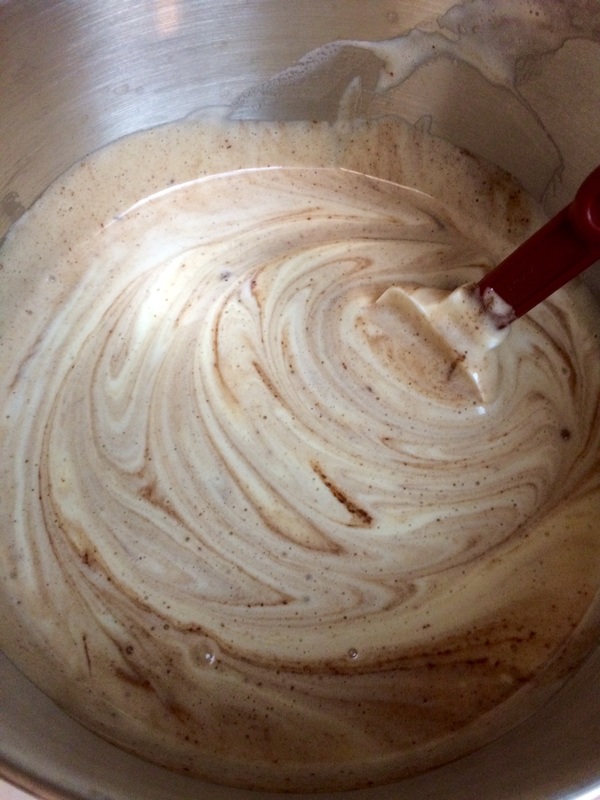
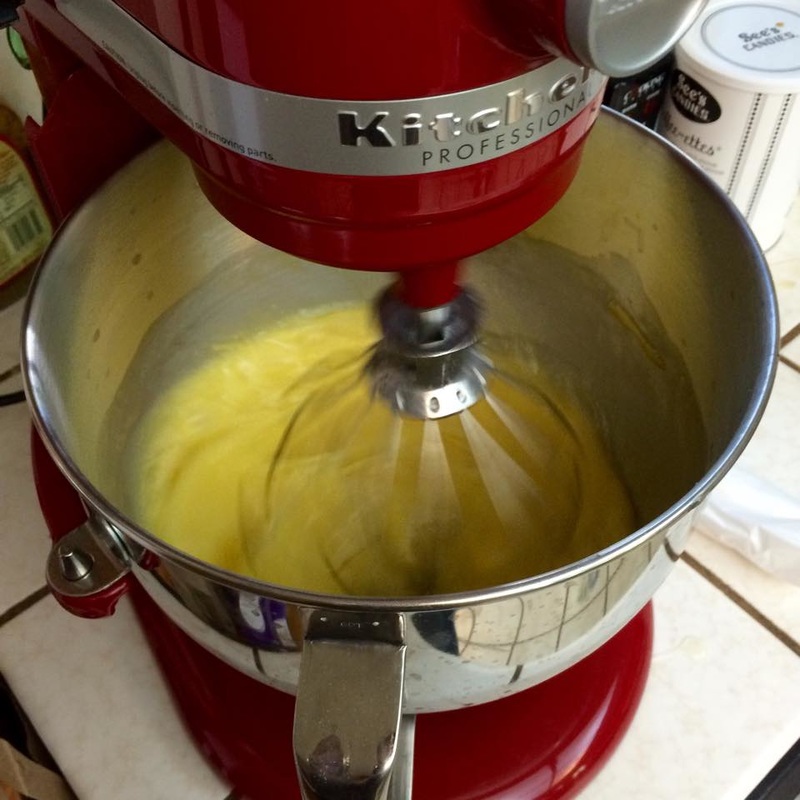
  5. Using an electric mixer on medium speed, beat eggs and sugar in another large bowl until pale and tripled in volume, 10–12 minutes. Using a rubber spatula, fold about 1/3 of the egg mixture into chocolate mixture to lighten, then fold chocolate mixture into remaining egg mixture until combined.
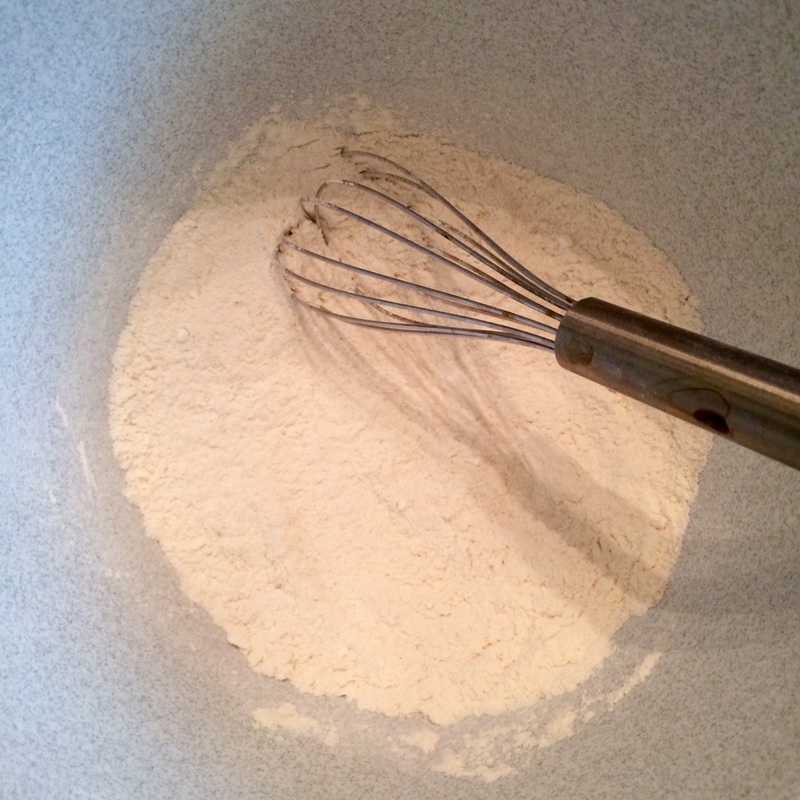
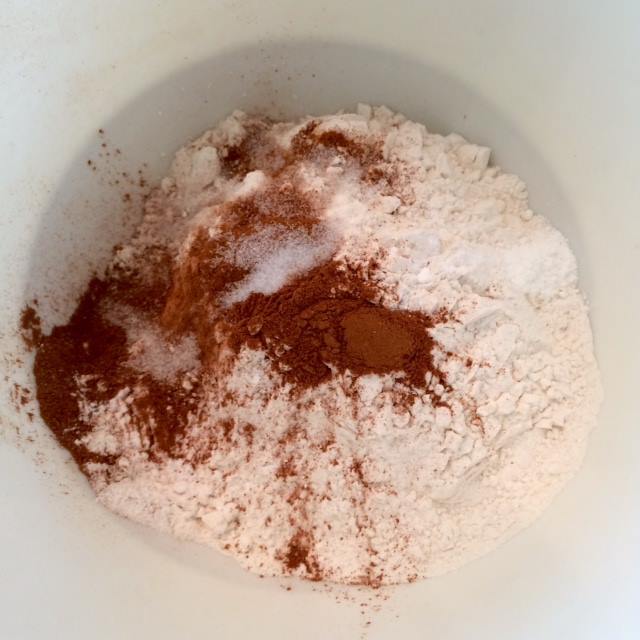
  6. Combine flour, baking powder, and salt in a medium bowl, then fold dry ingredients into chocolate mixture until combined. (You may wish to sift gradually into the mixture while folding thoroughly in between, as the dry ingredients tend to clump especially badly in this type of batter.)
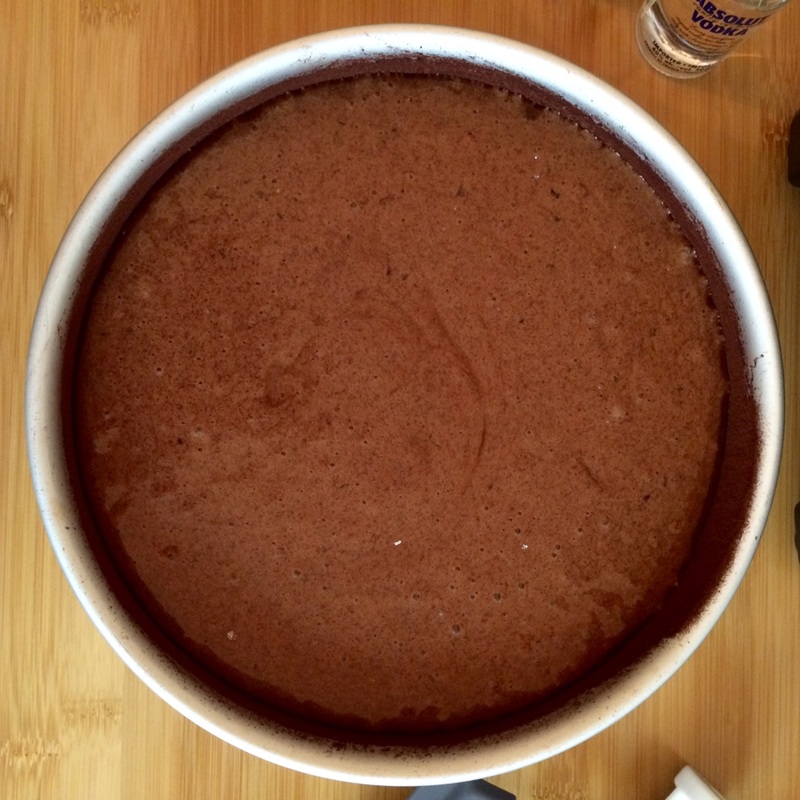
  7. Pour batter into prepared pan and smooth surface. Bake cake until center is set and sides are beginning to brown, about 55 minutes. Transfer to a wire rack and let cake cool completely in pan (cake will sink a little in the center as it cools).
  8. Unmold cake (run a knife around the edge to help release, if needed) and transfer to a platter.
  9. (Optional) For whipped cream top: Using an electric mixer on medium-low speed, beat cream in a large bowl until soft peaks form. Mound whipped cream in center of cake, then dust with cocoa powder.
0 Comments

Toasted Pumpkin Seeds

10/29/2015

0 Comments

 
For all the pumpkin baked goods I make, I've always just tossed the seeds away, mostly because I am a lazy eater and can't stomach the thought of cracking my way through the individual seeds. But my mother was handed a home-grown squash-pumpkin-type thing that she asked me to chop up for her, and I discovered the cutest fattest little seeds in it ever, and decided to give toasted seeds a shot.

I don't know if this particular variety simply toasts differently from the usual run-of-the-mill pumpkin, but around the 20 minute mark, they started exploding like a string of firecrackers. Quite the startling experience. So, you may wish to keep an eye (and nose) on the seeds halfway through - they might be done sooner than you think.

Picture
  • 1 cup of seeds, plus one of the following flavorings:
Earl Grey & Honey Roasted (from Tastebook)
  • 1 tbsp butter, melted
  • 1.5 tbsp honey, melted
  • 1 bag of Earl Grey Tea, removed from bag
  • 1/4 tsp salt
Roasted Curried (from Tastebook)
  • 1 tbsp coconut oil, melted
  • 2 tsp curry powder
  • 1 tsp salt
  • 1/2 tsp cumin
Brown Sugar and Spices
  • 1 tbsp brown sugar
  • 1 tsp cinnamon or pumpkin pie spices
Salted
  • 1 tbsp butter, melted
  • 1/2 tsp salt
  1. Clean the pumpkin seeds by putting them in a colander and running them under water. Spread the seeds on a flat surface and pat dry.
  2. Preheat an oven to 300 F. Line a baking sheet with parchment paper.
  3. Choose one of the flavorings above and mix in a bowl along with the seeds until the seeds are all coated evenly.
  4. Spread the seeds in a single layer on the baking sheet and bake for about 45 minutes or until golden brown. Stir them every 10 minutes or so to prevent burning. (You may not need the entire 45 minutes - check whether you can take them out early starting at about 30 minutes.)
0 Comments

Stuffed Squash Blossoms

10/24/2015

0 Comments

 
I've always loved stuffed squash blossoms - I order them every chance I get, which is usually far and few between - but never seriously considered making them myself until I was wandering through a farmer's market and lo and behold, apparently it is blossom season because every other stand seemed to have bunches of them for sale. With such an opportunity literally at my fingertips, I immediately looked up some baked-versions of the recipe to see if it was something I could do on short notice.

As with most cooking, the filling is really up to a person's taste, and so I threw together a mish-mash of my favorite flavors. It's somewhat of a novelty to be able to taste-test before baking - I kept forgetting that I didn't have to guesstimate what to put in, I could immediately test whether the flavor's just right.
Picture
  • 1 dozen large blossoms or 2 dozen small ones
Filling:
  • 1 cup ricotta cheese
  • 2 large heads of garlic
  • 1 lemon (juice and zest the peel)
  • salt, pepper, and spice to taste (garlic powder, thyme, parsley, etc)
Crust:
  • 2 eggs
  • panko or breadcrumbs
Dip (optional):
  • pesto
  • vinegar glaze

  1. Roast the garlic: If you're not using pre-roasted garlic, set an oven or toaster to 400 F. Peel off all the papery outer layers of the garlic head. Cut off the tops of the individual cloves, leaving them exposed. Set them on a sheet of aluminum foil, then drizzle olive oil over them, making sure that all the exposed areas of the cloves have been covered. Fold the foil over the garlic heads, then set them in the toaster for 40-50 minutes, until the cloves are very soft and easily mashable.
  2. While the garlic is toasting, prepare the blossoms. Use a knife to make a slit down one side of each blossom to the base. Reach inside and pinch off and discard the anther. Rinse the blossoms and lay on a paper towel to dry.
  3. Once the garlic is done, pinch out each clove, roughly mash, and mix with the ricotta. If you really like to emphasize the garlic flavor, add a dash of garlic powder. Zest the lemon and mix both the zest and the lemon's juice into the ricotta. Salt, pepper, and spice to taste.
  4. Cover a baking sheet with parchment paper. Set the oven to 400 F.
  5. Lightly beat the eggs in one dish, and pour the panko or breadcrumbs in another dish for dipping. Stuff each blossom with a portion of the filling, carefully close the blossom and twist the petal ends together, then roll it into the egg, then the crumbs to coat. Spread the finished stuffed blossoms out on the baking sheet.
  6. Bake for about 10 minutes, until the crumbs are golden brown. Keep an eye on them - do not let them burn.
  7. I like to serve these with some pesto and a few drops of vinegar glaze.
Note: The lemon juice really helped to brighten up the taste of the garlic and ricotta. I was surprised by the difference - I would definitely add a lemon to every filling variation of this I make.
0 Comments

Rhubarb Pie

10/18/2015

 
Other than a reference to a character named "Rhubarb" in Strawberry Shortcake, I had never encountered the vegetable in either print or person until I was nearly 30. But it was pretty much love at first taste, and since then, whenever winter rolls around I keep an eye on the store shelves for the elusive (in Southern California climes, that is) veggie.

I play around with this recipe a lot, sometimes throwing in strawberries (as seen in the photos) or adjusting the amounts of sugar and flour depending on what I'm using. It's become a nice, very simple general recipe for these soft-cooking "sour" fruits that nevertheless still gets multiple requests from friends and family through the year.

Picture
  • 1 double deep dish pie crust
  • 4 heaping cups of chopped fresh rhubarb (see notes at bottom if using frozen rhubarb)
  • 1 cup white sugar
  • 6 tablespoons all-purpose flour
  • (optional) 1 egg + 1 tsp water
  • (optional) sugar

  1. Preheat oven to 450 degrees F (230 degrees C). Roll out the bottom pie crust and lay in the deep dish pie pan. Trim the edges.
  2. Combine sugar and flour. Sprinkle 1/3 of it over pastry in pie plate (this will help the juices from soaking the bottom crust into soup). Heap rhubarb over this mixture. Sprinkle the remaining sugar and flour over the rhubarb. Cover with top crust and crimp the edges. (Optional: brush an egg wash of one whole egg and one teaspoon of water over the crust, and sprinkle with sugar.)
  3. Place pie on lowest rack in oven. Bake for 15 minutes. Cover the edges of the crust with a heat shield and reduce oven temperature to 350 F, and continue baking for 40 to 45 minutes. Let it cool and set. (The center will be very soupy when hot, but as it cools, the flour will help it congeal. This pie may be served hot if you simply can't wait - which my family has done many times - but it's probably best when it's warm or just slightly above room temperature.)
Notes: The sugar level has been adjusted for a less-sweet pie. The original recipe called for 1_1/3 cups of sugar and exactly 4 cups of rhubarb. If you're using frozen rhubarb, try to defrost it first and then squeeze the extra water out of it, then add an extra tablespoon of flour to help thicken the sauce.

Pumpkin Bread / Cupcakes

10/4/2015

 
This recipe came from a good friend of mine, and even when accidentally over-baked, it still turned out more than edible, so it's quite robust! The original recipe called for 1.5 cups of sugar, but as I'm notoriously sugar-shy, I dropped it down to 1 cup and folks are still loving it. I think one can also experiment with some brown sugar substitution instead, to give it that extra holiday-taste and help keep even more moisture in. The original recipe also called for only 3 cups of pumpkin, but since my family loves the pumpkin taste, I bumped that up to 4.
Picture
  • 2 cups all-purpose flour
  • 2 teaspoons cinnamon
  • 1 teaspoon baking soda
  • 1/4 teaspoon baking powder
  • 1/2 teaspoon salt
  • 3 large eggs
  • 1 teaspoon vanilla extract
  • 1 cup sugar
  • 3/4 cup vegetable oil
  • 4 cups shredded fresh pumpkin
  • (optional) chopped walnuts
Servings: 1 loaf or 1.5 dozen small cupcakes
  1. Preheat the oven to 325 degrees F.
  2. Sift the flour, cinnamon, baking soda, baking powder, and salt together.
  3. In a separate bowl, beat the eggs, then mix in the vanilla, sugar, and vegetable oil. (If the oil remains separate, use a hand whisk and beat until everything looks reasonably combined.) Combine with the dry ingredients and then fold in the shredded pumpkin (and walnuts if you're adding them). Once the ingredients are all incorporated pour into a non- stick 9" x 5" loaf pan (if your pan is not non- stick, coat it with butter and flour) or spoon into 18 cupcake molds.
  4. For loaves, bake for 1 hour and 15 minutes. For cupcakes, bake for 35-40 minutes. Remove to cool for 5-10 minutes, then move either the loaf or the cupcakes to a wire rack to cool completely so that steam trapped between the pan and the bread doesn't make it soggy.
Note: A sour cream cheese frosting goes GREAT with this!

The Puff (Quiche - from The Cypress B&B)

10/3/2015

0 Comments

 
This recipe is from the now-sadly closed Cypress B&B in Florida. A beautiful little cottage in a beautiful area, the hosts were gracious enough to give me their recipes for some of their most popular breakfast items, including the delicious glazed mango pecan muffins.

While this is called "The Puff", I liken it most to a crust-less quiche, and due to all the varieties of cheeses, stays fabulously moist in the center instead of becoming all baked-out egg. And due to the large quantity, is a great way to just get a bunch of breakfasts out of the way if you're looking forward to a busy week!
Picture
  • 12 eggs
  • 1 tsp baking powder
  • 1/2 cup flour
  • 1/2 cup melted butter
  • 1/2 tsp salt (optional)
  • 1/2 lb shredded cheddar cheese
  • 1/2 lb shredded monterey jack cheese
  • 1 pint cottage cheese
  • 2 cups of your favorite fillings (breakfast meats, rotisserie chicken, broccoli, asparagus, cauliflower, sauteed onions, etc.)

Servings: 12
  1. If you need to pre-cook any vegetables or meats, do so now and then set aside. (See note below.)
  2. Preheat oven to 350 degrees.
  3. Beat eggs until they are light and fluffy.
  4. Sift flour, salt, and baking powder together. Gently mix this and butter into eggs.
  5. Add remaining ingredients and stir gently until well blended.
  6. Pour into a 9"x13" baking dish.
  7. Bake for 35 minutes.
Note: This earns the easy-peasy rating if you go with some pre-cubed or cut up sandwich meats and throw in a bag of frozen veggies.

Also, I really, really hate soggy over-cooked veggies in my quiches. I've discovered that for certain veggies such as asparagus and cauliflower, what works great is the ice-bath after a blanching, which stops the cooking process in its tracks. I try to boil them to JUST the point before they're just-right, and then when they're in the oven, they take that last step so that there's still a little crunch left to the asparagus and the cauliflower isn't just mush when the quiche is done. Mushrooms I sometimes don't bother cooking at all - the oven takes care of them well enough.
0 Comments
    Picture

    Sweet Enough

    Part of the reason I started baking was because I like my goodies to be less obviously sweet - I want to taste the flavor, not just the sugar. So most of these recipes will have the sugar dialed down.

    This site also acts as my mobile recipe box, so instructions are often pared down to a minimum - very few frills but for some hints and suggestions!

    RSS Feed

    Categories

    All
    Alcohol
    Almond
    Apple
    Avocado
    Baklava
    Banana
    Bars
    Biscotti
    Blackberry
    Blueberry
    Bread
    Buttercream
    Cake
    Candy
    Carrot
    Cheese
    Cherry
    Chickpea
    Chinese
    Chocolate
    Cider
    Cobbler
    Coconut
    Coconut Milk
    Cookie
    Corn
    Cranberry
    Cream
    Cream Cheese
    Creme Brulee
    Crumb
    Crust
    Cupcake
    Custard
    Dates
    Decoration
    Dip
    Dough
    Doughnut
    Dumpling
    Easy Peasy
    Egg
    Filling
    Flowers
    Frosting
    Fruit
    Garnish
    Gelee
    Granola
    Green Tea
    Honey
    Ice Cream
    Icing
    Jam
    Lamb
    Lemon
    Lime
    Lobster
    Lotus Seed
    Macaron
    Mango
    Marshmallow
    Meringue
    Mochi
    Muffin
    Nectarine
    Nutella
    Nuts
    Oat
    Oats
    Onion
    Orange
    Pancake
    Panna Cotta
    Peach
    Peanut Butter
    Pear
    Pecan
    Phyllo
    Pie
    Pistachio
    Plum
    Popsicle
    Pound Cake
    Pumpkin
    Quiche
    Raspberry
    Red Bean
    Rhubarb
    Rice
    Ricotta Cheese
    Rugelach
    Sauce
    Savory
    Scone
    Sesame
    Shortbread
    Soup
    Sponge
    Sponge Cake
    Strawberry
    Streusel
    Tart
    Tofu
    Topping
    Torte
    Vegetable
    Vinaigrette
    Walnut
    Watermelon
    Yogurt
    Zucchini

    Archives

    November 2020
    October 2020
    July 2020
    May 2020
    April 2020
    March 2020
    October 2019
    December 2018
    October 2018
    August 2018
    April 2017
    July 2016
    May 2016
    March 2016
    February 2016
    January 2016
    December 2015
    November 2015
    October 2015
    September 2015
    July 2015
    June 2015
    May 2015
    April 2015
    February 2015
    January 2015
    November 2014

© 2019 Jacqueline Teng | DragonWarden