DragonWarden
  • Adventures
  • The Oven
  • The Un-Tea Party
  • Secret Ingredients
  • About

Marshmallow

12/23/2020

0 Comments

 
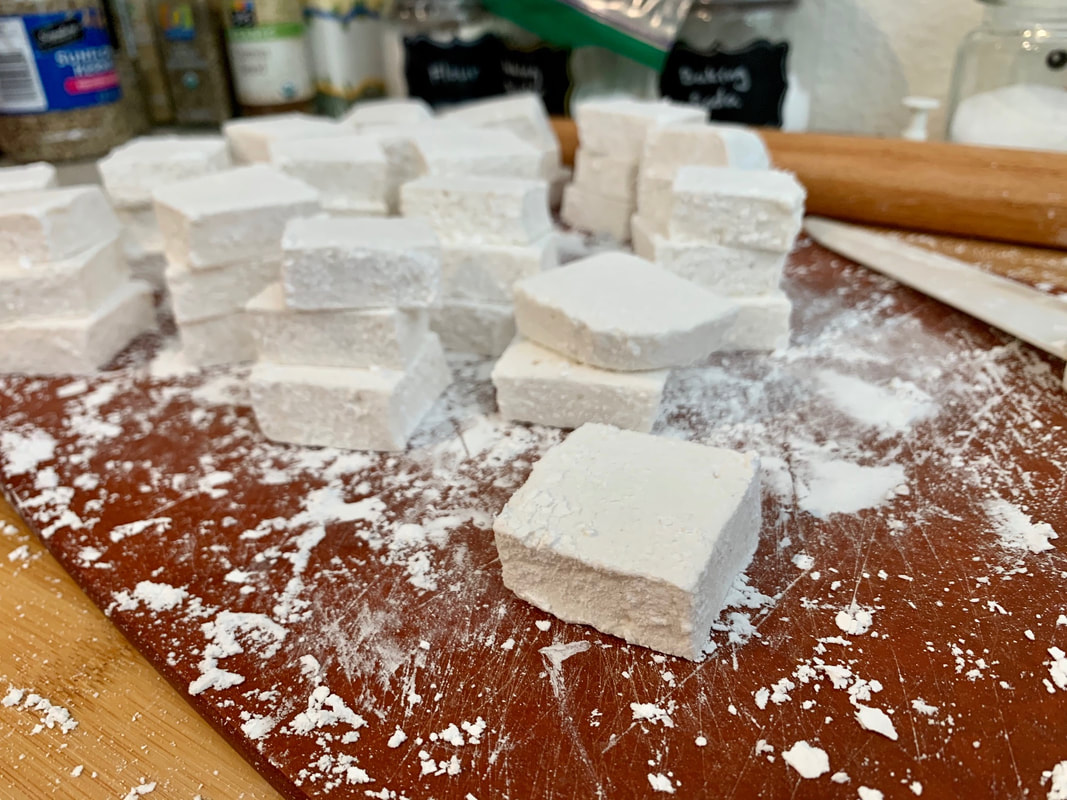
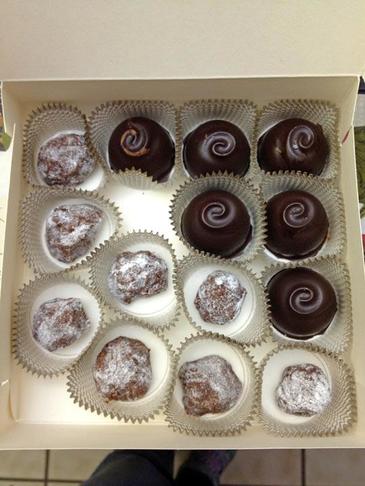
Homemade marshmallows! What more needs to be said?! Except that they seem to keep VERY well - longer than the recipe's recommended time. They are beautifully silky and soft and toast up fabulously.
Picture
  • 1/4 cup (30 g) cornstarch
  • 1/4 cup (40 g) confectioners' sugar
  • 3 packets (7_1/2 tsp) unflavored powdered gelatin
  • 1 cup (237 ml) cold water, divided
  • 1_1/2 cups (340 g) granulated sugar
  • 1 cup (237 ml) light corn syrup
  • 1/4 tsp fine salt
  • 2 tsp vanilla extract
  1. Whisk together cornstarch and confectioners' sugar.
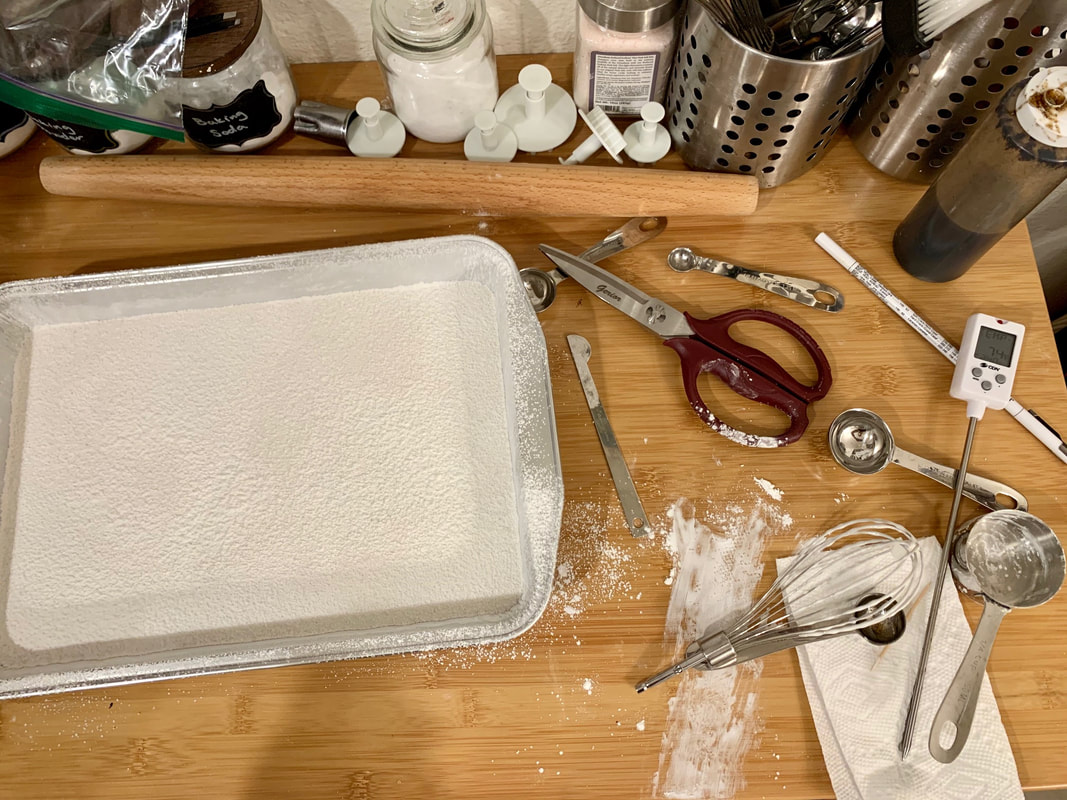
  2. Lightly oil a 13"x9"x2" pan and dust with some of the cornstarch mixture, reserving the remainder.
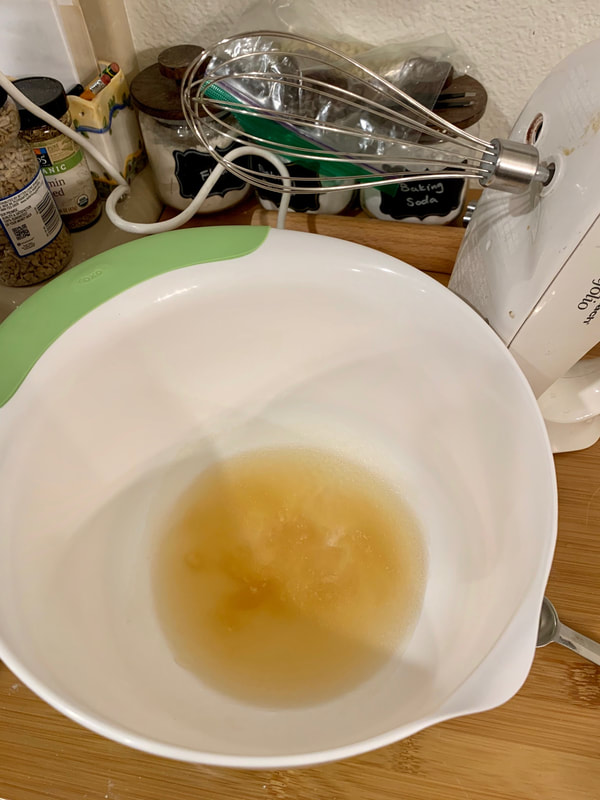
  3. In the bowl of a stand mixer, sprinkle gelatin over 1/2 cup cold water and leave it to soften while you make the syrup.
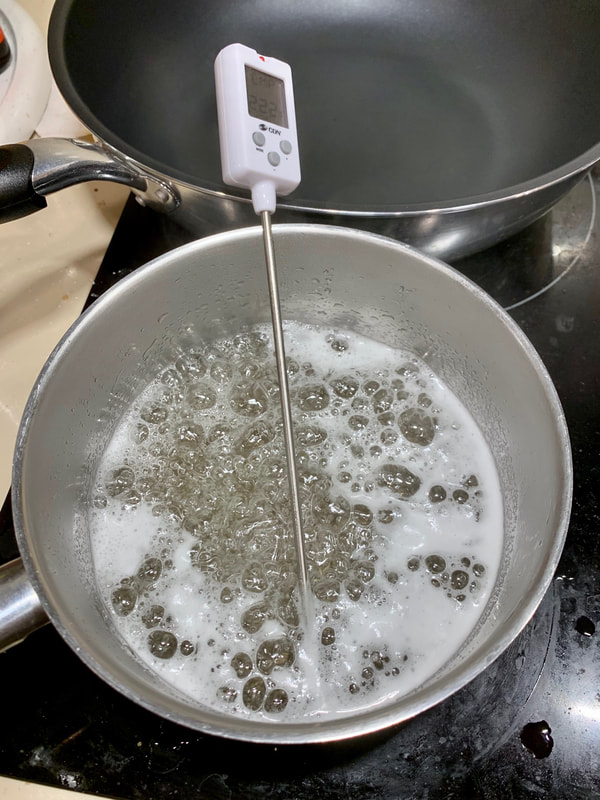
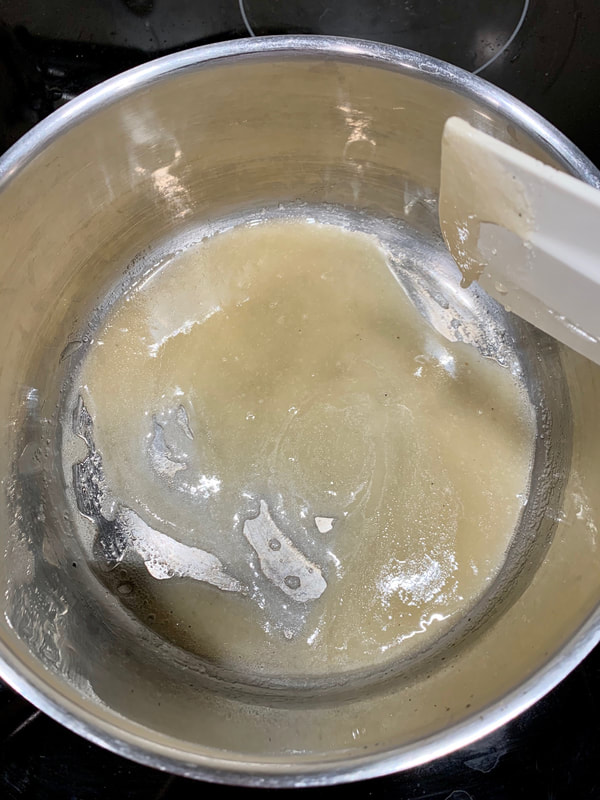
  4. In a medium saucepan, whisk together remaining 1/2 cup of cold water, sugar, and corn syrup. Bring to a boil over medium-high heat without stirring and continue cooking undisturbed until syrup registers 240F (115C) on a candy thermometer, about 7-10 minutes.
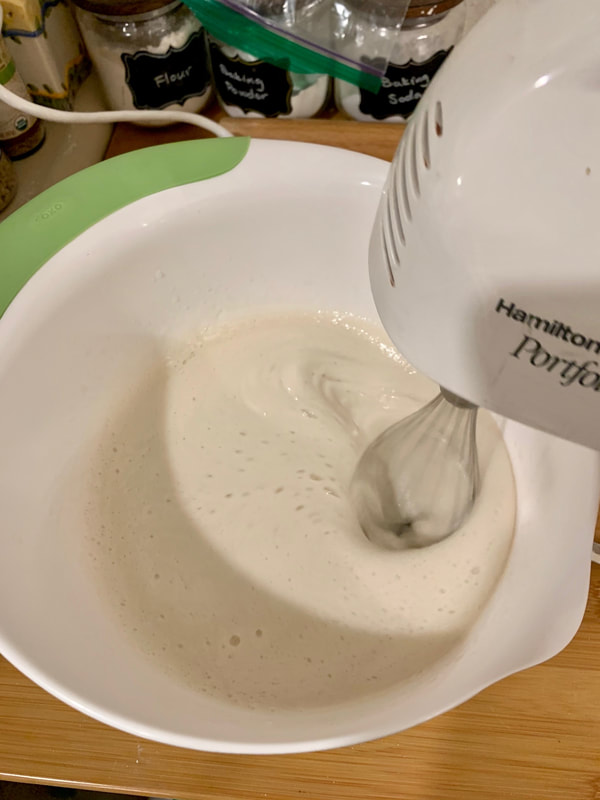
  5. Fit stand mixer with whisk attachment and turn the machine on to low speed. Slowly add hot syrup to the gelatin mixture, pouring syrup in a thin stream. Beat mixture on medium-high until it is marshmallowy and cool to the touch and has nearly tripled in volume. Add the salt and vanilla, mixing on low speed until fully incorporated.
  6. Use a rubber spatula lightly coated with vegetabl oil or cooking spray to spread the marshmallow evenly in the prepared pan. Dust the top with cornstarch mixture and make sure it's completely coated and doesn't have any sticky spots. (Reserve remaining cornstarch mixture.) Let the marshmallow set overnight before cutting.
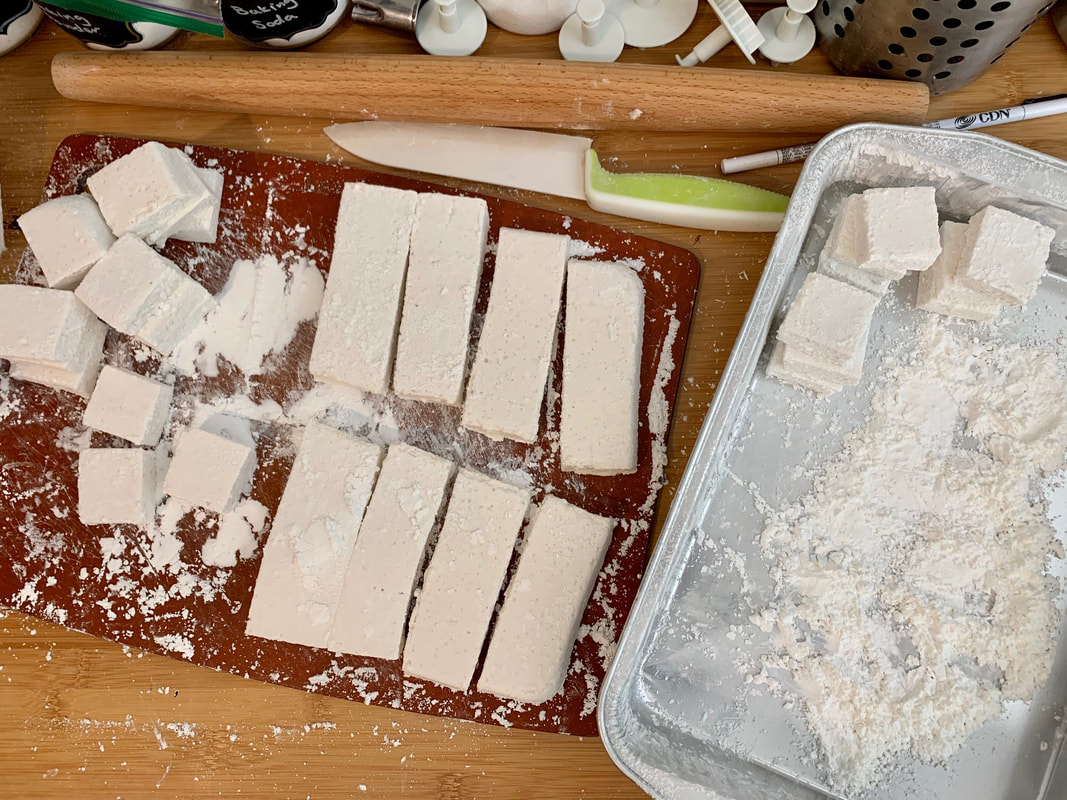
  7. Invert pan onto large cutting board. Lift up one corner of the inverted pan and use fingers to ease marshmallow out of pan onto cutting board. Use a large knife to trim marshmallow edges straight and cut into roughly 1" cubes. (An oiled pizza cutter can work too.)
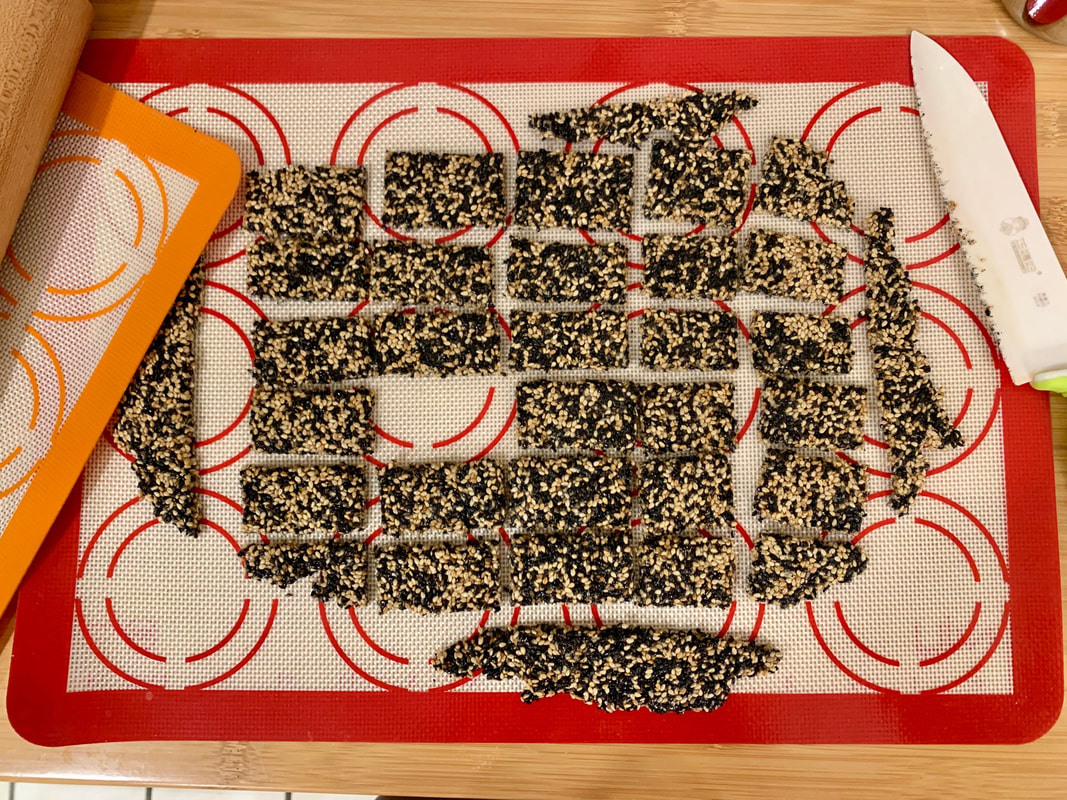
  8. Sift remaining cornstarch mixture into now-empty baking pan and roll marshmallows through it, coating all sides and shaking off excess. Transfer to airtight container and keep at room temperature up to 1 week or freeze for 1 month.
0 Comments

Chinese Sesame Candy

7/17/2020

0 Comments

 
While all my memories of this candy are very fond - drawn as they are from a childhood of mahjong parties, when the adults would lay out trays of snacks and candies for easy munching while they played and the kids would gleefully filch more from the stashes than the adults did - I hadn't thought of them in literally decades. But a couple weeks ago while I was escorting my mother at 99 Ranch Market, I happened to glimpse some very pretty packaging for black sesame candy and had a sudden craving for them. Except, of course, why not make my own?

I tried this recipe and it was not only an amazingly fast and easy assembly, earning the easy-peasy rating, but the candy was honestly more delicious than any store-bought one from my memories and each batch disappeared literally within an hour or two of making. I ended up making double-batches three times in one week!

Bonus points - my boyfriend had a truly inspired suggestion and the crumbled bits of semi-smoky slightly-sweet sesame seed turned out to be an amazing topping for vanilla bean ice cream. ^_^ Yum!
Picture
  • 1/2 cup black sesame seeds
  • 1/2 cup sesame seeds
  • 1 1/2 teaspoons canola or vegetable oil
  • 2 tablespoons honey *
  • 1/3 cup sugar
Additional equipment:
  • 2 silicone mats
  • rolling pin
  1. Lay a silicone mat on your work surface. You will use this for rolling out the sesame candy.
  2. Pour the black sesame seeds into a large pan and toast them on medium-high heat for about 3 to 4 minutes, stirring frequently. Because of their black color, it may be difficult to tell when the sesame seeds are done toasting. The sesame seeds usually release a faint aroma when they are ready. You can also see wisps of smoke coming from the sides of the pan. Turn off the heat and transfer the sesame seeds to a bowl.
  3. Next, toast the plain sesame seeds for 3 to 4 minutes, stirring occasionally. Transfer the toasted seeds to the bowl with the black sesame seeds. Mix the two types of seeds together.
  4. In a large stainless steel pan, add the oil, honey, and sugar over medium-high heat. Stir everything together and wait for the sugar to dissolve completely and the resulting syrup takes on a golden color and is runny. Make sure to stir frequently to keep the sugar from burning.
  5. Once the sugar dissolves, turn off the heat. Add the sesame seeds and stir to coat the seeds with the syrup.
  6. Working quickly, pour the sesame seeds onto the silicone mat. Try to pile all the seeds into one mass. Lay the other silicone mat over the seeds and press down gently. Use a rolling pin to roll out the sesame candy. You want to make sure to be quick here so that you can roll out the candy into a thin layer.
  7. Take off the top silicone mat and lay a chopping board over the candy. Carefully flip the candy onto the chopping board. Remove the second silicone mat.
  8. Use a sharp knife to trim the sides of the sheet of sesame candy so that you get straight edges. Cut the candy sheet into 1-inch strips of candy. Cut each strip into candies about 1 1/2 to 2 inches long. Don’t worry if your candy isn’t uniform in size. Mine are never perfect.
  9. You can enjoy the candy immediately. The candy will continue to harden as it cools to room temperature. Once cooled, store the candy in an airtight container for several weeks. (A ziploc baggie is sufficient - if it is not stored in a container, the candy will soften into a crumbly mess.)
* Note: The honey helps to keep the candy soft enough to roll as it cools, and also provides some chewiness after it has cooled completely. Depending on your preferences, you can reduce the honey by as much as a half if you'd like the final candy to be crisper.
0 Comments

Peppermint Bark

12/12/2015

0 Comments

 
I'm actually not a fan of mint myself (not because of the taste, but because they can give me headaches), so I've never taste-tested these myself. But I had some friends request some over the holidays, and all reports I received from them were that it was AMAZING, so this recipe appears to be a raging success!
Picture
  • 8 ounces high-quality semisweet chocolate, broken into pieces
  • 1/2 teaspoon peppermint extract, divided
  • 8 ounces high-quality white chocolate, broken into pieces
  • 25 peppermint candies, crushed (or if you buy the candies already crushed, just scatter as much as you'd like throughout)

  1. Line a 9" x 9" inch pan with foil or parchment paper, smoothing out wrinkles; set aside.
  2. Place the semisweet chocolate in the top of a double boiler over just barely simmering water, stirring frequently and scraping down the sides with a rubber spatula to avoid scorching. When the chocolate is melted, stir in 1/4 teaspoon of the peppermint extract. Pour the melted chocolate into the prepared pan, and spread evenly over the bottom of the pan. Sprinkle half of the crushed peppermints over the chocolate layer. Put in the refrigerator while you make the second layer. (Note: Leaving it a little tacky instead of chilled rock-hard will allow the two layers to bond more completely, so that they don't separate when you break up the bark.)
  3. Place the white chocolate in the top of a double boiler over just barely simmering water, stirring frequently and scraping down the sides with a rubber spatula to avoid scorching. When the chocolate is melted, stir in the remaining 1/4 teaspoon peppermint extract. Pour the white chocolate directly over the semisweet chocolate layer; spread evenly. Sprinkle the remaining crushed candy over the top and gently press in. Refrigerate until completely hardened. 
  4. Remove from pan and peel off the paper or foil; break into small pieces to serve.
Notes: Do not let any water - even the steam from the bottom of the double boiler - get into the chocolate, as this may cause the chocolate to seize. White chocolate has a lower melting point than regular chocolate; I recently had a batch become thick and lumpy when I tried to put it over the same heat settings as I had melted the dark chocolate, and it would never become liquid. You can try and "save" it by adding some fat to re-emulsify it - I happened to have some cocao butter on hand from some other projects, and this seemed to do the trick. Otherwise, you can try regular butter or some vegetable oil. It may be a ratio of as much as a tablespoon for every 6 oz of white chocolate, but add a little at a time first and see how it goes.
0 Comments

Ganache Filling for Chocolate Truffles

4/8/2015

0 Comments

 
Picture
  • 8 oz chocolate, chopped
  • 1/2 cup heavy cream
  • 1-2 tbsp extracts (optional)
Servinges: 60 candies or so

  1. Scald cream and pour over chopped chocolate.
  2. Let sit and then stir until smooth. Mixture will thicken as it cools.
  3. Use extracts to flavor.
0 Comments

Tempering Chocolate

4/8/2015

0 Comments

 
Chocolate candies are a messy, messy business. Remember when it comes time to clean up, that it will never come off with cold water - best to run the faucet warm or hot.
Picture
  • 1 lb chocolate (dark, milk, or white)
Servings: enough to coat about 60 candies

  1. Melt the chocolate: Heat in a bain marie until 115-120 degrees.
  2. Cool the chocolate: Leave at room temperature, stirring occasionally, until it reaches low 80's (or is neutral to the touch).
  3. Reheat the chocolate: Raise the temperature of the melted chocolate over the bain marie to 88-91 degrees for dark chocolate, 86-88 degrees for milk and white chocolate. If you overheat, start over again.
0 Comments
    Picture

    Sweet Enough

    Part of the reason I started baking was because I like my goodies to be less obviously sweet - I want to taste the flavor, not just the sugar. So most of these recipes will have the sugar dialed down.

    This site also acts as my mobile recipe box, so instructions are often pared down to a minimum - very few frills but for some hints and suggestions!

    RSS Feed

    Categories

    All
    Alcohol
    Almond
    Apple
    Avocado
    Baklava
    Banana
    Bars
    Biscotti
    Blackberry
    Blueberry
    Bread
    Buttercream
    Cake
    Candy
    Carrot
    Cheese
    Cherry
    Chickpea
    Chinese
    Chocolate
    Cider
    Cobbler
    Coconut
    Coconut Milk
    Cookie
    Corn
    Cranberry
    Cream
    Cream Cheese
    Creme Brulee
    Crumb
    Crust
    Cupcake
    Custard
    Dates
    Decoration
    Dip
    Dough
    Doughnut
    Dumpling
    Easy Peasy
    Egg
    Filling
    Flowers
    Frosting
    Fruit
    Garnish
    Gelee
    Granola
    Green Tea
    Honey
    Ice Cream
    Icing
    Jam
    Lamb
    Lemon
    Lime
    Lobster
    Lotus Seed
    Macaron
    Mango
    Marshmallow
    Meringue
    Mochi
    Muffin
    Nectarine
    Nutella
    Nuts
    Oat
    Oats
    Onion
    Orange
    Pancake
    Panna Cotta
    Peach
    Peanut Butter
    Pear
    Pecan
    Phyllo
    Pie
    Pistachio
    Plum
    Popsicle
    Pound Cake
    Pumpkin
    Quiche
    Raspberry
    Red Bean
    Rhubarb
    Rice
    Ricotta Cheese
    Rugelach
    Sauce
    Savory
    Scone
    Sesame
    Shortbread
    Soup
    Sponge
    Sponge Cake
    Strawberry
    Streusel
    Tart
    Tofu
    Topping
    Torte
    Vegetable
    Vinaigrette
    Walnut
    Watermelon
    Yogurt
    Zucchini

    Archives

    November 2020
    October 2020
    July 2020
    May 2020
    April 2020
    March 2020
    October 2019
    December 2018
    October 2018
    August 2018
    April 2017
    July 2016
    May 2016
    March 2016
    February 2016
    January 2016
    December 2015
    November 2015
    October 2015
    September 2015
    July 2015
    June 2015
    May 2015
    April 2015
    February 2015
    January 2015
    November 2014

© 2019 Jacqueline Teng | DragonWarden