DragonWarden
  • Adventures
  • The Oven
  • The Un-Tea Party
  • Secret Ingredients
  • About

Peach Pound Cake

7/30/2020

0 Comments

 
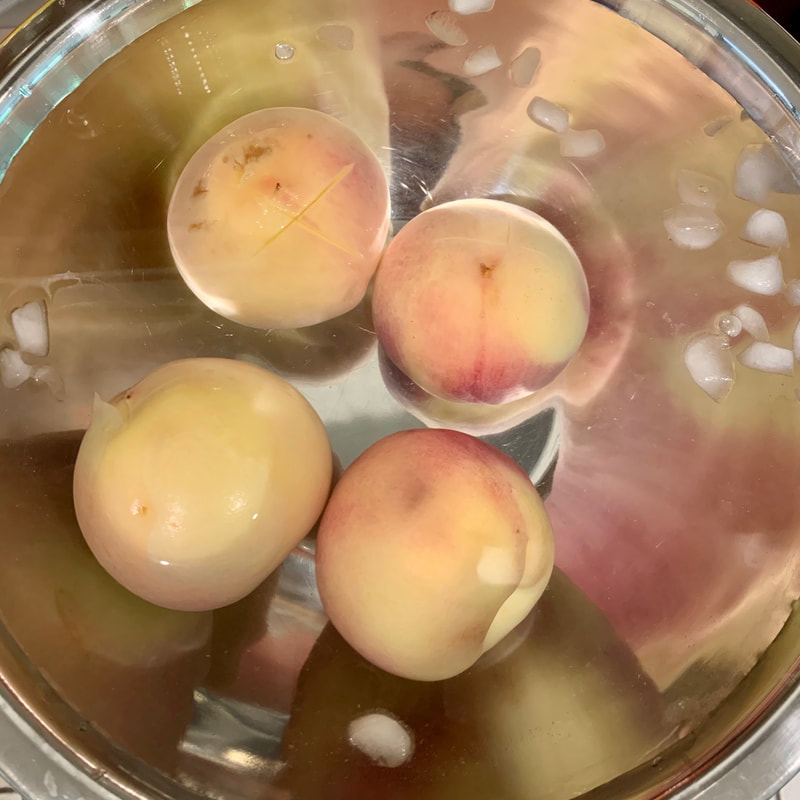
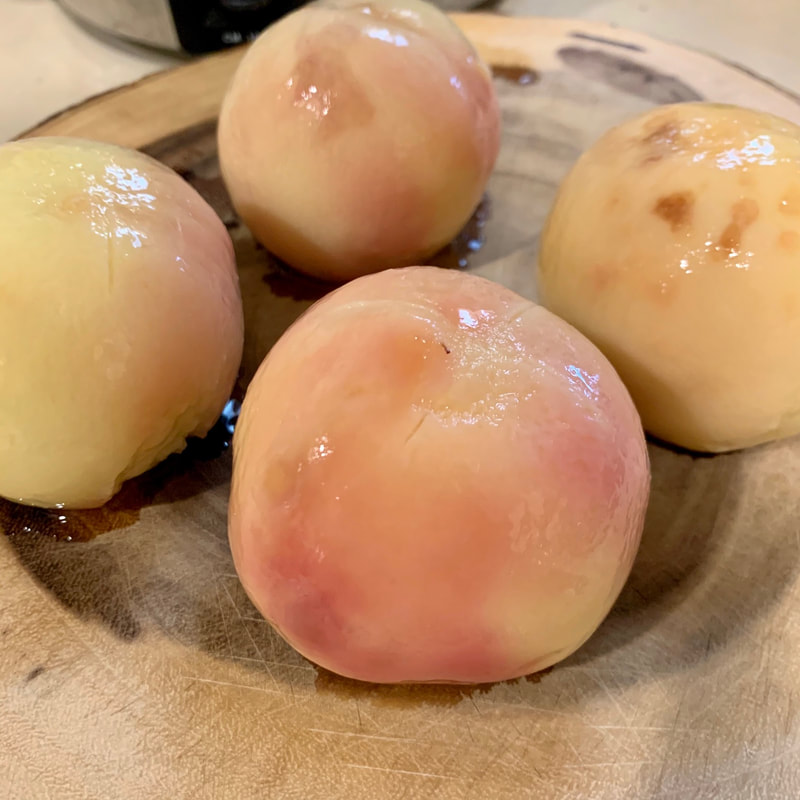
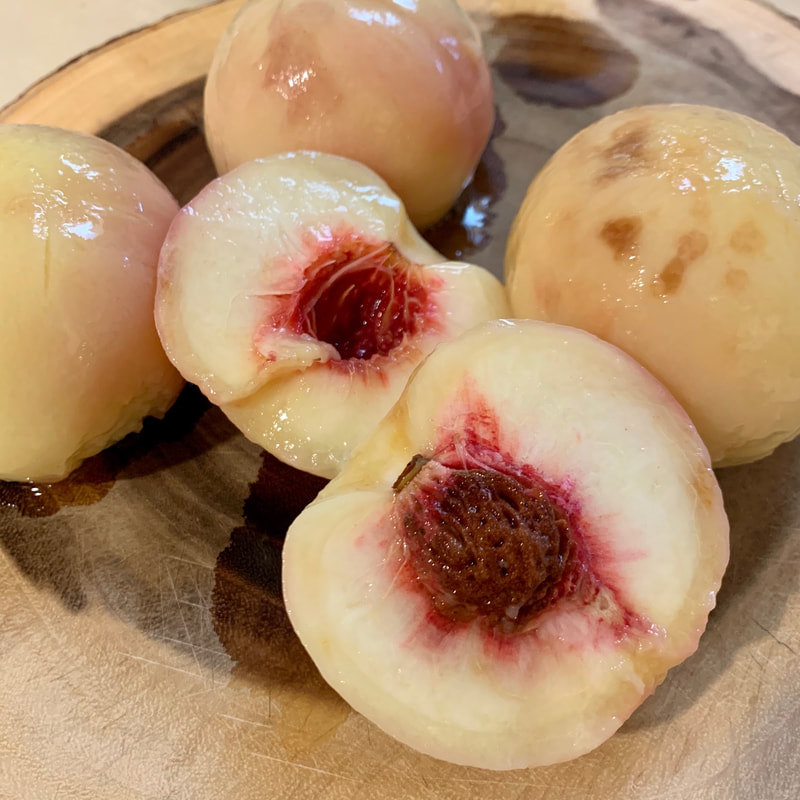
It's strange, but while I looooooove pound cakes, this is the very first time I've made on! And quite by accident - I've bookmarked plenty of recipes but kept bumping other stuff up the priority ladder. But then due to a miscommunication between my mother and me, we suddenly had and overabundance of Costco-sized pallets of peaches, and I was trying to figure out what to do with the last of them before they went bad when this recipe happened to land in my inbox. So I decided to give it a whirl - and it seems like such a simple cake, but it turned out so great that even my mom, who is totally not supposed to be eating stuff like this, was sneaking out 1/8" slices of the cake whenever my back was turned!
Picture
Cake:
  • 1 1/2 cups (3 sticks) unsalted butter, at room temperature
  • 2 cups sugar
  • 6 large eggs at room temperature
  • 3 cups all-purpose flour plus extra to coat the pan
  • 1/2 teaspoon salt
  • 1/4 teaspoon baking soda
  • 1 cup sour cream *
  • 2 teaspoons vanilla extract
  • 2 cups fresh peaches peeled, pitted and diced
Glaze:
  • 1 1/2 cups powdered sugar sifted
  • 1-3 tablespoons milk or cream
Cake:
  1. Preheat oven to 325 degrees. Spray a 12 cup bundt pan with nonstick cooking spray and add a few tablespoons of all-purpose flour to pan, shake it around to coat well, then tap out and discard any excess.
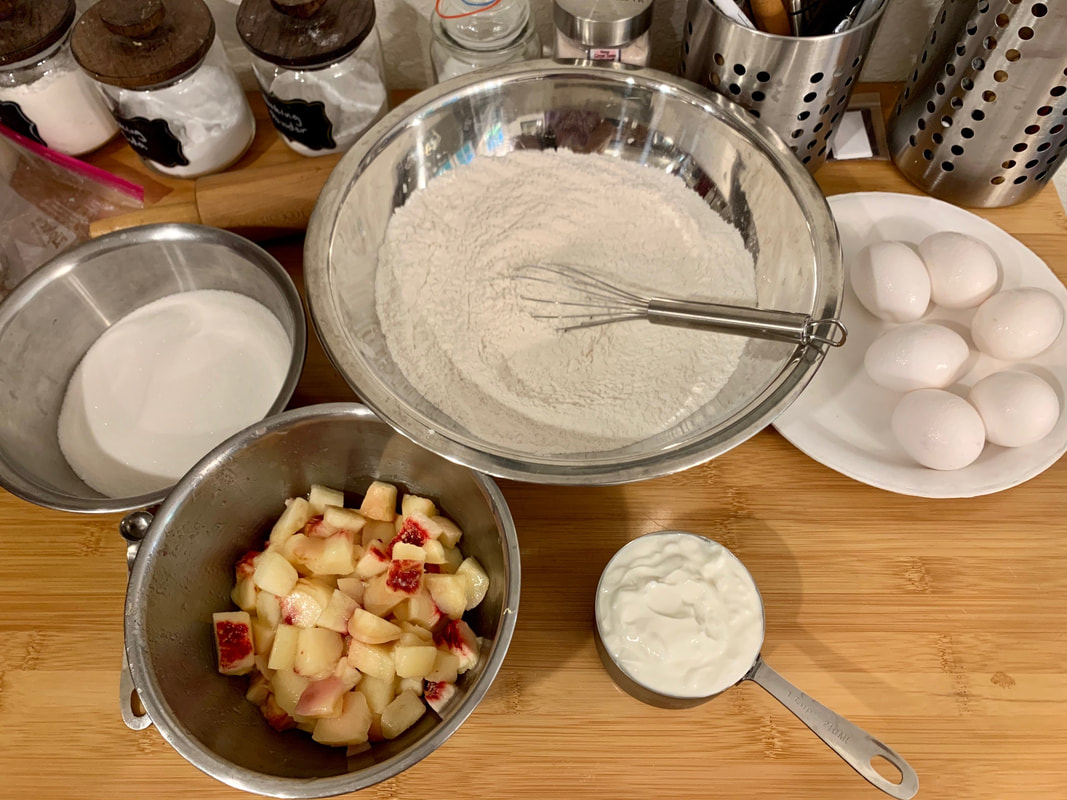
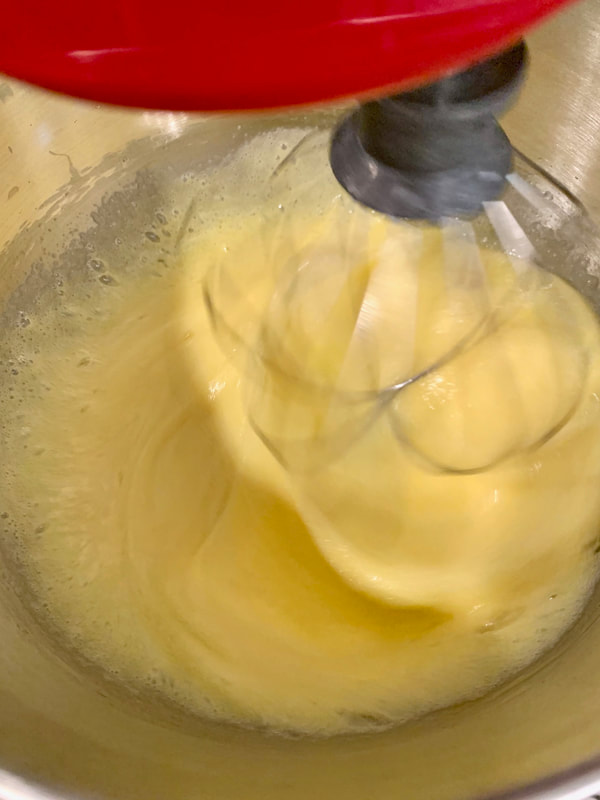
  2. In the bowl of an electric stand up mixer, gradually beat butter until it's creamy.  Add sugar and beat at medium speed for 5-7 minutes, until mixture is pale, light, and fluffy. Add eggs, one at a time, beating just until the yolk disappears and is incorporated into the batter.
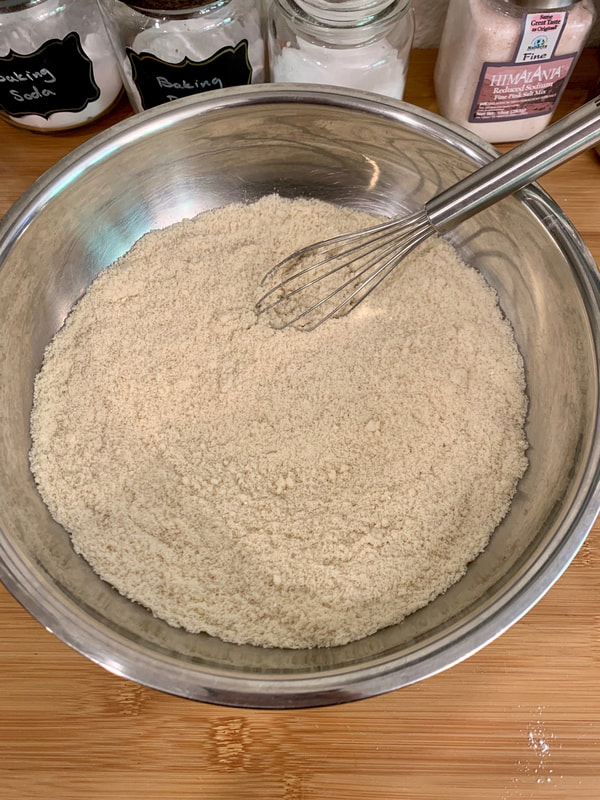
  3. In a medium bowl, mix together flour, salt, and baking soda.  Add to butter mixture, alternating with sour cream, beginning and ending with the flour mixture.  Beat batter on low just until blended after each addition.  
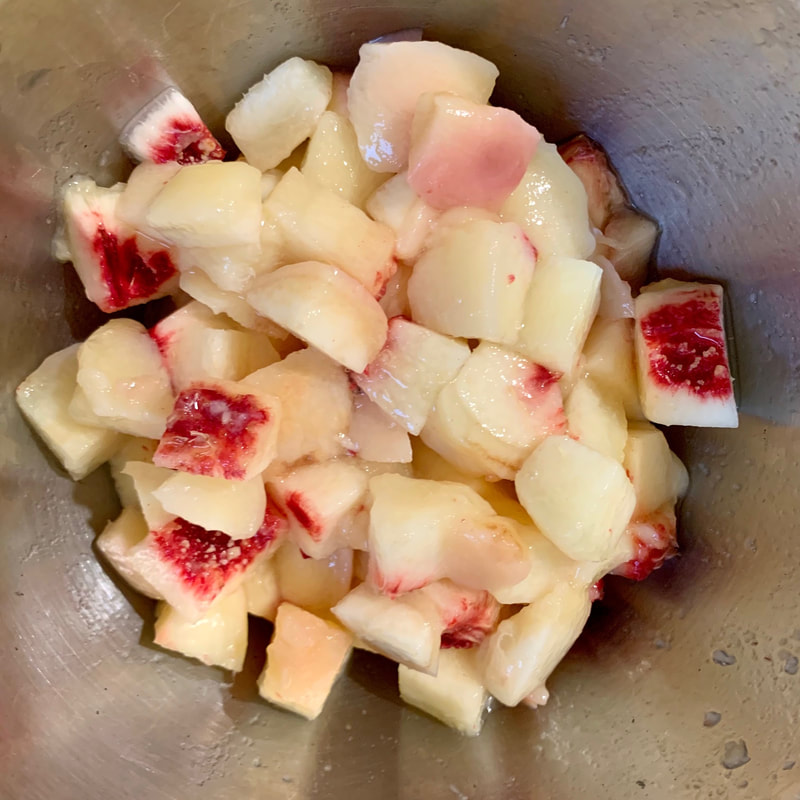
  4. With the mixer on low, stir in vanilla and peaches and continue to beat for about 1 minute. Using a large rubber spatula or wooden spoon, give the batter a final stir and make sure the peaches are mixed evenly throughout the batter.
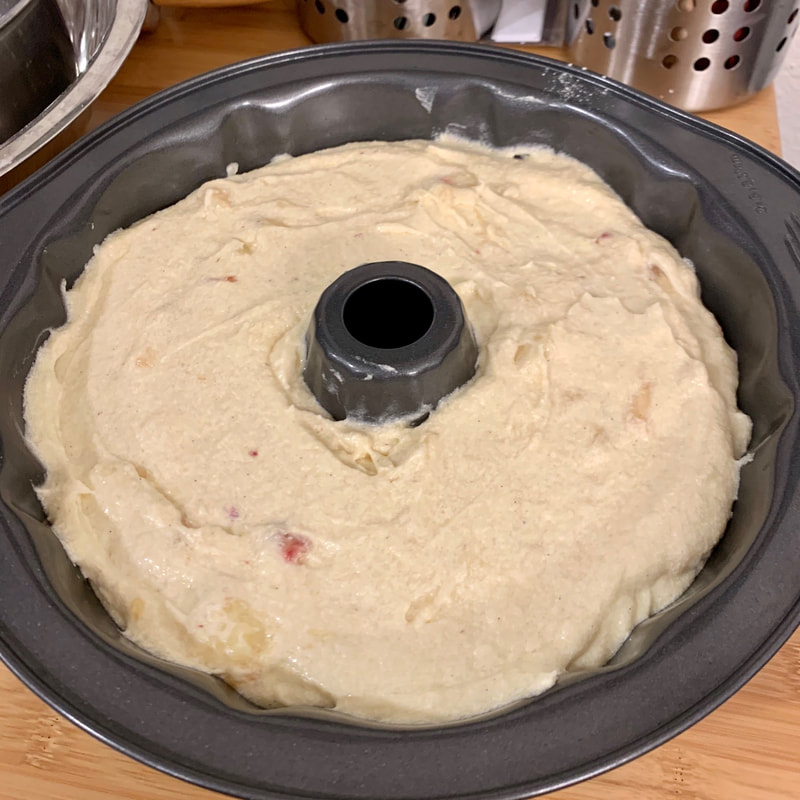
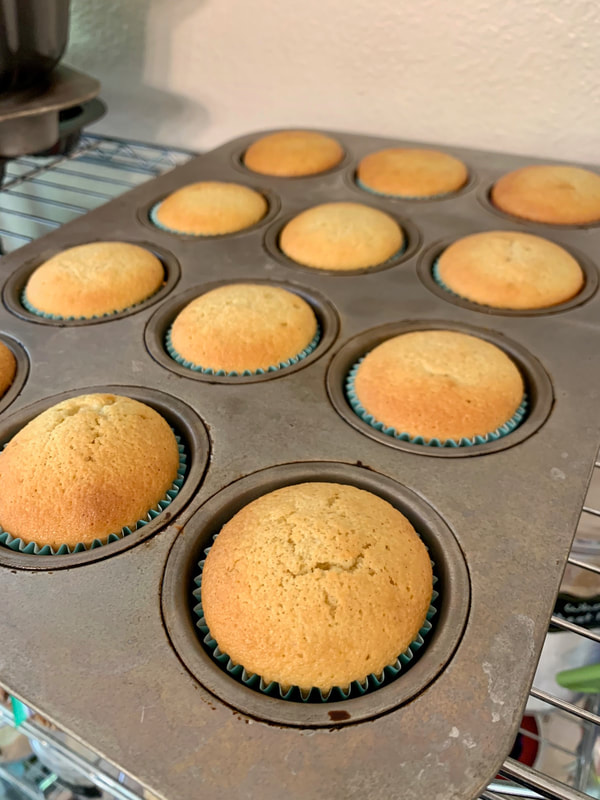
  5. Pour the batter into prepared pan, filling the pan only 3/4 full, and bake in preheated oven for 1 hour and 20 minutes to 1 hour and 40 minutes, testing until a wooden skewer or cake tester, inserted into the center of the cake just comes out clean, without any crumbs. Cool pan on a wire rack for 10-15 minutes, then inverts the pan onto a plate, removing cake from pan and cool completely.
* Note: I didn't have sour cream on hand but I did have plain yogurt, which I substituted. The cake was still delicious and baked beautifully.
​

Glaze:
  1. ​Add powdered sugar to a medium bowl.  Add milk or cream to powdered sugar, 1 tablespoon at a time as needed, mixing well after each addition, until you reach desired, pourable consistency. Pour over completely cooled cake. Let cake sit for the glaze to set, then serve.
0 Comments

Almond Cupcakes

7/30/2020

0 Comments

 
This started when one of my best friends gave me some homemade apple jam made from her homegrown apples. Since I don't eat a lot of toast in general, I was trying to figure out if there were baked goods I could use it in without losing it as a flavor. While apple sauce and any fruit in general is a wonderful source of moisture for cakes, I wanted to actually taste it. Also, most baked goods that include apples tend to ask for the original fruit itself, whether in slices or chunks, rather than in jam form.

So, then came the idea of using it as a filling in cored out cupcakes, and I stumbled across this recipe for an almond cupcake that, coincidentally, was already going the jam-filled route! As it so happened, the cupcake itself was good enough to stand on its own even without the extra jam and icing, so it's getting its own recipe space. Extra bonus is that since it's made from almond flour rather than refined flour, I can eat a lot more of it without getting nasty sugar spikes! Yum!
Picture
Cupcake:
  • 3 cups almond flour or meal
  • 1-1/2 tsp baking powder
  • 1/4 tsp kosher salt
  • 6 large eggs
  • 1/2 to 3/4 cup granulated sugar (to taste)
  • 2 tsp vanilla extract
Icing:
  • 1 cup (2 sticks) unsalted butter, room temperature
  • 2 cups powdered sugar
  • 1/4 tsp kosher salt
  • 2 tsp vanilla extract
  • 1/4 cup heavy cream
  • 1/4 teaspoon almond extract
  • 1/2 cup fig (or your favorite) jam
  • Toasted sliced almonds (for serving)
  • ½
Cupcake:
  1. Preheat oven to 325°. Place cupcake liners in a 12-cup cupcake tray.
  2. Sift almond flour through a fine-mesh sieve into a medium bowl; discard any large pieces. Whisk in baking powder and salt.
  3. Using a stand mixer fitted with a whisk attachment, whisk eggs and granulated sugar on medium-high speed until pale and fluffy, about 5 minutes. Reduce speed to low and whisk in almond-flour mixture and vanilla until smooth, about 1 minute.
  4. Divide batter among cupcake cups (each one should hold a little less than 1/3 cups). Bake cupcakes, rotating pan partway through, until the tops are golden and a tester inserted into the centers comes out clean, about 15–20 minutes. Transfer cupcakes to a wire rack and let cool.
Icing:
  1. Using an electric mixer on medium-high speed, beat butter until light and fluffy, about 3 minutes.
  2. Reduce speed to low and, with motor running, add powdered sugar in 2 additions, beating until fully incorporated after each, about 2 minutes.
  3. Add cream, almond extract, vanilla, and salt and beat until light and creamy, about 1 minute.
  4. Using an apple corer or a knife, punch out about 1" from the top of each cupcake to form a hole in the center. Fill hole with a heaping teaspoonful of jam.
  5. Spread frosting over cupcakes and top each with a small handful of almonds.
Note: While the cupcake can have the sugar reduced a little more if you wish, the icing depends on the sugar for stiffening (and to help mask the pure butter taste, which I personally don't find as fun when eating straight unless it's salted butter). If you're set on reducing the sugar in the icing, then reduce how much cream you add as well, and watch the icing on warm days - you may need to keep it refrigerated to prevent melting.
0 Comments

Pavlova

7/20/2020

0 Comments

 
I've avoided meringues for most of my life as 1) I had some strange misguided prejudice against them because they reminded me of macarons (and I don't like macarons) and 2) everyone always exclaims how hard it is to make a meringue. However, I was finally tossed right into the pool and it was sink or swim when I committed to making an elaborately fancy cake that used Italian meringue in its frosting ... and I discovered that all of my preconceptions were completely false.

I managed to make the pavlova on the first try. It was not without a few hiccups along the way, but there were plenty of tips and tricks on the internet and I not only salvaged it but it became a week-long hit at multiple households. So, don't be intimidated by the meringue's reputation! In fact, if it wasn't for the fact that it takes a really long time of holding the beaters, I would say this was totally an easy-peasy rating, and you can dress it up with all manner of fanciful and beautiful treats, such as a tangy lemon curd and sweet strawberries.
Picture
  • 4 large egg whites
  • 1 cup sugar
  1. Preheat oven to 250 F. Line a baking sheet with parchment paper.
  2. Whip egg whites in a large bowl until uniformly frothy. While whipping, add a few spoonfuls of sugar. Whip until the soft peak stage, then add another few spoonfuls of sugar while whipping. Continue until all the sugar has been added, then continue whipping until the stiff peak stage and the meringue is thick and glossy.
  3. Place 6 dollops of meringue on the baking sheet. Use the back of a spoon to shape the meringues and create a slight well in the centers.
  4. Bake for one hour, turn off the oven, and then prop open the door with a wooden spoon until completely cooled.
Notes: This is one recipe where you can't get away with just reducing the sugar. The sugar is necessary to help the meringue hold its structure. There will be some inevitable cracking once the meringue starts to cool down and settle - it will crack slightly less if you let it cool down gradually by keeping it in the oven and letting the heat escape gradually.

If you add the sugar too quickly, the meringue will not firm up, so best method is to get it to the soft peak stage, add sugar, then get it back to the soft peak stage again if it has collapsed, add sugar again, etc. If it's a humid day and it seems to need a little extra help, you can add a bit of lemon juice or cream of tarter at the frothy stage. You can also separately whip one egg white to stiff peak stage, then fold it into the main bowl and then whip the entire bowl, and it should firm up better than before.
0 Comments

Chinese Sesame Candy

7/17/2020

0 Comments

 
While all my memories of this candy are very fond - drawn as they are from a childhood of mahjong parties, when the adults would lay out trays of snacks and candies for easy munching while they played and the kids would gleefully filch more from the stashes than the adults did - I hadn't thought of them in literally decades. But a couple weeks ago while I was escorting my mother at 99 Ranch Market, I happened to glimpse some very pretty packaging for black sesame candy and had a sudden craving for them. Except, of course, why not make my own?

I tried this recipe and it was not only an amazingly fast and easy assembly, earning the easy-peasy rating, but the candy was honestly more delicious than any store-bought one from my memories and each batch disappeared literally within an hour or two of making. I ended up making double-batches three times in one week!

Bonus points - my boyfriend had a truly inspired suggestion and the crumbled bits of semi-smoky slightly-sweet sesame seed turned out to be an amazing topping for vanilla bean ice cream. ^_^ Yum!
Picture
  • 1/2 cup black sesame seeds
  • 1/2 cup sesame seeds
  • 1 1/2 teaspoons canola or vegetable oil
  • 2 tablespoons honey *
  • 1/3 cup sugar
Additional equipment:
  • 2 silicone mats
  • rolling pin
  1. Lay a silicone mat on your work surface. You will use this for rolling out the sesame candy.
  2. Pour the black sesame seeds into a large pan and toast them on medium-high heat for about 3 to 4 minutes, stirring frequently. Because of their black color, it may be difficult to tell when the sesame seeds are done toasting. The sesame seeds usually release a faint aroma when they are ready. You can also see wisps of smoke coming from the sides of the pan. Turn off the heat and transfer the sesame seeds to a bowl.
  3. Next, toast the plain sesame seeds for 3 to 4 minutes, stirring occasionally. Transfer the toasted seeds to the bowl with the black sesame seeds. Mix the two types of seeds together.
  4. In a large stainless steel pan, add the oil, honey, and sugar over medium-high heat. Stir everything together and wait for the sugar to dissolve completely and the resulting syrup takes on a golden color and is runny. Make sure to stir frequently to keep the sugar from burning.
  5. Once the sugar dissolves, turn off the heat. Add the sesame seeds and stir to coat the seeds with the syrup.
  6. Working quickly, pour the sesame seeds onto the silicone mat. Try to pile all the seeds into one mass. Lay the other silicone mat over the seeds and press down gently. Use a rolling pin to roll out the sesame candy. You want to make sure to be quick here so that you can roll out the candy into a thin layer.
  7. Take off the top silicone mat and lay a chopping board over the candy. Carefully flip the candy onto the chopping board. Remove the second silicone mat.
  8. Use a sharp knife to trim the sides of the sheet of sesame candy so that you get straight edges. Cut the candy sheet into 1-inch strips of candy. Cut each strip into candies about 1 1/2 to 2 inches long. Don’t worry if your candy isn’t uniform in size. Mine are never perfect.
  9. You can enjoy the candy immediately. The candy will continue to harden as it cools to room temperature. Once cooled, store the candy in an airtight container for several weeks. (A ziploc baggie is sufficient - if it is not stored in a container, the candy will soften into a crumbly mess.)
* Note: The honey helps to keep the candy soft enough to roll as it cools, and also provides some chewiness after it has cooled completely. Depending on your preferences, you can reduce the honey by as much as a half if you'd like the final candy to be crisper.
0 Comments
    Picture

    Sweet Enough

    Part of the reason I started baking was because I like my goodies to be less obviously sweet - I want to taste the flavor, not just the sugar. So most of these recipes will have the sugar dialed down.

    This site also acts as my mobile recipe box, so instructions are often pared down to a minimum - very few frills but for some hints and suggestions!

    RSS Feed

    Categories

    All
    Alcohol
    Almond
    Apple
    Avocado
    Baklava
    Banana
    Bars
    Biscotti
    Blackberry
    Blueberry
    Bread
    Buttercream
    Cake
    Candy
    Carrot
    Cheese
    Cherry
    Chickpea
    Chinese
    Chocolate
    Cider
    Cobbler
    Coconut
    Coconut Milk
    Cookie
    Corn
    Cranberry
    Cream
    Cream Cheese
    Creme Brulee
    Crumb
    Crust
    Cupcake
    Custard
    Dates
    Decoration
    Dip
    Dough
    Doughnut
    Dumpling
    Easy Peasy
    Egg
    Filling
    Flowers
    Frosting
    Fruit
    Garnish
    Gelee
    Granola
    Green Tea
    Honey
    Ice Cream
    Icing
    Jam
    Lamb
    Lemon
    Lime
    Lobster
    Lotus Seed
    Macaron
    Mango
    Marshmallow
    Meringue
    Mochi
    Muffin
    Nectarine
    Nutella
    Nuts
    Oat
    Oats
    Onion
    Orange
    Pancake
    Panna Cotta
    Peach
    Peanut Butter
    Pear
    Pecan
    Phyllo
    Pie
    Pistachio
    Plum
    Popsicle
    Pound Cake
    Pumpkin
    Quiche
    Raspberry
    Red Bean
    Rhubarb
    Rice
    Ricotta Cheese
    Rugelach
    Sauce
    Savory
    Scone
    Sesame
    Shortbread
    Soup
    Sponge
    Sponge Cake
    Strawberry
    Streusel
    Tart
    Tofu
    Topping
    Torte
    Vegetable
    Vinaigrette
    Walnut
    Watermelon
    Yogurt
    Zucchini

    Archives

    November 2020
    October 2020
    July 2020
    May 2020
    April 2020
    March 2020
    October 2019
    December 2018
    October 2018
    August 2018
    April 2017
    July 2016
    May 2016
    March 2016
    February 2016
    January 2016
    December 2015
    November 2015
    October 2015
    September 2015
    July 2015
    June 2015
    May 2015
    April 2015
    February 2015
    January 2015
    November 2014

© 2019 Jacqueline Teng | DragonWarden