DragonWarden
  • Adventures
  • The Oven
  • The Un-Tea Party
  • Secret Ingredients
  • About

Pumpkin Cupcakes

11/16/2020

0 Comments

 
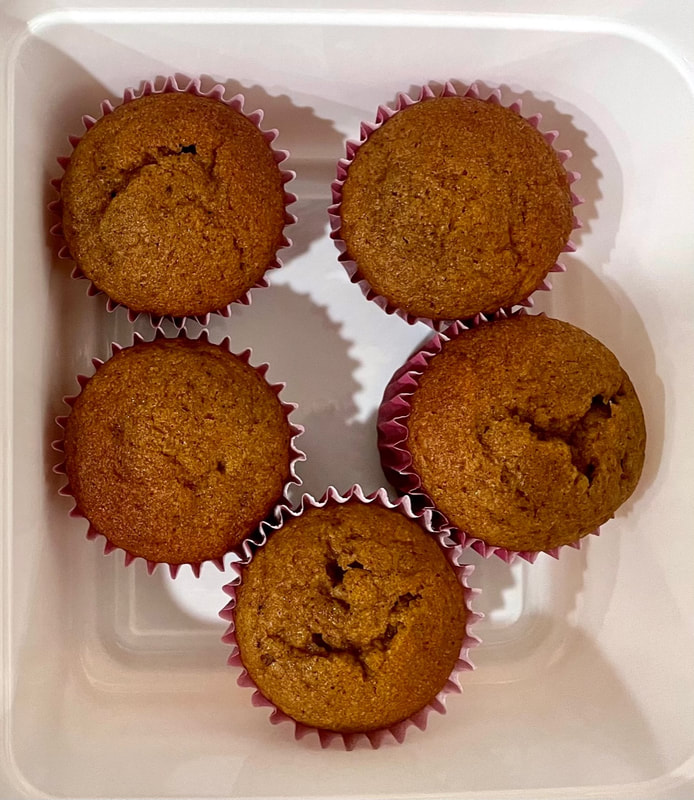
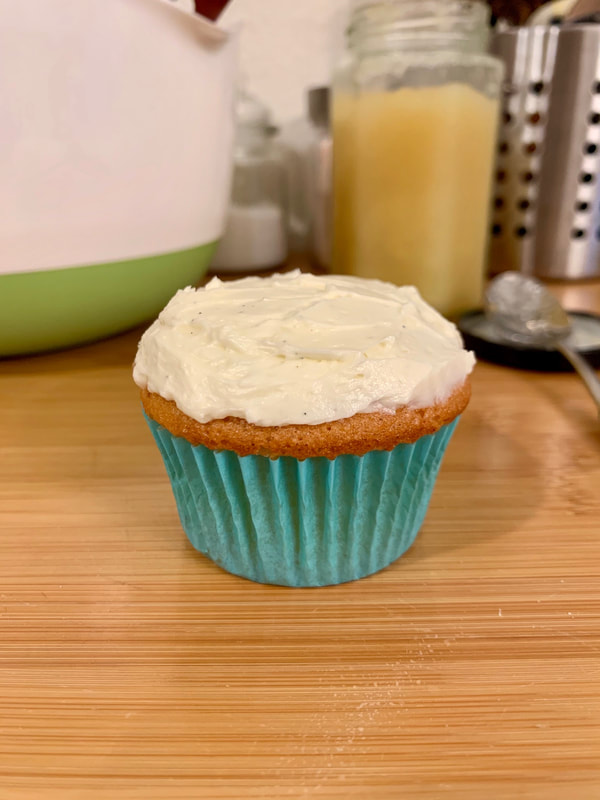
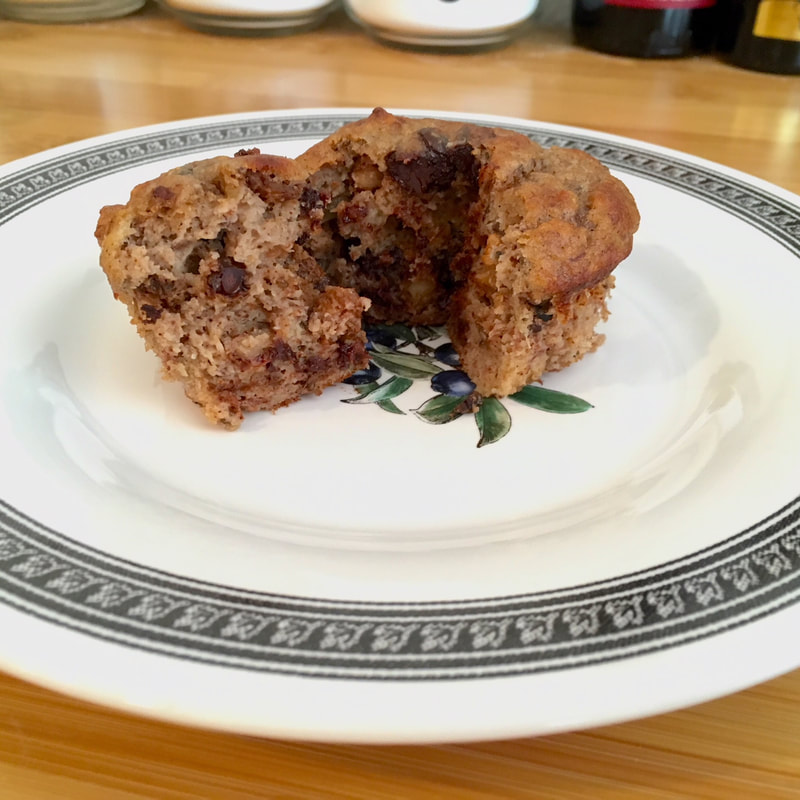
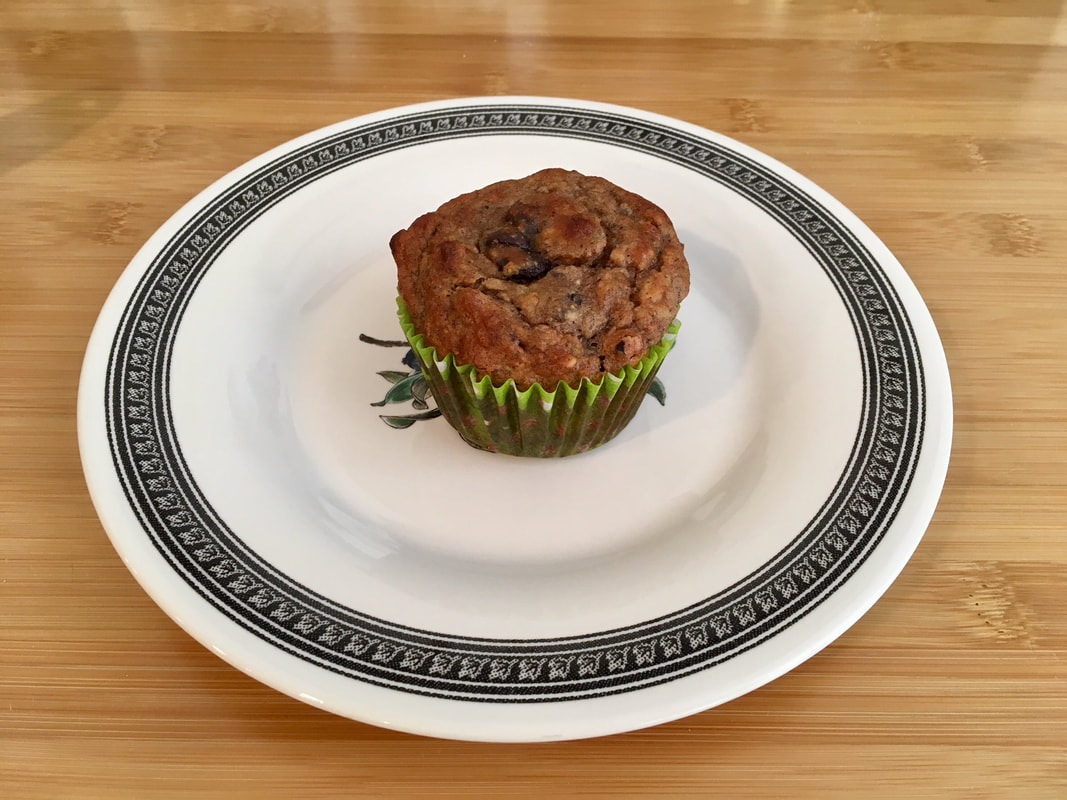
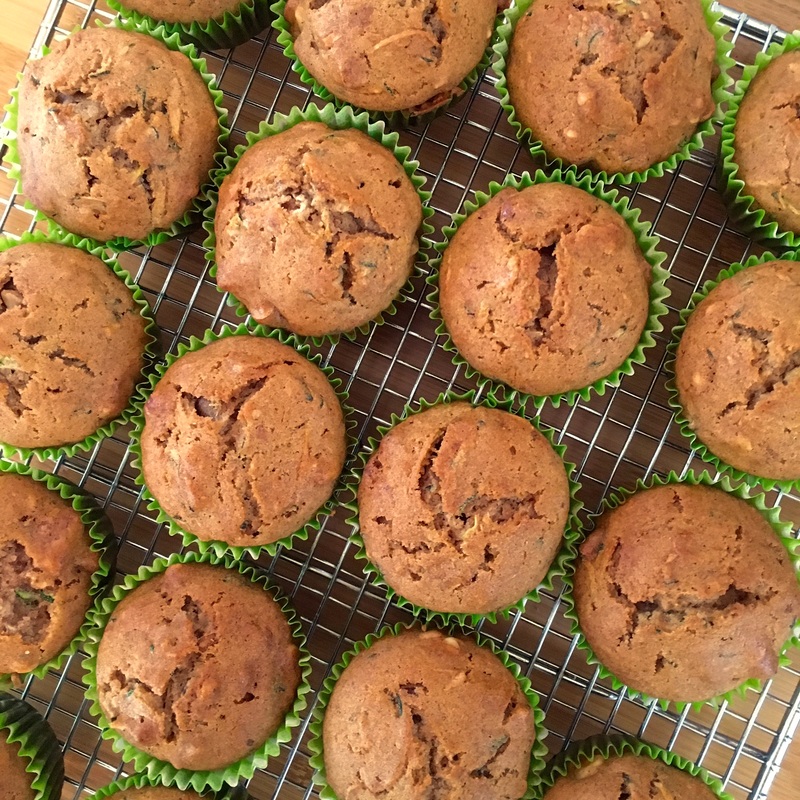
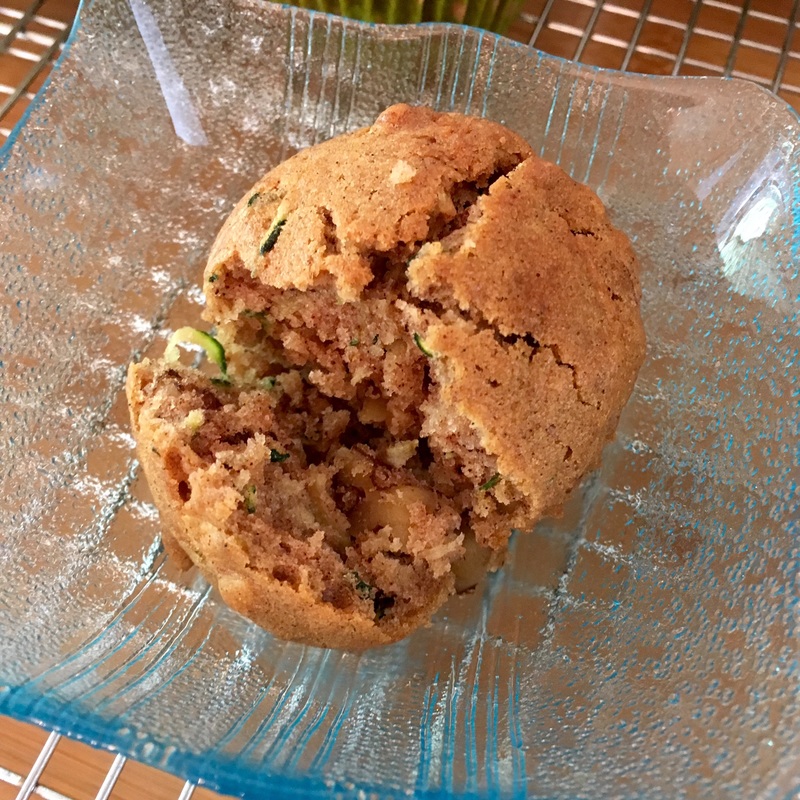
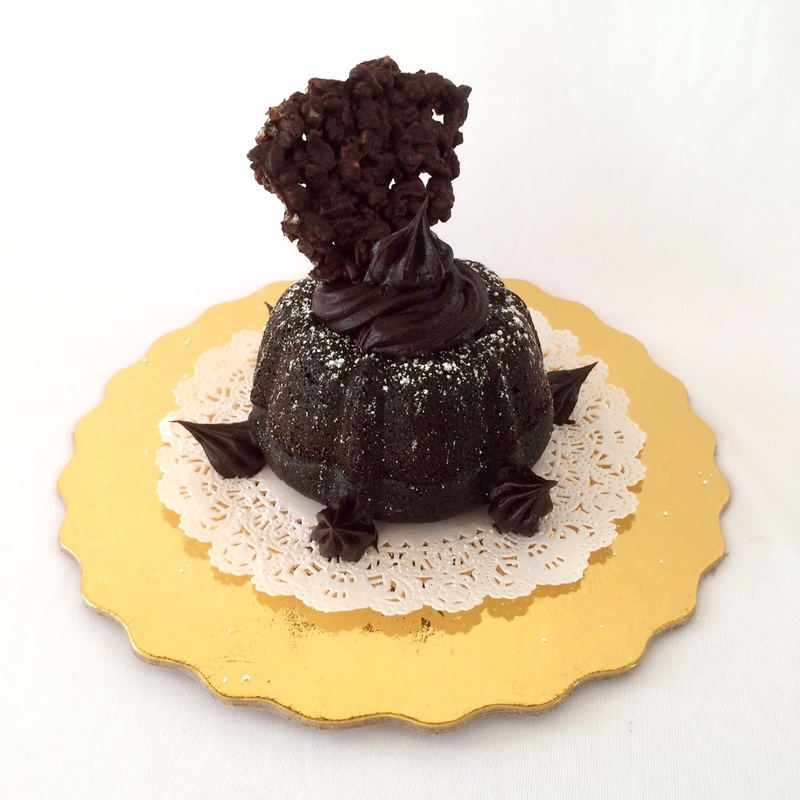
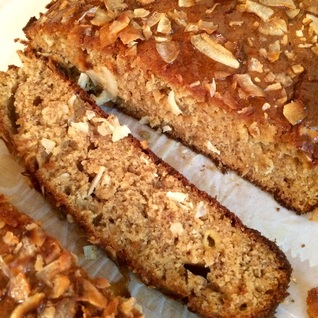
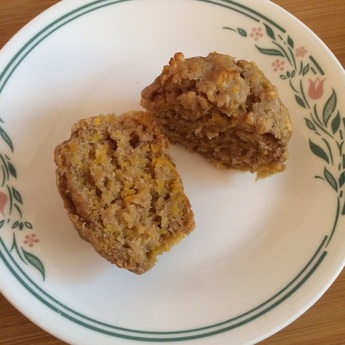
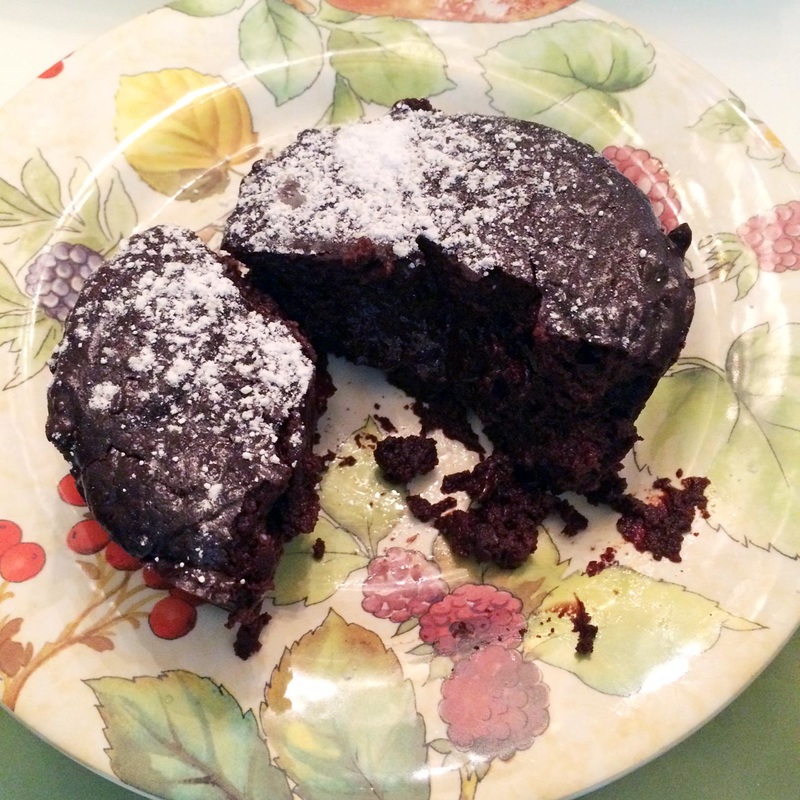
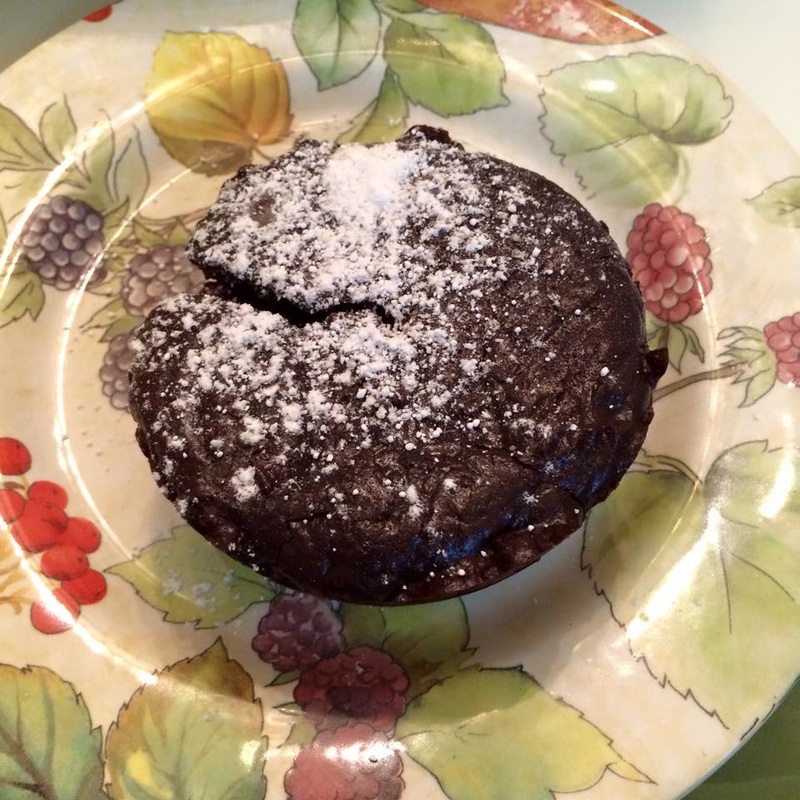
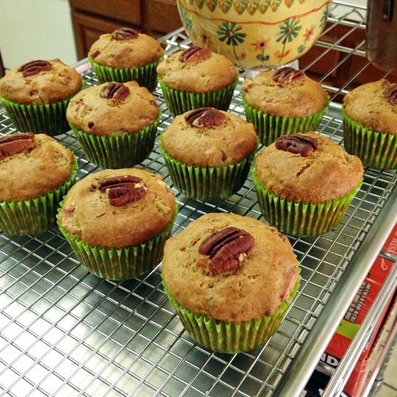
While I started baking to accommodate my taste buds, now it's become an outlet for accommodating my eyes as a visual creative outlet. While I had started with browsing cake decorations, it occurred to me that baking cupcakes would give me many more opportunities to decorate on a mini-canvas ... and mini cupcakes even more so! And since I had some leftover pumpkin puree from my Fall baking, it seemed the perfect time to dig up some mini pumpkin cupcake recipes such as this one, which was moist and fluffy and more spice than sugar - my perfect combo.
Picture
  • 1 cup (125 g) flour
  • 1 tsp baking powder
  • 1/2 tsp baking soda
  • 1/2 tsp salt
  • 1 tsp ground cinnamon
  • 1 1/2 tsp pumpkin pie spice OR:
    • 1/2 tsp ground allspice
    • 1/2 tsp ground ginger
    • 1/4 tsp ground nutmeg
    • 1/4 tsp ground cloves
  • 1/2 cup canola or vegetable oil
  • 2 large eggs
  • 3/4 cup (150 g) packed light or dark brown sugar
  • 1 cup (225 g) canned or fresh pumpkin puree
  • 1 tsp vanilla
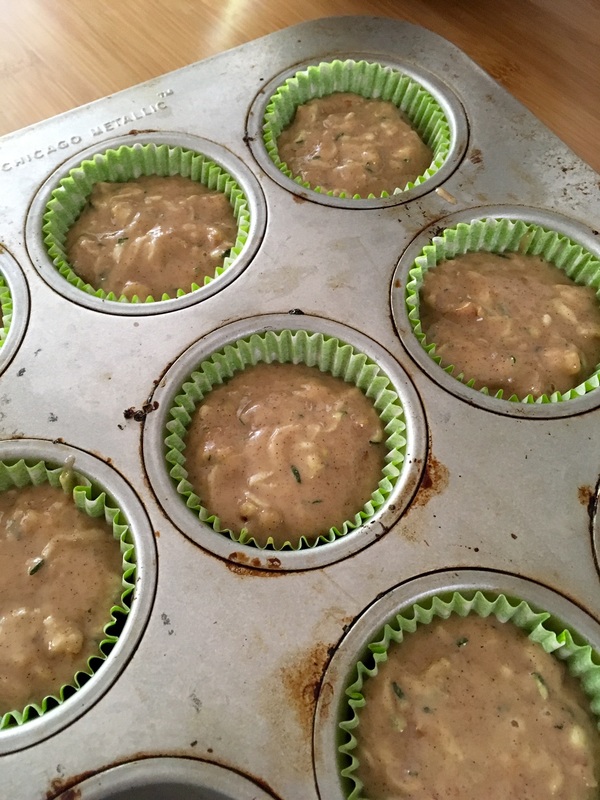
  1. Preheat oven to 350 F. Line cupcake pans with cupcake liners.
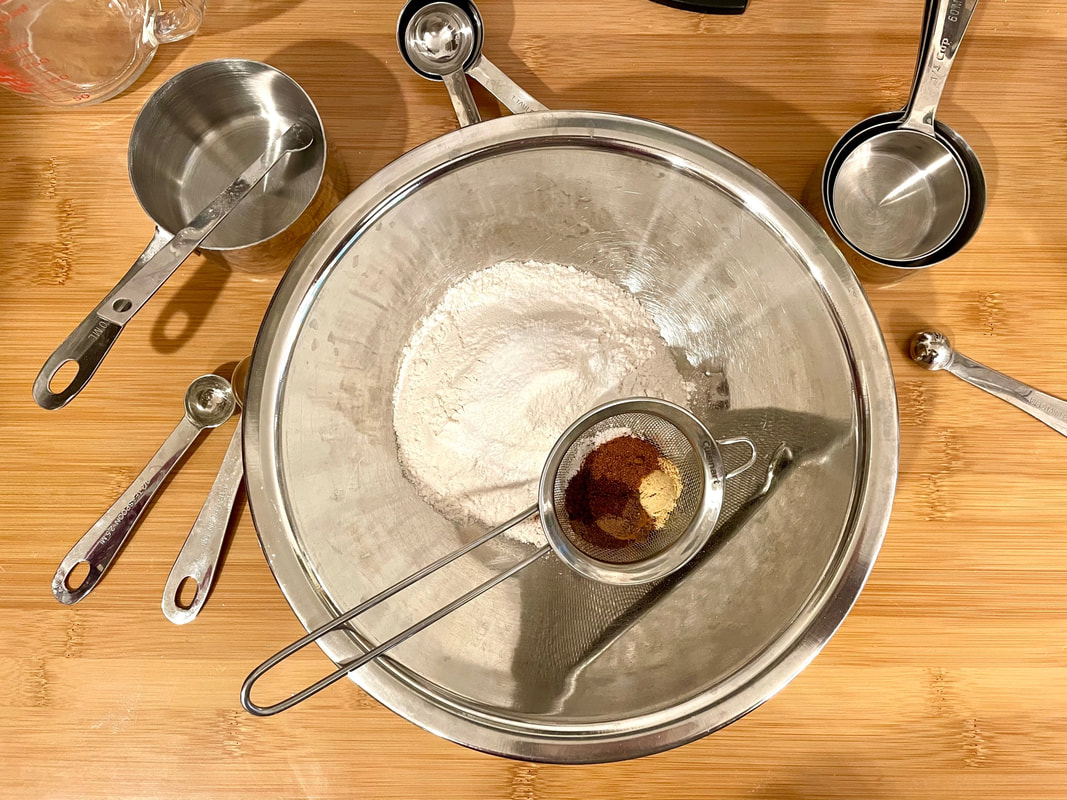
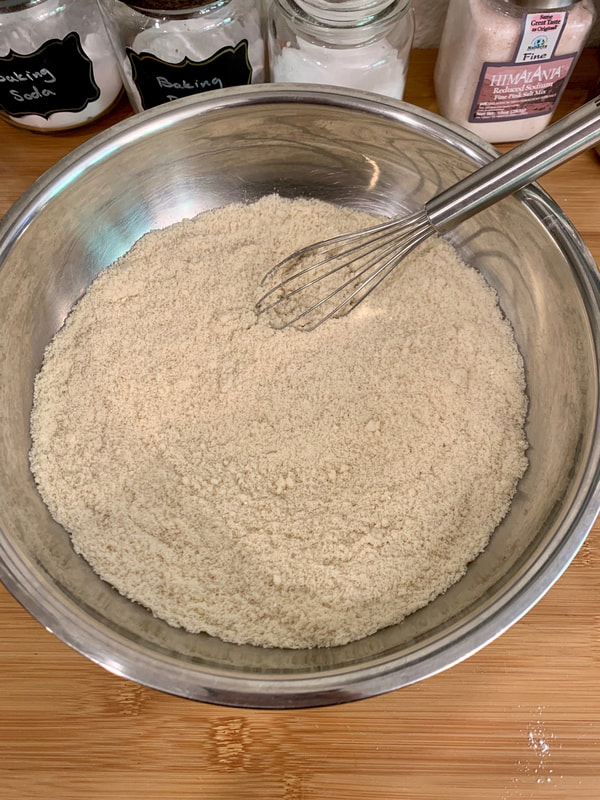
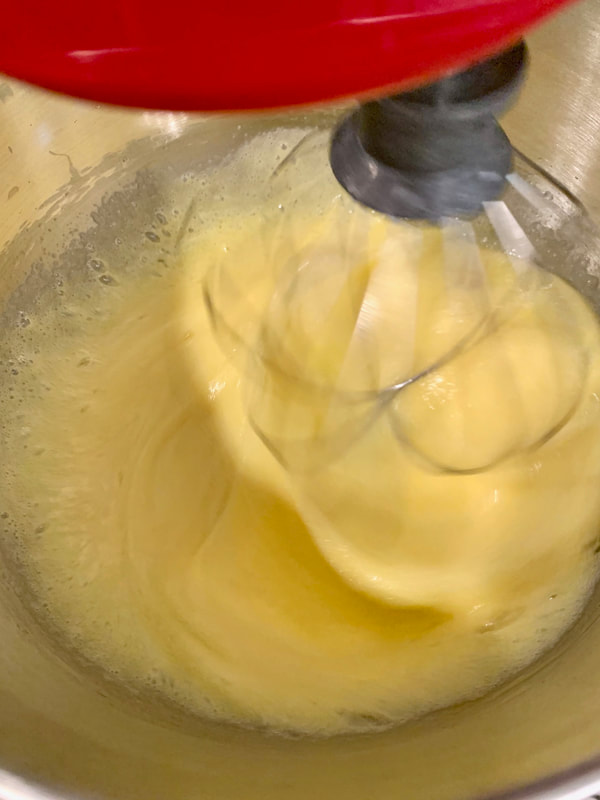
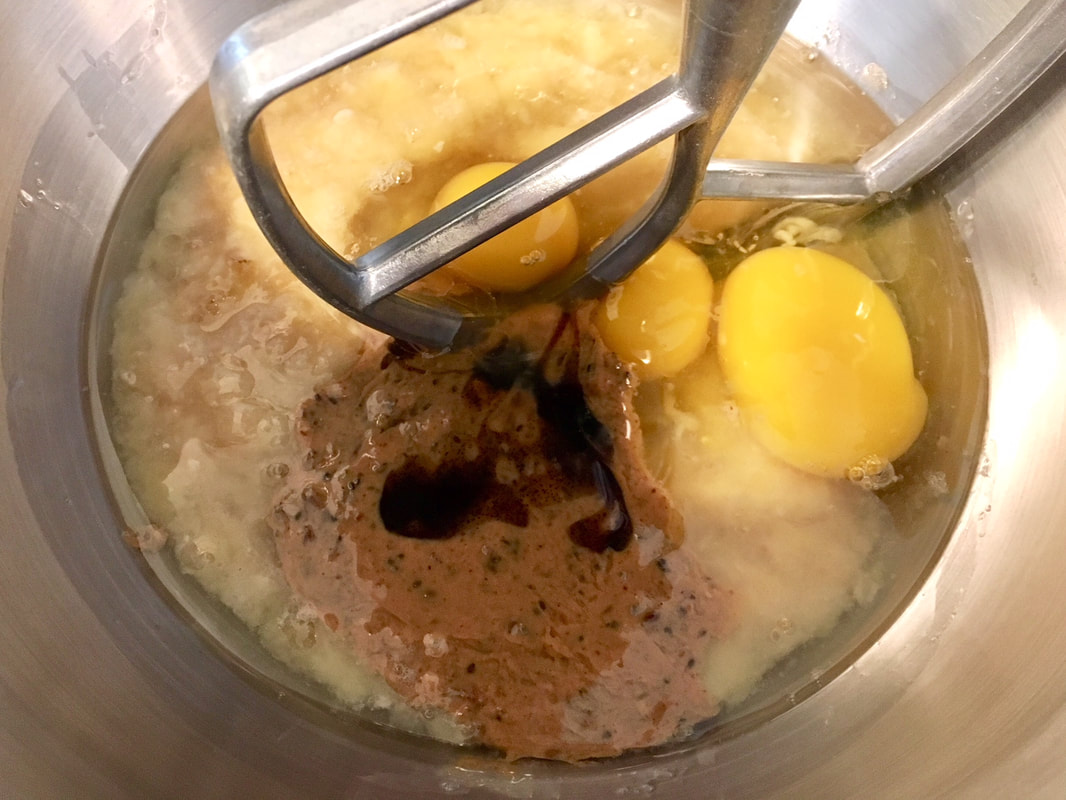
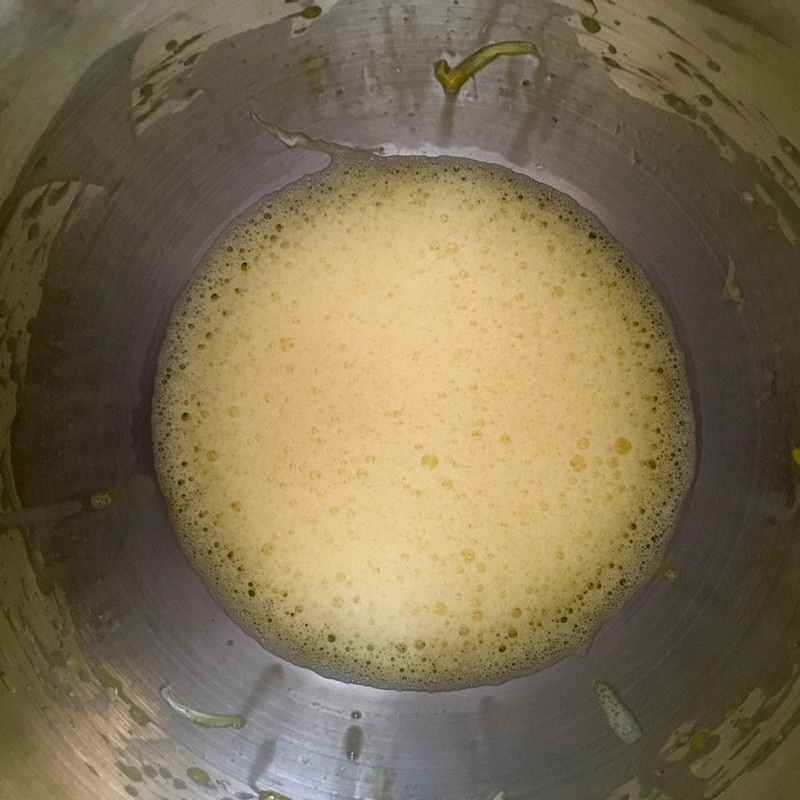
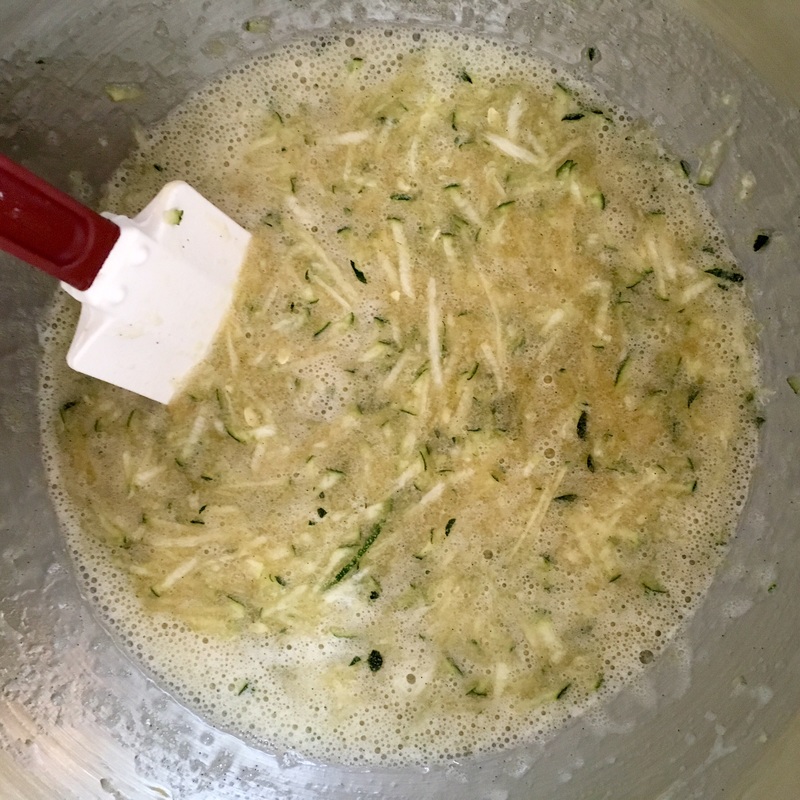
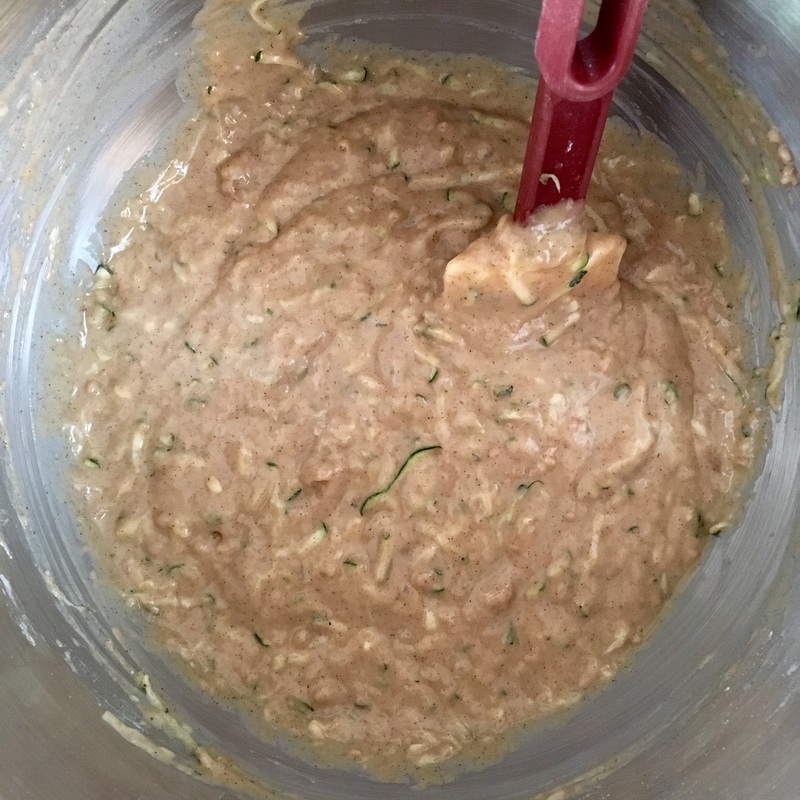
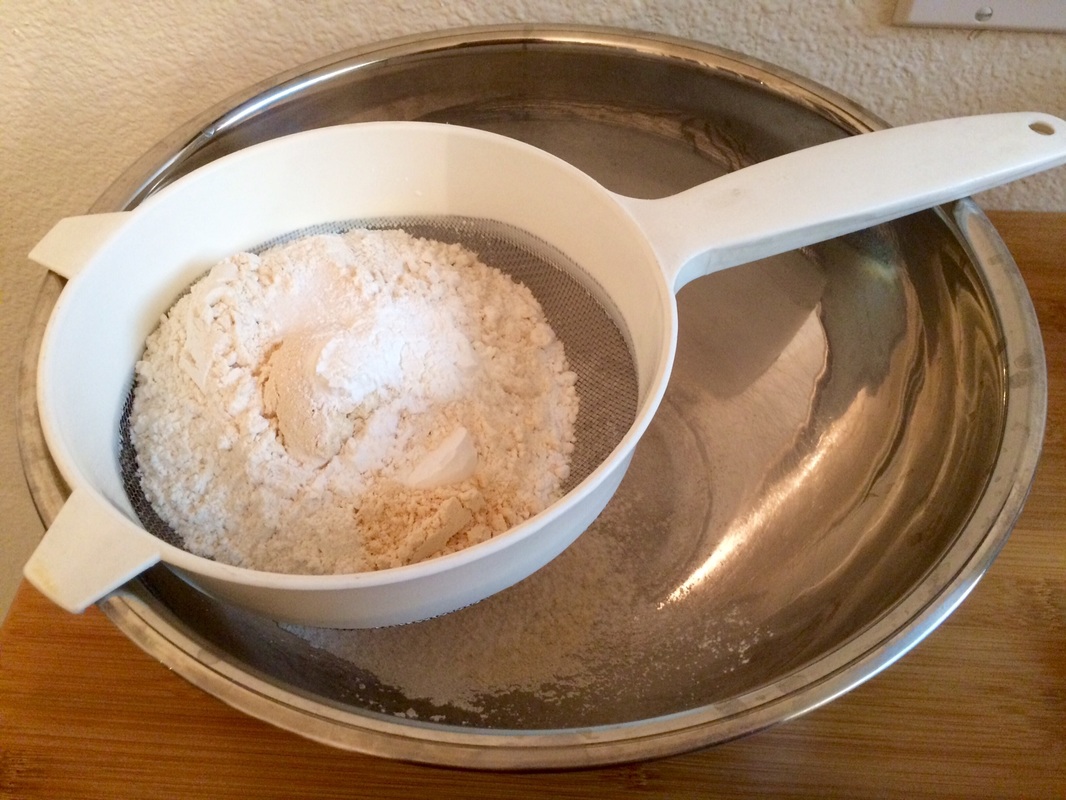
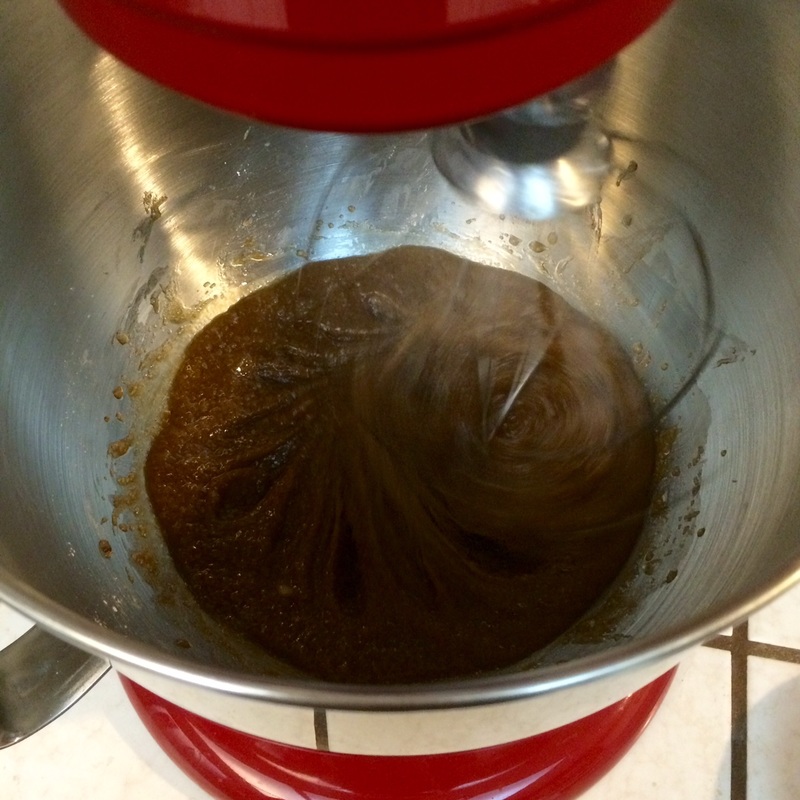
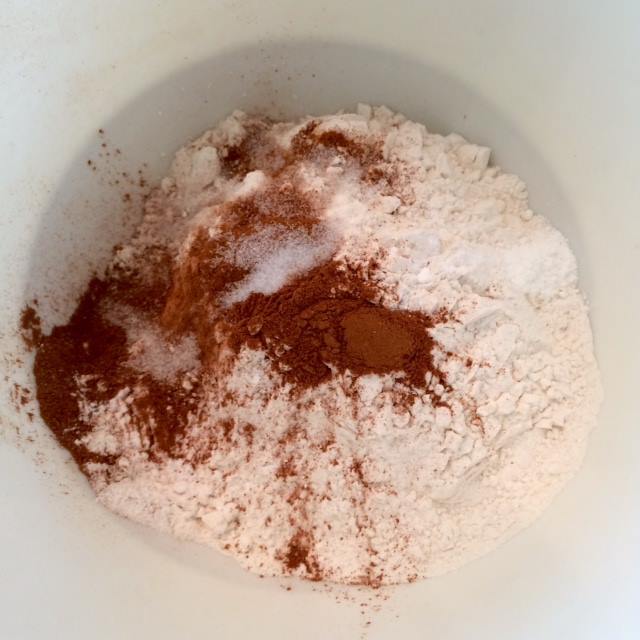
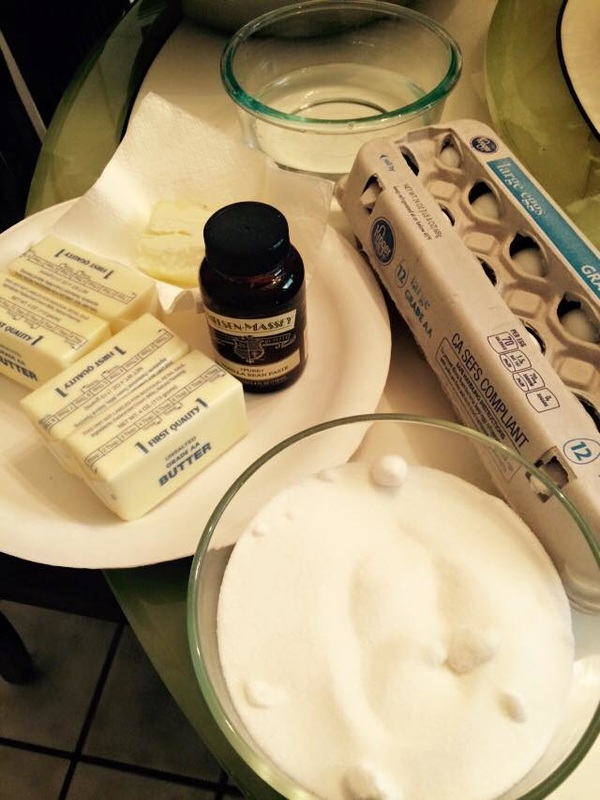
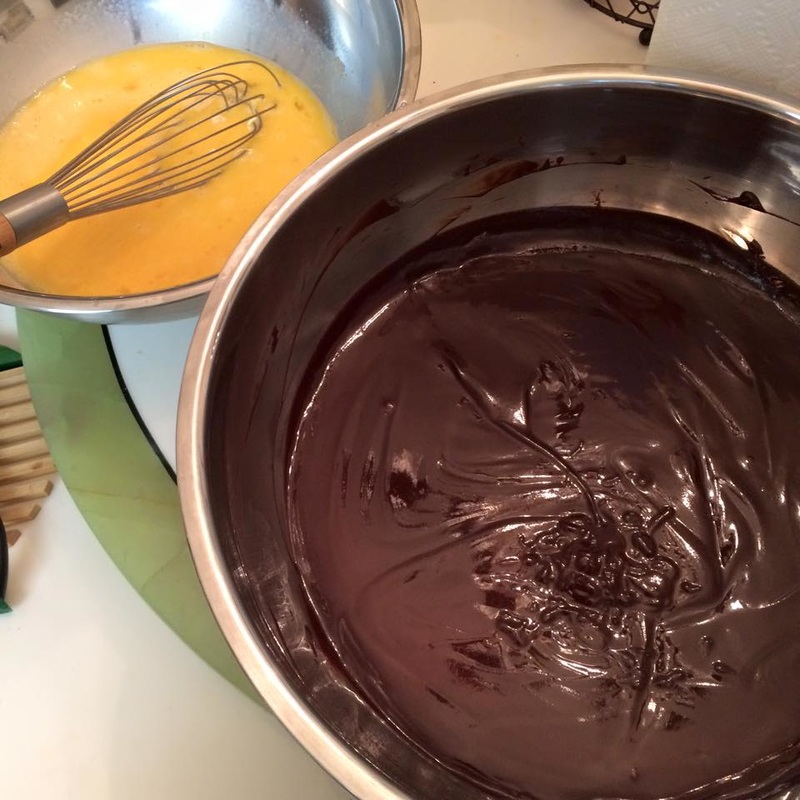
  2. Sift and whisk flour, baking powder, baking soda, salt, cinnamon, and pumpkin pie spices together in small bowl. In another large bowl, whisk oil, eggs, brown sugar, pumpkin, and vanilla extract together until combined. Combine dry ingredients into the wet ingredients in portions of 1/3, combining completely between each addition.
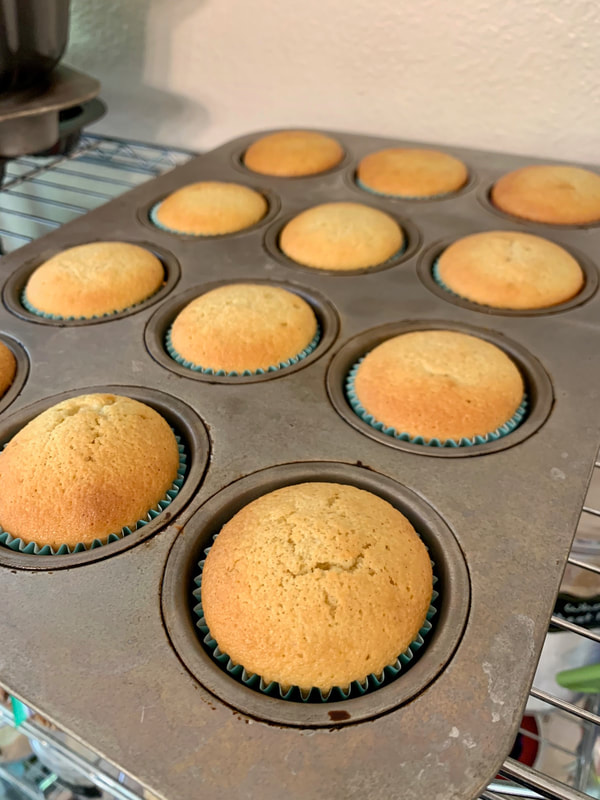
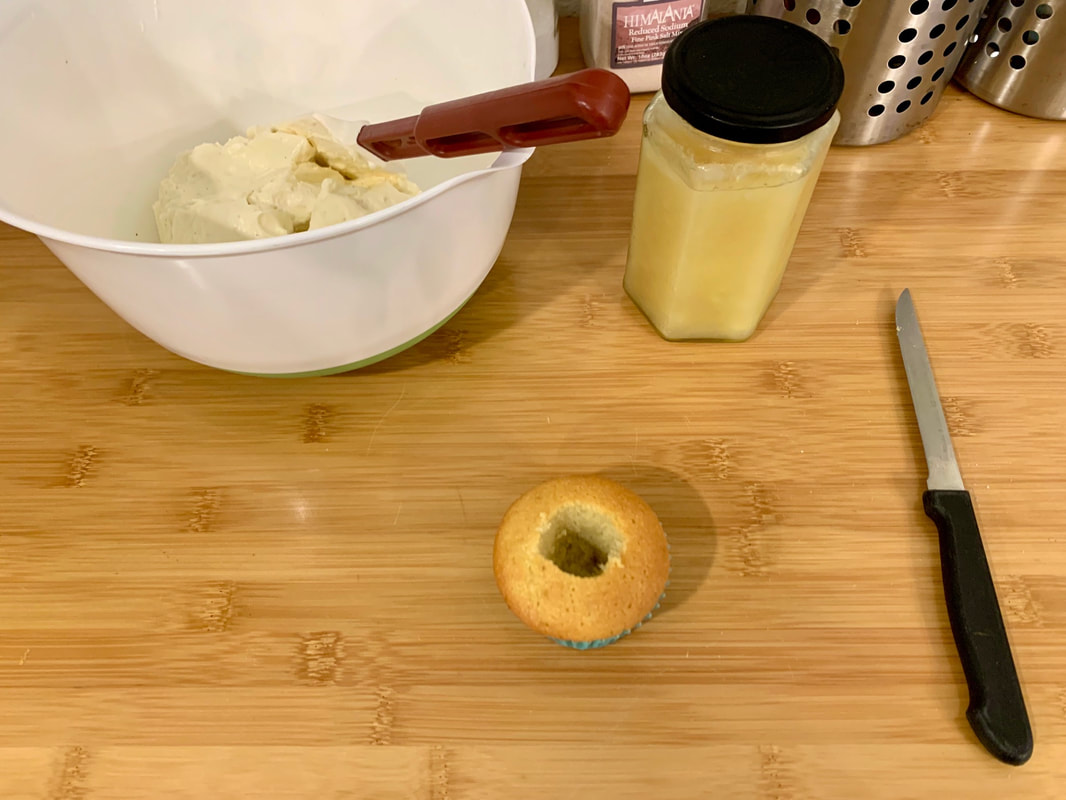
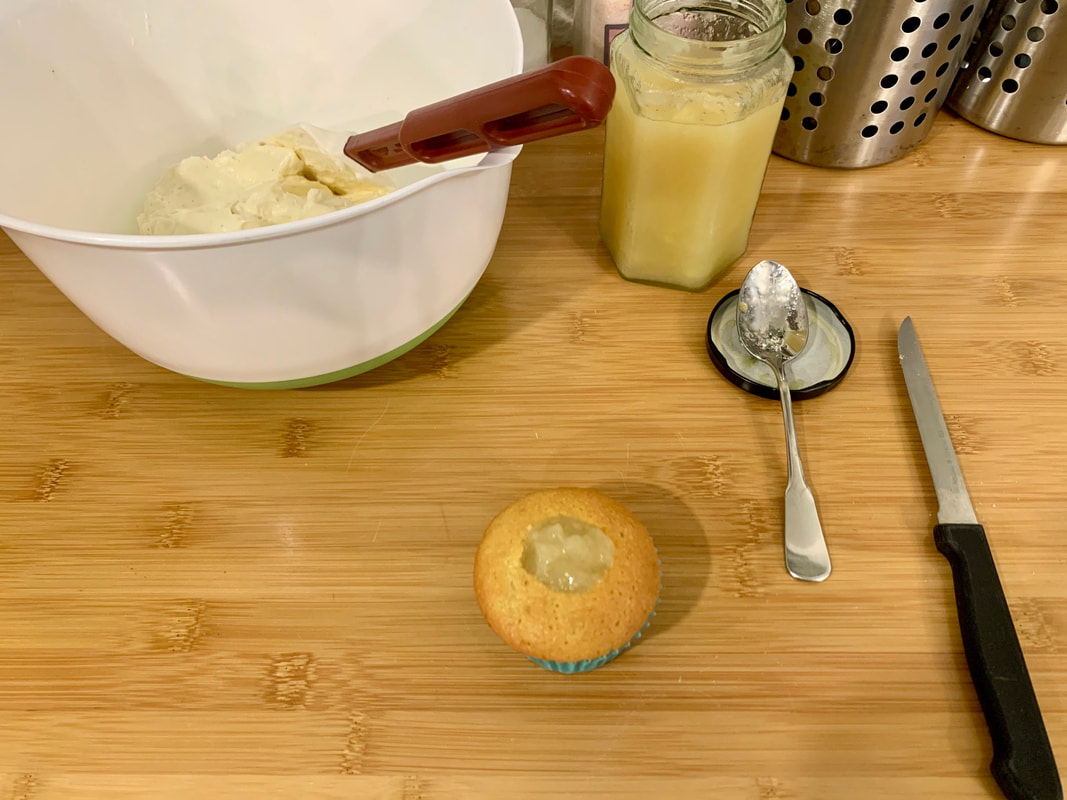
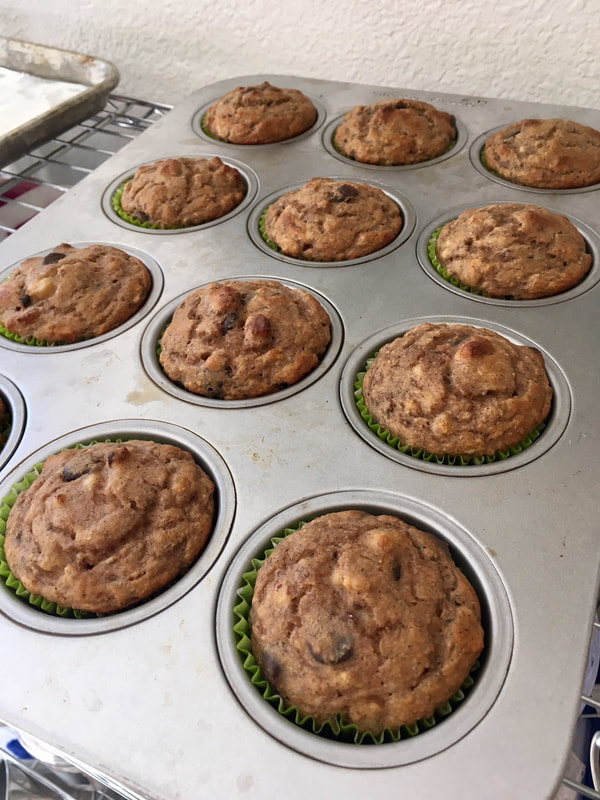
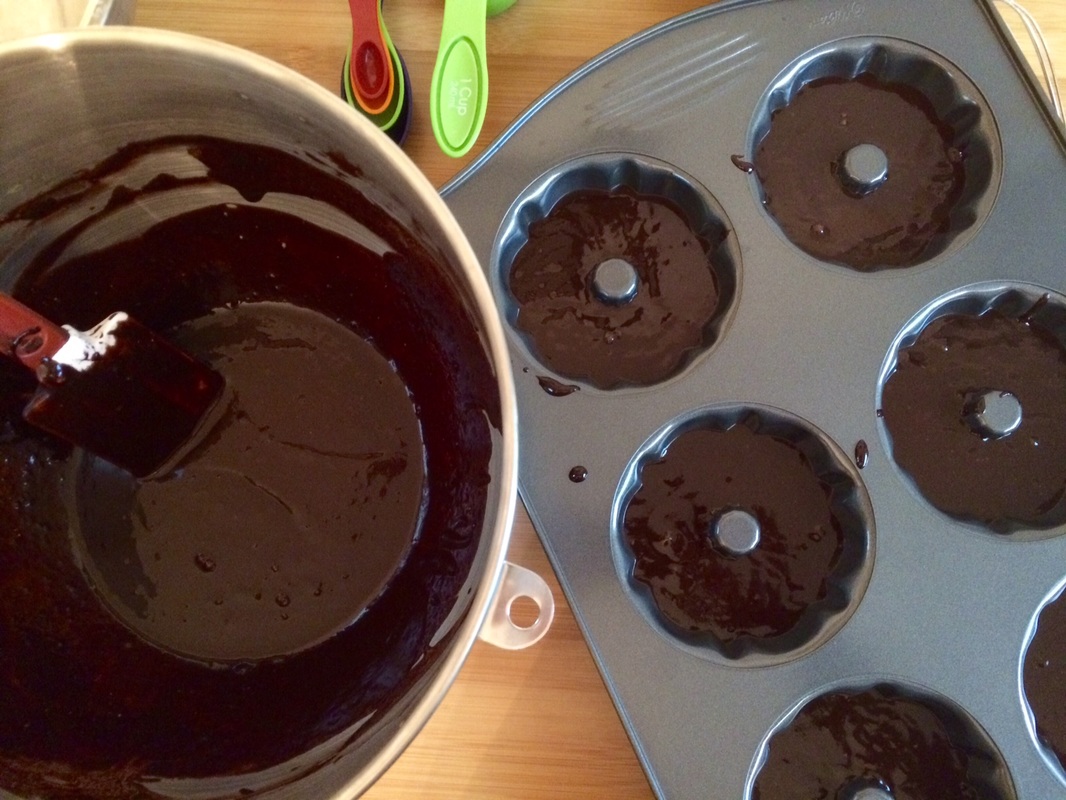
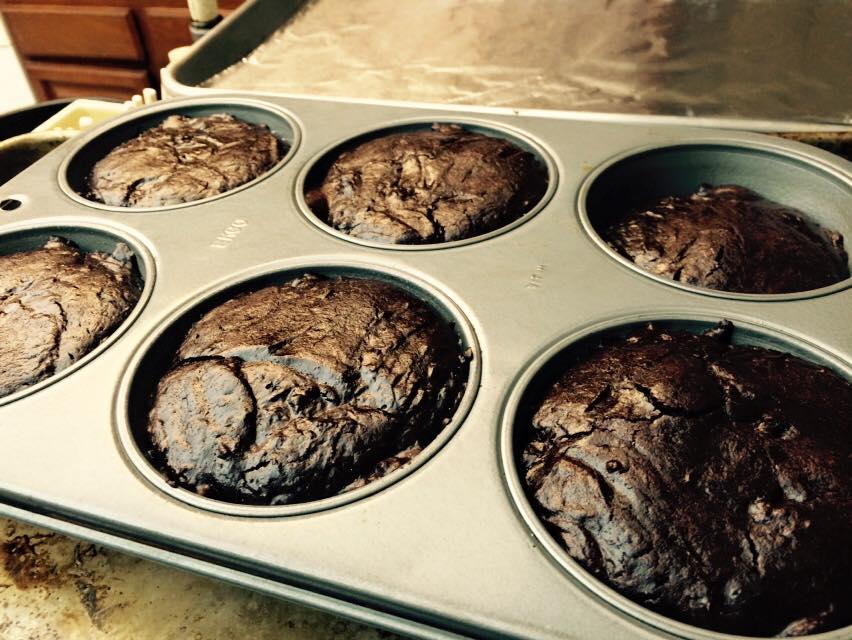
  3. Pour/spoon the batter into the liners, or if doing mini cupcakes, fill a piping bag and snip off the tip to help fill the cupcake liners. Fill each liner 2/3 full. For regular sized cupcakes, bake for 20-22 minutes, or until a toothpick inserted in the center comes out clean. For mini sized cupcakes, bake for about 12-13 minutes.
0 Comments

Almond Cupcakes

7/30/2020

0 Comments

 
This started when one of my best friends gave me some homemade apple jam made from her homegrown apples. Since I don't eat a lot of toast in general, I was trying to figure out if there were baked goods I could use it in without losing it as a flavor. While apple sauce and any fruit in general is a wonderful source of moisture for cakes, I wanted to actually taste it. Also, most baked goods that include apples tend to ask for the original fruit itself, whether in slices or chunks, rather than in jam form.

So, then came the idea of using it as a filling in cored out cupcakes, and I stumbled across this recipe for an almond cupcake that, coincidentally, was already going the jam-filled route! As it so happened, the cupcake itself was good enough to stand on its own even without the extra jam and icing, so it's getting its own recipe space. Extra bonus is that since it's made from almond flour rather than refined flour, I can eat a lot more of it without getting nasty sugar spikes! Yum!
Picture
Cupcake:
  • 3 cups almond flour or meal
  • 1-1/2 tsp baking powder
  • 1/4 tsp kosher salt
  • 6 large eggs
  • 1/2 to 3/4 cup granulated sugar (to taste)
  • 2 tsp vanilla extract
Icing:
  • 1 cup (2 sticks) unsalted butter, room temperature
  • 2 cups powdered sugar
  • 1/4 tsp kosher salt
  • 2 tsp vanilla extract
  • 1/4 cup heavy cream
  • 1/4 teaspoon almond extract
  • 1/2 cup fig (or your favorite) jam
  • Toasted sliced almonds (for serving)
  • ½
Cupcake:
  1. Preheat oven to 325°. Place cupcake liners in a 12-cup cupcake tray.
  2. Sift almond flour through a fine-mesh sieve into a medium bowl; discard any large pieces. Whisk in baking powder and salt.
  3. Using a stand mixer fitted with a whisk attachment, whisk eggs and granulated sugar on medium-high speed until pale and fluffy, about 5 minutes. Reduce speed to low and whisk in almond-flour mixture and vanilla until smooth, about 1 minute.
  4. Divide batter among cupcake cups (each one should hold a little less than 1/3 cups). Bake cupcakes, rotating pan partway through, until the tops are golden and a tester inserted into the centers comes out clean, about 15–20 minutes. Transfer cupcakes to a wire rack and let cool.
Icing:
  1. Using an electric mixer on medium-high speed, beat butter until light and fluffy, about 3 minutes.
  2. Reduce speed to low and, with motor running, add powdered sugar in 2 additions, beating until fully incorporated after each, about 2 minutes.
  3. Add cream, almond extract, vanilla, and salt and beat until light and creamy, about 1 minute.
  4. Using an apple corer or a knife, punch out about 1" from the top of each cupcake to form a hole in the center. Fill hole with a heaping teaspoonful of jam.
  5. Spread frosting over cupcakes and top each with a small handful of almonds.
Note: While the cupcake can have the sugar reduced a little more if you wish, the icing depends on the sugar for stiffening (and to help mask the pure butter taste, which I personally don't find as fun when eating straight unless it's salted butter). If you're set on reducing the sugar in the icing, then reduce how much cream you add as well, and watch the icing on warm days - you may need to keep it refrigerated to prevent melting.
0 Comments

Paleo Banana Nut Muffins

8/22/2018

0 Comments

 
Adapted from this recipe, don't let the "paleo" part fool you - this was a super-moist fluffy muffin that had none of the meal-like texture that I usually associate with nut or coconut-based flours. Granted, there's very little "flour" associated with it at all - just enough to hold everything together, which is why I love it since I'm highly sensitive to refined carbs. Even with all the bananas, it didn't taste over-sweet - in fact, some might find it not sweet enough, though I found it perfectly to my taste, especially with the walnuts to help add texture and the addition of some dark chocolate chips. I think this is a fabulous breakfast muffin, where you don't feel like you just ate a cup of sugar, can spread a little bit of butter and salt atop it if you'd rather have some savory than sweet, and feel like you ate something reasonably healthy with all the fruit and nut bases in it (not to mention a nice shot of chocolate)!
Picture
  • 3 - 4 large ripe bananas (1_2/3 cups mashed or 380 grams)
  • 3 eggs room temperature
  • 3 tablespoons coconut oil melted
  • 1 teaspoon vanilla extract
  • 1/3 cup almond butter
  • 1/3 cup (50g) coconut flour
  • 1 teaspoon ground cinnamon
  • 3/4 teaspoon baking soda
  • 3/4 teaspoon baking powder
  • 1/4 teaspoon salt
  • 1 cup toasted walnuts chopped
  • 1/2 - 3/4 cup chocolate chips (optional)
  1. Preheat the oven to 350ºF. Line a 12 pan muffin tin with paper liners or grease with coconut oil.
  2. In a large bowl or mixer, combine the mashed bananas, eggs, coconut oil, vanilla extract and almond butter until fully combined.
  3. Sift the coconut flour, cinnamon, baking soda, baking powder, and salt and add to the wet ingredients and mix well. Fold in the walnuts and chocolate chips.
  4. Divide the batter between the prepared muffin tins.
  5. Bake in the preheated oven for about 17-19 minutes. A toothpick inserted into the center of a muffin should come out clean.
  6. Remove from oven and allow to cool on a wire rack for about 10 minutes. Flip out onto a cooling rack to finish cooling.
0 Comments

James Beard's Zucchini Bread

7/6/2016

1 Comment

 
I received this recipe in my inbox one day, and it was a perfect opportunity to use up some of the mystery vegetables lying around the kitchen. I actually don't know what the squash-family veggie it was that I ended up putting into the bread, except that it definitely wasn't a zucchini. Nevertheless, even with such liberties taken - and, after I couldn't find either my loaf pans or my muffin-sized liners, falling back to my cupcake tins out of desperation - I could see why the recipe had a 4 out of 4-spoon rating. Nobody in my entire family stopped at just one cupcake, and my dad even accused me of lacing it with opium! *eyeshifts*
Picture
  • 3 eggs
  • 1.25 cups granulated sugar
  • 1 cup vegetable oil
  • 2 cups grated raw zucchini
  • 3 teaspoons vanilla extract
  • 3 cups all-purpose flour
  • 1 teaspoon salt
  • 1 teaspoon baking soda
  • 1/4 teaspoon double-acting baking powder
  • 3 teaspoons ground cinnamon
  • 1 cup coarsely chopped walnuts
Yield: 2 loaves or about 18-20 cupcakes
  1. Beat eggs until light and foamy. Add the sugar, oil, zucchini, and vanilla and mix lightly but well.
  2. Whisk together flour, salt, soda, baking powder, and cinnamon. Add to the egg-zucchini mixture.
  3. Stir until well blended, add nuts, and pour into two 9 x 5 x 3 inch greased loaf pans, or distribute into cupcake cups.
  4. Preheat oven to 350 F. For loaves, bake for 1 hour. For cupcakes, bake for 25 minutes.

There's now a much more thorough treatment of this recipe on Jen Reviews - Cozy, Crumbly Zucchini Bread Recipe, chock full of high-res photos! It's a great guide for anyone who has any questions about the many details that I admittedly elide here for the sake of reading and baking brevity.
1 Comment

Extraordinary Cakes: Decadent Yogi

5/12/2016

0 Comments

 
This is from Extraordinary Desserts' bake book Extraordinary Cakes, which I've replicated here as an easy reference to myself since I always bake from my phone. I would highly recommend picking up their book - as complicated as many of the recipes may seem, once I wrapped my mind around the ingredients lists and components, they haven't taken me more than 3 hours to both make and do ongoing clean-up (and as you can see, results in some seriously beautiful and decadent desserts!). Even better, they're not to the usual saccharinely American-sweet standards - I would suggest making it to the letter first and then adjust from there to your own taste.

As for this particular recipe, I've seriously made it 3 times in less than 2 weeks - that's how quickly it's been disappearing. The cake is wonderfully moist, even after sitting out overnight with no cover, and the chocolate crisp is a huge hit amongst all age groups. Even the frosting is quickly becoming my favorite - I'm usually not a huge fan of frosting (especially the infamous buttercream) but this didn't have nearly as much cloying butter and the 100% cocoa powder helped to cut the sweetness to something that complements the cake.

Picture
Chocolate Cakes
  • 1 10" bundt pan or a 6-cup bundt pan
  • Vegan butter stick, room temperature (for greasing)
  • 2 tbsp coconut flour
  • 2 cups all-purpose flour or (gluten-free) 1 cup brown rice flour + 1 cup sorghum flour
  • 1-1/2 tsp baking powder
  • 1 tsp baking soda
  • 1/2 tsp salt
  • 2 tbsp instant coffee granules
  • 2/3 cup cocoa powder, sifted
  • 1/3 cup grapeseed or vegetable oil
  • 3/4 cup (packed) brown sugar
  • 3/4 cup turbinado sugar
  • 1/3 cup pureed banana (about 1 small banana)
  • 2 tsp corn starch or potato starch
  • 2 tsp vanilla extract
Chocolate Frosting
  • 1/4 cup + 2 tbsp (3/8 cup) vegan butter, room temperature
  • 2-1/4 cups sifted powdered sugar
  • 1/4 cup + 2 tbsp sifted cocoa powder
  • 3 tbsp soy milk
  • 1 tsp vanilla extract
Chocolate Crunch
  • 2 oz (1/3 cup) vegan chocolate chips
  • 2 tsp grapeseed or vegetable oil
  • 1 cup puffed brown rice cereal
Chocolate Cakes
  1. ​Preheat oven to 300 F. Generously grease the cavity or cavities of the bundt pan with the softened butter stick.
  2. Sift together both flours, baking powder, baking soda, and salt.
  3. Bring 1-3/4 cups water to a boil in a saucepan over medium-high heat. Remove from heat and whisk in instant coffee. When fully combined, whisk coffee mixture into cocoa powder.
  4. In a stand mixture with a whisk attachment, combine oil, both sugars, banana, potato starch, and vanilla. Whip on medium until very well combined, 3-5 mins. Remove bowl from mixer and, using rubber spatula, fold in sifted dry ingredients in 3 additions, alternating with coffee-cocoa mixture.
  5. If using a 10" bundt pan, pour batter into pan. If using 6-cup bundt pan, use a 1/2 cup dry measure to fill each cavity with 1/2 cup of batter.
  6. Place cake pan on rack in center of oven and bake until an inserted knife comes out clean, about 30 mins for smaller cakes, 50 mins for 10" cake. Cakes should appear moist and spongy. Allow cakes to cool completely.
  7. When fully cooled, remove cakes from pan and wrap tightly in plastic wrap. Can be made 1 day in advance and stored at room temperature.
Chocolate Frosting
  1. Whip the butter on medium-high speed for about 3 mins. It will appear fluffier.
  2. Combine the powdered sugar and cocoa powder and add to the butter. Whip on medium speed for about 2 mins. Add the soy milk and vanilla and whip until well combined.
  3. Cover the bowl with plastic wrap and hold at room temperature until ready to frost the cakes, but for no longer than 3 hours before using.
Chocolate Crunch
  1. Line a baking sheet with parchment paper or Silpat.
  2. Melt the chocolate chips in a heatproof mixing bowl set over a pan of simmering water (do not allow the bowl to touch the water), stirring occasionally. Remove from heat, and using a rubber spatula, mix in oil until smooth and homogeneous. While chocolate mixture is warm but not hot, fold in cereal until well incorporated.
  3. Using a metal spatula, spread mixture as thinly as possible onto prepared baking sheet. Place Chocolate Crunch in refrigerator until firm, about 15 mins. Break up crunch into larger pieces and reserve in refrigerator until ready to use, or for up to 4 hours.
After cake assembly:
  1. Refrigerate the decorated cakes for 2 hours to set. When ready, place frosted cakes on a serving platter, and allow to come to room temperature for 1-2 hours before serving.
0 Comments

Coconut Banana Bread w/ Lime Glaze

5/4/2016

0 Comments

 
My mother likes to eat bananas just as they're coasting from raw to ripe - in other words, she usually manages to eat only 2-3 out of a bunch before the rest are too ripe for her taste. Inevitably, the rest languish away. In the past I've just thrown them into a smoothie if I notice them in time, but this time, I decided to do some serious research into a go-to banana bread recipe. This was adapted from a myrecipes.com page, and I have to say, the sweet lime glaze certainly adds a nice accent!
Picture
  • 9" x 5" loaf pan
  • 2 cups flour
  • 3/4 tsp baking soda
  • 1/2 tsp salt
  • 2/3 cup sugar
  • 1/4 cup butter, softened
  • 2 large eggs
  • 1-1/2 cups mashed ripe banana (about 3 bananas)
  • 1/4 cup plain yogurt
  • (optional) 3 tbsp dark rum or 1 tbsp molasses
  • 1/2 tsp vanilla extract
  • 1/2 cup flaked coconut + extra for garnishing
Glaze:​
  • 1/2 cup powdered sugar
  • 1-1/2 tbsp fresh lime or lemon juice

  1. Preheat oven to 350 F.
  2. Combine flour, baking soda, and salt, stirring with a whisk.
  3. Beat the sugar and butter in a large bowl at medium speed until well blended. Add eggs, one at a time, beating well after each addition.
  4. Add banana, yogurt, rum or molasses, and vanilla. Beat until blended.
  5. Add flour mixture, beat at low speed just until fully blended. Stir in the flaked coconut.
  6. Spoon into the loaf pan and sprinkle with some extra coconut. Bake for 1 hour or until wooden pick inserted into center comes out clean.
  7. Cool in pan for 10 minutes on a wire rack, remove from pan. Combine powdered sugar and lime juice, stirring with a whisk, and drizzle over warm bread. Cool completely on wire rack.
Notes: The amount of banana you can throw in there is somewhat forgiving - I threw in 4 bananas, and didn't bother measuring how much there was except to ensure that it was at least 1.5 cups. I also sort of eyeball the time - depending on what pan you use (the first time I made this was in a much larger pan) it may take much less than 1 hour to finish. My rule of thumb is that it should turn golden, but it should not start to brown. Try the toothpick trick every 5 minutes after the 40 minute mark to test its doneness.
0 Comments

Pumpkin Bread / Cupcakes

10/4/2015

 
This recipe came from a good friend of mine, and even when accidentally over-baked, it still turned out more than edible, so it's quite robust! The original recipe called for 1.5 cups of sugar, but as I'm notoriously sugar-shy, I dropped it down to 1 cup and folks are still loving it. I think one can also experiment with some brown sugar substitution instead, to give it that extra holiday-taste and help keep even more moisture in. The original recipe also called for only 3 cups of pumpkin, but since my family loves the pumpkin taste, I bumped that up to 4.
Picture
  • 2 cups all-purpose flour
  • 2 teaspoons cinnamon
  • 1 teaspoon baking soda
  • 1/4 teaspoon baking powder
  • 1/2 teaspoon salt
  • 3 large eggs
  • 1 teaspoon vanilla extract
  • 1 cup sugar
  • 3/4 cup vegetable oil
  • 4 cups shredded fresh pumpkin
  • (optional) chopped walnuts
Servings: 1 loaf or 1.5 dozen small cupcakes
  1. Preheat the oven to 325 degrees F.
  2. Sift the flour, cinnamon, baking soda, baking powder, and salt together.
  3. In a separate bowl, beat the eggs, then mix in the vanilla, sugar, and vegetable oil. (If the oil remains separate, use a hand whisk and beat until everything looks reasonably combined.) Combine with the dry ingredients and then fold in the shredded pumpkin (and walnuts if you're adding them). Once the ingredients are all incorporated pour into a non- stick 9" x 5" loaf pan (if your pan is not non- stick, coat it with butter and flour) or spoon into 18 cupcake molds.
  4. For loaves, bake for 1 hour and 15 minutes. For cupcakes, bake for 35-40 minutes. Remove to cool for 5-10 minutes, then move either the loaf or the cupcakes to a wire rack to cool completely so that steam trapped between the pan and the bread doesn't make it soggy.
Note: A sour cream cheese frosting goes GREAT with this!

Flourless Chocolate Cake (from Blue Point)

4/9/2015

0 Comments

 
The Blue Point is a restaurant in San Diego that purportedly hired its dessert chef away from Disney. I can believe it. They were kind enough when I asked for the recipe to not only email it to me, but cut it down to "home portions" - but beware, this is still a VERY big batch of batter!
Picture
  • 1-1/4 lb semi-sweet chocolate chips (for very dark, 70%, for somewhat sweeter, at most 60%)
  • 1-1/4 lb unsweetened baking chocolate
  • 1 tsp salt
  • 1 lb + 2 oz butter (cut into pieces)
  • 1-1/4 cups water
  • 1 lb + 2 tbsp granulated sugar
  • 12 whole eggs
  • 1 tbsp vanilla extract
Servings: about 18 mini-cakes or 36 cupcakes
  1. In a mixing bowl whisk eggs thoroughly and set aside for later use.
  2. In another mixing bowl combine both kinds of chocolate, butter, water, sugar, and salt over a double boiler. Cook until all ingredients have melted.
  3. Whisk the mixture to a smooth consistency (no lumps), remove the bowl from heat, and set aside to cool for 20 mins at room temperature. Once slightly cooled, gently whisk in the eggs and add the vanilla, place in a covered container, and refrigerate for a day until mixture has set before using.
  4. For more even baking, take mixture out of refrigerator and set outside to warm up closer to room temperature. Scoop into a silicone mold and bake in a pre-heated oven at 350 degrees for 15-20 mins, rotating the sheet pan after 10 mins. Set aside to cool before storing.
Cake mix will last up to 4 days in the refrigerator, or you can bake off the whole mix and freeze the cakes once baked. Thaw them out to room temperature before using. You can serve them warm by microwaving them for 30 seconds.
0 Comments

Red Velvet Cupcakes

4/9/2015

0 Comments

 
This might almost be more of a really decadent chocolate cupcake instead of specifically red velvet, but regardless of the subtleties of taste, it's been fantastic as both a cake and cupcake; moist, and full of flavor. However, due to the amount of chocolate, it DOES get very dark, especially if you use 70% like I usually do. That's why I prefer the gel food coloring, which is even more intense than pouring whole bottles of liquid food coloring in.
Picture
  • 2 1/2 cups cake flour
  • 1/2 cup unsweetened cocoa powder
  • 1 teaspoon baking soda
  • 1/2 teaspoon salt
  • 1 cup butter, softened
  • 1.5 cups sugar
  • 4 eggs
  • 1 cup sour cream
  • 1 1/2 cup buttermilk
  • a few drops of red gel food coloring
  • 1 tsp vanilla paste
  • vanilla cream cheese frosting

  1. Preheat oven to 350 degrees F. Mix flour, cocoa powder, baking soda and salt in medium bowl. Set aside.
  2. Beat butter and sugar in large bowl with electric mixer on medium speed 5 minutes or until light and fluffy. Beat in eggs, one at a time. Mix in sour cream, buttermilk, food color and vanilla. Gradually beat in flour mixture on low speed until just blended. Do not overbeat. Spoon batter into 30 paper-lined muffin cups, filling each cup 2/3 full.
  3. Bake 20 minutes or until toothpick inserted into cupcake comes out clean. Cool in pans on wire rack 5 minutes. Remove from pans; cool completely. Frost with Vanilla Cream Cheese Frosting.
0 Comments

Rhubarb Buttermilk Muffins

4/9/2015

0 Comments

 
This is a great way to mop up "rhubarb scraps" from other recipes, such as rhubarb pie, when you've got a bunch of stalks left over. These muffins passed the "dad test".

I have not yet tried the version with the topping - since my family tends to like things less sweet, I simply left that part out.
Picture
  • 1 1/2 cups brown sugar 
  • 1/4 cup salad oil 
  • 1 egg 
  • 2 tsp vanilla extract 
  • 1 cup buttermilk 
  • 2 cups finely diced rhubarb 
  • 1 cup pecan pieces 
  • 2 1/2 cups all-purpose flour 
  • 1 tsp baking powder 
  • 1 tsp baking soda 1/2 tsp salt
Topping:
  • 1/3 cup sugar 
  • 1 1/2 tsp cinnamon 
  • 1 tbsp melted margarine

  1. Preheat oven to 400 degrees. Grease 24 medium-sized muffin cups.
  2. Combine in large bowl: brown sugar, oil, egg, and vanilla. Beat until well mixed. Stir into mixture buttermilk, rhubarb, and pecans.
  3. In another bowl, sift together flour, baking powder, baking soda, and salt. Add this mixture all at once to rhubarb mixture and stir until all ingredients are moistened. Do not over mix.
  4. Fill prepared muffin pan 3/4 full with batter.
  5. Quickly combine topping ingredients and sprinkle on top of batter in each muffin cup.
  6. Bake in preheated oven on center shelf 15 to 20 minutes.
0 Comments
<<Previous
    Picture

    Sweet Enough

    Part of the reason I started baking was because I like my goodies to be less obviously sweet - I want to taste the flavor, not just the sugar. So most of these recipes will have the sugar dialed down.

    This site also acts as my mobile recipe box, so instructions are often pared down to a minimum - very few frills but for some hints and suggestions!

    RSS Feed

    Categories

    All
    Alcohol
    Almond
    Apple
    Avocado
    Baklava
    Banana
    Bars
    Biscotti
    Blackberry
    Blueberry
    Bread
    Buttercream
    Cake
    Candy
    Carrot
    Cheese
    Cherry
    Chicken
    Chickpea
    Chinese
    Chocolate
    Cider
    Cobbler
    Coconut
    Coconut Milk
    Cookie
    Corn
    Cranberry
    Cream
    Cream Cheese
    Creme Brulee
    Crumb
    Crust
    Cupcake
    Custard
    Dates
    Decoration
    Dip
    Dough
    Doughnut
    Dumpling
    Easy Peasy
    Egg
    Filling
    Flowers
    Frosting
    Fruit
    Garnish
    Gelee
    Granola
    Green Tea
    Honey
    Ice Cream
    Icing
    Jam
    Lamb
    Lemon
    Lime
    Lobster
    Lotus Seed
    Macaron
    Mango
    Marshmallow
    Meringue
    Mochi
    Muffin
    Nectarine
    Nutella
    Nuts
    Oat
    Oats
    Onion
    Orange
    Pancake
    Panna Cotta
    Peach
    Peanut Butter
    Pear
    Pecan
    Phyllo
    Pie
    Pistachio
    Plum
    Popsicle
    Pound Cake
    Pumpkin
    Quiche
    Raspberry
    Red Bean
    Rhubarb
    Rice
    Ricotta Cheese
    Rugelach
    Sauce
    Savory
    Scone
    Sesame
    Shortbread
    Soup
    Sponge
    Sponge Cake
    Strawberry
    Streusel
    Tahini
    Tart
    Tofu
    Topping
    Torte
    Vegetable
    Vinaigrette
    Walnut
    Watermelon
    Yogurt
    Zucchini

    Archives

    September 2021
    March 2021
    February 2021
    December 2020
    November 2020
    October 2020
    July 2020
    May 2020
    April 2020
    March 2020
    October 2019
    December 2018
    October 2018
    August 2018
    April 2017
    July 2016
    May 2016
    March 2016
    February 2016
    January 2016
    December 2015
    November 2015
    October 2015
    September 2015
    July 2015
    June 2015
    May 2015
    April 2015
    February 2015
    January 2015
    November 2014

© 2019 Jacqueline Teng | DragonWarden