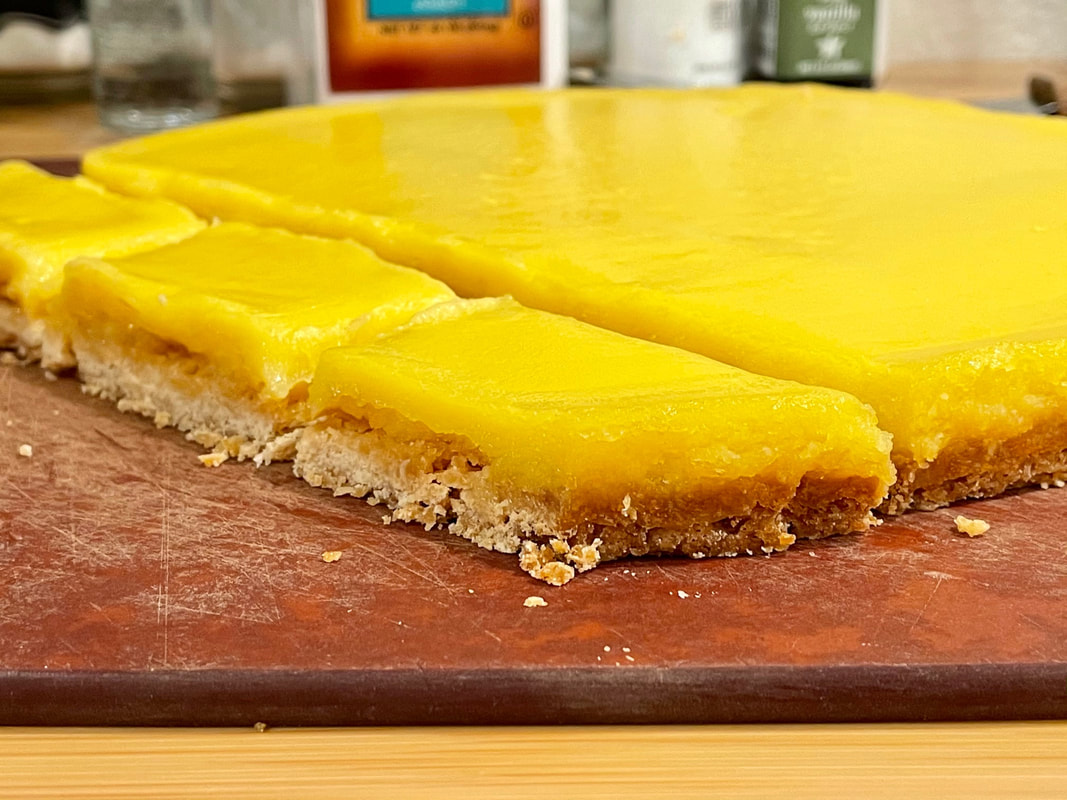
This was originally a part of the super-lemony lemon tart, but I broke it out into its own recipe because I ended up using it for several other things, such as the other tart-tasting sweet, the cranberry tart. This ended up such a simple, reliable recipe that it's now my go-to substitution for quite a lot of things!
 |
|
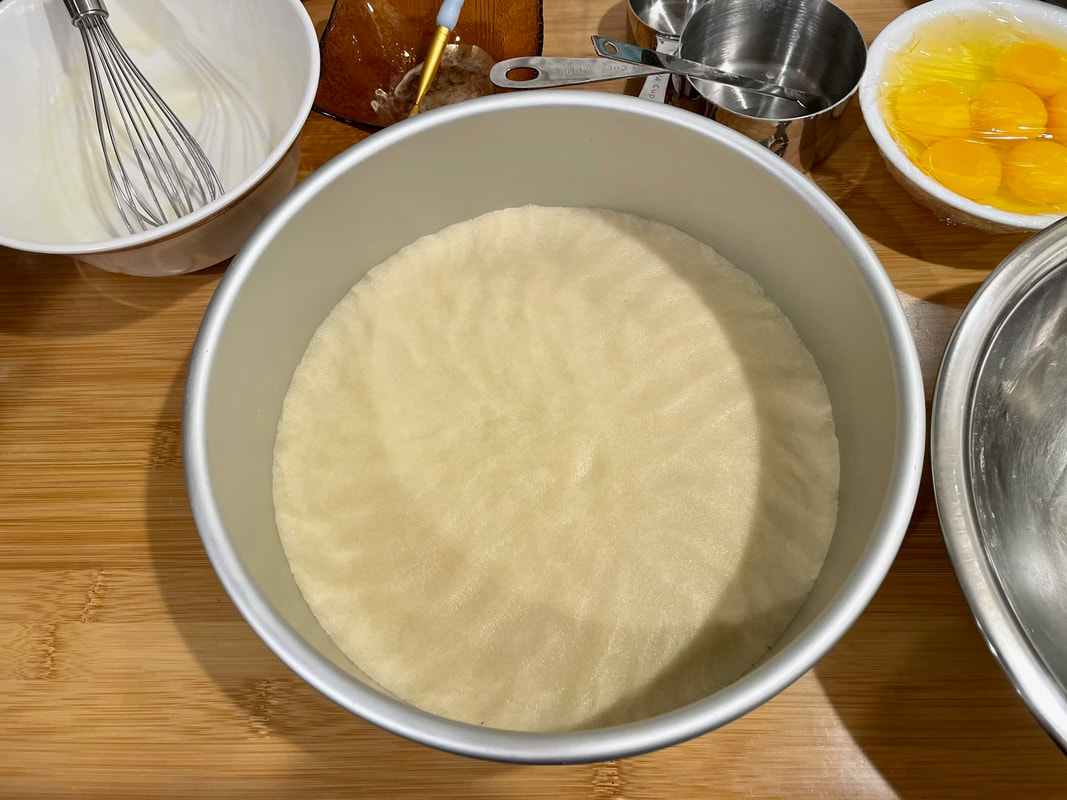
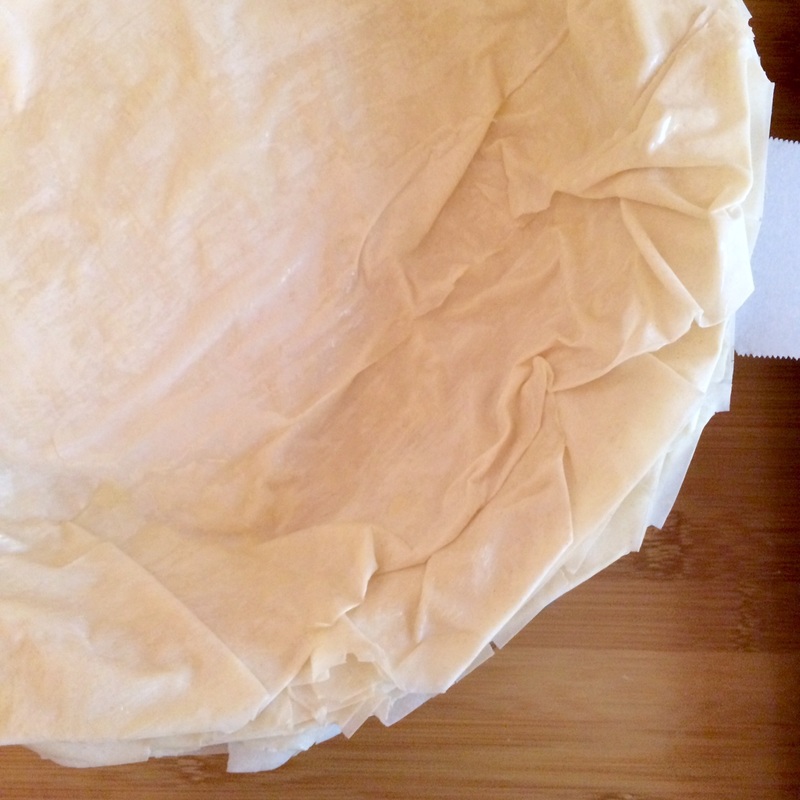
- Preheat oven to 350F. If the pan does NOT have a removable bottom, line it with foil (it will help you lift the finished dessert out). If the pan DOES have a removable bottom, butter the bottom and sides.
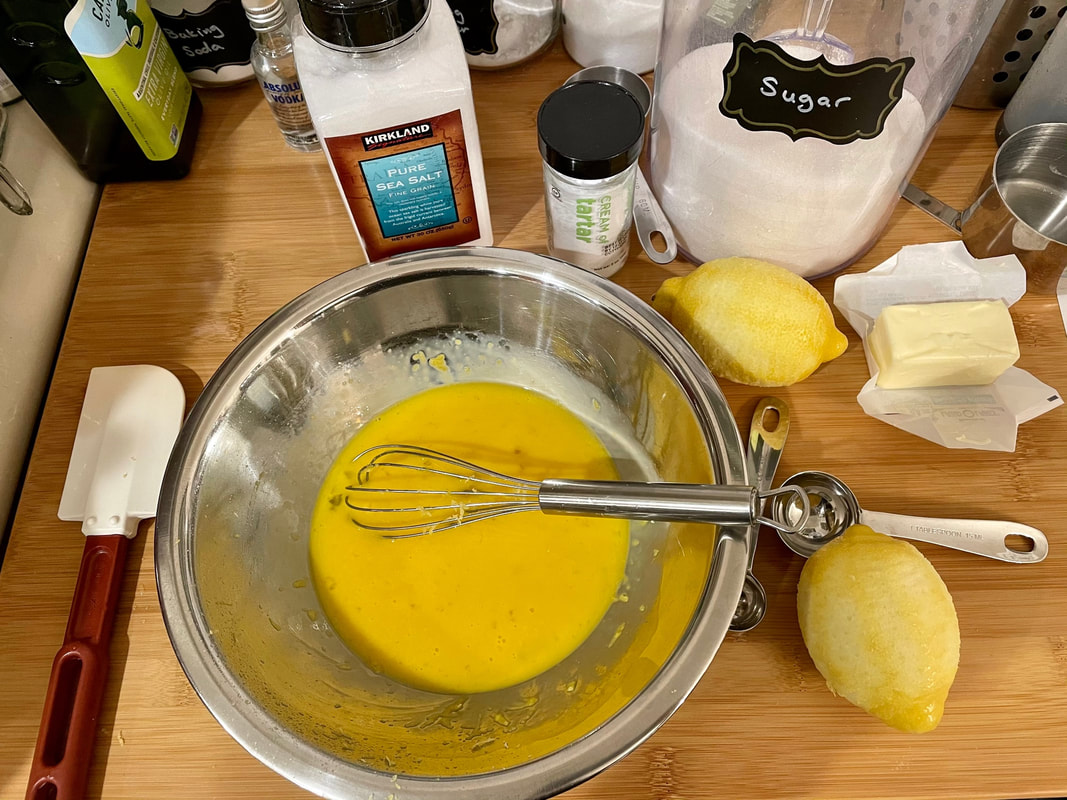
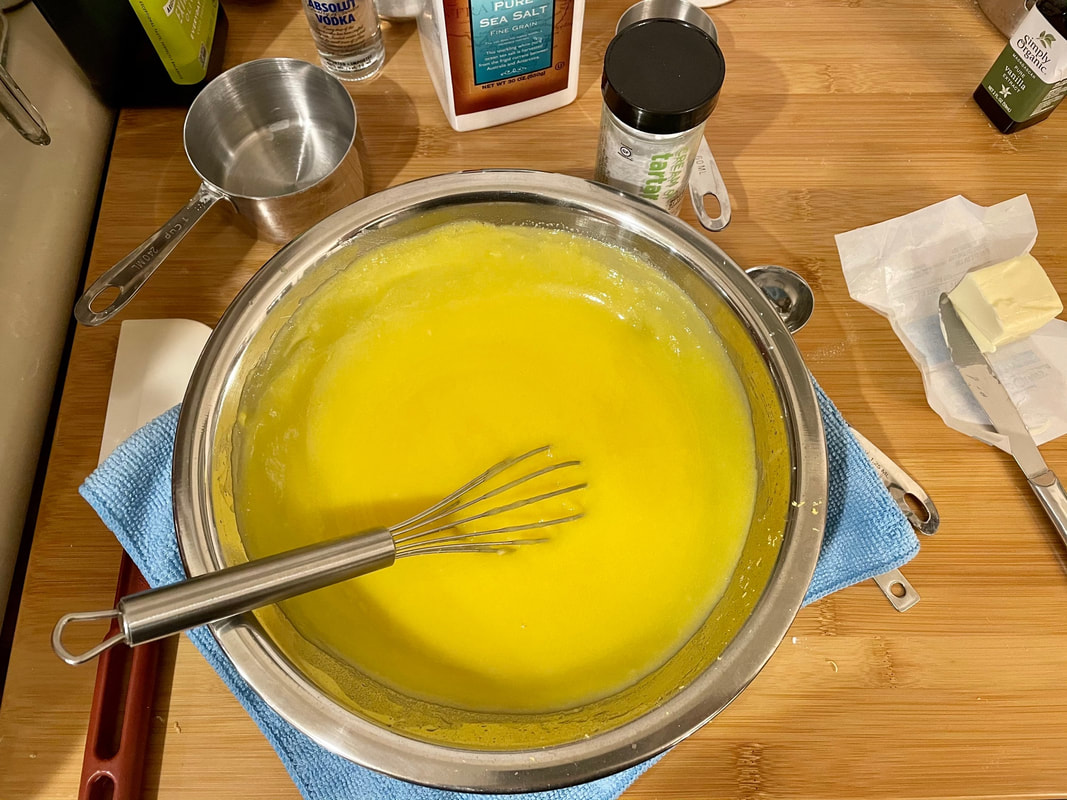
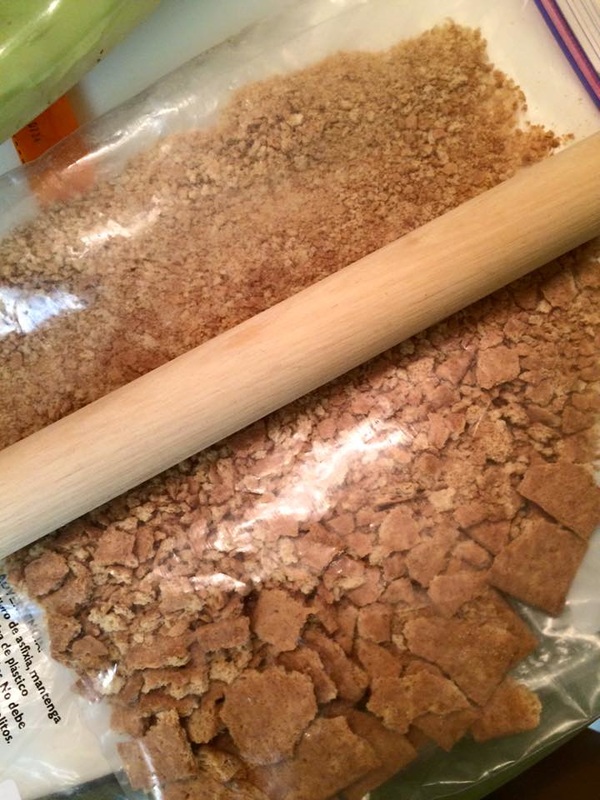
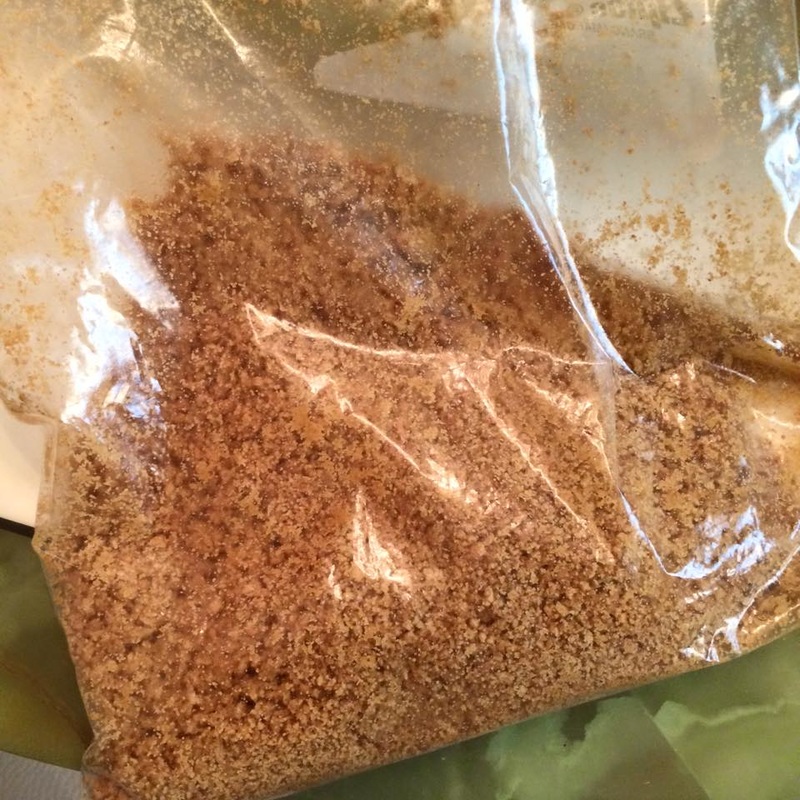
- Melt the butter and whisk in sugar and salt. Sift and mix in the flour.
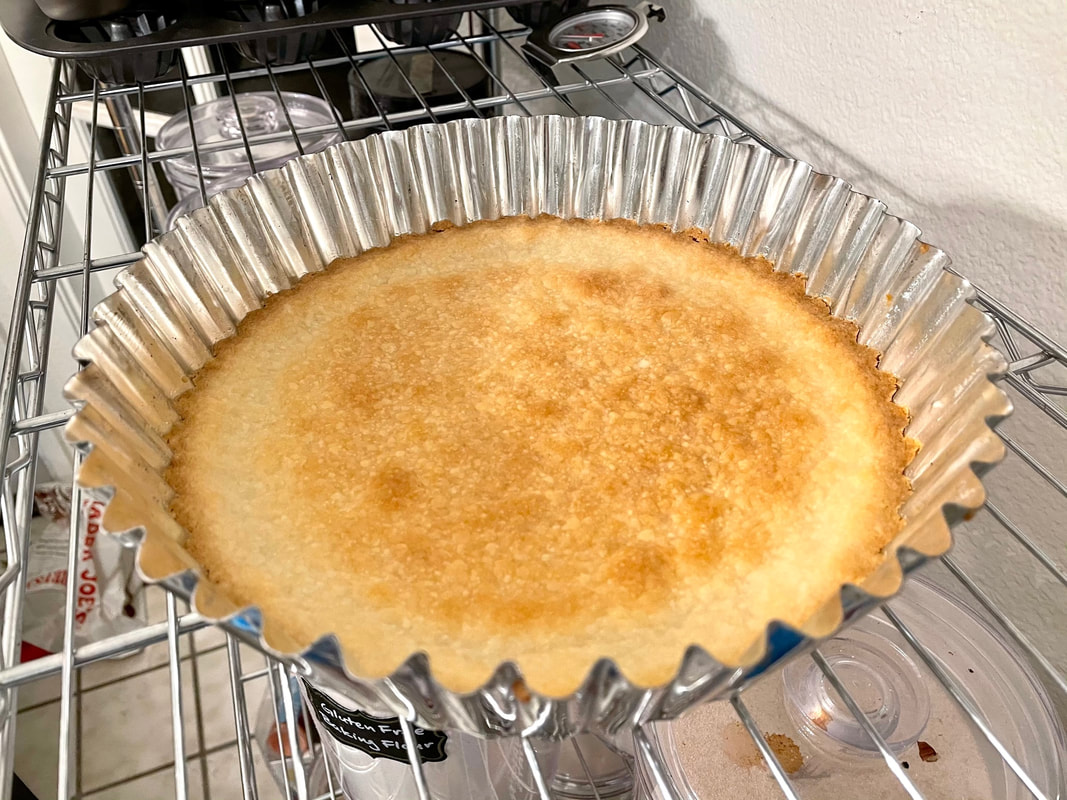
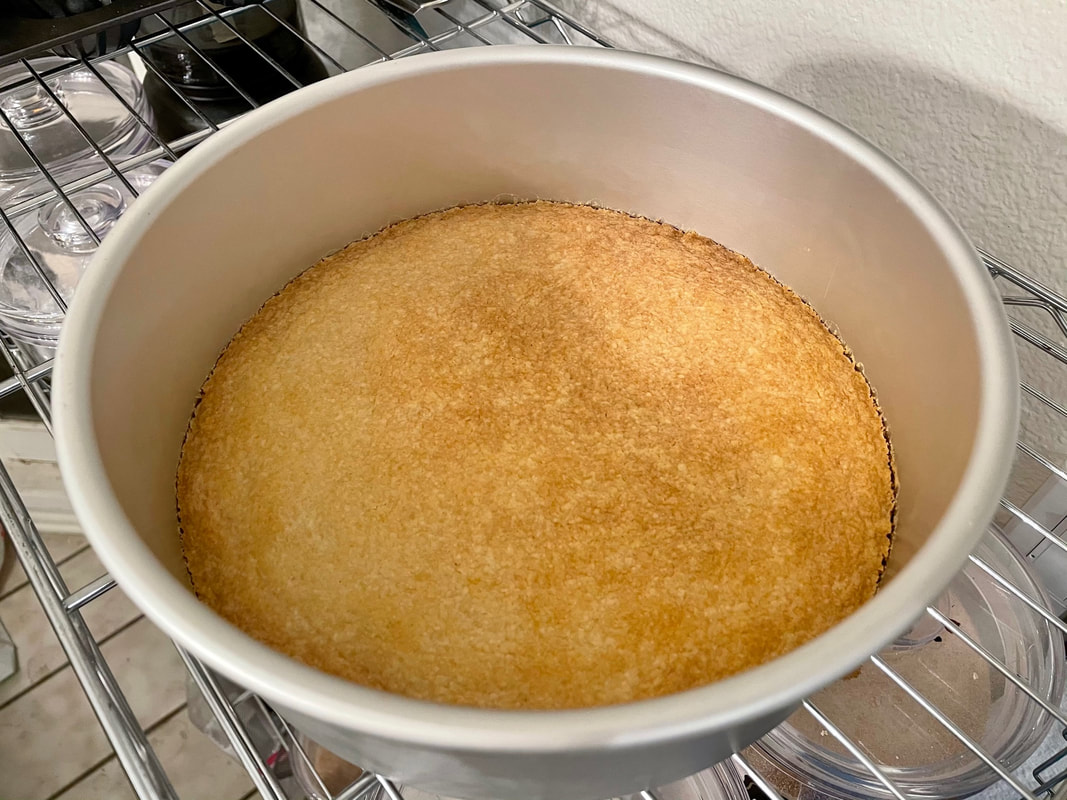
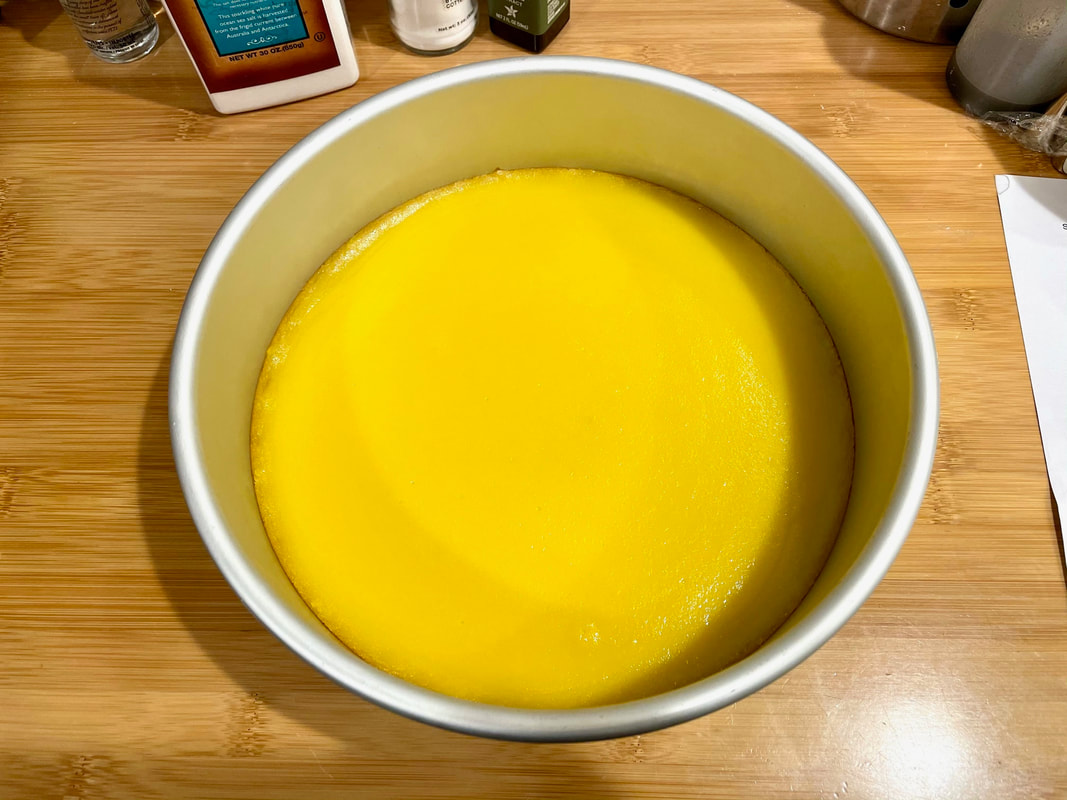
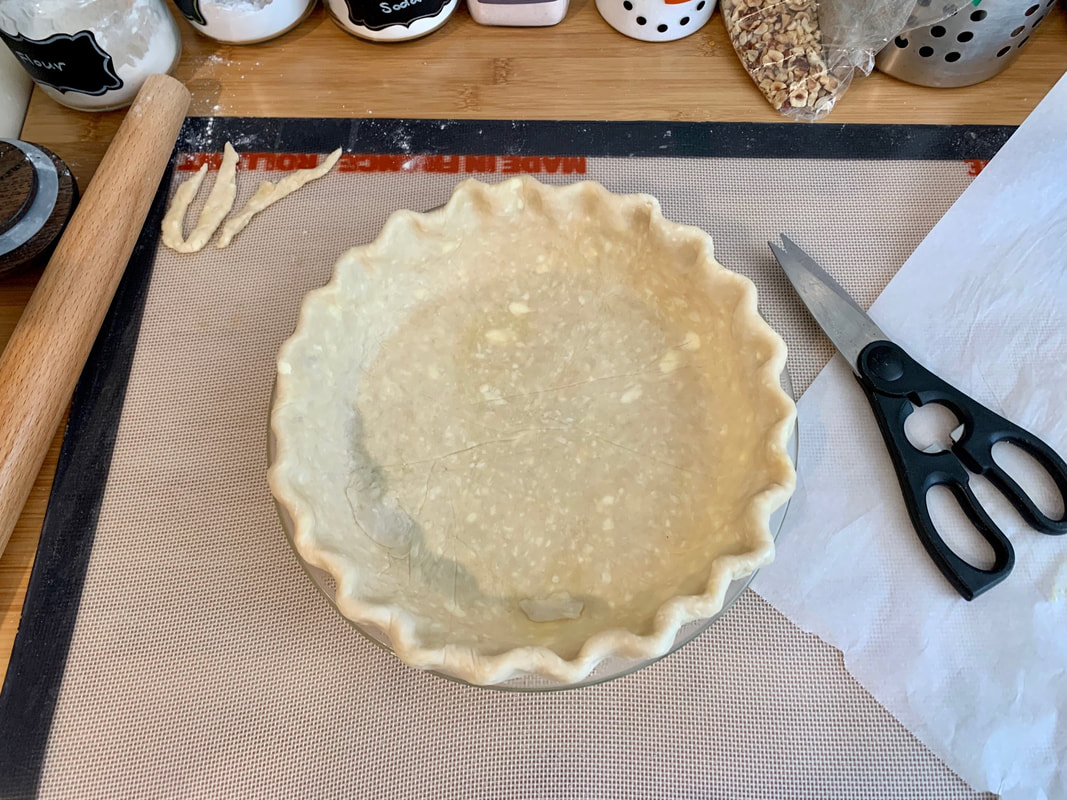
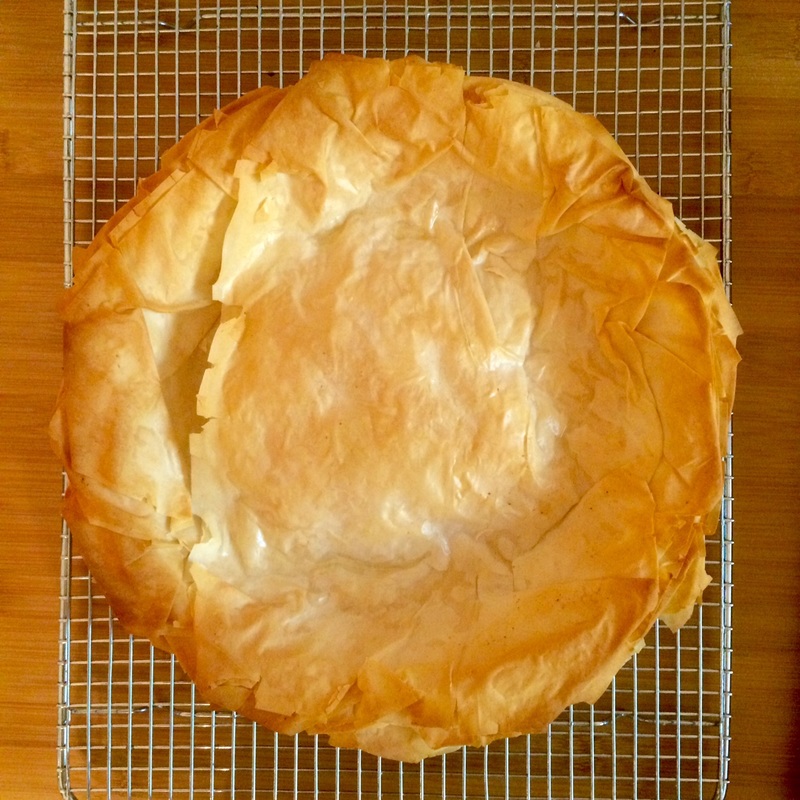
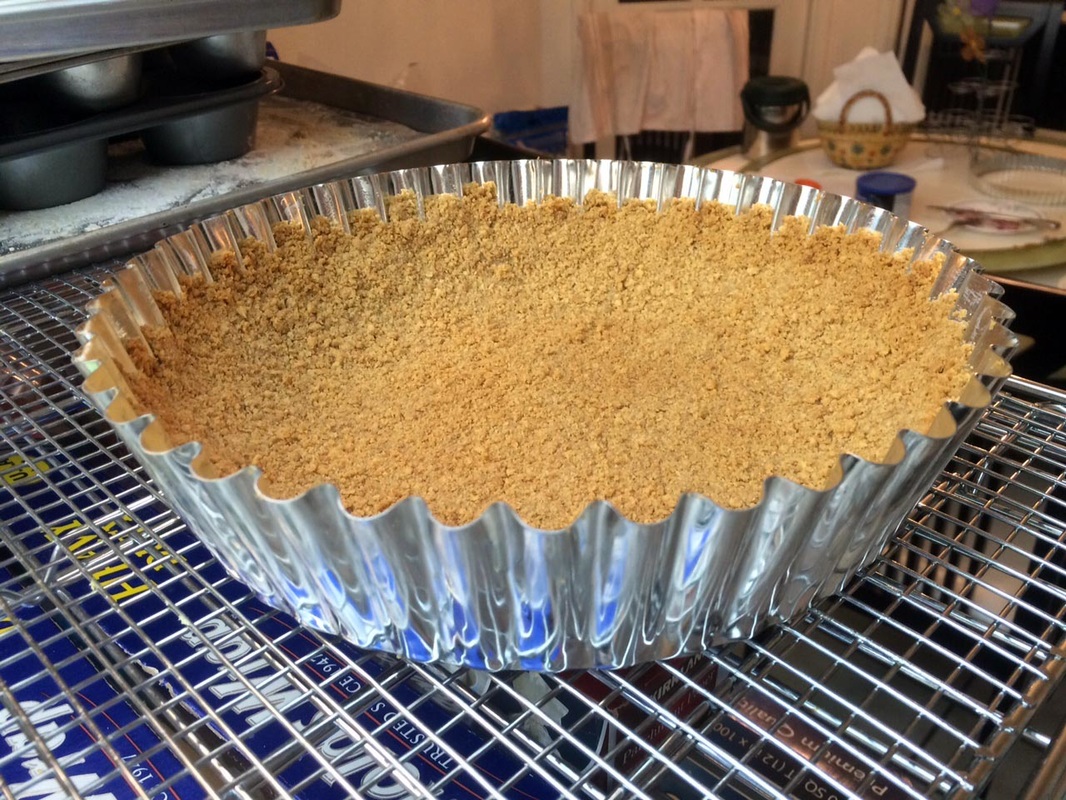
- Press into a ¼” thick layer at the bottom of the prepared pan (you can make it curl slightly up the sides to help keep the filling/topping from sticking too much to the sides) and bake for about 25 minutes, until golden brown (this is a little crispier than normal shortbread cookies). Take out and set on a cooling rack. Prick the surface lightly all over with a fork - only halfway through the shortbread, not all the way through. This will help the filling to “stick”.


 RSS Feed