DragonWarden
  • Adventures
  • The Oven
  • The Un-Tea Party
  • Secret Ingredients
  • About

Macaron

11/16/2020

0 Comments

 
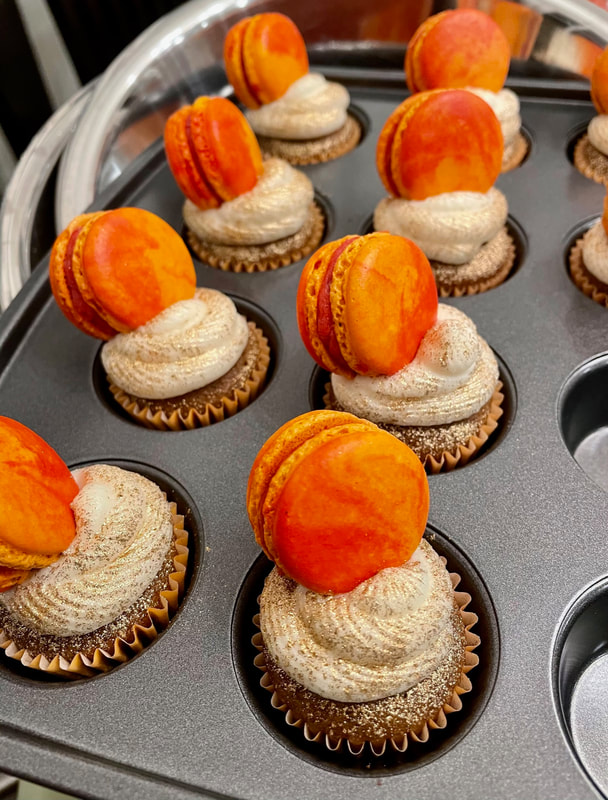
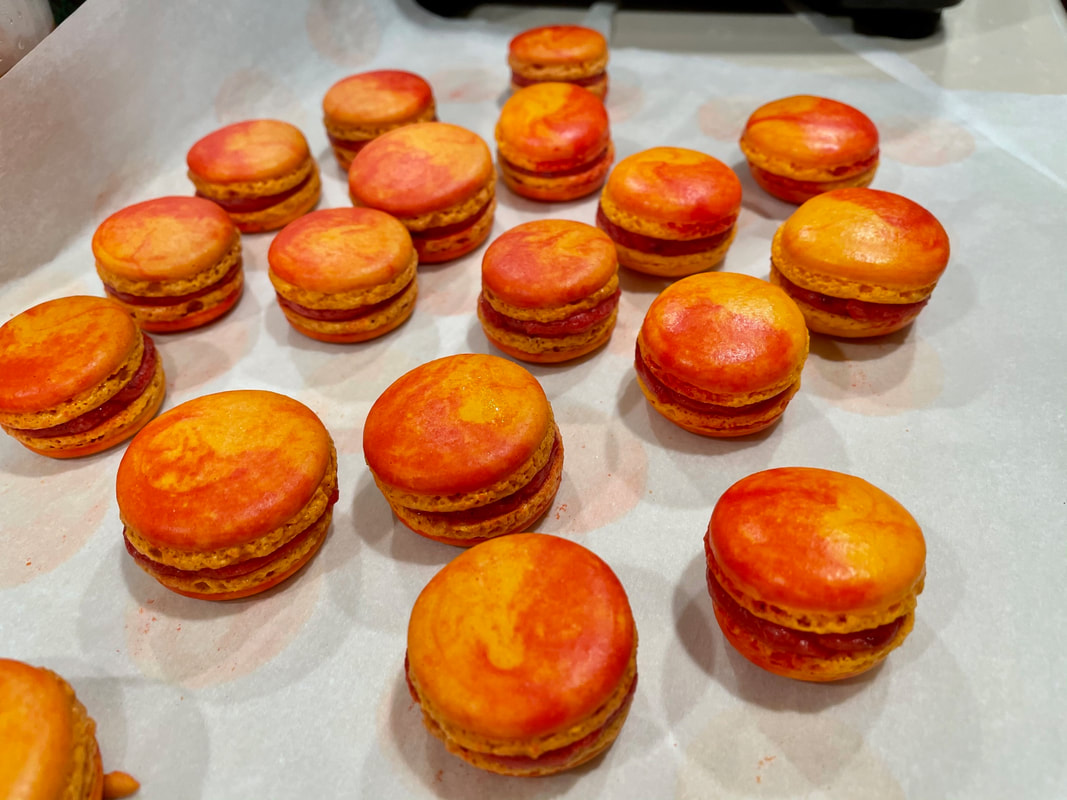
One of the iconic tests of a baker's skill, the macaron, was something I had never had an inclination to try. Not only because of their storied fussiness, but quite simply, I hadn't liked to eat them. But! I was introduced to an episode or two of the Great British Baking Show in which featured a showstopper piece that used tiny, adorable maroon macarons ... and I was hooked. I absolutely had to try making them because they were just so cute and tidy-looking.

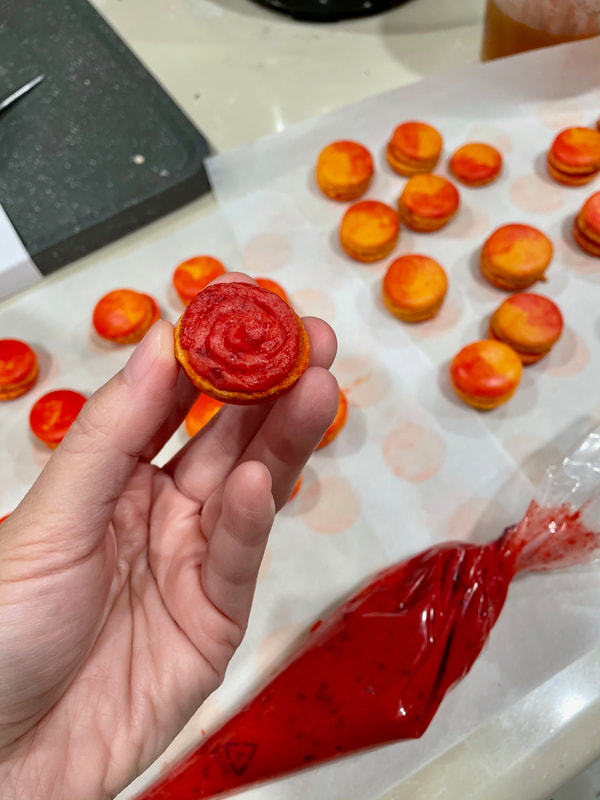
Well, as happy endings go, this won the slam dunk, as in the process of having to taste-test my own work, I started learning an appreciation for the taste and texture of the macaron as I tried to figure what the heck made them so special to other consumers. And now, I love both playing around with these little bakery sandwiches and consuming the results! Win-win!

Picture
  • 100 g egg whites, room temperature (about 3 large eggs)
  • 90 g granulated sugar
  • 1/4 tsp cream of tartar (800mg)
  • 130 g almond flour
  • 130 g powdered sugar
Note: If you would like more details about the process (along with why you should or should not do certain things), this website was an excellent resource during my research. It helped me make proper macarons right out of the gate, no failures at all!
  1. 1-3 days before making: Separate egg whites and keep them in a container in the fridge. You may cover them with a sheet of plastic wrap and poke several holes into the top. When ready to make the macarons, take the egg whites out of the fridge an hour beforehand and let them come up to room temperature.
  2. (optional) Prepare a guide for the macarons by printing out rows of one-inch circles on 4 sheets of paper and lining them on the bottoms of two baking sheets.
  3. Lay parchment paper over two baking sheets, cutting them down to the size of the sheet tray. It's important not to fold over/overlap the parchment paper on itself, otherwise the macarons won't bake evenly.
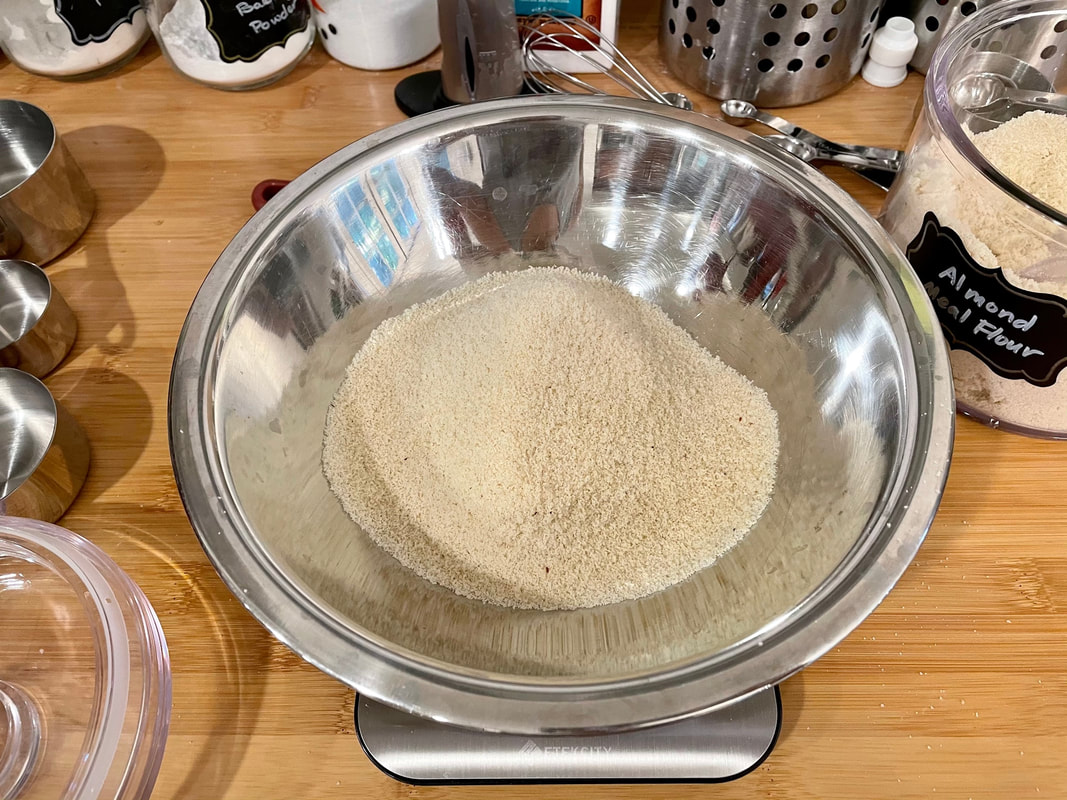
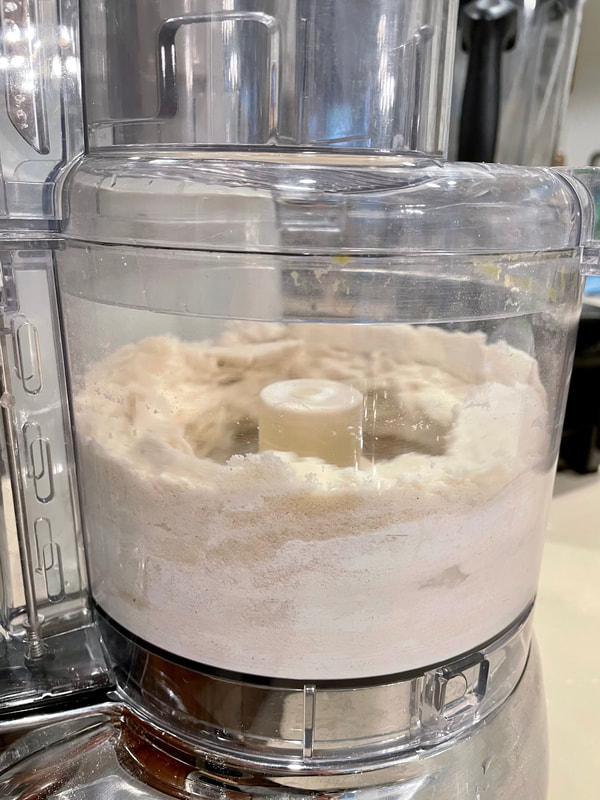
  4. Gently sift the confectioners sugar and almond flour into a bowl (don't try to force it through the sieve), throwing away the large bits that are left behind (don't be afraid to toss as much as a teaspoon's worth if necessary). Transfer to a food processor and pulse a few times for several seconds at a time. Then sift back into a bowl, once again throwing away the large pieces.
  5. Add the room temperature egg whites into a very clean bowl.
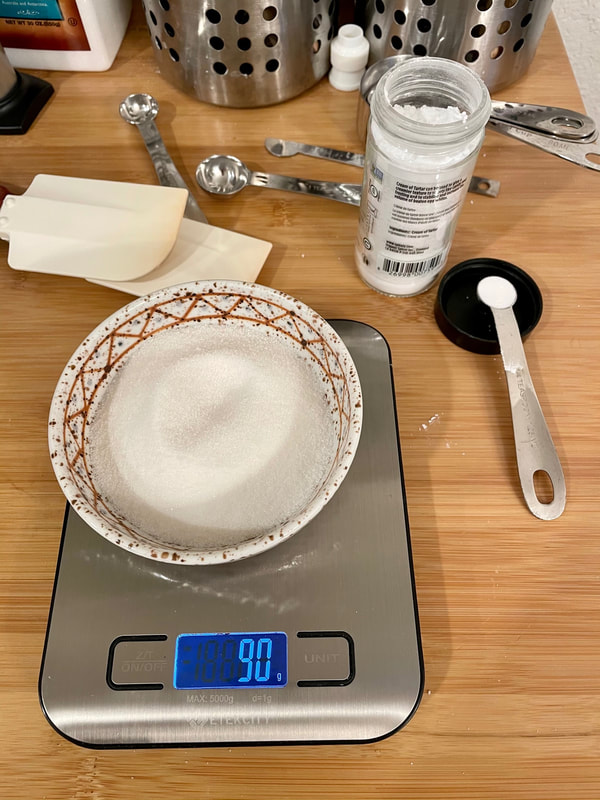
  6. Using an electric mixer, whisk egg whites. Once they begin to foam add the cream of tartar and then SLOWLY start to add the granulated sugar while you whip to the soft peak stage.
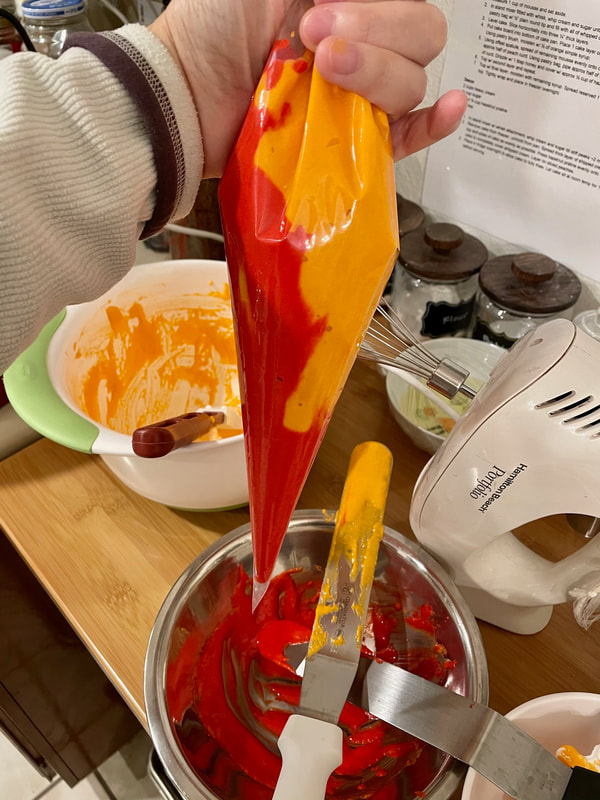
  7. (optional) You can add food coloring if desired at any point between now and just before step 10. However, if you're planning on making more than one color of macaron from a single batch of batter, I would suggest you add it toward the end of step 9, just as the batter is coming together into its "lava" form. The last few folds of the spatula to mix the color thoroughly will also help the batter achieve this final state. It may take a little practice to recognize when the batter is about to achieve this ideal phase, so I would suggest making it using a single color a few times first until you learn the timing of each phase the batter goes through.
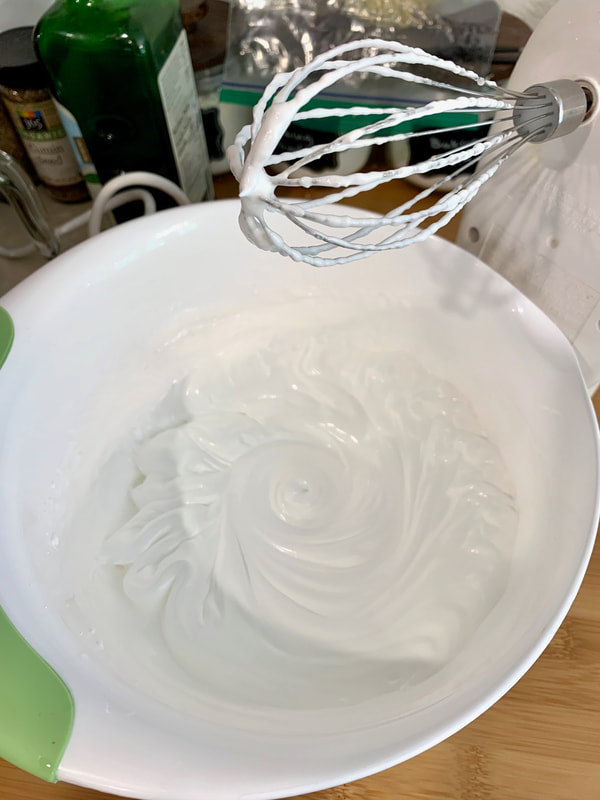
  8. Add the vanilla. Continue to beat until stiff peaks form.
  9. Begin folding in 1/3 of the dry ingredients. Once incorporated, carefully add the remaining dry ingredients and fold gently. It will go through a stage in which the batter looks granular, but keep folding and it will slowly start to incorporate and smooth out.
  10. The final mixture should look like flowing lava, and be able to form a figure eight in the bowl without breaking the stream of falling batter. Spoon into a piping bag with a medium round piping tip and you’re ready to start piping.
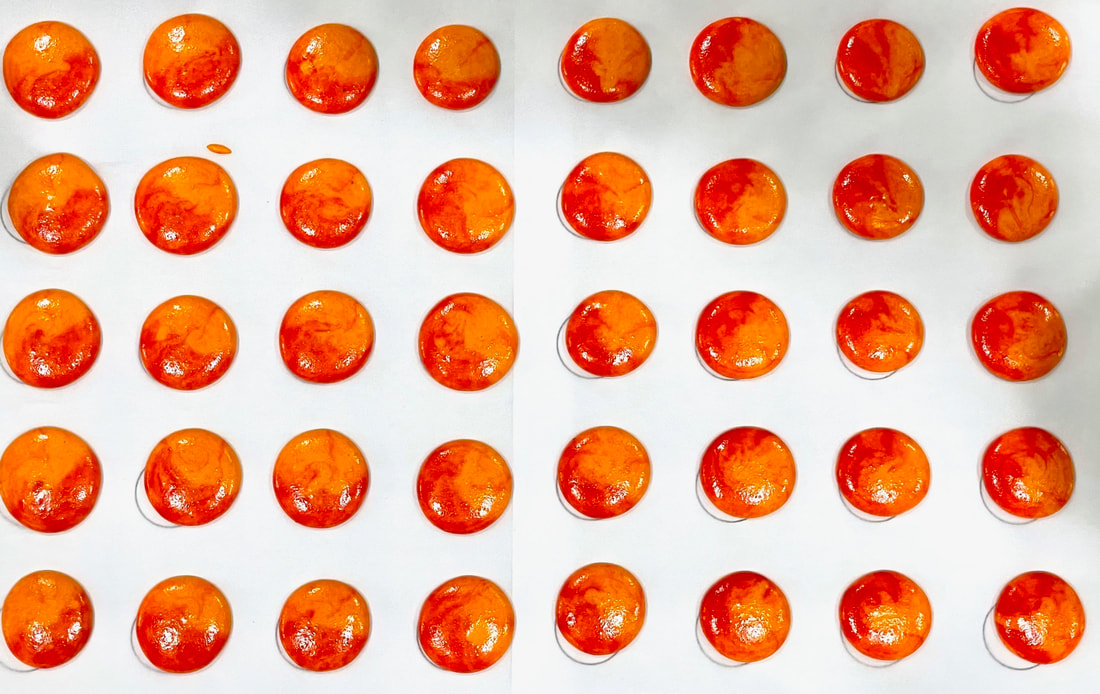
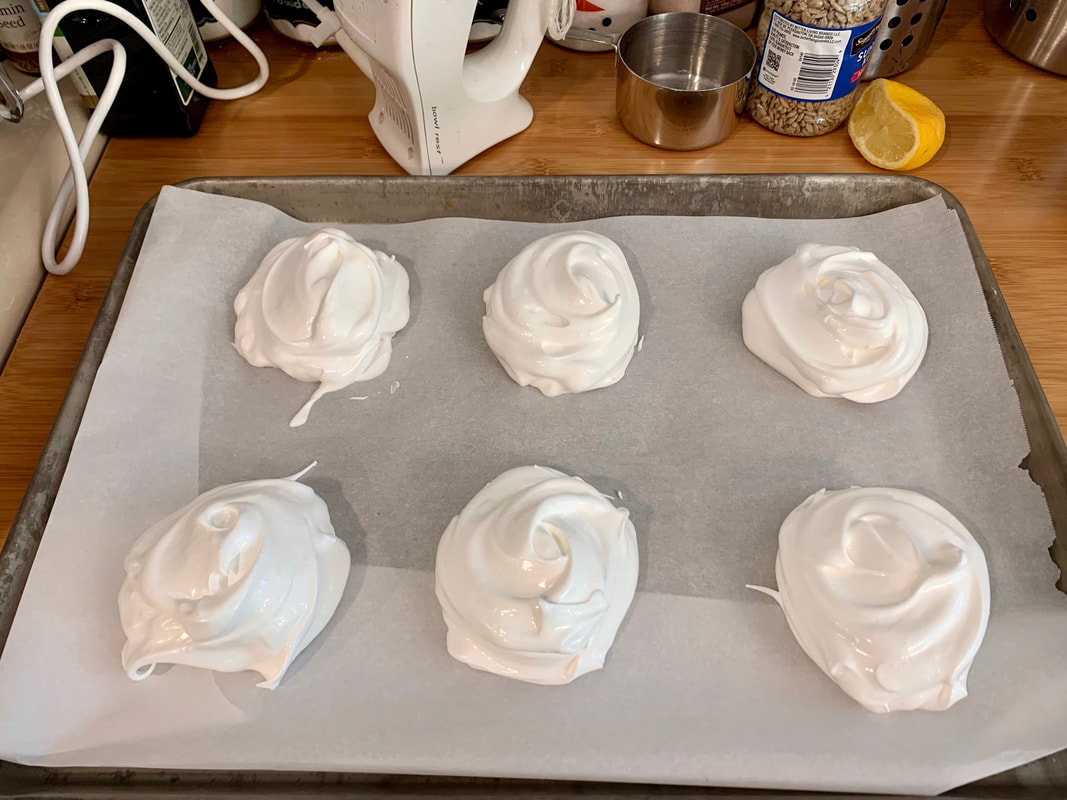
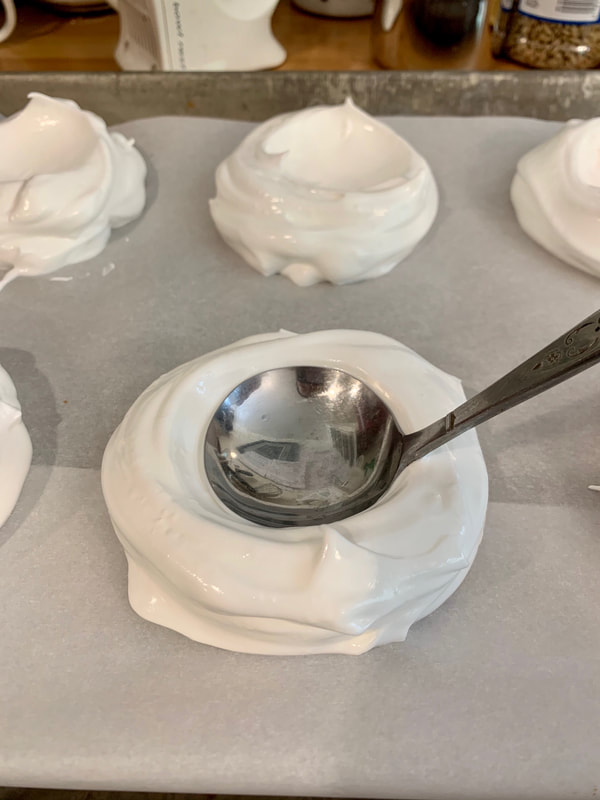
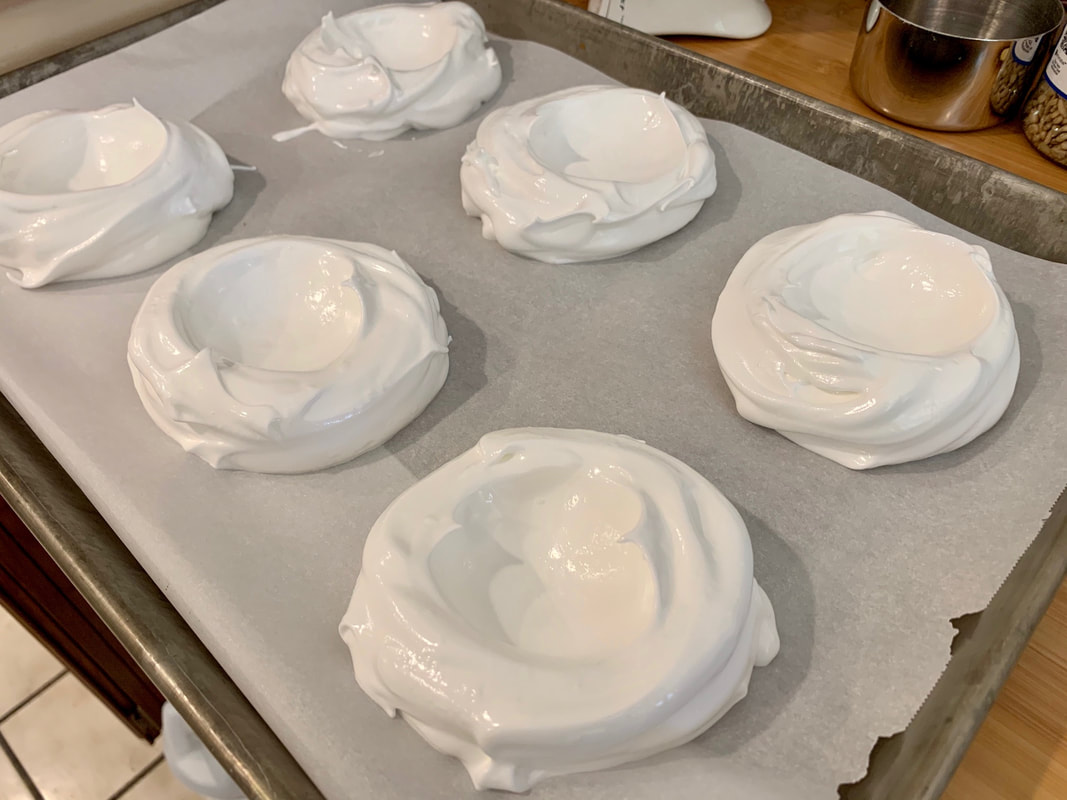
  11. If you want, you can glue down the parchment paper onto the baking sheet with dabs of batter under the corners. Pipe dollops onto the parchment paper by holding the bag straight up and down, squeezing, and then lifting with a circular motion of the tip. Once all the macarons are piped, lift up the baking sheet and let it drop on the counter several times to release air bubbles. Allow to sit for at least 40 minutes, or until a tacky "skin" forms on top that won't stick to your finger enough to break away if you tap it gently. 
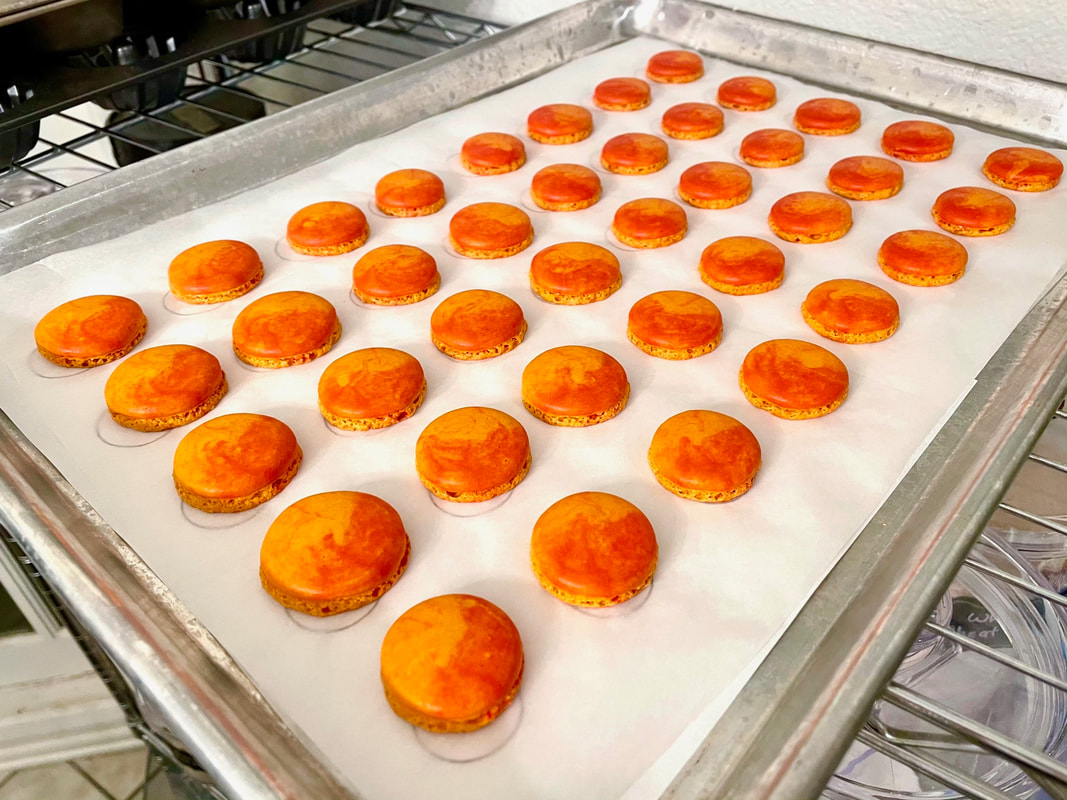
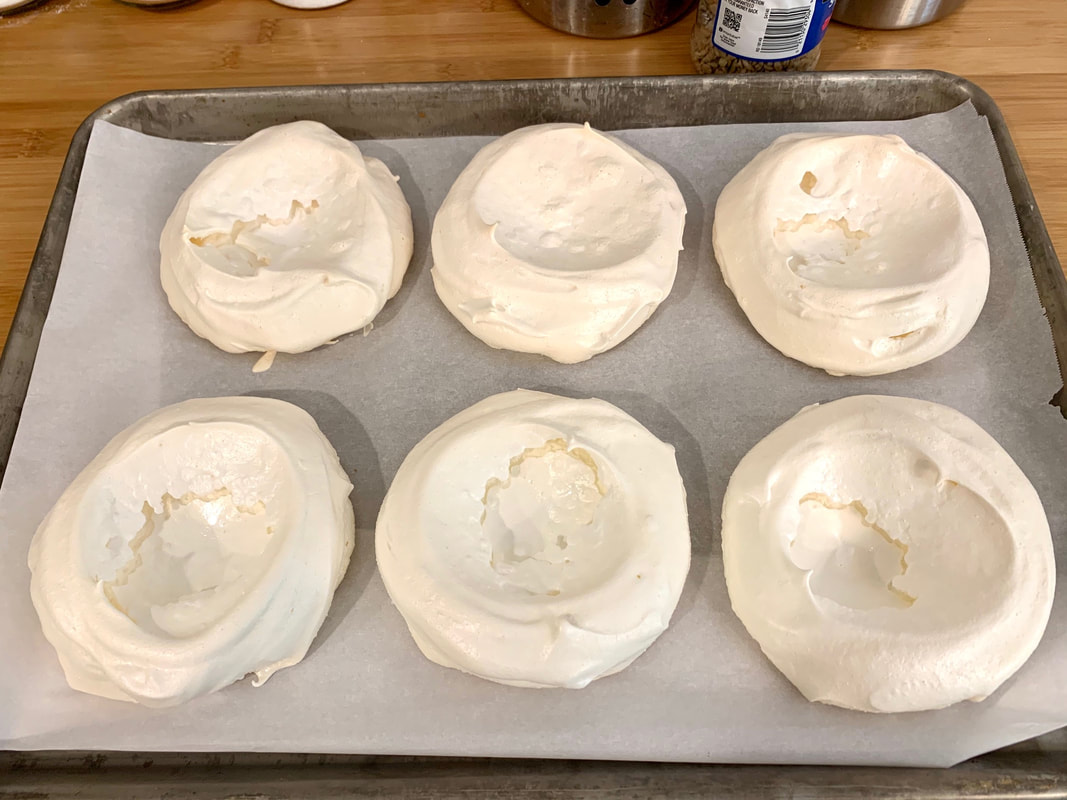
  12. Bake at 300F for 7 minutes, rotate tray, then bake for another 5-8 minutes. The macarons are done when nudging them does not feel like you'll displace the top shell of the macaron from its foot. Allow to cool completely before removing from baking sheet, or else the foot might stick.
Note: Macarons are best made 1-3 days before being consumed. Even if you misjudge and overbake the macaron, they will soften over time. Pipe filling into their centers, then keep them in a covered container, and they will gradually absorb moisture and become more chewy.
0 Comments

Pavlova

7/20/2020

0 Comments

 
I've avoided meringues for most of my life as 1) I had some strange misguided prejudice against them because they reminded me of macarons (and I don't like macarons) and 2) everyone always exclaims how hard it is to make a meringue. However, I was finally tossed right into the pool and it was sink or swim when I committed to making an elaborately fancy cake that used Italian meringue in its frosting ... and I discovered that all of my preconceptions were completely false.

I managed to make the pavlova on the first try. It was not without a few hiccups along the way, but there were plenty of tips and tricks on the internet and I not only salvaged it but it became a week-long hit at multiple households. So, don't be intimidated by the meringue's reputation! In fact, if it wasn't for the fact that it takes a really long time of holding the beaters, I would say this was totally an easy-peasy rating, and you can dress it up with all manner of fanciful and beautiful treats, such as a tangy lemon curd and sweet strawberries.
Picture
  • 4 large egg whites
  • 1 cup sugar
  1. Preheat oven to 250 F. Line a baking sheet with parchment paper.
  2. Whip egg whites in a large bowl until uniformly frothy. While whipping, add a few spoonfuls of sugar. Whip until the soft peak stage, then add another few spoonfuls of sugar while whipping. Continue until all the sugar has been added, then continue whipping until the stiff peak stage and the meringue is thick and glossy.
  3. Place 6 dollops of meringue on the baking sheet. Use the back of a spoon to shape the meringues and create a slight well in the centers.
  4. Bake for one hour, turn off the oven, and then prop open the door with a wooden spoon until completely cooled.
Notes: This is one recipe where you can't get away with just reducing the sugar. The sugar is necessary to help the meringue hold its structure. There will be some inevitable cracking once the meringue starts to cool down and settle - it will crack slightly less if you let it cool down gradually by keeping it in the oven and letting the heat escape gradually.

If you add the sugar too quickly, the meringue will not firm up, so best method is to get it to the soft peak stage, add sugar, then get it back to the soft peak stage again if it has collapsed, add sugar again, etc. If it's a humid day and it seems to need a little extra help, you can add a bit of lemon juice or cream of tarter at the frothy stage. You can also separately whip one egg white to stiff peak stage, then fold it into the main bowl and then whip the entire bowl, and it should firm up better than before.
0 Comments
    Picture

    Sweet Enough

    Part of the reason I started baking was because I like my goodies to be less obviously sweet - I want to taste the flavor, not just the sugar. So most of these recipes will have the sugar dialed down.

    This site also acts as my mobile recipe box, so instructions are often pared down to a minimum - very few frills but for some hints and suggestions!

    RSS Feed

    Categories

    All
    Alcohol
    Almond
    Apple
    Avocado
    Baklava
    Banana
    Bars
    Biscotti
    Blackberry
    Blueberry
    Bread
    Buttercream
    Cake
    Candy
    Carrot
    Cheese
    Cherry
    Chickpea
    Chinese
    Chocolate
    Cider
    Cobbler
    Coconut
    Coconut Milk
    Cookie
    Corn
    Cranberry
    Cream
    Cream Cheese
    Creme Brulee
    Crumb
    Crust
    Cupcake
    Custard
    Dates
    Decoration
    Dip
    Dough
    Doughnut
    Dumpling
    Easy Peasy
    Egg
    Filling
    Flowers
    Frosting
    Fruit
    Garnish
    Gelee
    Granola
    Green Tea
    Honey
    Ice Cream
    Icing
    Jam
    Lamb
    Lemon
    Lime
    Lobster
    Lotus Seed
    Macaron
    Mango
    Marshmallow
    Meringue
    Mochi
    Muffin
    Nectarine
    Nutella
    Nuts
    Oat
    Oats
    Onion
    Orange
    Pancake
    Panna Cotta
    Peach
    Peanut Butter
    Pear
    Pecan
    Phyllo
    Pie
    Pistachio
    Plum
    Popsicle
    Pound Cake
    Pumpkin
    Quiche
    Raspberry
    Red Bean
    Rhubarb
    Rice
    Ricotta Cheese
    Rugelach
    Sauce
    Savory
    Scone
    Sesame
    Shortbread
    Soup
    Sponge
    Sponge Cake
    Strawberry
    Streusel
    Tart
    Tofu
    Topping
    Torte
    Vegetable
    Vinaigrette
    Walnut
    Watermelon
    Yogurt
    Zucchini

    Archives

    November 2020
    October 2020
    July 2020
    May 2020
    April 2020
    March 2020
    October 2019
    December 2018
    October 2018
    August 2018
    April 2017
    July 2016
    May 2016
    March 2016
    February 2016
    January 2016
    December 2015
    November 2015
    October 2015
    September 2015
    July 2015
    June 2015
    May 2015
    April 2015
    February 2015
    January 2015
    November 2014

© 2019 Jacqueline Teng | DragonWarden