DragonWarden
  • Adventures
  • The Oven
  • The Un-Tea Party
  • Secret Ingredients
  • About

Dairy-Free Pumpkin Pie

11/16/2020

0 Comments

 
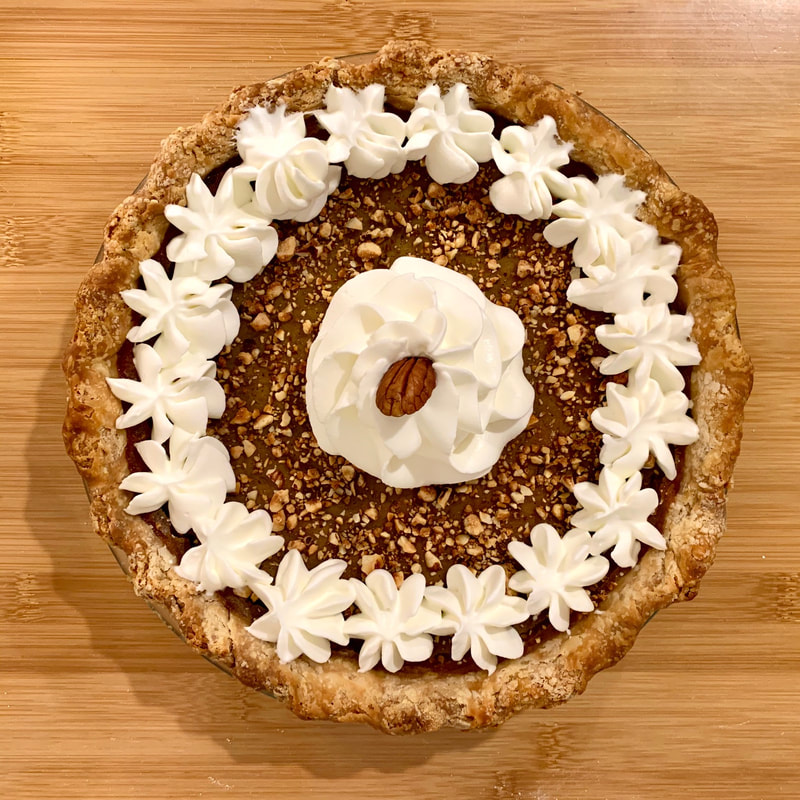
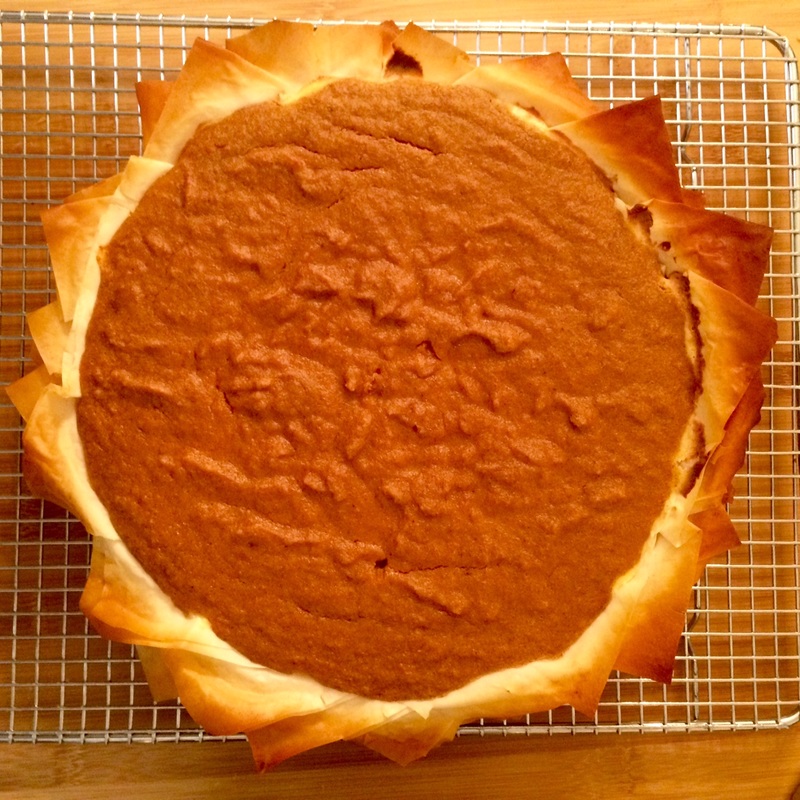
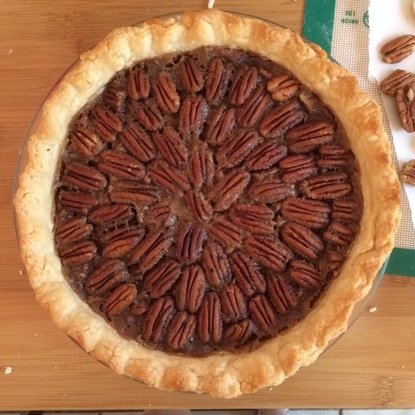
As I've grown older, sadly, I've also grown more lactose-intolerant. While usually this is easily fixable with a tablet or two of Lactaid, I can also get very lazy about taking them (not to mention I don't want to be buying a box of them every other week). So I searched for a dairy-free version of pumpkin pie, and lo and behold, the internet delivered! Here's a version that I adapted from here.
Picture
  • 1 pie crust
  • 1 teaspoon ground cinnamon
  • 1/2 teaspoon ground ginger
  • 1/4 teaspoon ground nutmeg or allspice
  • 1/4 teaspoon ground cloves
  • 1/2 teaspoon salt
  • 1/2 tbsp corn starch
  • 1 cup regular, full-fat, canned coconut milk (make sure to shake up or mix the coconut milk before measuring in case the fat has separated)
  • 2 large eggs + 1 egg white
  • 1/3 cup brown sugar, firmly packed
  • 1/4 cup white sugar
  • 1 tsp vanilla
  • 1 15-oz can pumpkin puree (or 15-oz of fresh pumpkin puree)
  • 1 teaspoon vanilla extract
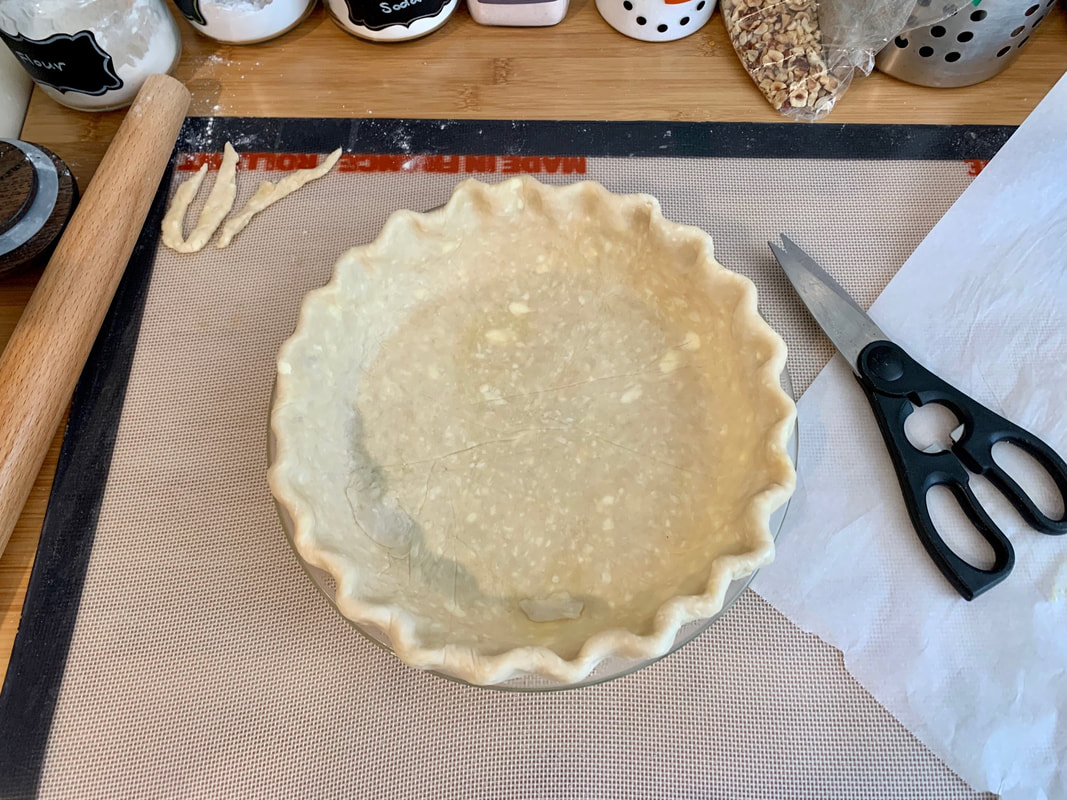
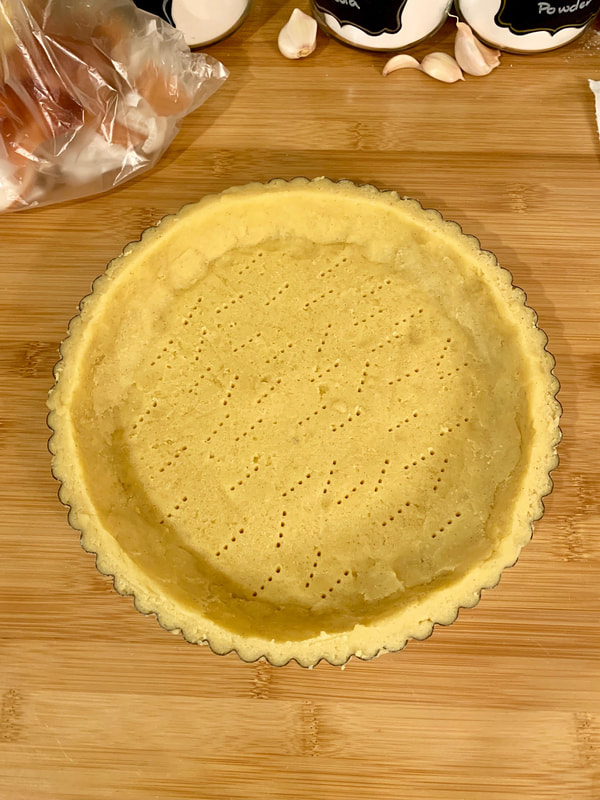
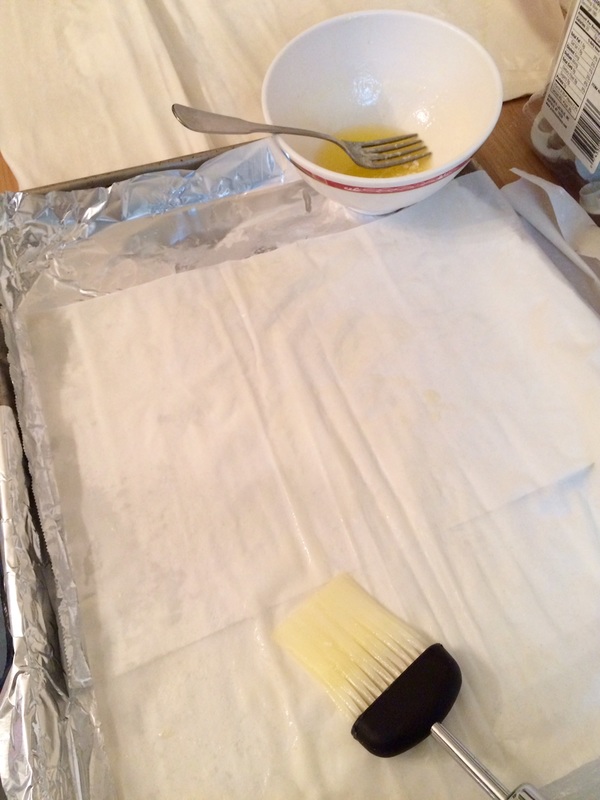
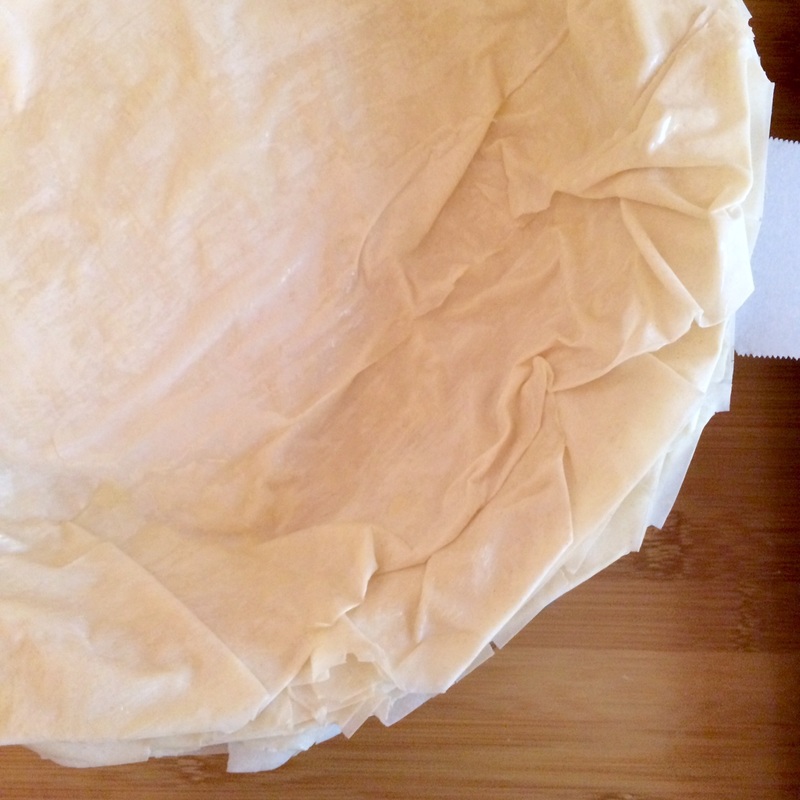
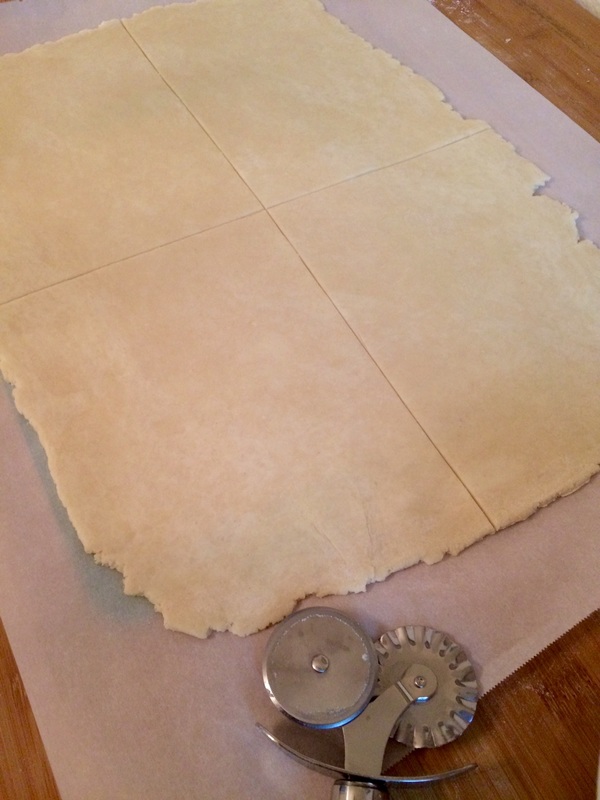
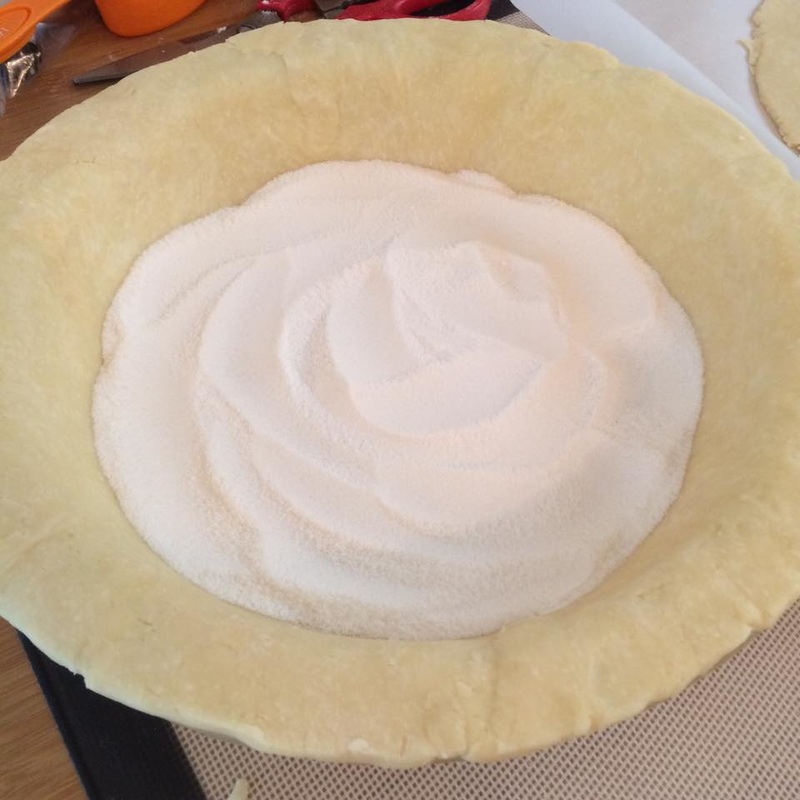
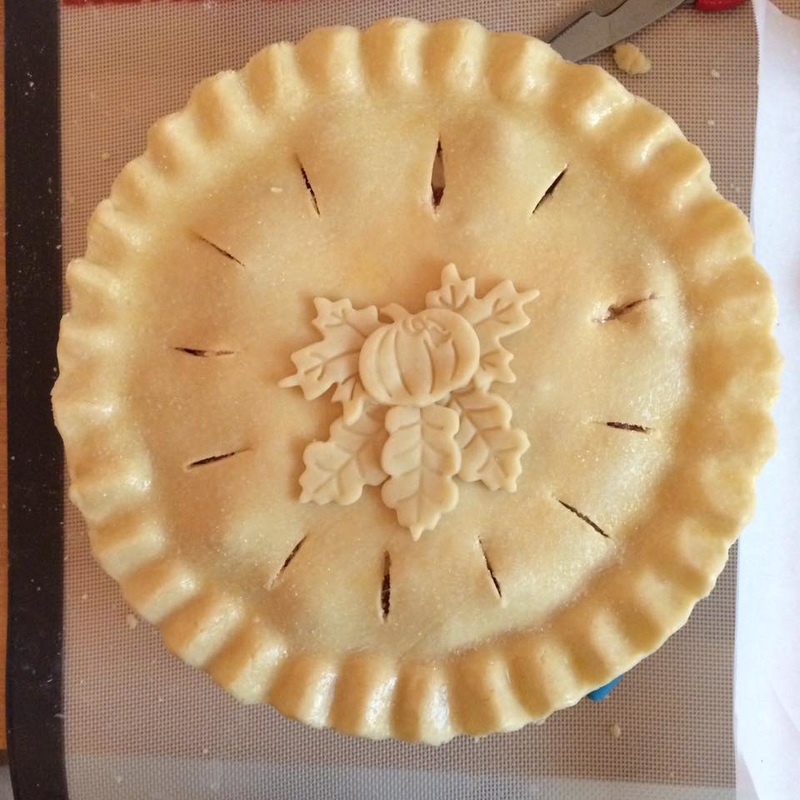
  1. Line a 9" pie pan with a single pie crust and put in the freezer to chill. Preheat oven to 425 F.
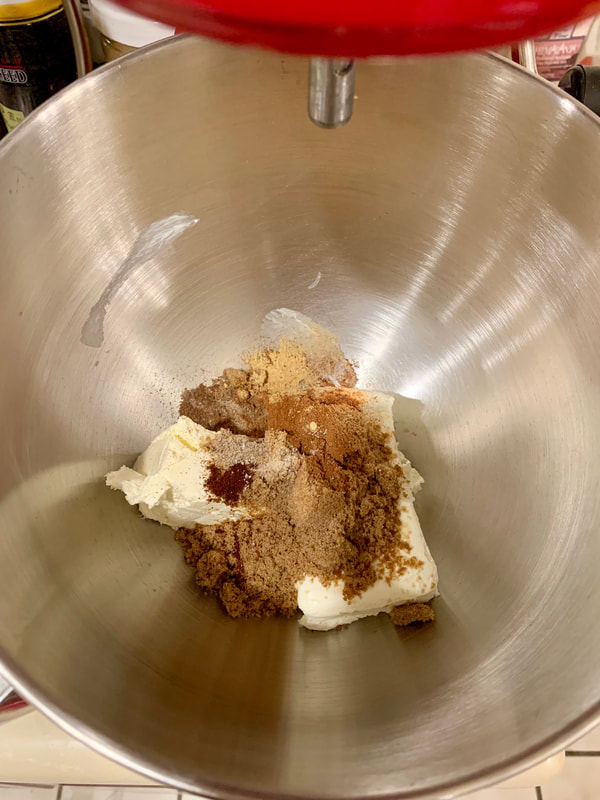
  2. In a small bowl, whisk together the spices and salt. In another small bowl, mix the corn starch into the coconut milk.
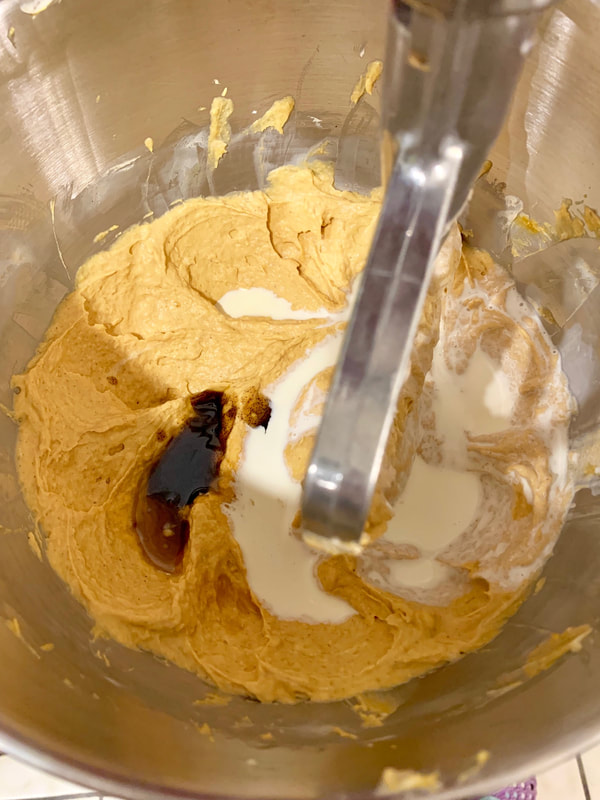
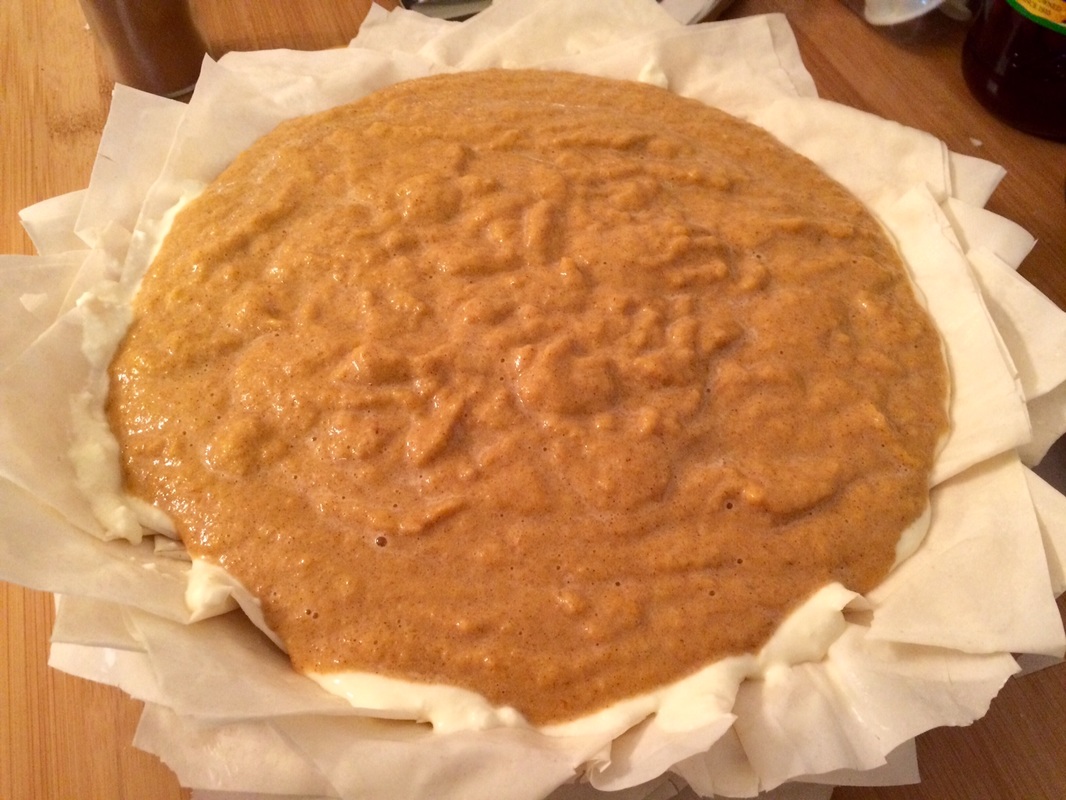
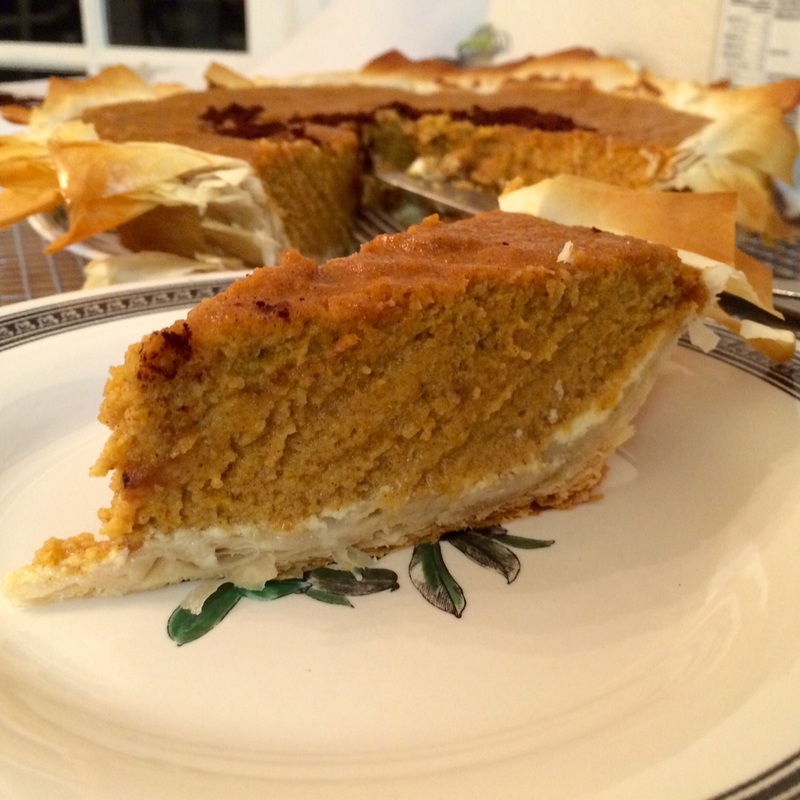
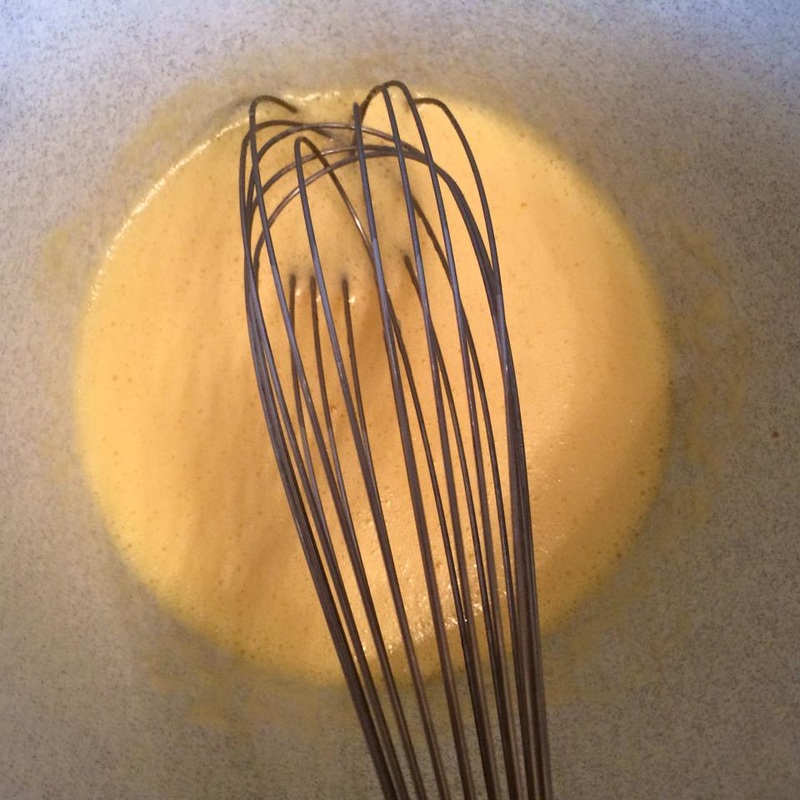
  3. In a large bowl, beat the eggs. Then beat into the eggs both sugars, vanilla, pumpkin, and spices. Whisk in the coconut milk.
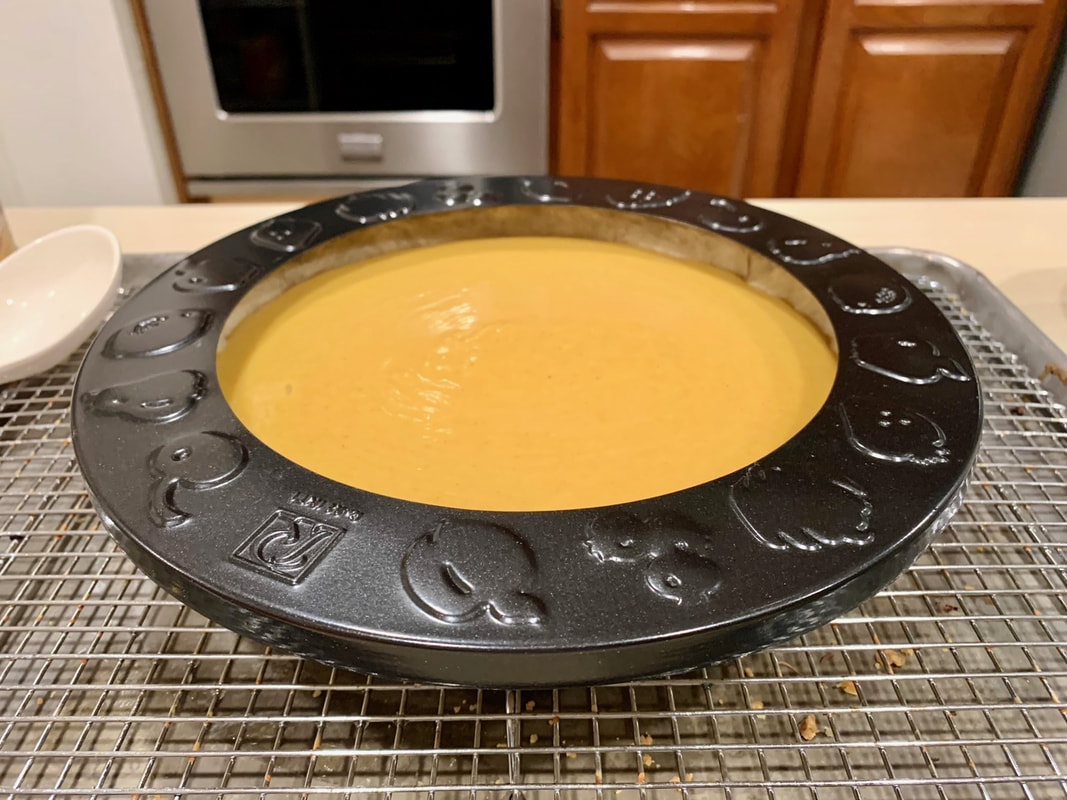
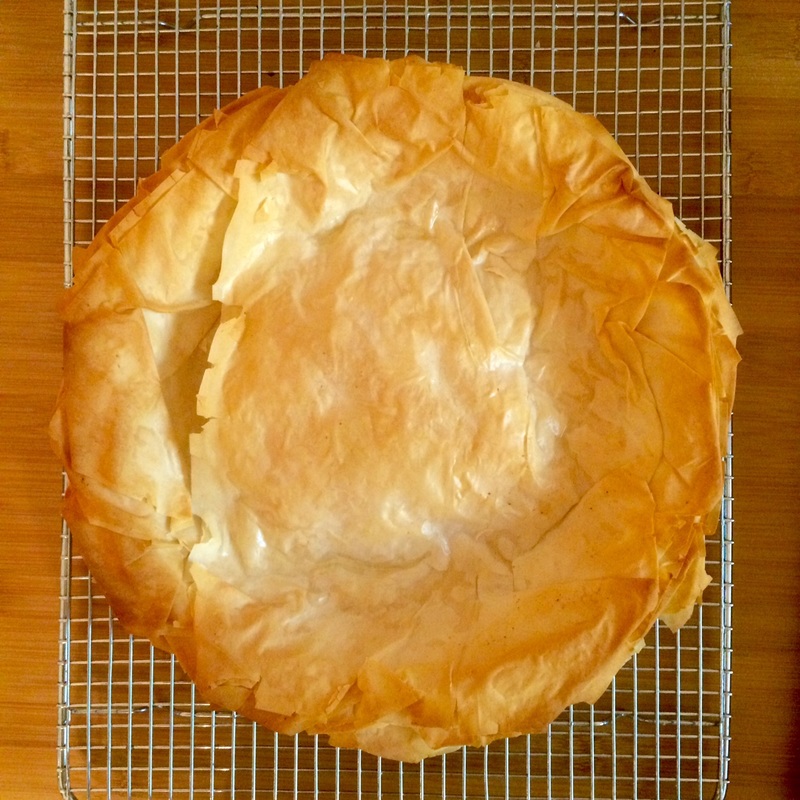
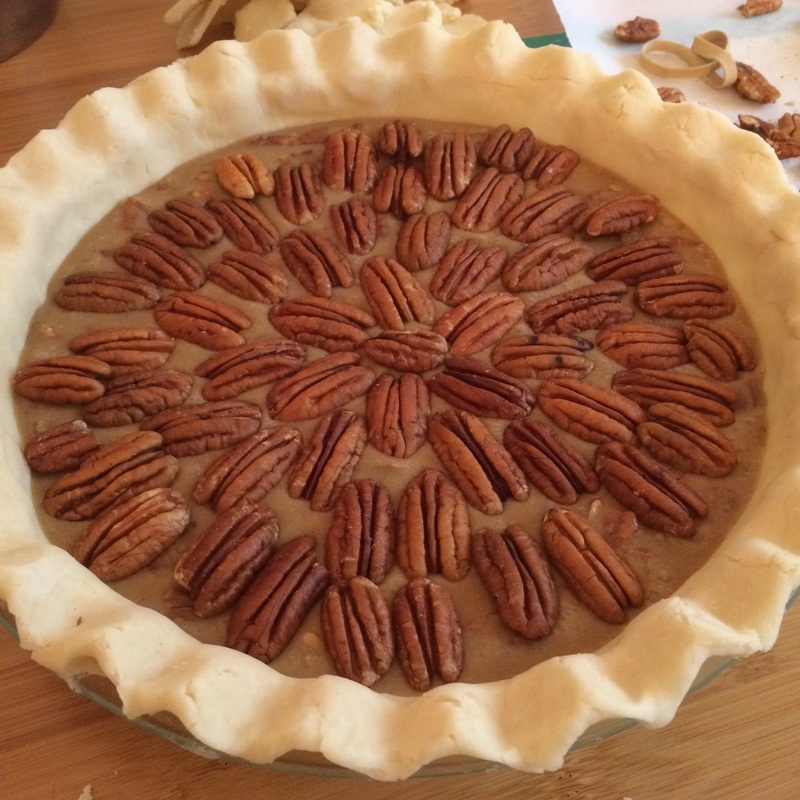
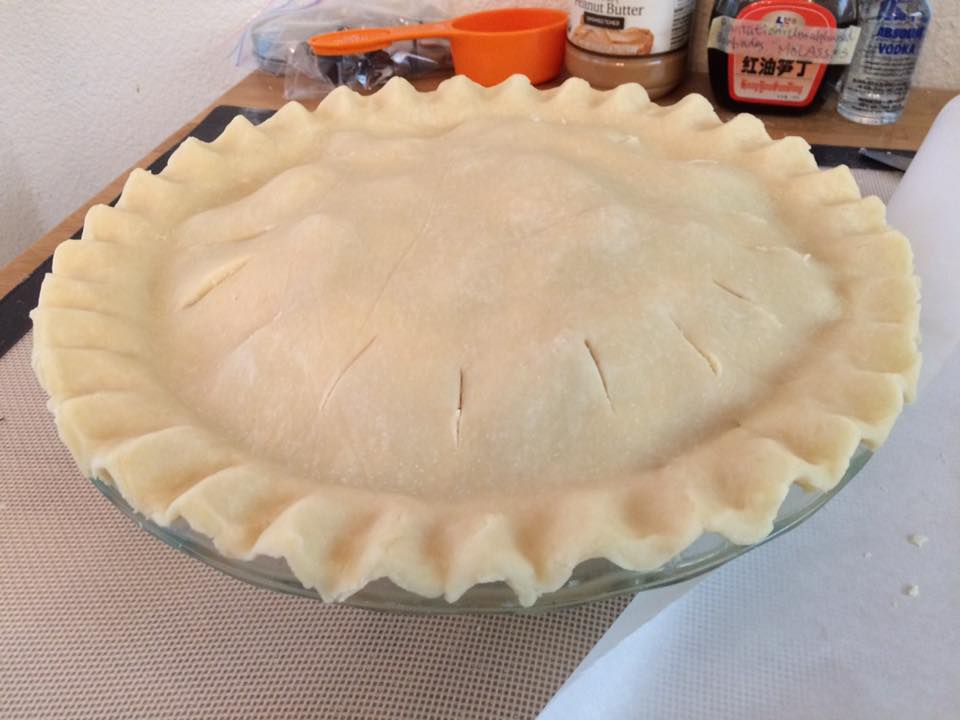
  4. Pour the filling into your crust. Bake the pie for 15 minutes, then lower the oven temperature to 350 F (you may wish to put a heat shield on the crust rim now). Bake for about another 45 minutes or until a knife or toothpick in the center comes out clean.
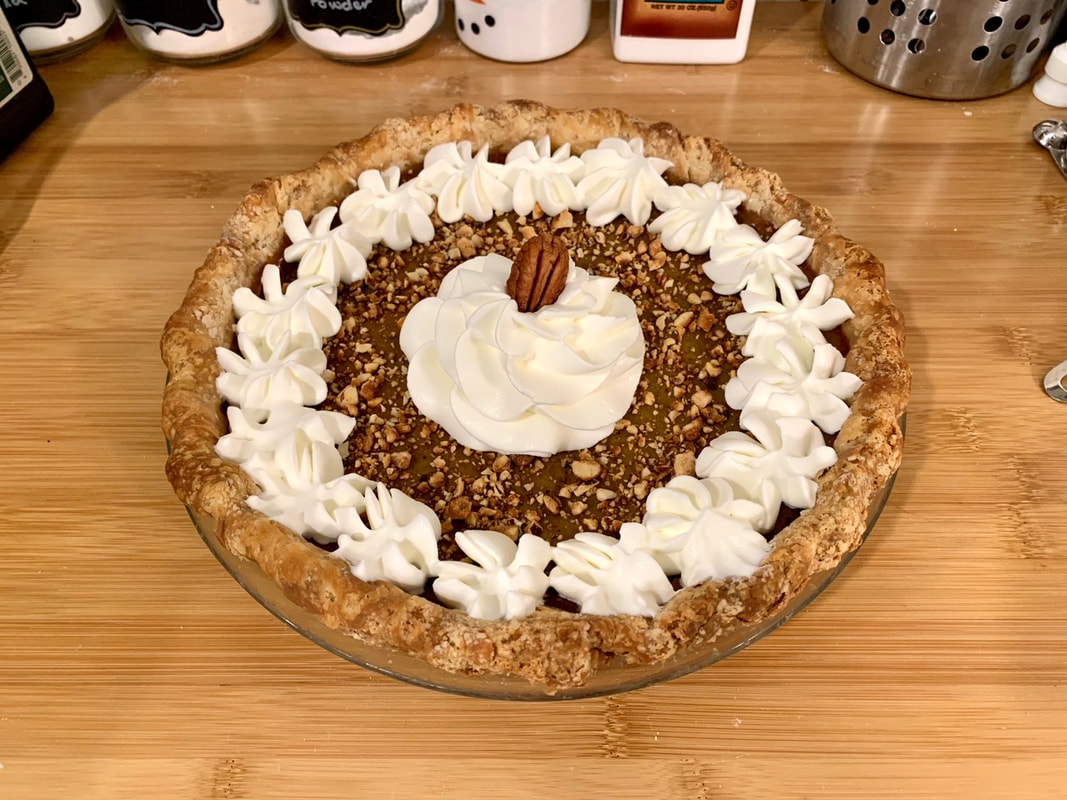
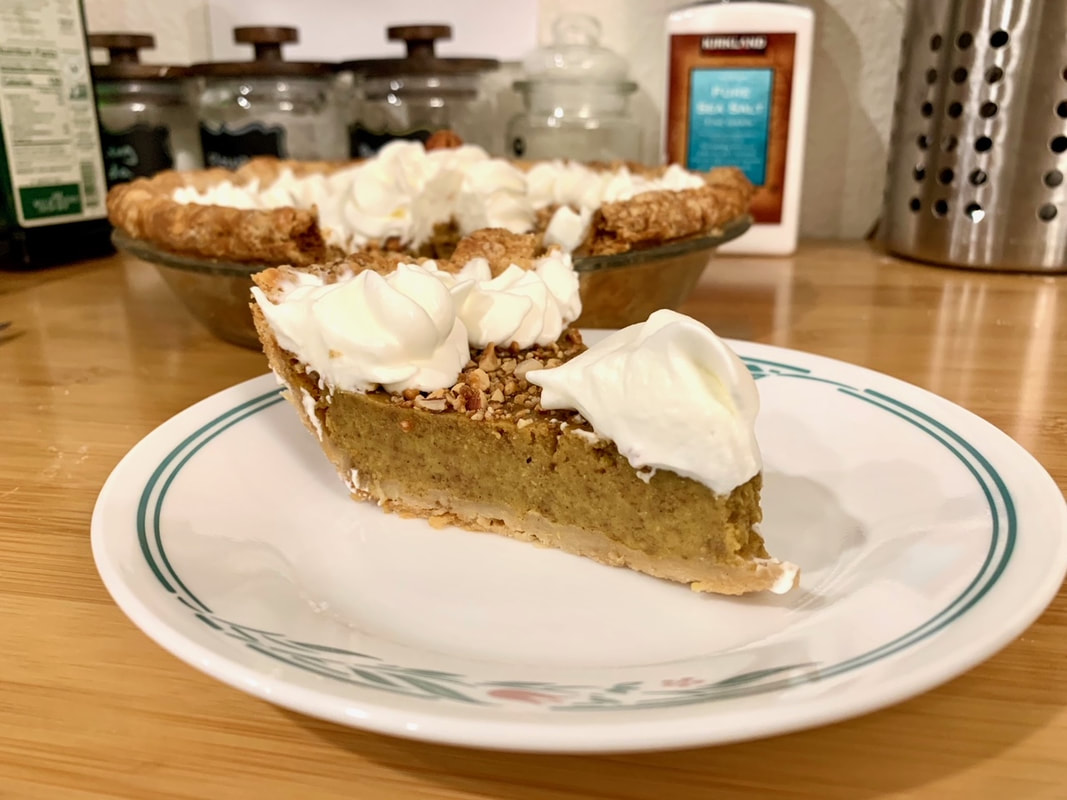
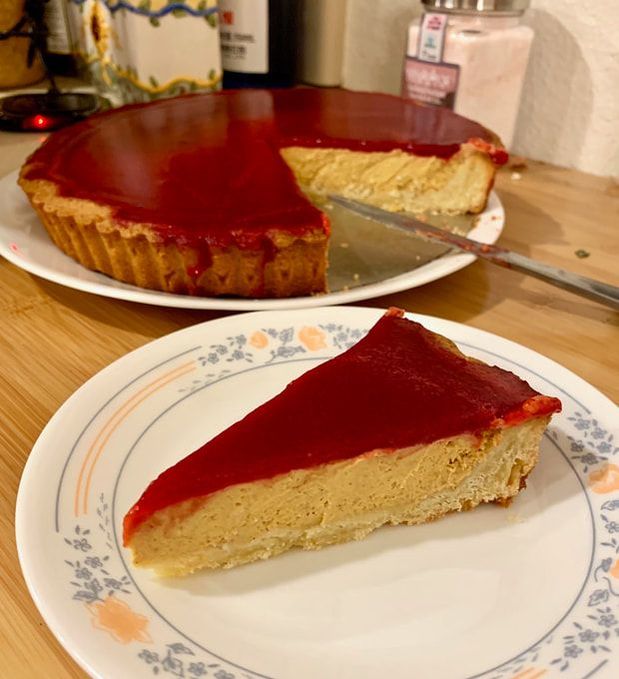
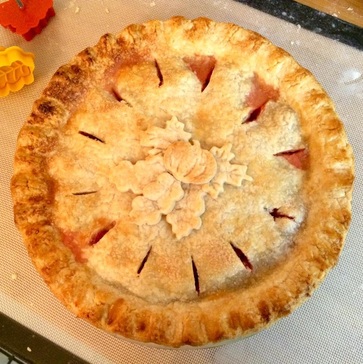
  5. Once done, cool on a wire rack before serving.
Note: The pie pictured also uses the gelatin-stabilized Chinese whipped cream frosting and some hazelnut praline sprinkled on top.
0 Comments

Pie Crust

10/22/2020

0 Comments

 
This dough needs to sit overnight in the fridge, so plan ahead, but it's totally worth it. Out of the half dozen different recipes of piecrust I've made for my family, they've always voted this one as consistently the best. Other than that overnight stay, it's a very simple recipe and easy to work, especially if you have a food processor to help.

While the ingredients list is exactly the same, the steps to mix the piecrust are slightly different, as I've mixed in some of my own experience working with it. I highly recommend you use the weighed measurements instead as they will provide the most consistent ratios.
Picture
  • 130 grams (1/2 cup + 1 tbsp) warm water
  • 28 grams (2 tbsp) granulated sugar
  • 6 grams (1 tsp) fine salt
  • 312 grams (2.5 cups) all-purpose flour
  • 170 grams (3/4 cup) cold unsalted butter, cut into 1/4-inch cubes and frozen
  • 60 grams (1/4 cup) vegetable shortening, preferably in baking stick form, cut into 1/4-inch pieces, frozen​
  1. Keep some butter and shortening in the freezer as a ready supply whenever you wish to make piecrust. Otherwise, make sure you put some in the freezer far enough in advance of when you want to make the piecrust that the butter can freeze solid (the shortening won't freeze solid, but it should become very very cold).
  2. ​In a large bowl or cup, mix the sugar and salt with the water and stir until they have all melted into the water. Place the water mixture into the freezer; you will want it to be ice cold by the time you use it.
  3. Measure the flour out and also place this in the freezer.
  4. Measure out the required amounts of butter and shortening and cut them up. I don't usually bother going down as much as a 1/4-inch when using a food processor; usually 1/2-inch chunks or smaller are okay.
  5. Take the flour out of the freezer and pour it into the food processor's bowl. Add the butter to it. Turn on the processor for several seconds (don't pulse - if you do, you'll get flour flying everywhere with each pulse) and then stop it to check on the size of the butter pieces. You'll want them to be roughly pea-sized, so continue processing them if necessary.
  6. Add the shortening, then process. Because shortening is so much softer, it will take much less time to get them cut down to size. They should be mostly pea-sized also, but if you find just a few larger pieces, you can smoosh them between your fingers instead of over-processing.
  7. Pour everything into a large bowl. Take the water mixture out of the freezer and drizzle it over the dough. Using a plastic bowl/bench scraper, fold the mixture until the water is roughly mixed throughout, then switch to your hands. Working quickly so that the heat from your hands don't warm up the dough too much, lightly gather the clumps with your fingers and use your palm to fold over and press the dough into the bottom of the bowl a few times (don't knead it, just give it a few quick squishes) until the dough just starts to come together into one large mass. Divide into two equal discs of about 1-inch thickness (mine turn out to be roughly 320 grams each if you want something more precise than just eyeballing). 
  8. Double-wrap them in plastic wrap and then let them rest in the fridge for at least 8 hours. They can stay in the fridge for up to 3 days this way, or you can freeze them for up to a week. When taking them out of the freezer, let them defrost in the refrigerator overnight.
To prebake:
  1. Roll out the dough and pan and flute the piecrust. Chill it in the freezer until firm, 15-20 minutes.
  2. Preheat the oven to 375 F with a rack in the center. Prepare a square of parchment about 13" on each side. Set the pan on a baking sheat and set the square of parchment in the pie shell, gently smoothing it into place and pleating as needed to fit against the bottom and sides of the shell. The edges will project beyond the rim of the pan.
  3. Fill the shell to the top with dried beans or uncooked rice. Gently stir the beans around to ensure there are no air pockets down in bottom edges. Top up as needed so that the beans/rice are level with the top of the piecrust edges.
  4. Bake the shell for 25 minutes. Take the piecrust out and set on a cooling rack. Set a heat-proof mixing bowl nearby, and then carefully bringing together the points of the parchment, lifting the beans/rice out and transfering them to the mixing bowl.
  5. Using a fork, pierce the bottom of the piecrust a few times, then slide the piecrust back into the oven and bake for another 7 minutes for prebaked, or 10 minutes for fully prebaked. Cool on a wire rack.
0 Comments

Pumpkin Cheesecake Tart with Cranberry Gelee

12/20/2018

0 Comments

 
For once, I was actively hunting for something new to make when I stumbled across this recipe. The inspiration was the very first Thanksgiving feast I would be making on my lonesome, and I wanted to top it off with a dessert that was traditionally-themed without being completely traditional. This was, arguably, the biggest hit not only of the night's feasting (and not just because it was sweet) but nearly out of all the things I have ever baked for my family. Even my father, the most famous scrooge of the family, prompted me no less than three times as to when I was going to make it again!
Picture
Pastry:
  • 6 tablespoons blanched almonds
  • 1 1/2 cups plus 1 tablespoon all-purpose flour
  • 1 1/2 sticks (6 ounces) unsalted butter, at room temperature
  • 3/4 cup plus 2 tablespoons confectioners' sugar
  • 1 large egg
  • 3/4 teaspoon pure vanilla extract
  • Pinch of salt
Filling:
  • 12 ounces cream cheese, at room temperature
  • 1/2 cup packed light brown sugar
  • 1/2 teaspoon cinnamon
  • 1/4 teaspoon ground ginger
  • 1/8 teaspoon ground allspice
  • 1/8 teaspoon ground cardamom
  • 1/8 teaspoon ground cloves
  • Pinch of freshly ground white pepper
  • Pinch of freshly grated nutmeg
  • Pinch of salt
  • 1 1/4 cups canned pumpkin puree (10 ounces)
  • 1/4 cup heavy cream
  • 3 tablespoons pure maple syrup
  • 1 1/2 teaspoons pure vanilla extract
  • 2 large eggs, at room temperature
Gelee:
  • 2 cups fresh cranberries (1/2 pound)
  • 1/2 cup sugar
  • 1/4 cup orange juice
  • 1 1/2 teaspoons unflavored gelatin
  1. In food processor, pulse almonds until coarsely ground. Add 1/2 cup of the flour and process to a fine powder; transfer to a bowl. In food processor, pulse the butter and confectioners' sugar until creamy. Pulse in egg and vanilla. Pulse in remaining 1 cup plus 1 tablespoon of flour, almond flour, and salt until a soft dough forms. Pat pastry into a disk, wrap in plastic, and refrigerate until firm, at least 1 hour.
  2. Preheat oven to 325° F. On lightly floured surface, roll out pastry to 14-inch round about 1/8 inch thick. Roll pastry into 11 1/2-inch fluted tart pan with removable bottom. Gently press pastry into the rim. Fold in overhanging dough and press to reinforce the sides; sides should be twice as thick as the bottom. Trim off excess pastry and refrigerate until firm.
  3. Line pastry with parchment paper or foil and fill with pie weights or dried beans/rice. Bake pastry for about 25 minutes, or until set. Remove parchment/foil and weights and bake for 10 minutes longer, until crust is golden and cooked through. Let cool slightly.
  4. In a large bowl, combine cream cheese, brown sugar, ground spices, nutmeg and salt. Using electric mixer, beat at medium speed until smooth. Beat in pumpkin puree until smooth. Beat in cream, maple syrup, vanilla and eggs at low speed until blended.
  5. Put crust on large, sturdy baking sheet and set in oven. Pour pumpkin custard into crust (make sure to leave a little space at the top for the gelee). Bake for 30 to 35 minutes, until custard is just set but still slightly jiggly in center. Cover edge with foil if crust starts to brown too much. Transfer to a rack and let cool completely.
  6. In medium saucepan, combine cranberries with 1/2 cup of water and cook over moderate heat until they begin to pop, about 5 minutes. Let cool. Transfer to blender and puree until smooth. Strain puree through a fine sieve. Rinse out saucepan.
  7. Add sugar and 1/4 cup of water to saucepan and bring to a boil, stirring, until dissolved. Let cool. Stir in orange juice and cranberry puree.
  8. In small bowl, sprinkle gelatin over 2 tablespoons of water and let stand until softened, 5 minutes. Microwave for 10 seconds, or until completely melted. Whisk gelatin into cranberry mixture and pour gelée over the pumpkin custard; shake gently to even it out. Refrigerate tart until set, at least 1 hour and up to 2 days. Remove the tart ring and serve.
Note: Remember to leave a little space at the top of the custard for the gelee. While you can get away with not doing so because the gelee should be a super-thin layer anyway, it was also very easy for the gelee to spill over the edges when I didn't account for it. While the custard will initially come out of the oven all puffed-up, it will settle in once it cools down, and should still have enough space for the gelee after being baked.

I discovered that I had an excess of filling and gelee after filling the tart to the brim. So have some ramekins ready and you can toss the extra in to be baked at the same time. Then you can "taste-test" guilt-free before the tart ever gets served!

0 Comments

Phyllo Pie Crust

3/16/2016

1 Comment

 
I love the delicate crunchiness of phyllo, and always wanted to try it out in a pie. It's not the easiest thing to work with in terms of both handling and baking with fillings, but perseverance found a way! Presentation-wise, I think a deep dish pie pan looks more interesting than a standard pie, but either way, this is an interesting twist on the conventional crust. Just be prepared to serve it with both a knife and a fork - for all of phyllo's flakiness, it's not the easiest to cut through with just the edge of a fork, particularly the bottom of the crust.
Picture
  • 1/2 package of phyllo dough (defrosted)
  • 1 stick of unsalted butter, melted
  • (optional) sugar
  1. Using the melted butter, coat the pie pan.
  2. Lay two strips of parchment paper, about 2" wide each and long enough to overhang the pan by another 2", in an "x" across the pie pan and gently press them in. Also butter the parchment paper.
  3. Set the oven to 350 F.
  4. Lay out the phyllo dough flat. Cover your work surface with foil (you only need enough for a little more than half the size of a phyllo sheet). Carefully separate out one of the phyllo sheets and lay one half of it on the foil area. Gently brush butter over half the sheet. (If you wish to sweeten the crust, you can sprinkle some of the sugar over the buttered area.) Fold the other half of the sheet over it and lightly press them together.
  5. Drape the halved phyllo sheet in the pie pan and gently ruffle it as you press it in - the ruffles not only add visual interest, but will keep the phyllo sheets from compressing and baking into one single mass (particularly on the bottom). You can choose to fold the corners that overhang the pan's edge under themselves, or leave them extending out (just keep in mind that extended corners tend to be very delicate and burn easily - be prepared to cover them with a heat shield during baking if necessary). Gently brush butter over the top of this layer.
  6. Keep layering and buttering the sheets until the entire pie pan is covered. Continue until you have used up the phyllo sheets.
  7. Bake the phyllo crust for about 10 minutes, check if it needs to be turned in the oven, and then continue for another 5-10 minutes until it turns golden (keep a close eye on it so that it does not burn). Remove from the oven and let cool for 10 minutes, then using the parchment strips, lift the crust from the pan onto a wire rack to prevent the bottom from being steamed into softness.
  8. When filling, it's best to let everything cool down (the crust and the filling) to room temperature so that steam isn't trapped between the filling and the crust.
Notes: You may wish to keep the phyllo covered with a sheet of saran wrap so that it doesn't dry out - I personally find though that if I work efficiently and steadily, that I don't need a covering sheet.

I tried this method initially by baking the filling inside the raw phyllo and having both bake at the same time, but this both compressed the bottom too much and made it not as crunchy. Also, since phyllo is prone to getting soaked by wet fillings, you can experiment with "lining" the bottom with something like a mix of ricotta cheese and flour to help buffer the liquids.
1 Comment

Stuffed Apple Dumpling

2/1/2016

0 Comments

 
I had never heard of apple dumplings before until I moved to the Columbia River Gorge after college. There was a cute little place called Sage's Cafe that had the most amazing dessert that was like a self-packaged pie - my first exposure to apple dumplings.
​
I had all but forgotten about it after I had moved away until I happened to see my apple peeler-slicer-corer and fondant stamp cutters all on one table - and suddenly, there was a eureka moment in which I realized all of these can come together in one happy marriage. So I adapted my favorite apple pie recipe and added a few other fixings and voila - this is now my new favorite way to get my apple a day.
Picture
Stuffing
  • 2/3 cup oats (rolled or instant)
  • 1/2 cup chopped pecans or walnuts
  • 1/2 cup chopped dried tart cherries or raisins
Pie Sauce
  • 1/4 cup butter
  • 1 tbsp flour
  • 1/4 cup water
  • 1/2 tsp vanilla
  • 1/2 cup brown sugar
  • dash of cinnamon
  • dash of nutmeg
Everything Else
  • 4 large apples (Granny Smith or Honey Crisp)
  • pie crust (enough for double-crust - more if you wish to add decorative pieces)
  • (optional) egg wash
  • a small bowl of water
  1. Measure out the ingredients for the stuffing and mix in a bowl.
  2. Make the pie sauce before peeling the apples so that the apples don't sit out too long and brown. Melt the butter in a saucepan on low heat and stir in the flour and water. Then add the vanilla, brown sugar, cinnamon, and nutmeg. Let simmer for a few minutes while stirring, then turn off the heat and leave the saucepan on the stove to remain warm.
  3. While the pie dough is still in a ball, divide into four sections. Roll each section out (feel free to use any shape you want - square, triangle, circle - as long as it is roughly equilateral). 
  4. Core the apples. (You can also optionally peel and spiral-slice them.) Place one apple in the center of one of the rolled out dough sections. Fill the apple core with the stuffing - if you wish, you may also pile some around the base of the apple.
  5. Spoon out approximately a quarter of the pie sauce onto the apple, letting it drip down the sides. Pool a larger spoonful over the center where the stuffing is. 
  6. Wrap the dough up around the apple. Use the bowl of water and wet the edges of the folded pieces of dough before pressing them closed to seal them. If you wish to add decorative bits of dough, you can also paste them on with the water.
  7. Put the oven rack in the middle of the oven and preheat the oven to 425 F. Place the apple dumplings on a baking sheet. Prepare a heat shield using foil - it should cover all four dumplings at least halfway down their sides (you can also make 4 individual ones if you don't have large enough foil to cover all at once). If you wish to do an egg wash, brush it onto the crust now.
  8. Leaving the dumplings uncovered for now, put them in the oven and bake for 10-15 minutes, until the crust is golden brown. Turn the oven down to 350 F and cover the dumplings with the heat shield. Continue baking for another 25 minutes for firmer apples, 35 minutes for softer apples.
  9. Remove and let cool on a wire rack.
To work with the apples, I like to use the Williams-Sonoma apple corer/slicer/peeler. Not only is it fast and easy, but having the apples spiral-sliced instead of just remaining one whole apple makes it easy to cut up after it's been baked, particularly if you like the apples on the firm side like I do. ​
0 Comments

Pseudo-Bento-Anything-Goes-All-In-One Ramekin Pot Pie

12/2/2015

0 Comments

 
Much like the Post-Thanksgiving Scraps Turkey Shepherd's Pie, pretty much this is just to give some general guidelines and you can just go nuts with what you actually throw in. I know, I know, baking and bakers are all about precision, but this once, let your inner child loose and put as much of your favorite stuff in as you want. This is just to give you an idea of the possibilities.
Picture
  • mushrooms
  • marinated artichoke hearts
  • deli meats
  • tomato sauce
  • shredded mozarella cheese
  • Pillsbury croissant roll dough
  1. Pre-heat the oven to 350 F. Using a pair of kitchen shears, cut up the mushroom and artichoke hearts and line the bottom of the ramekin. If you like your mushrooms cooked, pop the ramekin into the oven for about 5-7 minutes. The olive oil from the marinated artichokes should help to keep the mushrooms moist.
  2. Once you have the ramekin back, use the shears to cut up the deli meats and stuff them in. Layer over them some tomato sauce, and then the cheese.
  3. Unroll the Pillsbury croissant roll dough, and press together the pre-cut seams so that there is a single sheet of dough. Place over the ramekin top and trim the edges with the shears, making sure there's enough overhang to cover the edges of the ramekin. Press all the edges down, and then poke some holes in the top for venting.
  4. Stick in the oven for about 12-15 minutes, according to the Pillsbury dough's intsructions. (If you wish to have a crusty top, set the oven to broil for the last two minutes.)
0 Comments

Post-Thanksgiving Scraps Turkey Shepherd's Pie

11/27/2015

 
This is the Frankenstein of all frankenstein mash-ups, and was born literally out of the seemingly incompatible states of being both restless and lazy at the same time. This took up the last of the Thanksgiving scraps, and though it initially was supposed to include marinara sauce and some crescent roll sheets on top, when I discovered the marinara sauce had gone bad, it was an abrupt appeal to some garlic herb butter and an egg to make it a sort of reverse shepherd's pie instead of the original pizza pot pie I had imagined. And it turned out AMAZING.

Yes, I did not include a whole lot of concrete portions, but that's the beauty of using leftovers. Everything's already been cooked and don't really need extra fussing with, and you're totally free to put more or less of anything according to taste (or what you want to get rid of).
Picture
However-many-ramekins-you-have's worth of:
  • stuffing
  • turkey
  • garlic herb butter, stock, or gravy (for moisture)
To cover (can use any one of these):
  • eggs and shredded cheese
  • crescent roll sheets
  • puff pastry
  1. Set the wire rack to the middle of the oven. Set oven temp to pre-heat to 425 F.
  2. I lined a baking sheet in case there were drippings, set the ramekins on top, then started layering the food in. You can put them in any order you want. For the cover, you can either crescent roll sheets, puff pastry, or like in this instance, an egg and some cheese. Tip - make a little well in the middle of the top layer so that the egg yolk has somewhere to sit once you've cracked it in. Otherwise, the egg white makes it slippery enough that the yolk tends to slide off toward the edges.
  3. Pop everything in the oven for about 12 minutes (which keeps the yolk runny - if you want a more solid yolk, add a few more minutes). If you'd like a nice bit of browning on top, switch the oven to broil for one minute - keep an eye on it, though, because it will burn easily at this point!

Pecan Pie / Tart

11/21/2015

 
My brother adores pecan pie, but they almost unilaterally call for corn syrup in their recipes, which is just ... bleh. This is one of the rare ones that does not ask for corn syrup - and from the way he devoured it on his birthday (in place of a cake), I'd say it did quite well without it. 

(Though this is usually done in a pie crust, I have also substituted the pine nut tart crust for the usual pie crust. One note is that you can't just cook the tart crust first as usual; it may burn if you just put it into the oven with the rest of the filling for 30 minutes. I took the halfway road and cooked the crust for 10 minutes at 350 F, poured the filling in, covered the edges with foil, and then popped it back into the oven to finish.)
Picture
  • 1 9" pie crust
  • 1 egg wash (1 egg + 1 tsp water)
  • 2 eggs
  • 1/2 cup melted butter
  • 1 cup light brown sugar
  • 1/4 cup white sugar
  • ​1 tablespoon all-purpose flour
  • 1 tablespoon milk
  • 1 teaspoon vanilla extract
  • 1 cup chopped pecans

  1. Preheat oven to 425 degrees F.​ To prevent the filling from making the bottom crust a soggy mess, I like to blind bake the pie crust partway and help seal the bottom with an egg wash. Line the bottom and sides of the crust with foil or parchment paper and fill with pie weights or dried beans - make sure to not only cover all over the bottom but up the sides also. Bake for 12 minutes. Remove the pie weights and lining, brush egg wash all over crust, put a heat shield on the edges of the crust, then return to the oven for another 3 minutes. Remove and set aside while you make the filling.
  2. In a large bowl, beat eggs until foamy, and slowly stir in melted butter. Stir in the brown sugar, white sugar and the flour; mix well. Last add the milk, vanilla and nuts.
  3. Pour into the pie shell. Bake in preheated oven for 10 minutes. (Depending on your oven, the nuts on top might get a little burnt-looking. You may wish to cover the entire pie with foil instead of just the crust edges as a heat shield at this time. Make sure you make slits in the top of the foil to allow steam to vent.) Then reduce temperature to 350 degrees and bake for 35 - 40 minutes. Let pie cool completely before serving.

Rhubarb Pie

10/18/2015

 
Other than a reference to a character named "Rhubarb" in Strawberry Shortcake, I had never encountered the vegetable in either print or person until I was nearly 30. But it was pretty much love at first taste, and since then, whenever winter rolls around I keep an eye on the store shelves for the elusive (in Southern California climes, that is) veggie.

I play around with this recipe a lot, sometimes throwing in strawberries (as seen in the photos) or adjusting the amounts of sugar and flour depending on what I'm using. It's become a nice, very simple general recipe for these soft-cooking "sour" fruits that nevertheless still gets multiple requests from friends and family through the year.

Picture
  • 1 double deep dish pie crust
  • 4 heaping cups of chopped fresh rhubarb (see notes at bottom if using frozen rhubarb)
  • 1 cup white sugar
  • 6 tablespoons all-purpose flour
  • (optional) 1 egg + 1 tsp water
  • (optional) sugar

  1. Preheat oven to 450 degrees F (230 degrees C). Roll out the bottom pie crust and lay in the deep dish pie pan. Trim the edges.
  2. Combine sugar and flour. Sprinkle 1/3 of it over pastry in pie plate (this will help the juices from soaking the bottom crust into soup). Heap rhubarb over this mixture. Sprinkle the remaining sugar and flour over the rhubarb. Cover with top crust and crimp the edges. (Optional: brush an egg wash of one whole egg and one teaspoon of water over the crust, and sprinkle with sugar.)
  3. Place pie on lowest rack in oven. Bake for 15 minutes. Cover the edges of the crust with a heat shield and reduce oven temperature to 350 F, and continue baking for 40 to 45 minutes. Let it cool and set. (The center will be very soupy when hot, but as it cools, the flour will help it congeal. This pie may be served hot if you simply can't wait - which my family has done many times - but it's probably best when it's warm or just slightly above room temperature.)
Notes: The sugar level has been adjusted for a less-sweet pie. The original recipe called for 1_1/3 cups of sugar and exactly 4 cups of rhubarb. If you're using frozen rhubarb, try to defrost it first and then squeeze the extra water out of it, then add an extra tablespoon of flour to help thicken the sauce.

Blueberry Custard Pie or Tart

7/3/2015

 
This was adapted from a Country Living recipe. The first attempt was both weirdly my least-favorite but my family's most-favorite baking attempt ever - I simply could not get over the weird snot-thick consistency of the blueberry topping that came from the original recipe's 3 tbsp of cornstarch, though my father and brother literally gobbled up over half the tart in the space of a morning. A second try not only improved the texture but the appearance considerably, and after substituting lactose-free milk for whole milk, I was also able to enjoy it tablet free! With the sweetness dialed down somewhat and a few extra steps added to improve custard and topping consistency, the second one disappeared nearly as quickly as the first.
Picture
  • 1 graham cracker crust, either store-bought or hand-made
The custard:
  • 1.25 cups whole milk
  • 2 large egg yolks
  • 1/4 cup sugar
  • 2 tbsp cornstarch
  • 1/2 tsp vanilla extract
  • 1 tbsp unsalted butter
The blueberry topping:
  • 4 cups fresh or frozen blueberries
  • 1/3 cup sugar
  • 1.5 tbsp cornstarch
  • 3/4 cups water
  • 1 tbsp lemon juice
  • 1 tbsp butter
  1. In a saucepan, cook the milk, egg yolks, sugar, and cornstarch over medium heat, stirring constantly, until mixture boils and thickens. Stir in vanilla and butter. Transfer custard to a shallow dish to cool.
  2. Meanwhile, in a saucepan, mix 1 cup of blueberries with sugar over medium to high heat. Stir occasionally, until the blueberries start to soften and burst and become a slurry. Mix the cornstarch into the water, then pour into the saucepan. Bring to a boil while continuing to stir, until the mixture thickens. Stir in lemon juice and butter, then remove from heat and let cool. Gently stir in remaining 3 cups of berries.
  3. Once the custard is near room temperature, spread it into the bottom of the graham cracker crust. Top with the berry mixture and refrigerate until set.
Note: If you're going to use lactose-free milk instead of whole milk, you might want to dial down the sugar amount for the custard slightly, as lactose-free milk tends to be sweeter. The filling can be made a day ahead and refrigerated separately. To prevent the custard from forming a film, press cling film all over the surface.
<<Previous
    Picture

    Sweet Enough

    Part of the reason I started baking was because I like my goodies to be less obviously sweet - I want to taste the flavor, not just the sugar. So most of these recipes will have the sugar dialed down.

    This site also acts as my mobile recipe box, so instructions are often pared down to a minimum - very few frills but for some hints and suggestions!

    RSS Feed

    Categories

    All
    Alcohol
    Almond
    Apple
    Avocado
    Baklava
    Banana
    Bars
    Biscotti
    Blackberry
    Blueberry
    Bread
    Buttercream
    Cake
    Candy
    Carrot
    Cheese
    Cherry
    Chicken
    Chickpea
    Chinese
    Chocolate
    Cider
    Cobbler
    Coconut
    Coconut Milk
    Cookie
    Corn
    Cranberry
    Cream
    Cream Cheese
    Creme Brulee
    Crumb
    Crust
    Cupcake
    Custard
    Dates
    Decoration
    Dip
    Dough
    Doughnut
    Dumpling
    Easy Peasy
    Egg
    Filling
    Flowers
    Frosting
    Fruit
    Garnish
    Gelee
    Granola
    Green Tea
    Honey
    Ice Cream
    Icing
    Jam
    Lamb
    Lemon
    Lime
    Lobster
    Lotus Seed
    Macaron
    Mango
    Marshmallow
    Meringue
    Mochi
    Muffin
    Nectarine
    Nutella
    Nuts
    Oat
    Oats
    Onion
    Orange
    Pancake
    Panna Cotta
    Peach
    Peanut Butter
    Pear
    Pecan
    Phyllo
    Pie
    Pistachio
    Plum
    Popsicle
    Pound Cake
    Pumpkin
    Quiche
    Raspberry
    Red Bean
    Rhubarb
    Rice
    Ricotta Cheese
    Rugelach
    Sauce
    Savory
    Scone
    Sesame
    Shortbread
    Soup
    Sponge
    Sponge Cake
    Strawberry
    Streusel
    Tahini
    Tart
    Tofu
    Topping
    Torte
    Vegetable
    Vinaigrette
    Walnut
    Watermelon
    Yogurt
    Zucchini

    Archives

    September 2021
    March 2021
    February 2021
    December 2020
    November 2020
    October 2020
    July 2020
    May 2020
    April 2020
    March 2020
    October 2019
    December 2018
    October 2018
    August 2018
    April 2017
    July 2016
    May 2016
    March 2016
    February 2016
    January 2016
    December 2015
    November 2015
    October 2015
    September 2015
    July 2015
    June 2015
    May 2015
    April 2015
    February 2015
    January 2015
    November 2014

© 2019 Jacqueline Teng | DragonWarden