DragonWarden
  • Adventures
  • The Oven
  • The Un-Tea Party
  • Secret Ingredients
  • About

No-Bake Cheesecake

12/22/2015

0 Comments

 
I had pinned this article from Epicurious from back in forever, and had honestly forgotten about it altogether. It wasn't until I offered to make a cake for my mother for the holiday potluck and trawled through my Pinterest board (and quietly panicking when I realized I almost never pay any attention to cakes) when I stumbled across this recipe again.

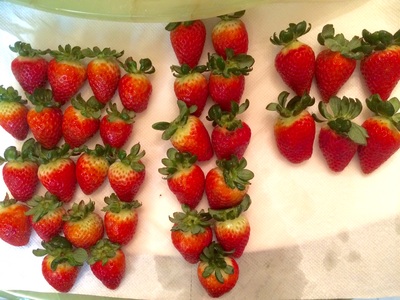
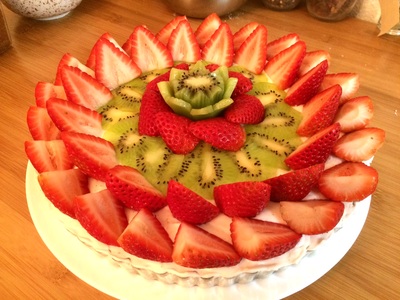
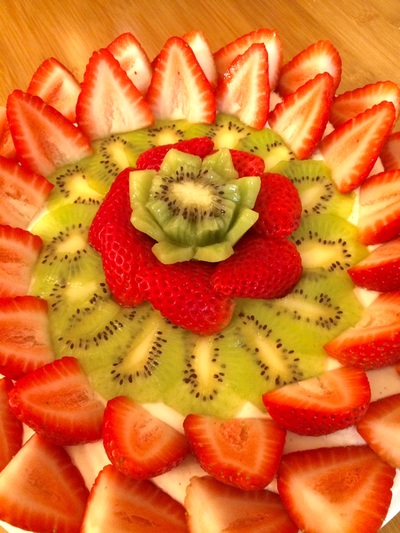
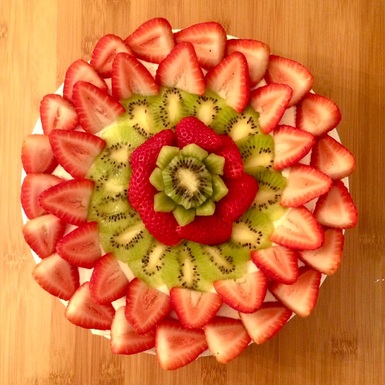
Since it was for the holidays, I added some green to help complement the red, and had a grand old time carving and essentially playing with the fruit. With a ready-made crust and store-bought whipped topping, this is a quick and easy recipe, though I usually opt to make my own graham cracker crust and whipped cream.
Picture
  • 8 ounces cream cheese, softened
  • 1/3 cup sugar
  • 1 cup sour cream (or 1 1/3 cup for a more NY-style sour cheesecake)
  • 2 teaspoons pure vanilla extract
  • 1 lemon zested
  • 8 ounces prepared whipped topping, thawed
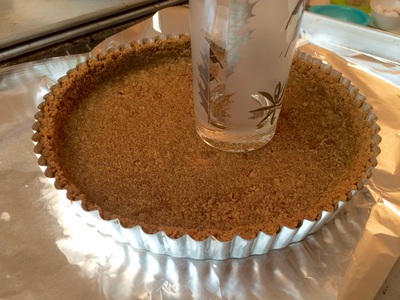
  • 1 prepared graham cracker crust
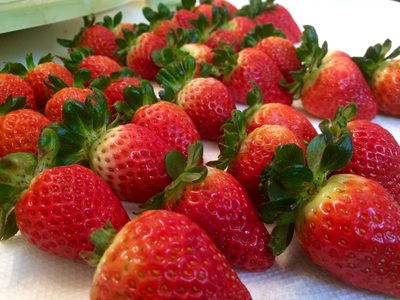
  • 1 pound fresh strawberries, hulled and halved lengthwise
  1. Beat the cream cheese until smooth with an electric mixer. Gradually beat in the sugar. Beat in the sour cream, vanilla, and lemon zest until just combined.
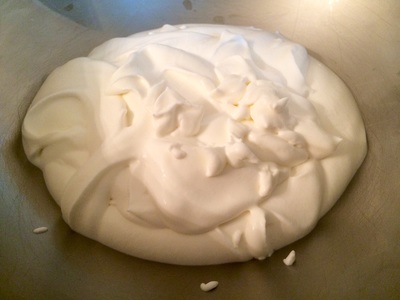
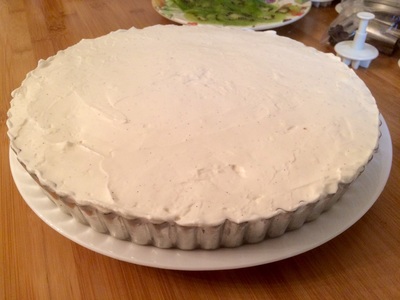
  2. Fold in the whipped topping. Scrape mixture into the piecrust. (There may be some filling left over. If so, reserve it to be decoratively piped onto the top of the pie.) Chill in the refrigerator for 4 hours.
Notes: Half of those who tried this mentioned that they preferred a thicker graham cracker crust than I usually make for other tarts to go with this cheesecake.

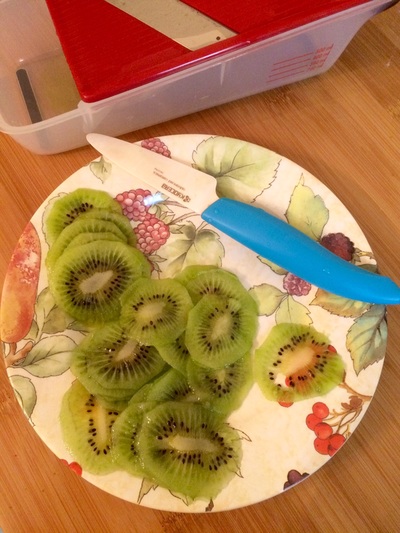
If you're going to use kiwis, find some that are firmer/not-quite-ripe. They will be easier to slice using a mandolin, and they'll be so thin that their not-so-perfect state of ripeness won't be as much of an issue. Also, turn the fruit 180 degrees after each slice; otherwise, the trailing end will start to get ragged after a while depending on the sharpness of your mandolin, particularly if the fruit is already softer than ideal.
0 Comments

Whipped Cream / Topping

12/22/2015

0 Comments

 
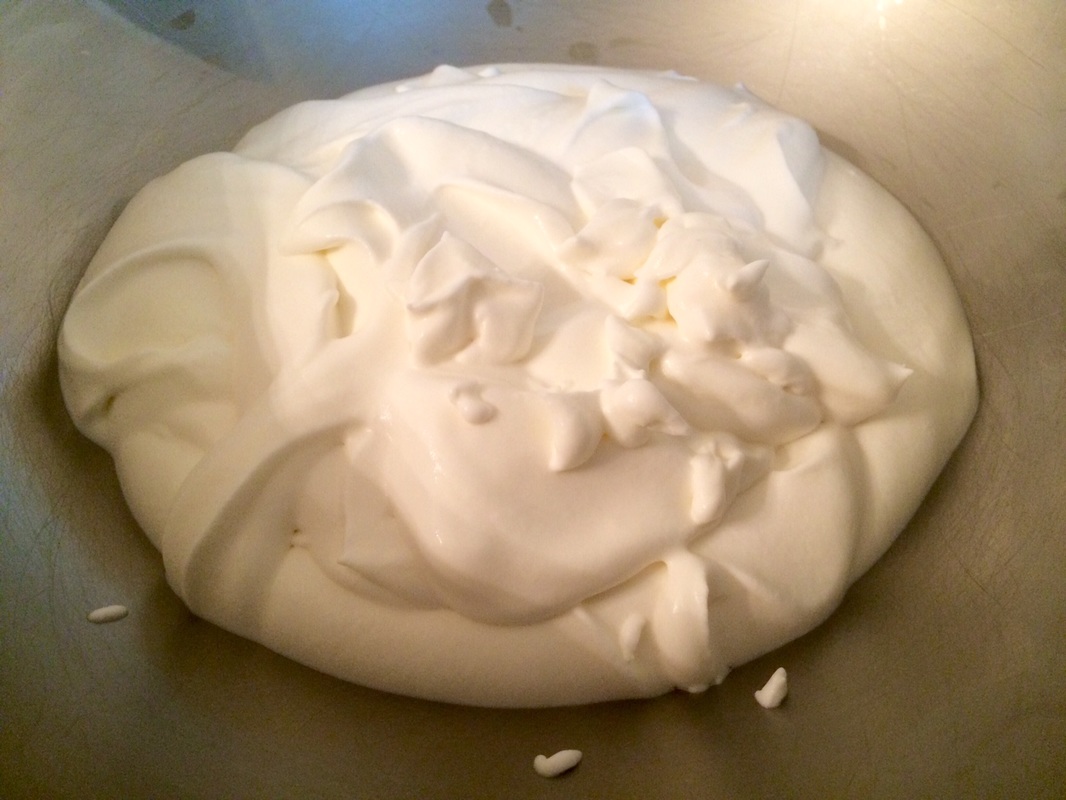
I highly recommend reading through Bon Appetit's do's and don'ts of homemade whipped cream. It's a succinct guide of the common pitfalls of making your own whipped cream, tips on how to recover if you've misstepped, and what effects different ingredients have. Otherwise, I've simply copied the most common steps below for easy reference.
Picture
  • 1 cup heavy cream
  • 1 tbsp confectioner's sugar or granulated sugar
  • (optional) additional 1 tbsp of sugar for sweeter whipped cream
  1. Chill the bowl and whisk, either in the freezer (for about 10 minutes) or the refrigerator (for about 20 minutes).
  2. Pour the heavy cream in the bowl. If using granulated sugar, add it now.
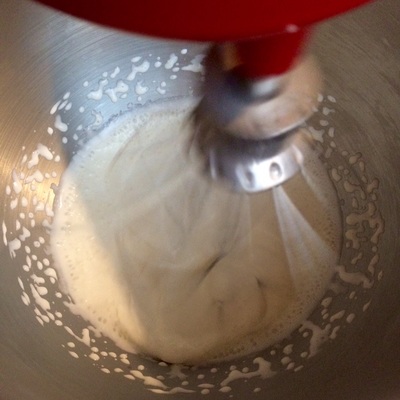
  3. Using an electric mixer, beat the cream until soft to medium peaks form. If using confectioner's sugar, add it now.
  4. You may wish to switch to a hand-whisk to continue beating the whipped cream to the desired stiffness. Or else use the electric mixer in short bursts, to avoid over-beating the cream.
  5. Chill whipped cream until ready to use. You can "refresh" it just before use by hand beating it for about 10-15 seconds.
0 Comments

Chinese Bakery-Style Whipped Cream Frosting

4/8/2015

1 Comment

 
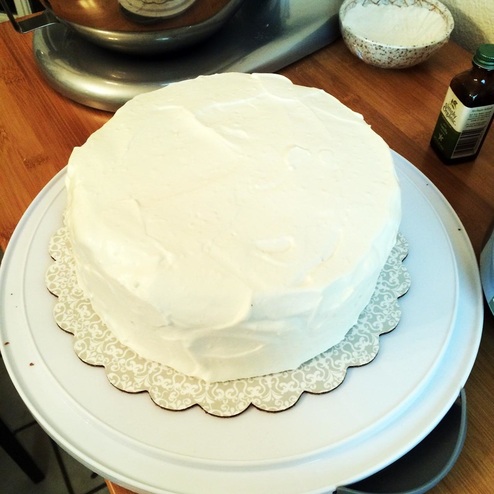
This style is used by Chinese bakeries to frost their cakes. It is much lighter and much less sweet than Western style frostings. As a result, it's often a favorite in my family, and it took quite a bit of research before I finally found this recipe - but it was totally worth it! My mother in particular was ecstatic with the results when I made her birthday cake using this.
Picture
  • 2 tbsp cold water
  • 1 tsp unflavored gelatin - can be found in the supermarket in the Jello section.
  • 2 cups (1 pint) of chilled heavy cream
  • 2.5 tbsp of confectioner’s sugar
​​Flavor options:
  • Plain: 1 tsp vanilla
  • Strawberry: 4 oz pureed strawberries + 1 tbsp strawberry powder or extract

  1. Place your mixing bowl and wire whisk(s) into the freezer for about 5 to 10 minutes before using them to prepare the whipped cream. This will ensure that the cream stays as cold as possible. 
  2. Add the unflavored gelatin to a small bowl with the 2 tbsp of cold water. Let it soak for about 5 minutes and then dissolve the gelatin into the water by holding the bowl (carefully) over a pot of simmering water to slowly heat it while continuously stirring. Once dissolved, the gelatin and water should be almost clear. Set aside and let cool to a luke warm temp, but do not let the gelatin cool or sit too long or it will harden.
  3. Take your chilled mixing bowl and wire whisks out of the freezer and add the 1-pint of chilled heavy cream to the mixing bowl. Beat the cream in your mixer or with your hand mixer in the following manner:
  4. Beat the cream slowly until it just starts to form bubbles (30 sec.).
  5. Increase the mixing speed to medium until the wire whisk leaves some trails in the cream (30 sec.).
  6. Increase the mixing speed to high and mix the cream until it becomes billowy. Add the sugar and your flavor option of choice carefully while continuing to mix until the cream becomes just stiff. The cream will begin to stiffen within a minute of adding the sugar. As soon as the cream is just becoming stiff, add the dissolved gelatin while continuing to mix. Once the gelatin is added, the cream will further stiffen and dry out. After adding the gelatin, continue beating the cream for about 30 more seconds or until you are satisfied that it is stiff enough, but not too dry or clumpy.
  7. Once you are finished with beating the whipped cream, use it immediately for frosting the cake, or refrigerate it for later use. If refrigerating the cream for later use, be mindful of the fact that the cream may stiffen slightly when refrigerated, but it will loosen up again once you start working with it.
1 Comment
    Picture

    Sweet Enough

    Part of the reason I started baking was because I like my goodies to be less obviously sweet - I want to taste the flavor, not just the sugar. So most of these recipes will have the sugar dialed down.

    This site also acts as my mobile recipe box, so instructions are often pared down to a minimum - very few frills but for some hints and suggestions!

    RSS Feed

    Categories

    All
    Alcohol
    Almond
    Apple
    Avocado
    Baklava
    Banana
    Bars
    Biscotti
    Blackberry
    Blueberry
    Bread
    Buttercream
    Cake
    Candy
    Carrot
    Cheese
    Cherry
    Chickpea
    Chinese
    Chocolate
    Cider
    Cobbler
    Coconut
    Coconut Milk
    Cookie
    Corn
    Cranberry
    Cream
    Cream Cheese
    Creme Brulee
    Crumb
    Crust
    Cupcake
    Custard
    Dates
    Decoration
    Dip
    Dough
    Doughnut
    Dumpling
    Easy Peasy
    Egg
    Filling
    Flowers
    Frosting
    Fruit
    Garnish
    Gelee
    Granola
    Green Tea
    Honey
    Ice Cream
    Icing
    Jam
    Lamb
    Lemon
    Lime
    Lobster
    Lotus Seed
    Macaron
    Mango
    Marshmallow
    Meringue
    Mochi
    Muffin
    Nectarine
    Nutella
    Nuts
    Oat
    Oats
    Onion
    Orange
    Pancake
    Panna Cotta
    Peach
    Peanut Butter
    Pear
    Pecan
    Phyllo
    Pie
    Pistachio
    Plum
    Popsicle
    Pound Cake
    Pumpkin
    Quiche
    Raspberry
    Red Bean
    Rhubarb
    Rice
    Ricotta Cheese
    Rugelach
    Sauce
    Savory
    Scone
    Sesame
    Shortbread
    Soup
    Sponge
    Sponge Cake
    Strawberry
    Streusel
    Tart
    Tofu
    Topping
    Torte
    Vegetable
    Vinaigrette
    Walnut
    Watermelon
    Yogurt
    Zucchini

    Archives

    November 2020
    October 2020
    July 2020
    May 2020
    April 2020
    March 2020
    October 2019
    December 2018
    October 2018
    August 2018
    April 2017
    July 2016
    May 2016
    March 2016
    February 2016
    January 2016
    December 2015
    November 2015
    October 2015
    September 2015
    July 2015
    June 2015
    May 2015
    April 2015
    February 2015
    January 2015
    November 2014

© 2019 Jacqueline Teng | DragonWarden