Two weeks ago, I received a Black Friday advertisement from a baking site with some deals on mooncake molds and mooncake recipe books. I laughed to myself, wondering who would actually make them at home, because I've always felt that Chinese baking was extraordinarily finicky - the recipes always seemed like the TRUE science that people keep claiming baking to be, as opposed to the pies and cookies I usually do, which are quite tolerant of experimentation and sloppy measurements.
But then curiosity sat like the devil on my shoulder and I started looking up what it actually took to make your own mooncakes ... and wow, it looked so SIMPLE. Only 3 ingredients, of which the one exotic ingredient (golden syrup) could be substituted with plain ol' honey, and no arcane techniques involved! One thing led to another, I found myself suddenly in possession of a set of plastic mooncake plunger molds, and I found that, yes ... Chinese baking is extraordinarily finicky. This is probably the first and only recipe I have where the notes section is longer than the actual instructions, and I have never made so many batches of the same thing in as many days, (accidentally) figuring out every failure case possible in order to get things just right.
Take the following with a grain of salt; I have a feeling that things may be slightly different with other people's kitchen appliances and I had to do a lot of guesswork reading between badly translated lines. Make sure to read all the notes beforehand so that you can learn from my mistakes!
This recipe was mostly adapted from the China Si Chuan Food site.
 |
|
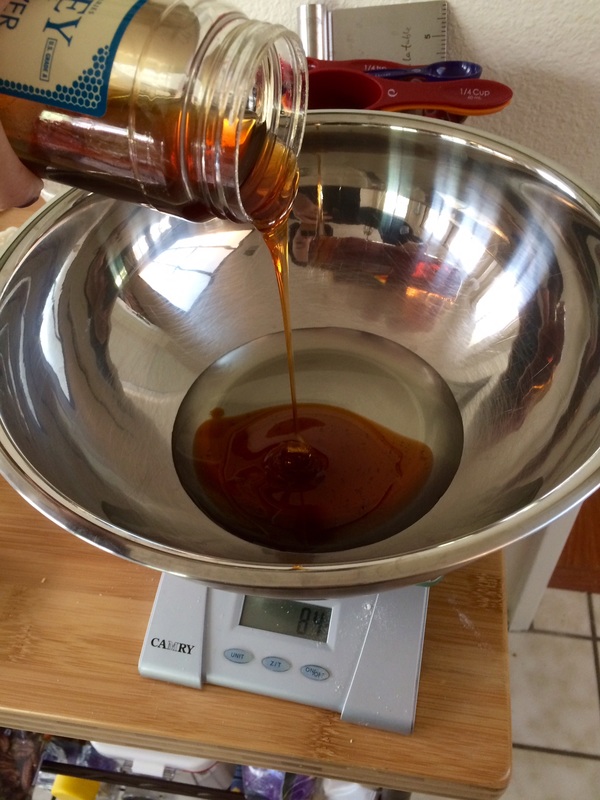
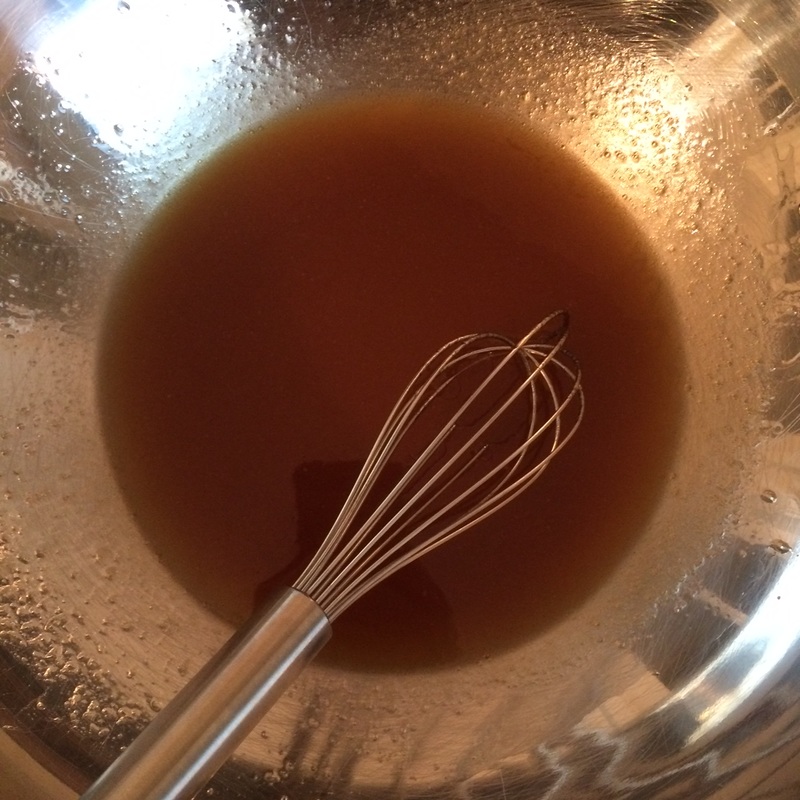
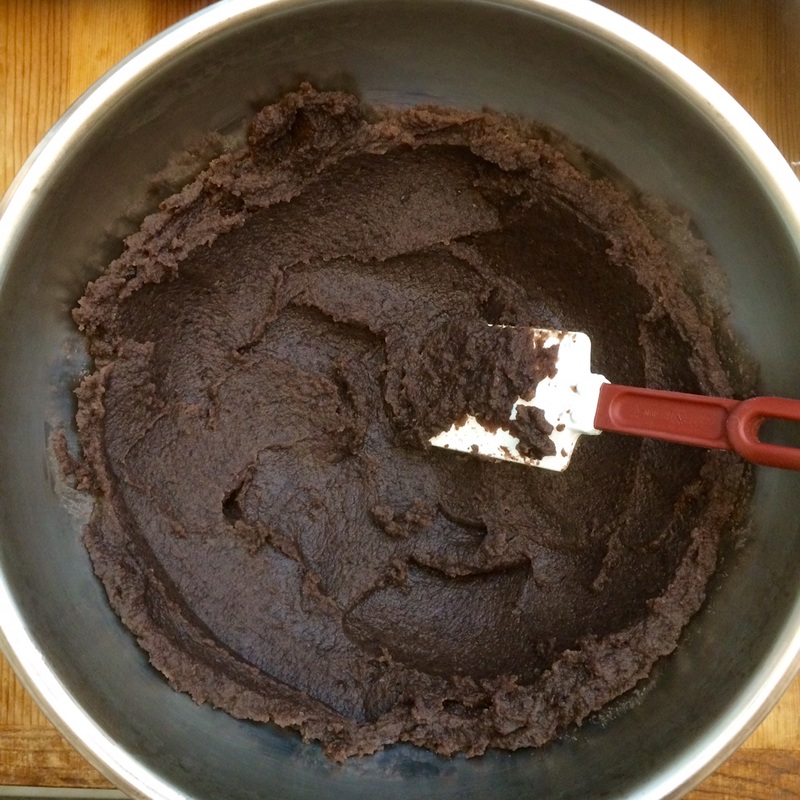
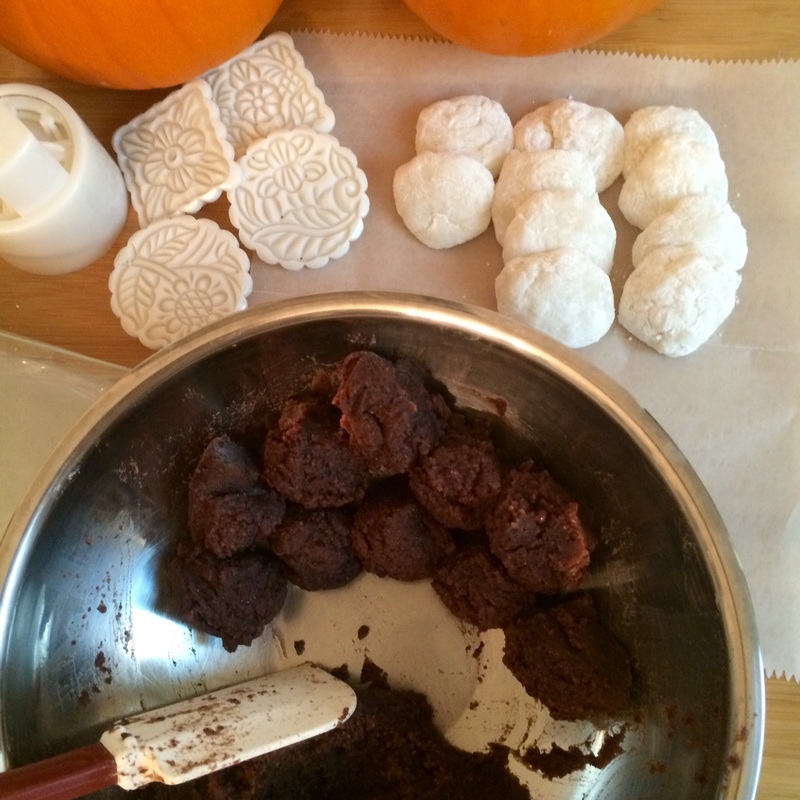
- To make the wrapper: Pour the vegetable oil, honey, and water into a large mixing bowl. Whisk well until they are all completely blended and emulsified. Sift in a third of the flour and whisk. Sift in the rest of the flour and use a spatula to fold the flour in - as you work, the dough will start to become shaggy. Be patient - as you fold, you may notice that the flour slowly "soaks in". When there is very little loose flour left, set aside the spatula and use your hands to knead the dough together into one mass. Roll into a ball - most of the dry flour should by now be absorbed, but if you still see uneven bits, knead the ball a few more times. Once everything is evenly mixed, wrap well with saran wrap, and let rest at room temperature for 1 hour.
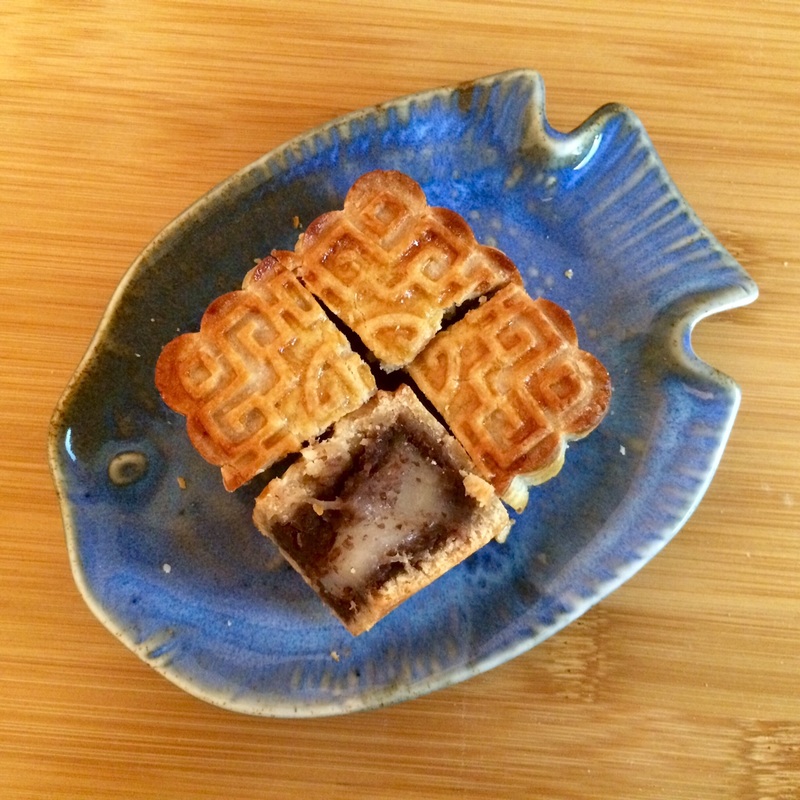
- (For the proportions of filling and dough, see the notes section below.) Measure the filling out into separate portions according to weight and roll each portion into a ball. (If you are inserting a mochi in the center, wrap the filling around the mochi until it is completely covered, then roll into a ball.) If you are working with a filling that is more moist (such as lotus seed) you can keep it chilled in either the refrigerator or the freezer before using.
- Line a baking sheet with foil or parchment paper. Set the oven to 350 F. While my current oven bakes the cakes fine when the rack is in the middle, you may need to adjust your oven rack to the upper third of the oven if you find that the bottoms of your cakes tend to burn.
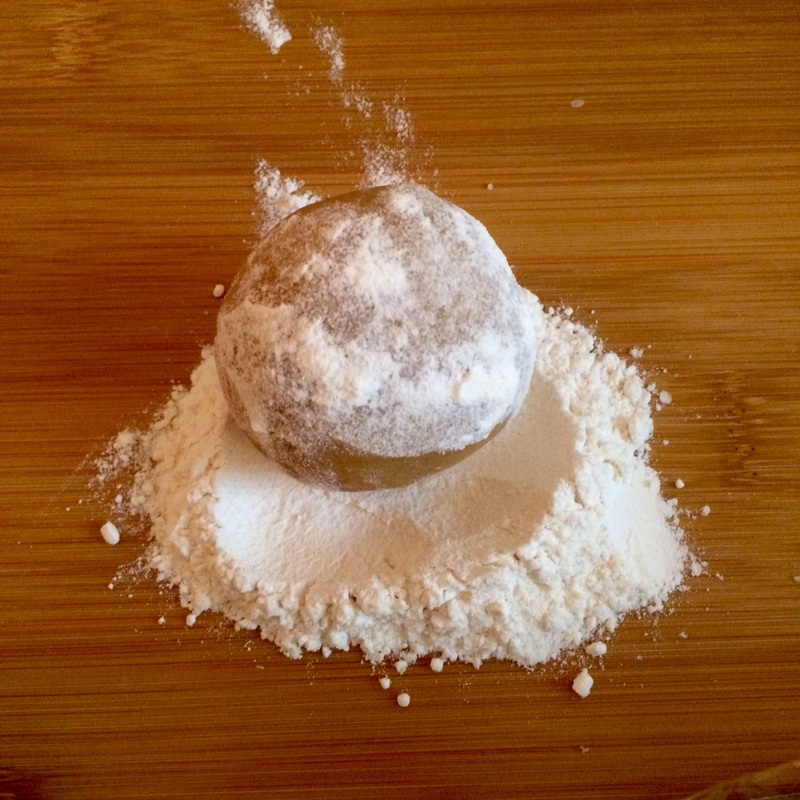
- Measure out the appropriate amounts for the dough, rolling each portion into a ball. Because it is easy for the dough to dry out, keep all the dough balls lightly covered under a sheet of saran wrap. To shape a mooncake, take one of the dough balls and start to flatten the dough by pinching gently in the center, forming a disc with thicker edges and a thinner center (if you are wrapping a large mooncake, make it more of a long oblong rather than a circle). Place the ball of filling in the center of the dough, then continue gently pressing and thinning the dough down the sides of the filling until the edges wrap over and can meet each other in the middle. Gently massage together the seam and any other holes in the dough, so that the filling is completely covered - don't worry if there are cracks, as the dough very easily blends with itself. Roll the whole ball between your palms, and the dough will start to smooth itself. It doesn't have to be perfectly smooth, but you should feel secure that there are no seams that may fall open. (Note that you can even pinch off thicker sections of dough to move them into gaps elsewhere in the dough ball - the dough melts into itself very easily and is forgiving of being torn and moved around this way.)
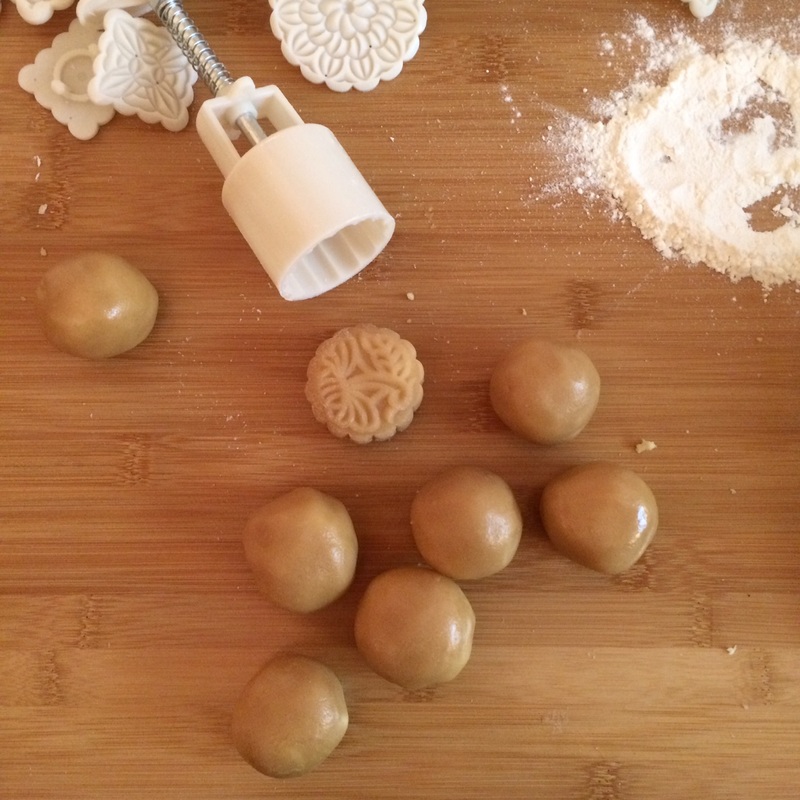
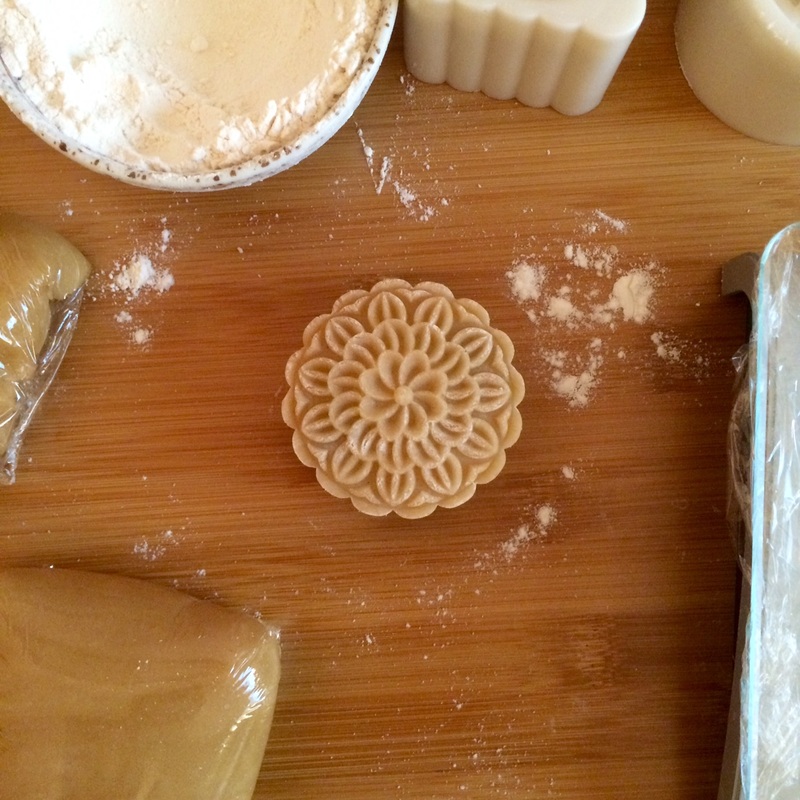
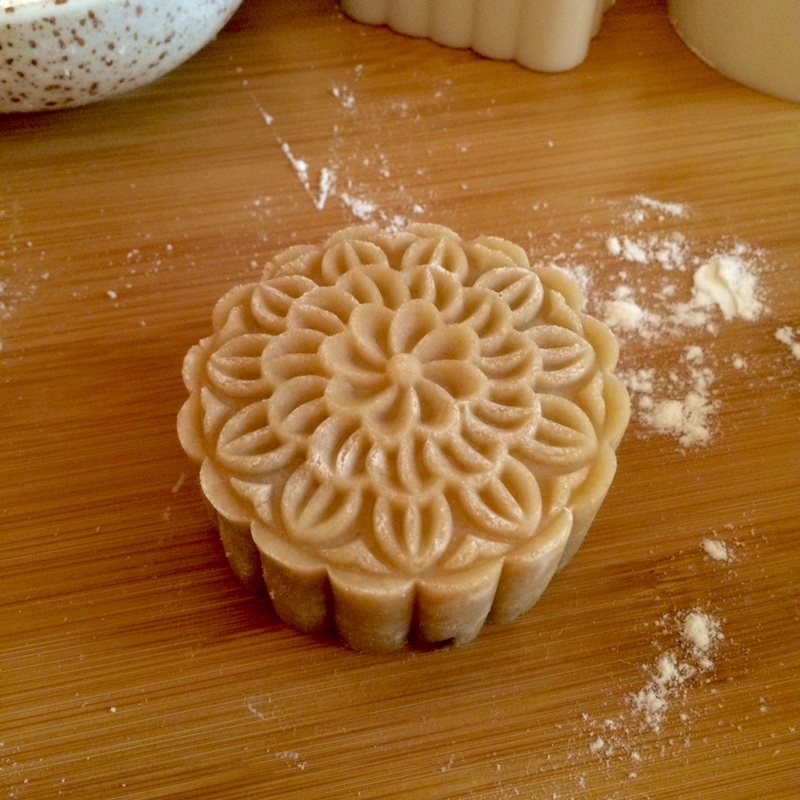
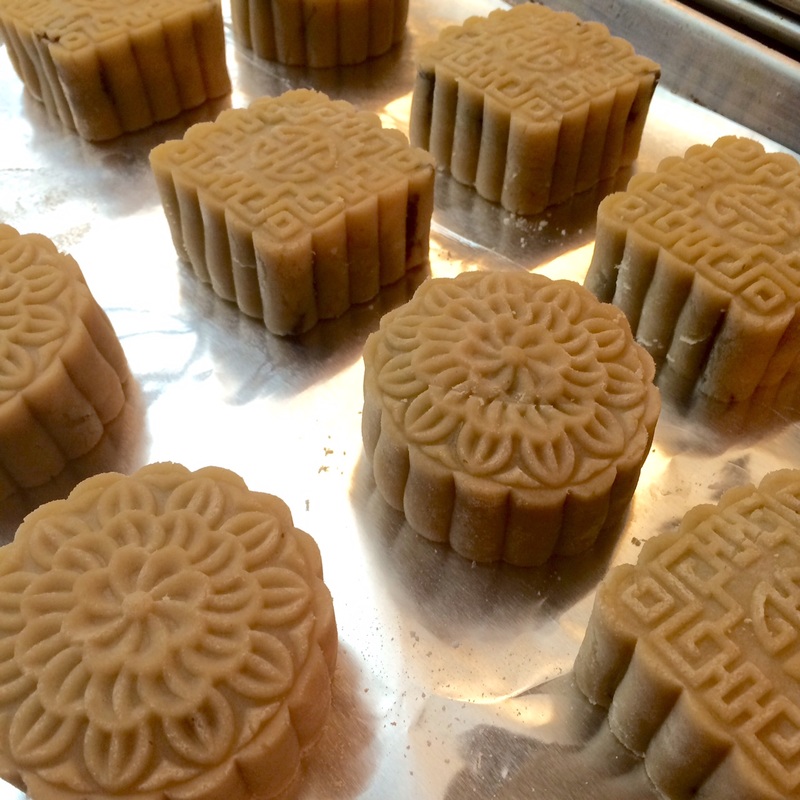
- Lightly dust your hands with flour and then roll the finished ball between your hands, lightly coating it. The mold I am using are the plastic plunger types (ordered right from Amazon), not the traditional wooden ones, which have a different technique for filling and loosening the cake from. To fill these plastic molds, I lightly squeeze the ball into an oblong shape so that I'm sure I can fit it inside the mold without catching the dough on the edges. Once inside the mold completely (don't worry if some of the dough still sticks out), push the mold down onto the work surface and let the work surface push the excess dough completely into the mold (the pressure will deform the cake so that it fills the interior of the mold without tearing). Then, I give the plunger several hard, vigorous pushes (don't worry, the cake can take it), then lift the mold while slowly pushing down on the plunger one more time, releasing the cake from the mold. (See note 4 below for additional tips)
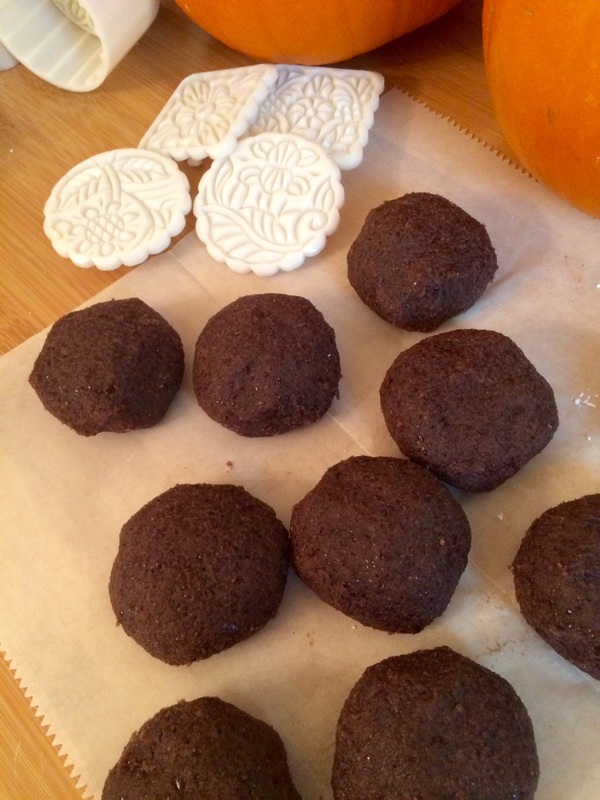
- Arrange the cakes on the prepared baking sheet. Bake for 6 minutes. Meanwhile, in a small bowl, make the egg wash by whisking the egg. It's important to pre-bake the cakes, because the dough is very absorbent - if you try to give them an egg wash before they have cooked a little, the stamped designs will simply melt back into the cake.
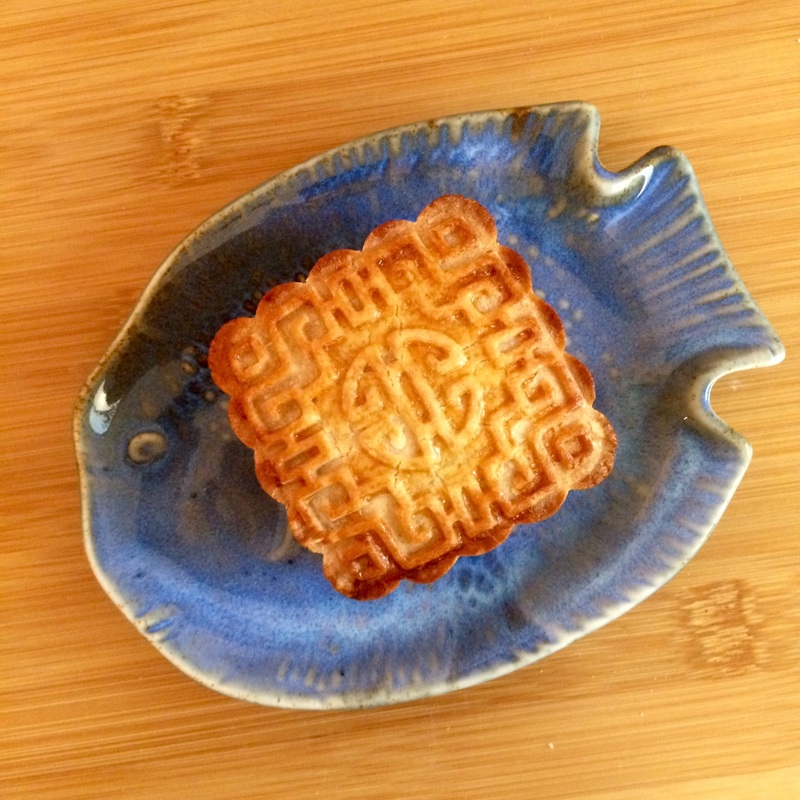
- Take out the half-baked mooncakes and brush a thin layer of the egg wash over them, then return them to the oven and continue baking for 10-12 minutes or until the mooncakes become golden brown.
- (Optional) I sometimes add a honey wash after the cakes cool down a little bit, which not only helps the baked dough become moist and soft faster, but can help put a nice sweet-ish glaze on the skin. Whisk together the honey and water until the honey is dissolved, then brush over the baked mooncakes. Return the mooncakes to the oven for about 3-4 minutes, or until they feel tacky but not actually wet.
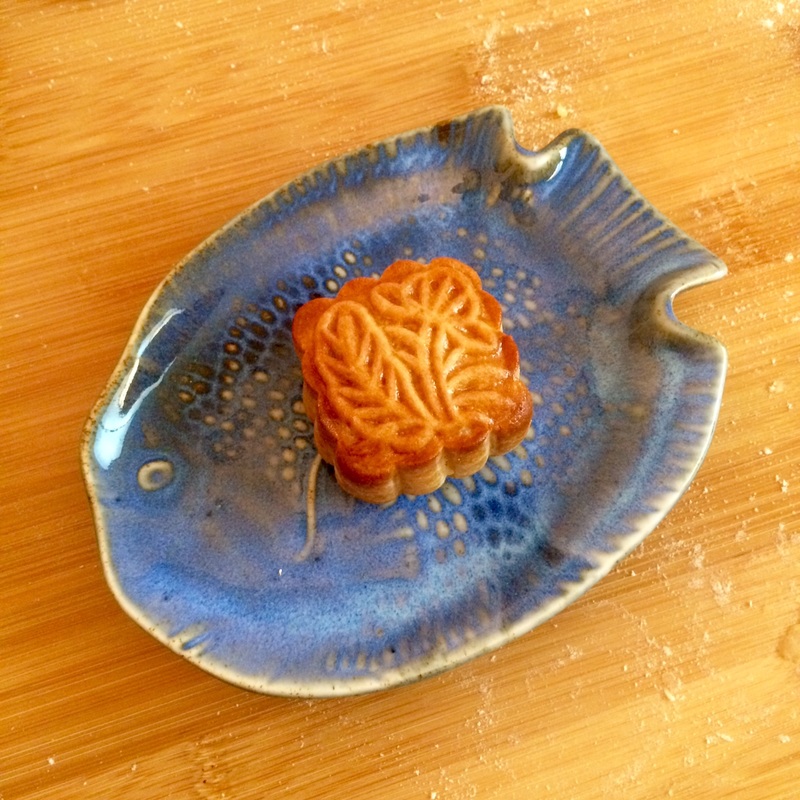
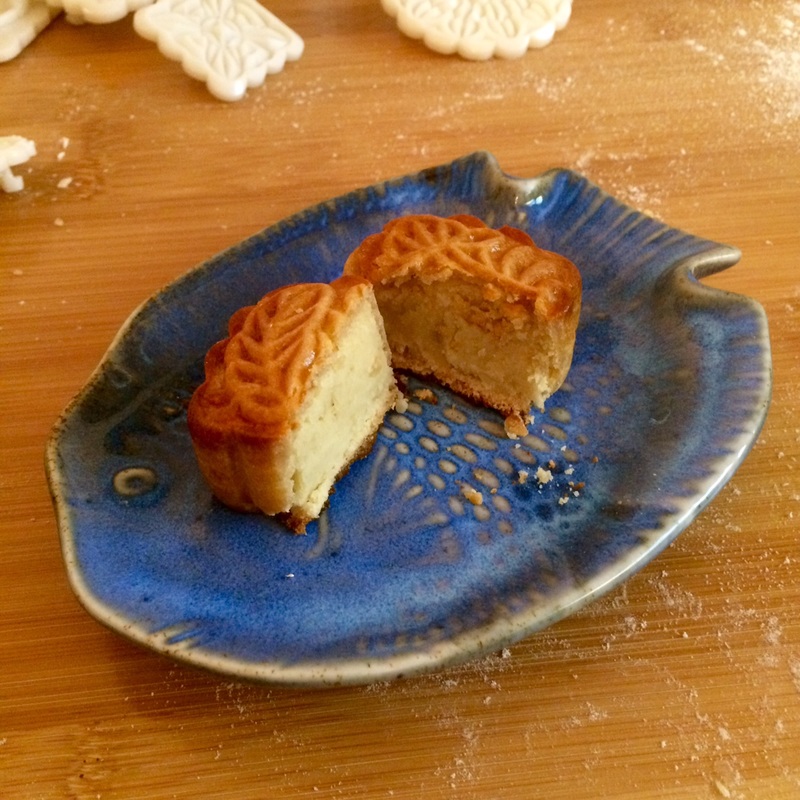
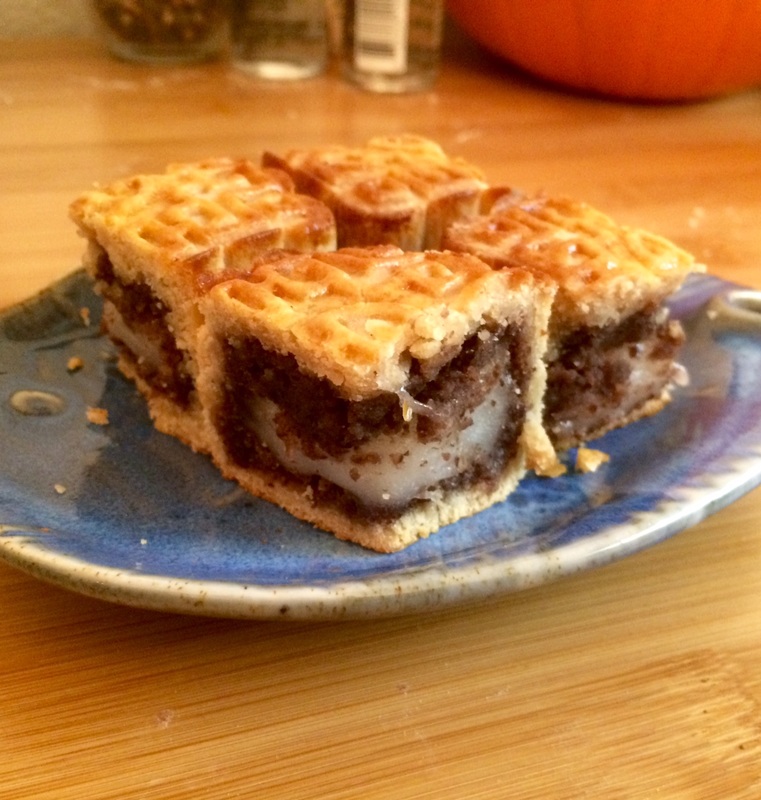
- Remove from the oven and let cool. The mooncake wrapping will be stiffer than the retail kind, almost like a shell - some people may prefer this texture and can eat it right away. For the softer, more moist version that is more common in bakeries, wrap in film or place in an airtight container and wait for 1-2 days, and it will continue to soften as it absorbs moisture.
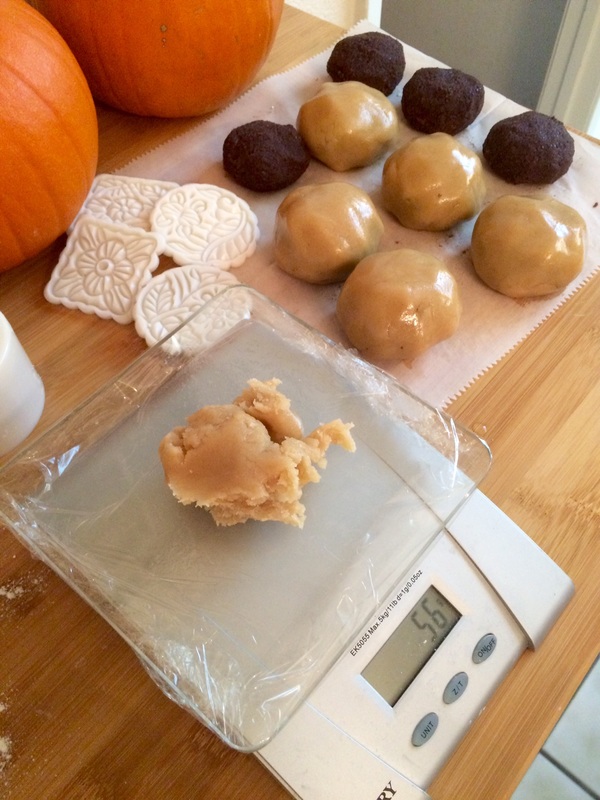
- The proportions for the wrapper are VERY important! Do not try to convert to cups and tablespoons - I tried and they failed miserably. The only way I was able to get a reliable dough was to use weighing. The resultant ball of dough should be slightly oily, pliable, and a consistent amber throughout, with no hints of dry flour at all. Too much flour, and the dough became too dry and would break up when handled. Too much oil, and the dough wouldn't stretch - pressing and kneading for mooncake wrappers would result in the dough starting to separate.
Also be aware that you may be leaving behind as much as a teaspoon of oil or honey behind if you are using another bowl for measuring and then pouring into the mixing bowl. To make it easy on myself, I've simply poured them directly into the mixing bowl, zeroing out the value in between each ingredient, though be careful, if you overpour, you'll have a tough time walking back the extra portion! If using multiple bowls, make sure to use a spatula to scrape down the bowl. - For small mooncakes: 22g filling, 32g dough
For large mooncakes: 60g filling, 65g dough (you will want a thicker wrapping for the large cake to help it keep its shape). If using a mochi center, divide the filling into 20g mochi, 40g filling. - The goal is to "roll" the dough down and around the ball of filling, and this step is why it's important to have a filling that is dry enough to have some "resistance" - otherwise, pressing will simply squeeze the filling out too. The trick is to press the center of the dough disc into the approximate thickness you want, leaving the thicker dough around the outer rim, then once the filling is in place, using your thumbs to continue "pressing" the thicker dough so that the excess is squeezed up, NOT pushed up - pushing the dough upwards may create tears in the wrapper. If your filling is too soft to push against, you can pinch the dough edges to the desired thickness while continuing to mold it around the filling, or you can roll the filling into balls on a baking sheet and put it in the freezer for 10 minutes or so.
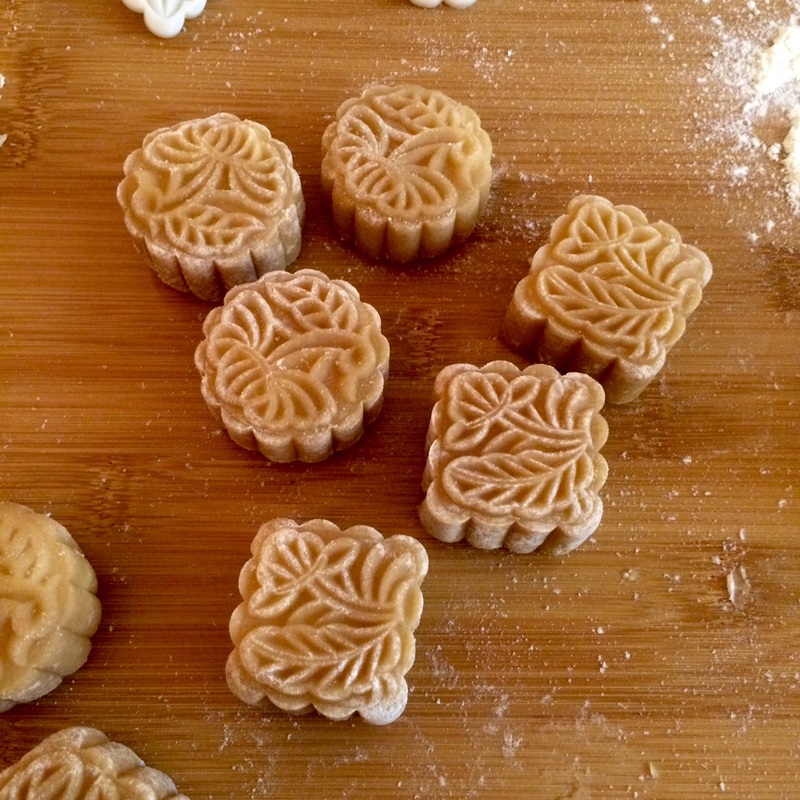
- Don't be afraid to use a little more strength than you think you need on the plunger - being too gentle can result in the design and shape softening and disappearing when the cake starts cooking. The force will also help to compact the filling and dough, and there is little chance that anything will "squeeze" out. I tend to just slap my hand down on the plunger 3 or 4 times rather than trying to do a single press.


 RSS Feed