DragonWarden
  • Adventures
  • The Oven
  • The Un-Tea Party
  • Secret Ingredients
  • About

Pumpkin Cheesecake Tart with Cranberry Gelee

12/20/2018

0 Comments

 
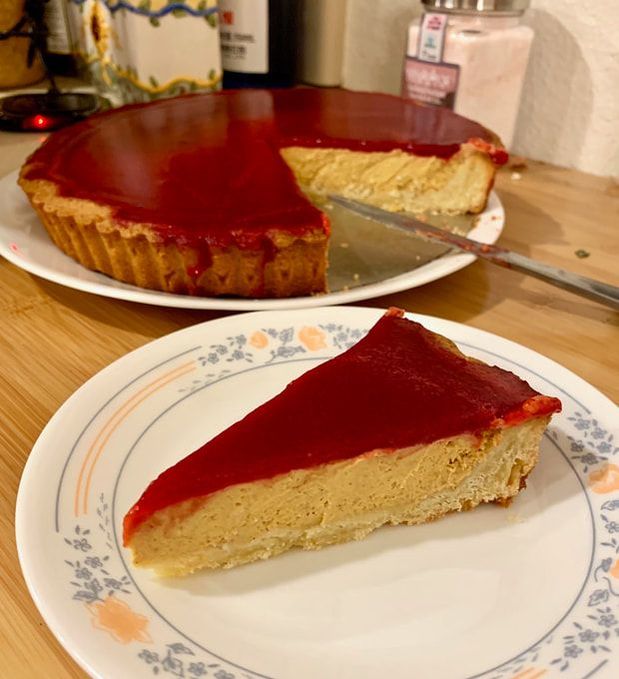
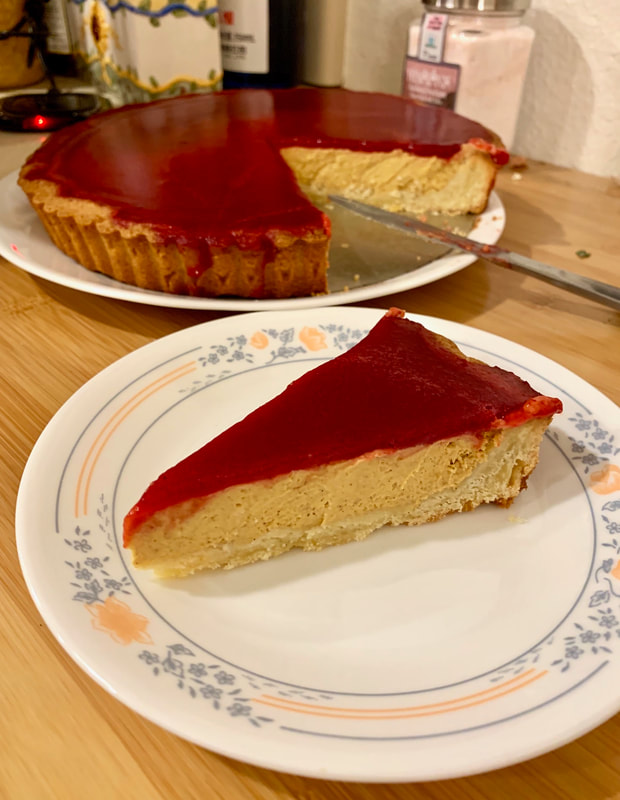
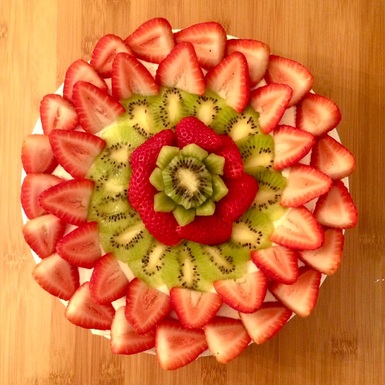
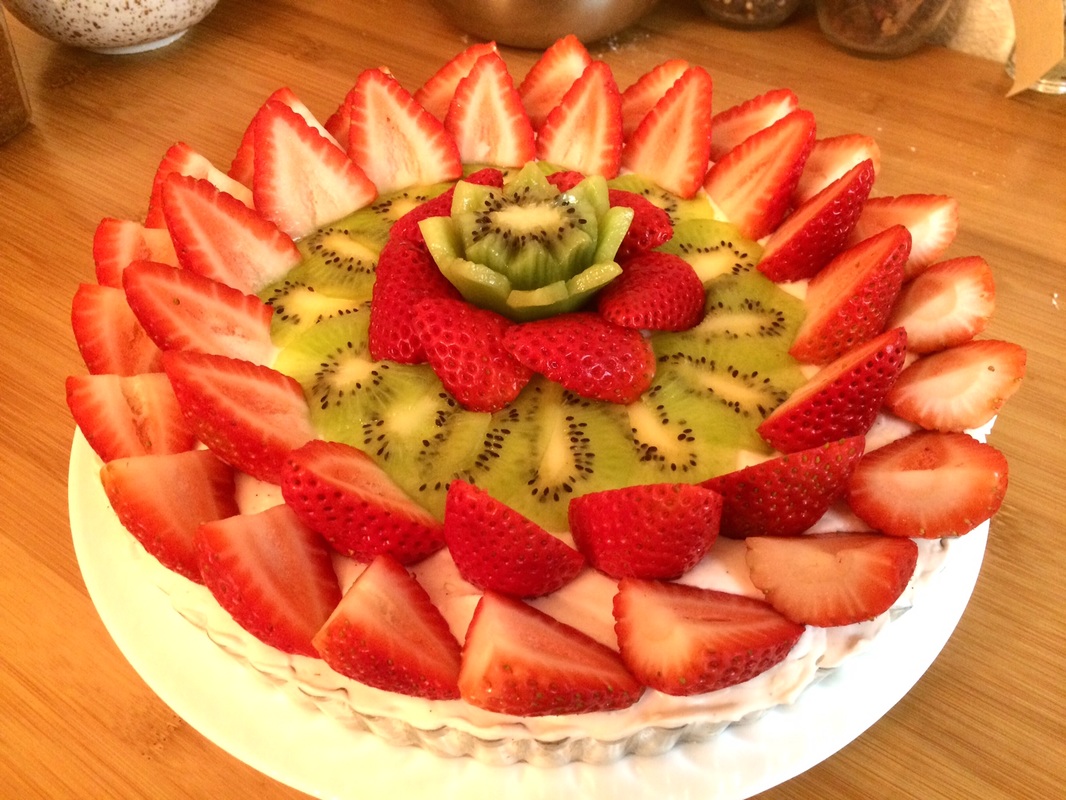
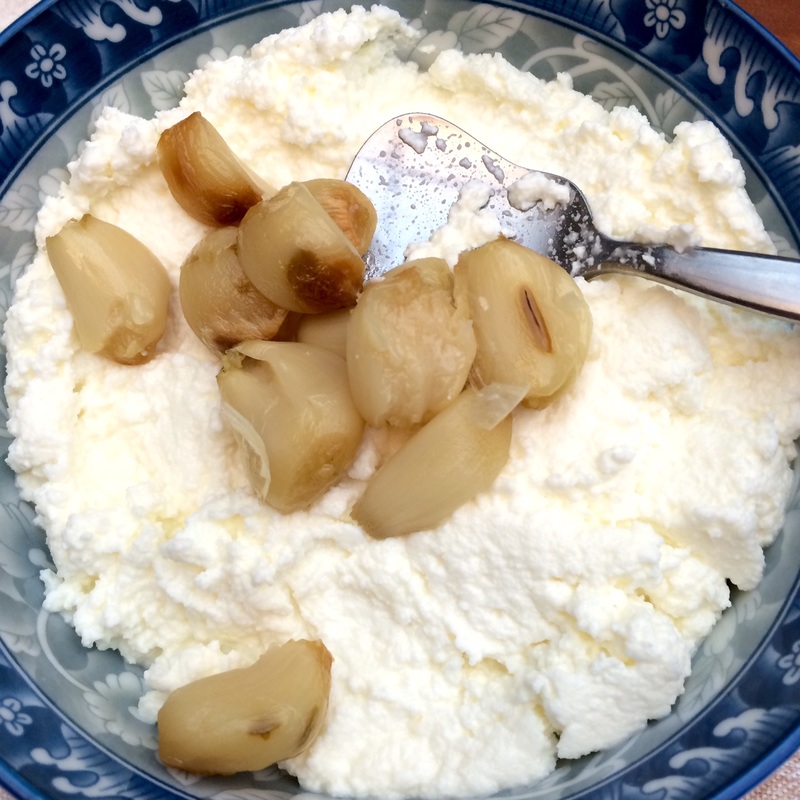
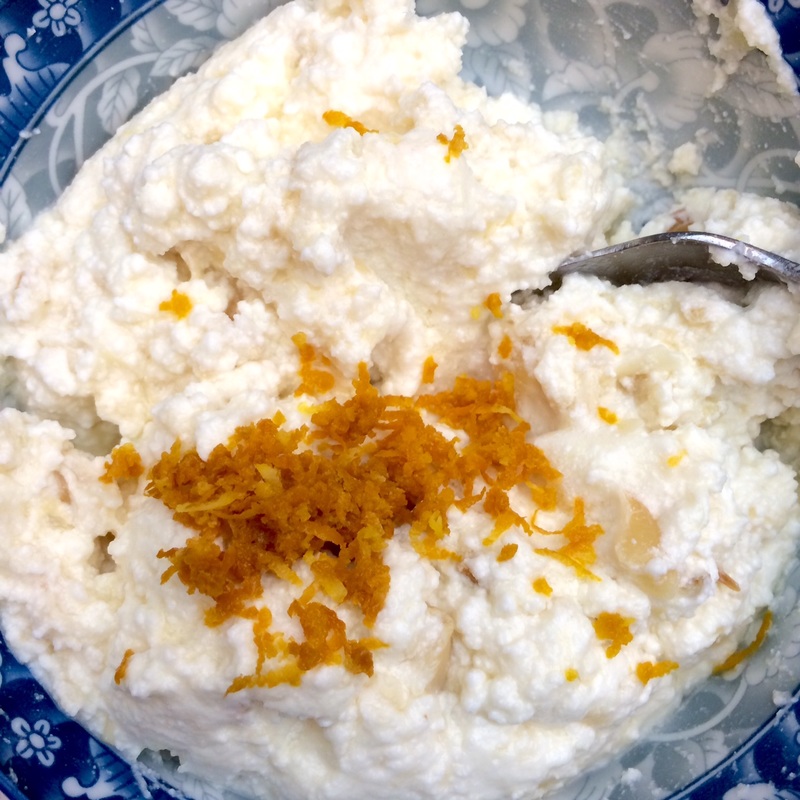
For once, I was actively hunting for something new to make when I stumbled across this recipe. The inspiration was the very first Thanksgiving feast I would be making on my lonesome, and I wanted to top it off with a dessert that was traditionally-themed without being completely traditional. This was, arguably, the biggest hit not only of the night's feasting (and not just because it was sweet) but nearly out of all the things I have ever baked for my family. Even my father, the most famous scrooge of the family, prompted me no less than three times as to when I was going to make it again!
Picture
Pastry:
  • 6 tablespoons blanched almonds
  • 1 1/2 cups plus 1 tablespoon all-purpose flour
  • 1 1/2 sticks (6 ounces) unsalted butter, at room temperature
  • 3/4 cup plus 2 tablespoons confectioners' sugar
  • 1 large egg
  • 3/4 teaspoon pure vanilla extract
  • Pinch of salt
Filling:
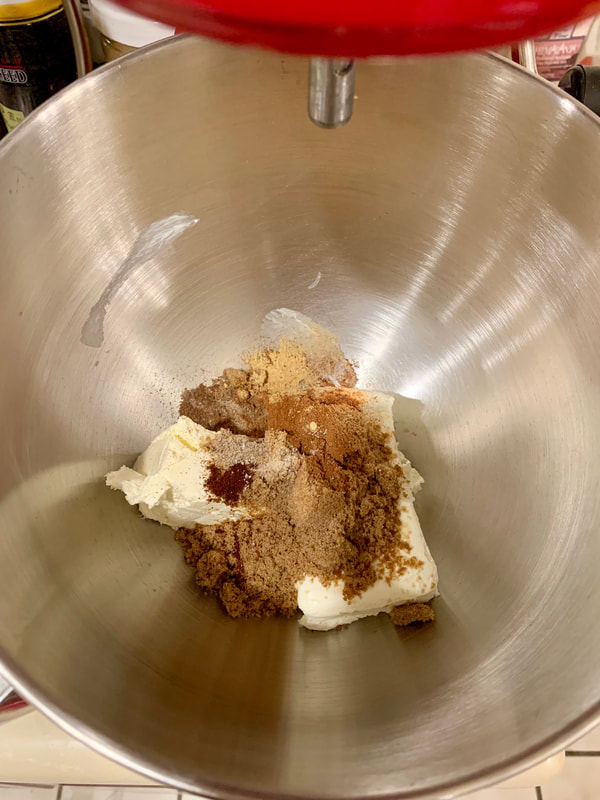
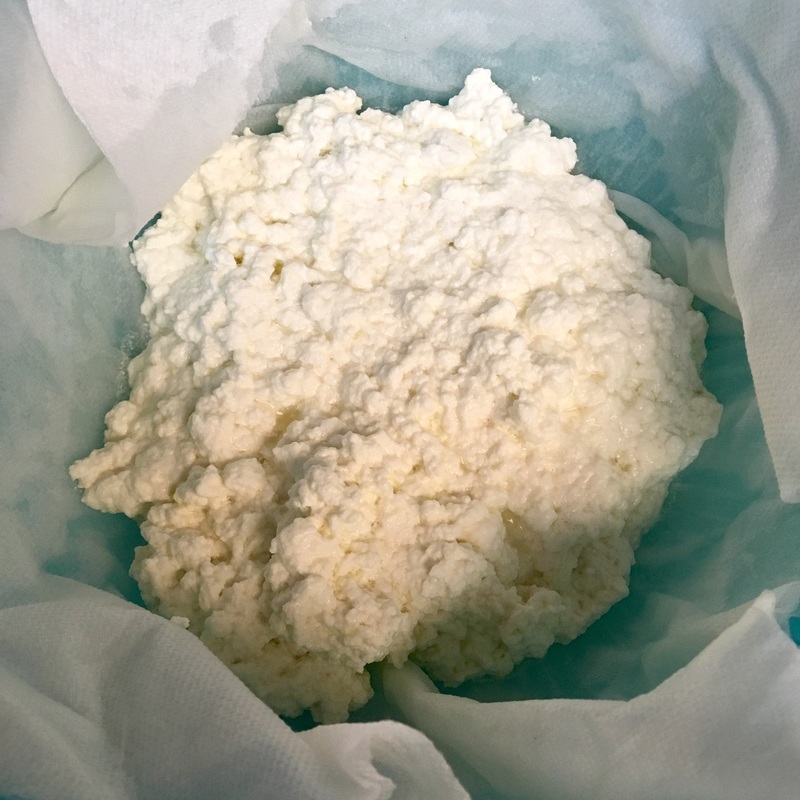
  • 12 ounces cream cheese, at room temperature
  • 1/2 cup packed light brown sugar
  • 1/2 teaspoon cinnamon
  • 1/4 teaspoon ground ginger
  • 1/8 teaspoon ground allspice
  • 1/8 teaspoon ground cardamom
  • 1/8 teaspoon ground cloves
  • Pinch of freshly ground white pepper
  • Pinch of freshly grated nutmeg
  • Pinch of salt
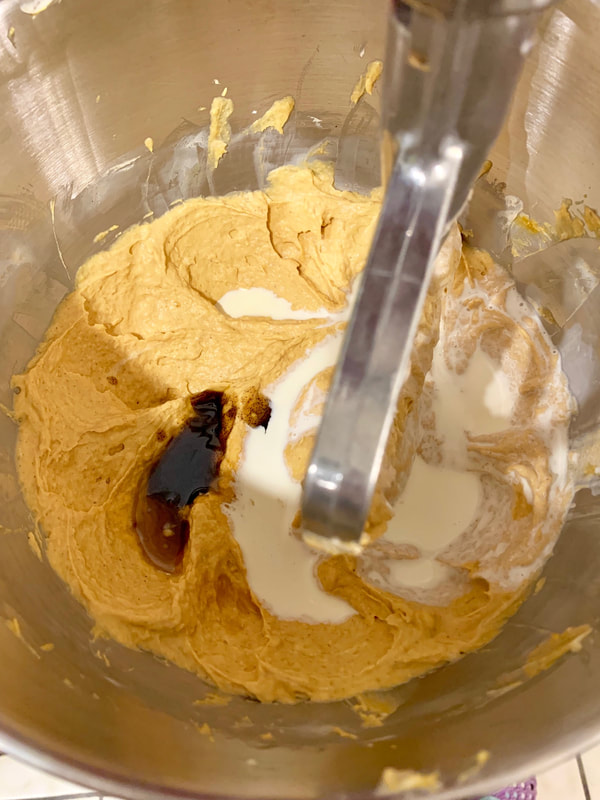
  • 1 1/4 cups canned pumpkin puree (10 ounces)
  • 1/4 cup heavy cream
  • 3 tablespoons pure maple syrup
  • 1 1/2 teaspoons pure vanilla extract
  • 2 large eggs, at room temperature
Gelee:
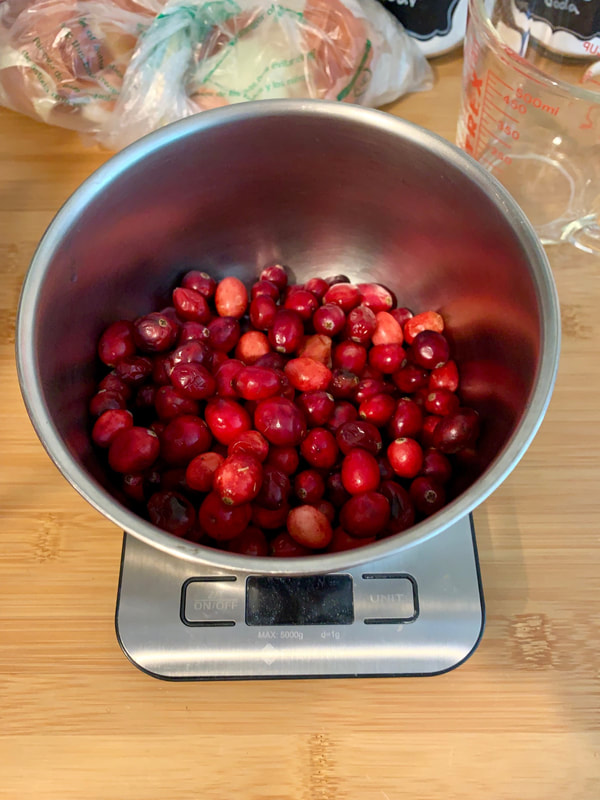
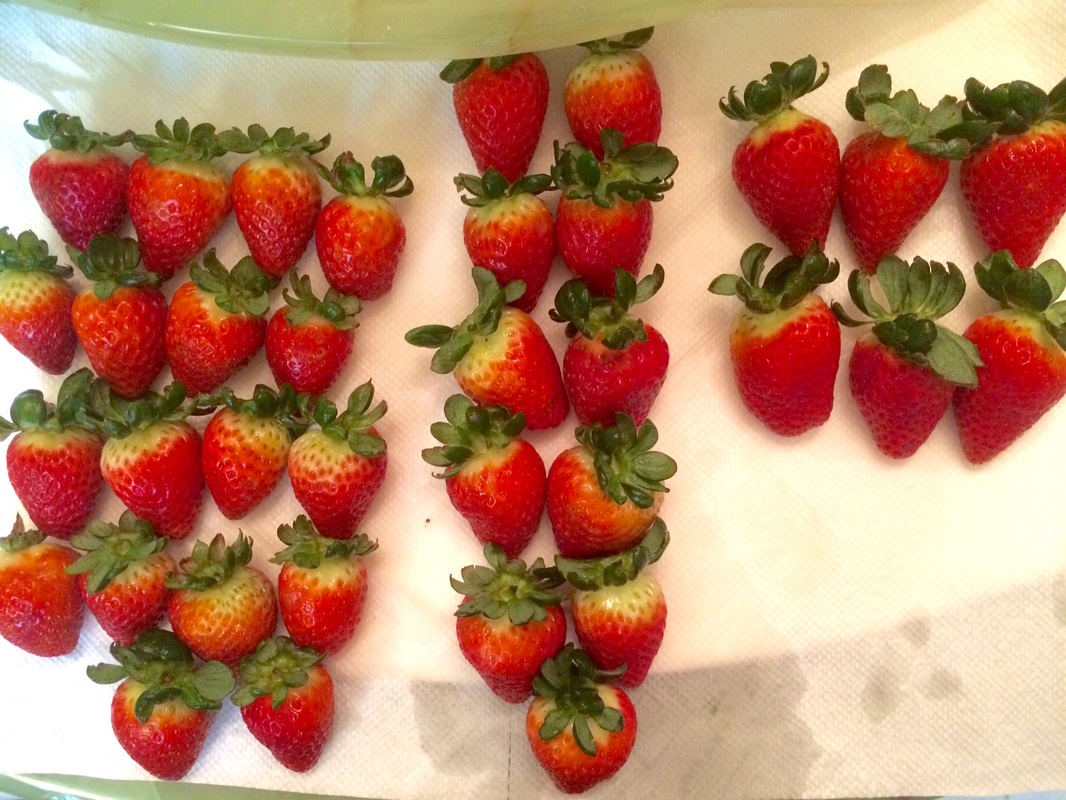
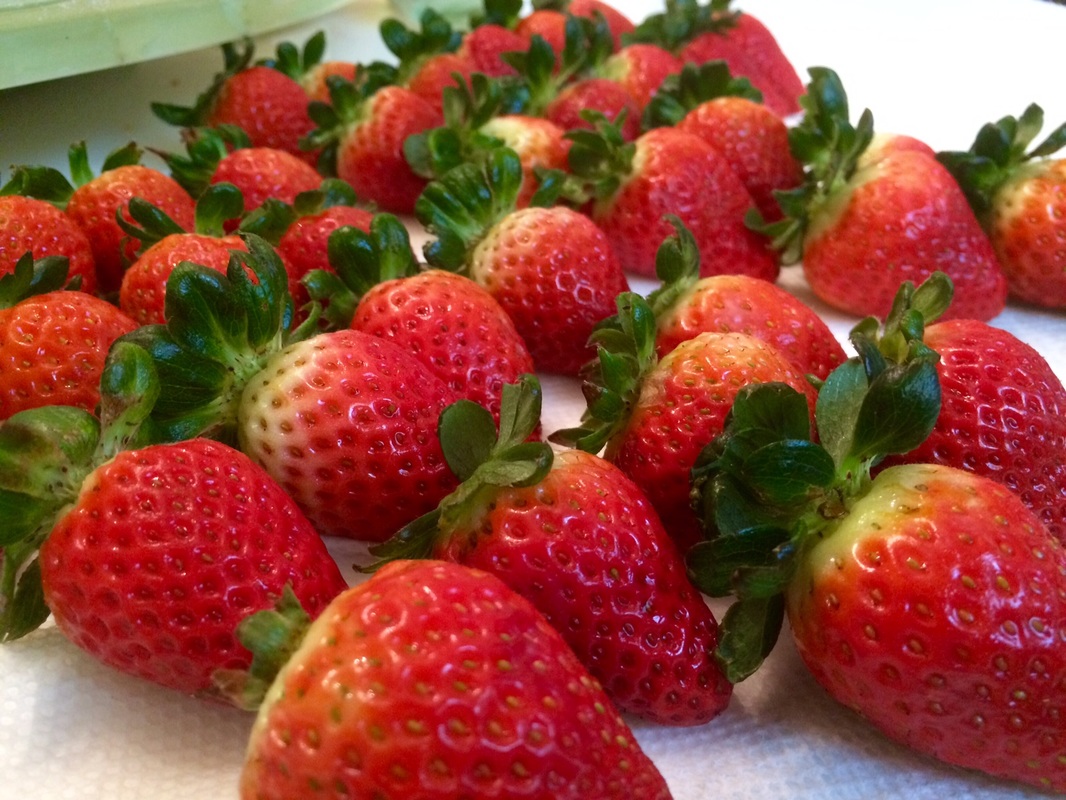
  • 2 cups fresh cranberries (1/2 pound)
  • 1/2 cup sugar
  • 1/4 cup orange juice
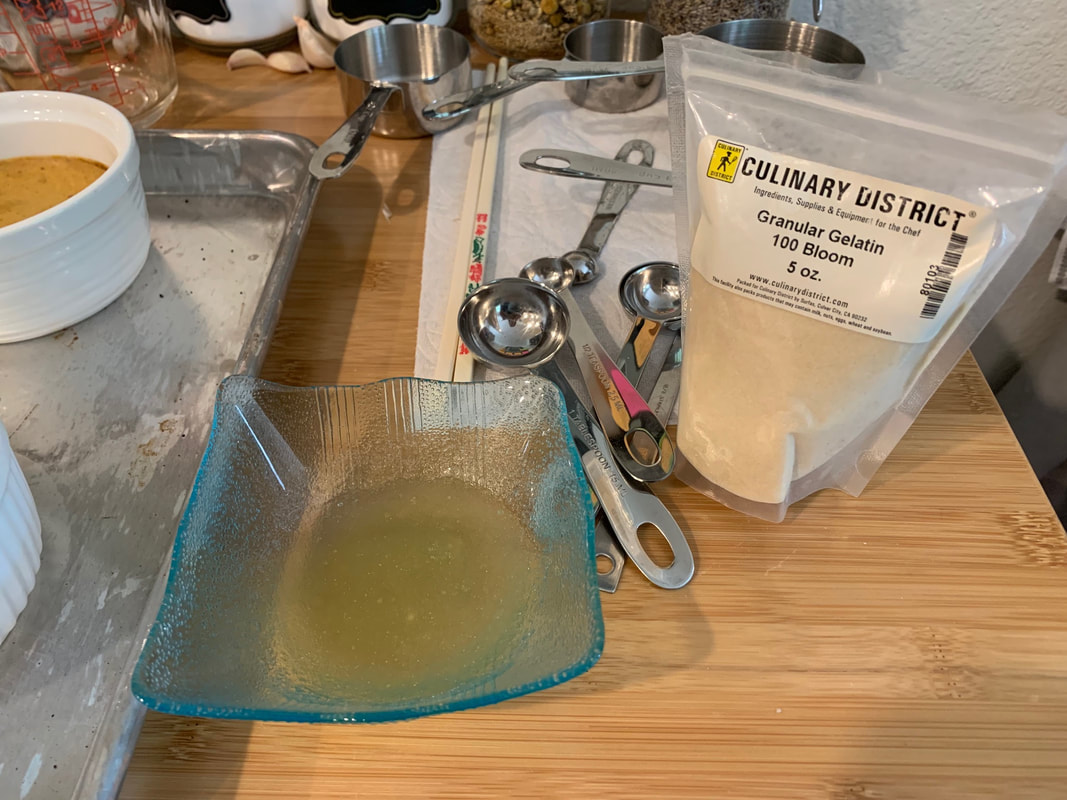
  • 1 1/2 teaspoons unflavored gelatin
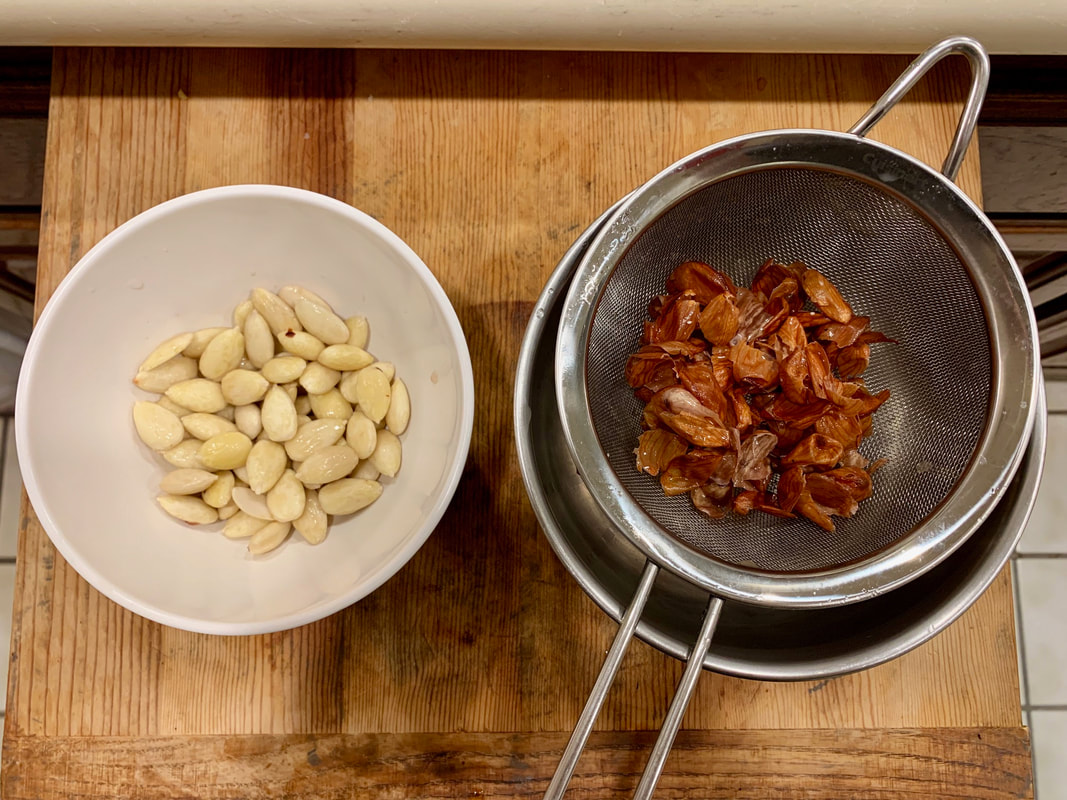
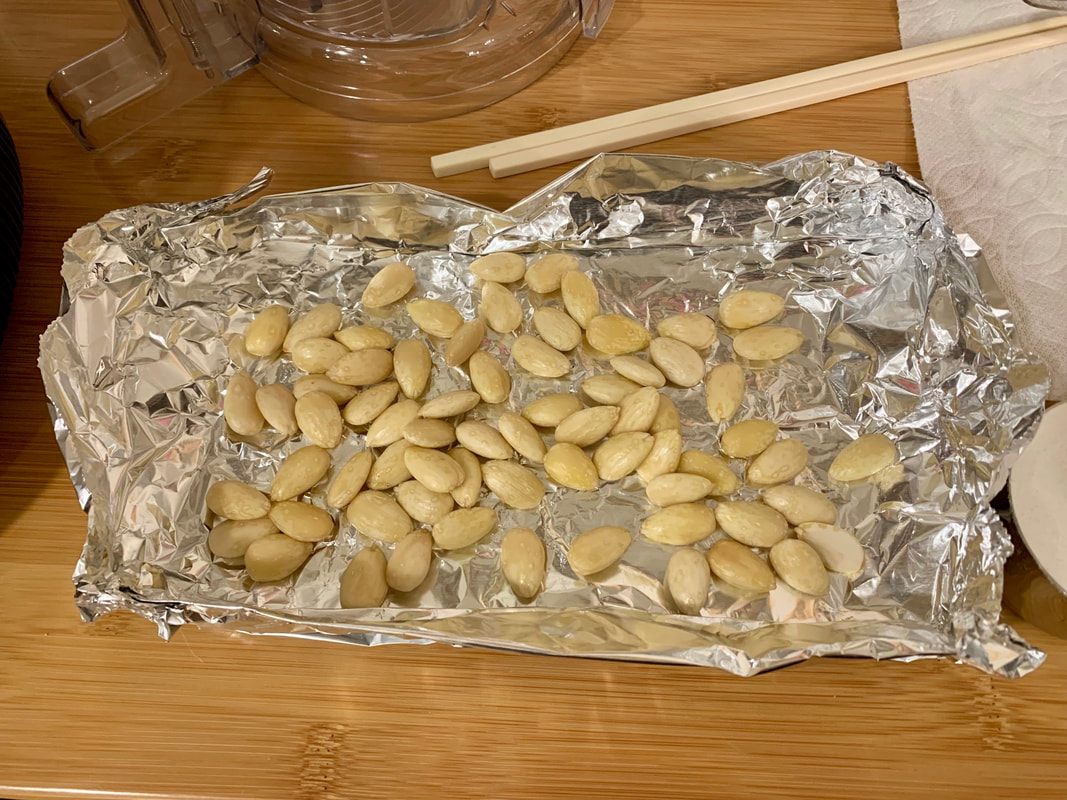
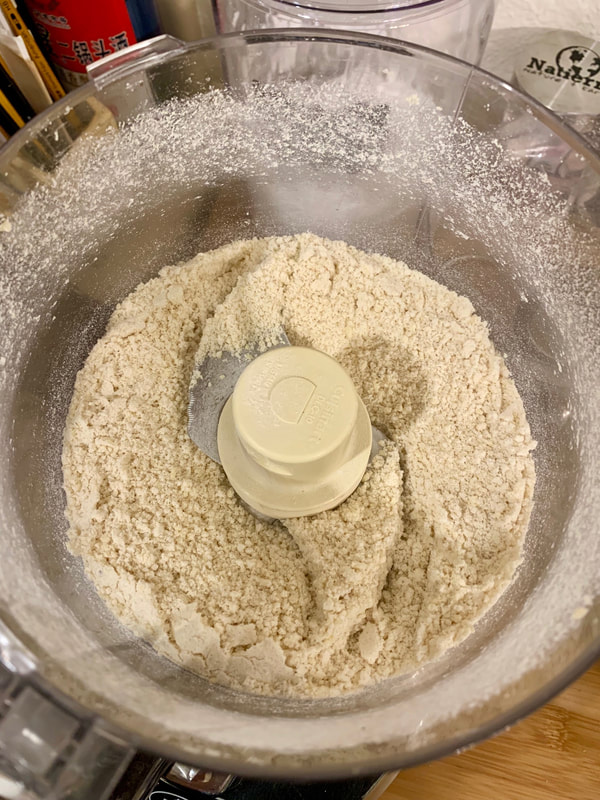
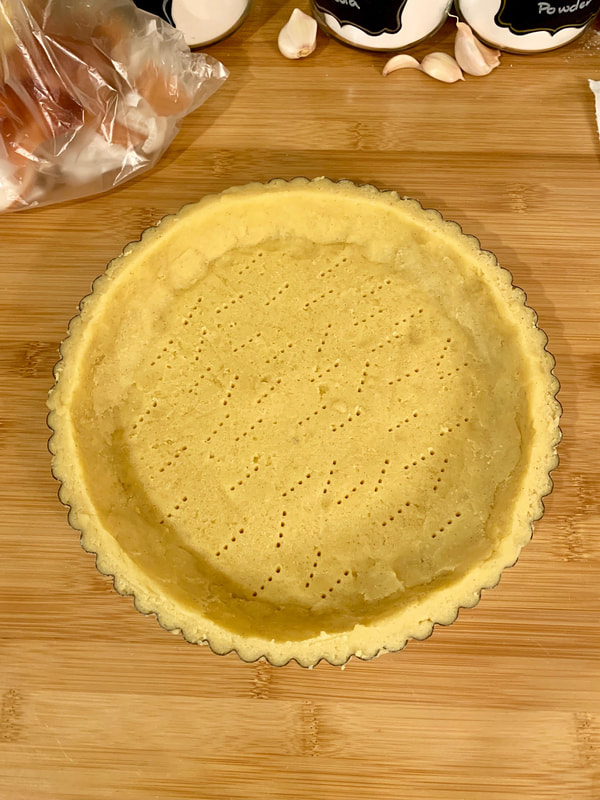
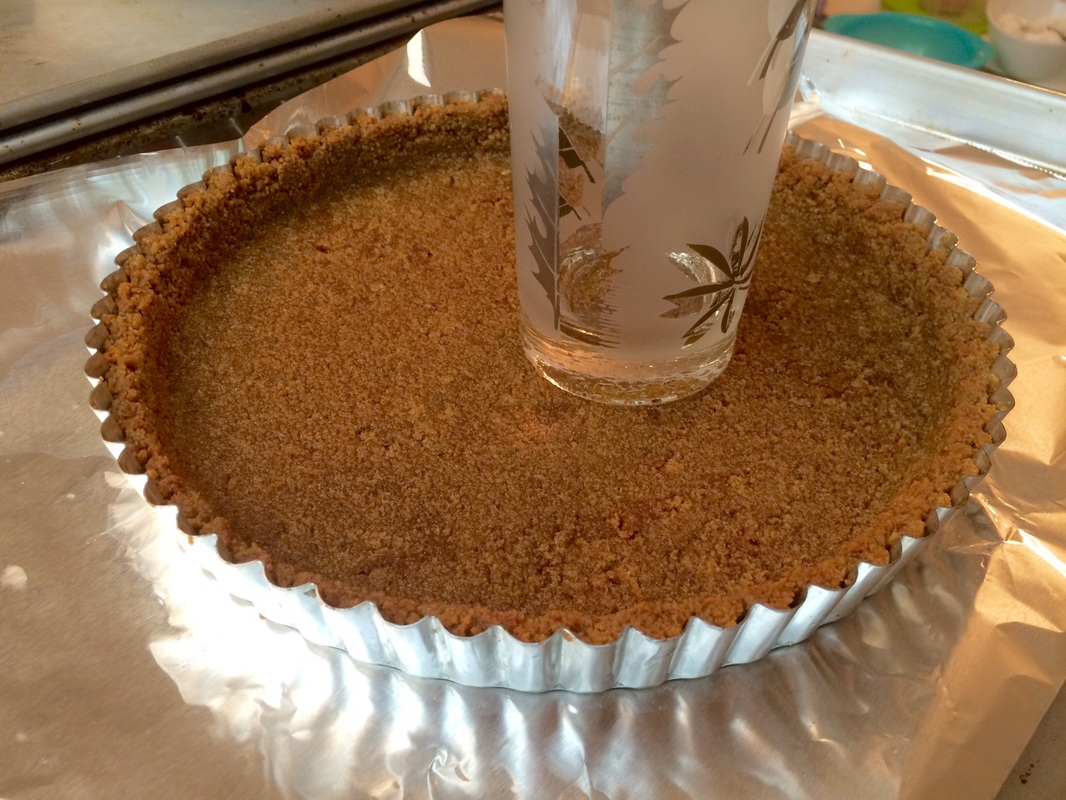
  1. In food processor, pulse almonds until coarsely ground. Add 1/2 cup of the flour and process to a fine powder; transfer to a bowl. In food processor, pulse the butter and confectioners' sugar until creamy. Pulse in egg and vanilla. Pulse in remaining 1 cup plus 1 tablespoon of flour, almond flour, and salt until a soft dough forms. Pat pastry into a disk, wrap in plastic, and refrigerate until firm, at least 1 hour.
  2. Preheat oven to 325° F. On lightly floured surface, roll out pastry to 14-inch round about 1/8 inch thick. Roll pastry into 11 1/2-inch fluted tart pan with removable bottom. Gently press pastry into the rim. Fold in overhanging dough and press to reinforce the sides; sides should be twice as thick as the bottom. Trim off excess pastry and refrigerate until firm.
  3. Line pastry with parchment paper or foil and fill with pie weights or dried beans/rice. Bake pastry for about 25 minutes, or until set. Remove parchment/foil and weights and bake for 10 minutes longer, until crust is golden and cooked through. Let cool slightly.
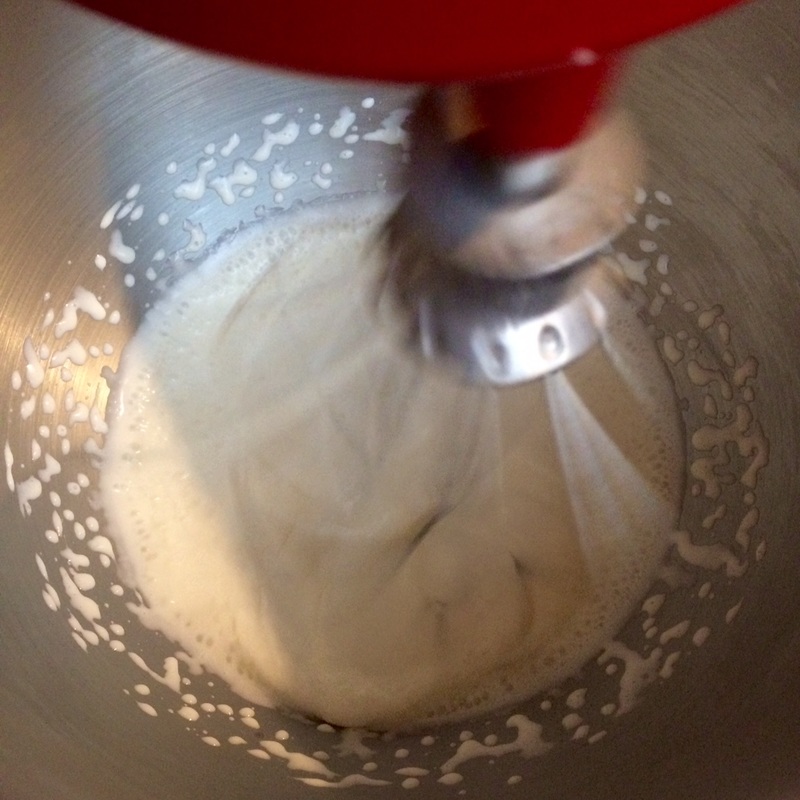
  4. In a large bowl, combine cream cheese, brown sugar, ground spices, nutmeg and salt. Using electric mixer, beat at medium speed until smooth. Beat in pumpkin puree until smooth. Beat in cream, maple syrup, vanilla and eggs at low speed until blended.
  5. Put crust on large, sturdy baking sheet and set in oven. Pour pumpkin custard into crust (make sure to leave a little space at the top for the gelee). Bake for 30 to 35 minutes, until custard is just set but still slightly jiggly in center. Cover edge with foil if crust starts to brown too much. Transfer to a rack and let cool completely.
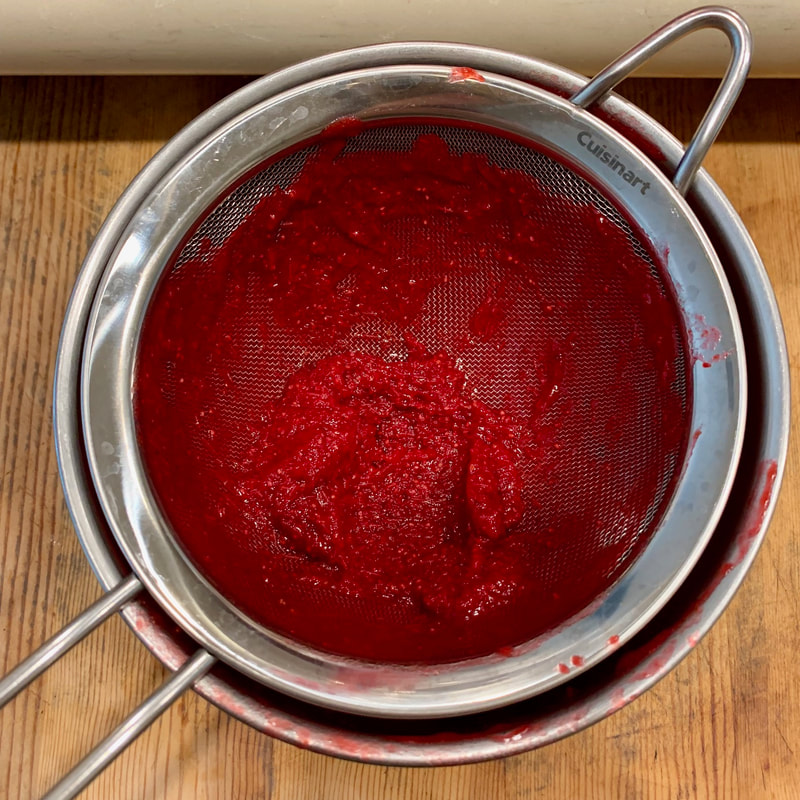
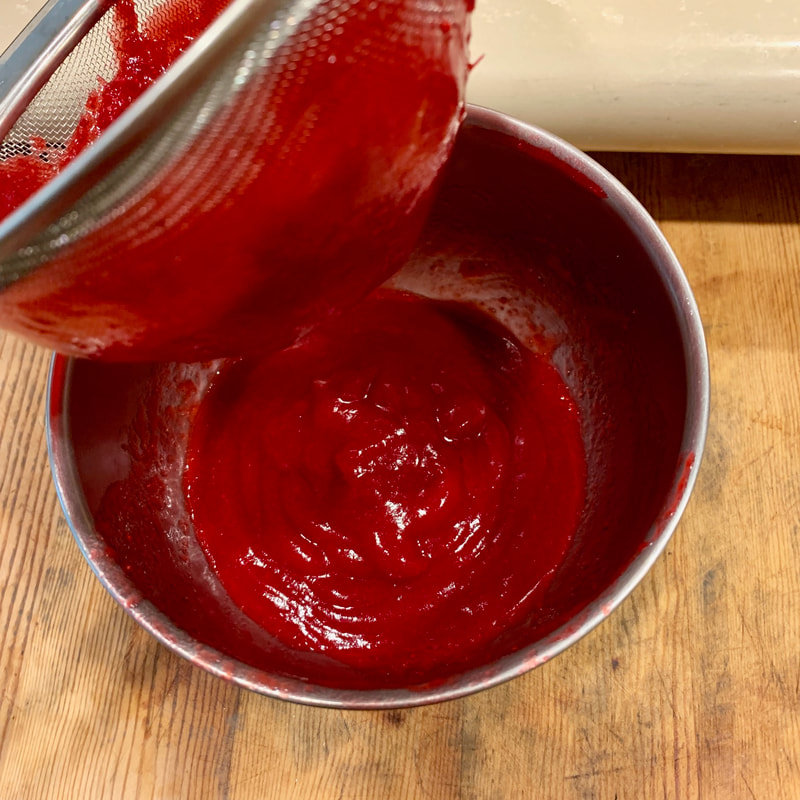
  6. In medium saucepan, combine cranberries with 1/2 cup of water and cook over moderate heat until they begin to pop, about 5 minutes. Let cool. Transfer to blender and puree until smooth. Strain puree through a fine sieve. Rinse out saucepan.
  7. Add sugar and 1/4 cup of water to saucepan and bring to a boil, stirring, until dissolved. Let cool. Stir in orange juice and cranberry puree.
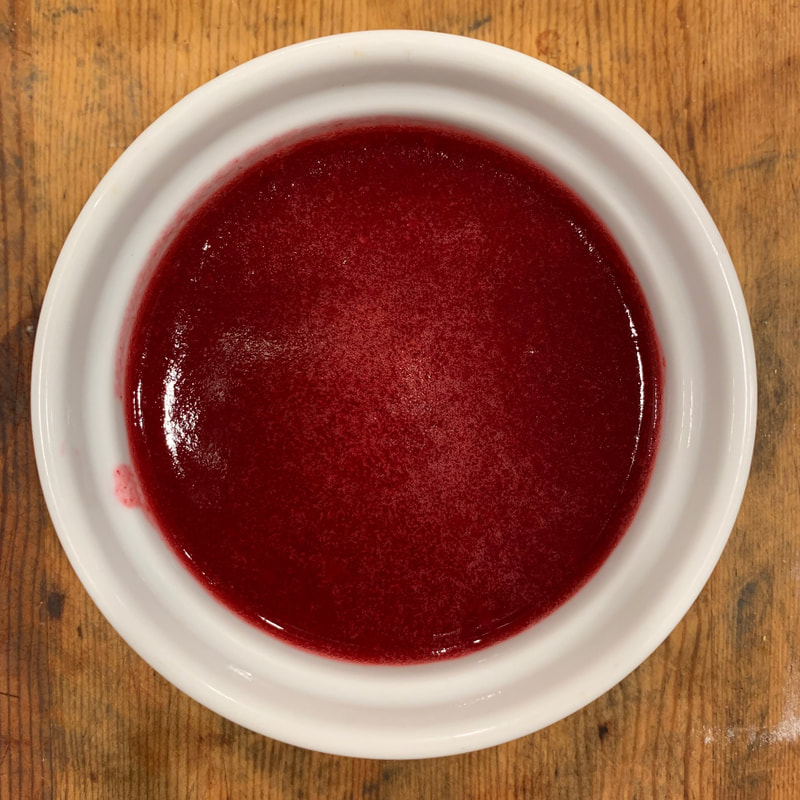
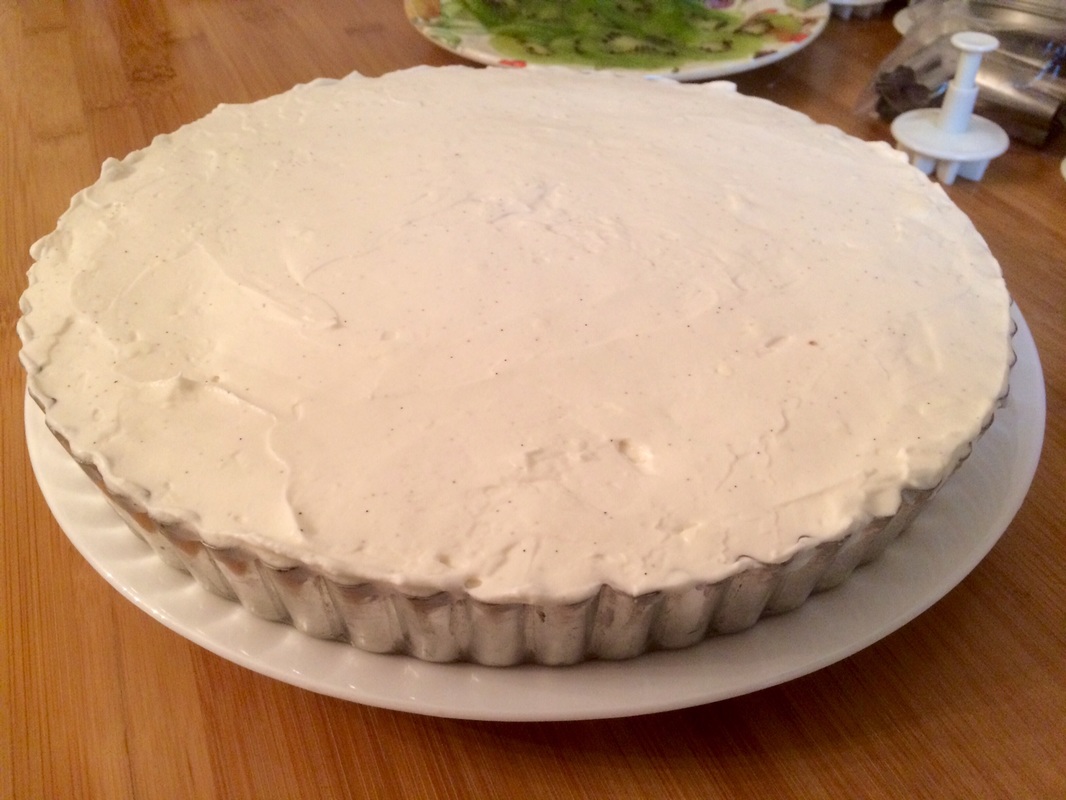
  8. In small bowl, sprinkle gelatin over 2 tablespoons of water and let stand until softened, 5 minutes. Microwave for 10 seconds, or until completely melted. Whisk gelatin into cranberry mixture and pour gelée over the pumpkin custard; shake gently to even it out. Refrigerate tart until set, at least 1 hour and up to 2 days. Remove the tart ring and serve.
Note: Remember to leave a little space at the top of the custard for the gelee. While you can get away with not doing so because the gelee should be a super-thin layer anyway, it was also very easy for the gelee to spill over the edges when I didn't account for it. While the custard will initially come out of the oven all puffed-up, it will settle in once it cools down, and should still have enough space for the gelee after being baked.

I discovered that I had an excess of filling and gelee after filling the tart to the brim. So have some ramekins ready and you can toss the extra in to be baked at the same time. Then you can "taste-test" guilt-free before the tart ever gets served!

0 Comments

Ricotta Cheese

7/9/2016

0 Comments

 
I don't even remember what had me first looking up how to make ricotta cheese from scratch out of nothing more than morbid curiosity, but boy am I glad I did. It's stunningly simple, but all the same, there were enough experiments and subtleties (not to mention just plain laziness) that I'm going to write up a whole entry on the process so that I don't forget. I tried the vinegar and lemon juice routes, but I never achieved the consistent results with full separation that I always got with buttermilk, and without any of the funny aftertastes that most people complain about when using vinegar.
Picture
  • 4 cups whole milk
  • 1 cup reduced fat 2% buttermilk
This ratio can be multiplied as needed depending on how big your cooking pot is - makes approximately 1/2 cup of cheese
  1. Pour both the milk and buttermilk into a pot on the stove and turn the heat up to medium-high.
  2. As the milk heats up, stir it once in a while. (Avoid over-stirring. As the milk starts to separate, you don't want to break up the curds too much.)
  3. While the milk is heating, dampen two sheets of paper towels with a little water and line a colander with them.
  4. The milk should be fully separated just before it hits the simmering stage. The milk should never actually reach a simmer or boil - you can shut off the heat as soon as you are satisfied that it has separated completely.
  5. Using a slotted spoon, fish out the curds and dump them in the colander.
  6. (optional) Depending on how wet or dry you want your ricotta, you can take the additional step of gathering up the paper towels with the curds inside and giving them a light squeeze (be careful, the whey that comes out will be really hot!). Otherwise, you can just leave the curds to drain for 10-20 minutes.
  7. The ricotta can be used immediately, or it can be left in the refrigerator to chill.
0 Comments

No-Bake Cheesecake

12/22/2015

0 Comments

 
I had pinned this article from Epicurious from back in forever, and had honestly forgotten about it altogether. It wasn't until I offered to make a cake for my mother for the holiday potluck and trawled through my Pinterest board (and quietly panicking when I realized I almost never pay any attention to cakes) when I stumbled across this recipe again.

Since it was for the holidays, I added some green to help complement the red, and had a grand old time carving and essentially playing with the fruit. With a ready-made crust and store-bought whipped topping, this is a quick and easy recipe, though I usually opt to make my own graham cracker crust and whipped cream.
Picture
  • 8 ounces cream cheese, softened
  • 1/3 cup sugar
  • 1 cup sour cream (or 1 1/3 cup for a more NY-style sour cheesecake)
  • 2 teaspoons pure vanilla extract
  • 1 lemon zested
  • 8 ounces prepared whipped topping, thawed
  • 1 prepared graham cracker crust
  • 1 pound fresh strawberries, hulled and halved lengthwise
  1. Beat the cream cheese until smooth with an electric mixer. Gradually beat in the sugar. Beat in the sour cream, vanilla, and lemon zest until just combined.
  2. Fold in the whipped topping. Scrape mixture into the piecrust. (There may be some filling left over. If so, reserve it to be decoratively piped onto the top of the pie.) Chill in the refrigerator for 4 hours.
Notes: Half of those who tried this mentioned that they preferred a thicker graham cracker crust than I usually make for other tarts to go with this cheesecake.

If you're going to use kiwis, find some that are firmer/not-quite-ripe. They will be easier to slice using a mandolin, and they'll be so thin that their not-so-perfect state of ripeness won't be as much of an issue. Also, turn the fruit 180 degrees after each slice; otherwise, the trailing end will start to get ragged after a while depending on the sharpness of your mandolin, particularly if the fruit is already softer than ideal.
0 Comments

Stuffed Squash Blossoms

10/24/2015

0 Comments

 
I've always loved stuffed squash blossoms - I order them every chance I get, which is usually far and few between - but never seriously considered making them myself until I was wandering through a farmer's market and lo and behold, apparently it is blossom season because every other stand seemed to have bunches of them for sale. With such an opportunity literally at my fingertips, I immediately looked up some baked-versions of the recipe to see if it was something I could do on short notice.

As with most cooking, the filling is really up to a person's taste, and so I threw together a mish-mash of my favorite flavors. It's somewhat of a novelty to be able to taste-test before baking - I kept forgetting that I didn't have to guesstimate what to put in, I could immediately test whether the flavor's just right.
Picture
  • 1 dozen large blossoms or 2 dozen small ones
Filling:
  • 1 cup ricotta cheese
  • 2 large heads of garlic
  • 1 lemon (juice and zest the peel)
  • salt, pepper, and spice to taste (garlic powder, thyme, parsley, etc)
Crust:
  • 2 eggs
  • panko or breadcrumbs
Dip (optional):
  • pesto
  • vinegar glaze

  1. Roast the garlic: If you're not using pre-roasted garlic, set an oven or toaster to 400 F. Peel off all the papery outer layers of the garlic head. Cut off the tops of the individual cloves, leaving them exposed. Set them on a sheet of aluminum foil, then drizzle olive oil over them, making sure that all the exposed areas of the cloves have been covered. Fold the foil over the garlic heads, then set them in the toaster for 40-50 minutes, until the cloves are very soft and easily mashable.
  2. While the garlic is toasting, prepare the blossoms. Use a knife to make a slit down one side of each blossom to the base. Reach inside and pinch off and discard the anther. Rinse the blossoms and lay on a paper towel to dry.
  3. Once the garlic is done, pinch out each clove, roughly mash, and mix with the ricotta. If you really like to emphasize the garlic flavor, add a dash of garlic powder. Zest the lemon and mix both the zest and the lemon's juice into the ricotta. Salt, pepper, and spice to taste.
  4. Cover a baking sheet with parchment paper. Set the oven to 400 F.
  5. Lightly beat the eggs in one dish, and pour the panko or breadcrumbs in another dish for dipping. Stuff each blossom with a portion of the filling, carefully close the blossom and twist the petal ends together, then roll it into the egg, then the crumbs to coat. Spread the finished stuffed blossoms out on the baking sheet.
  6. Bake for about 10 minutes, until the crumbs are golden brown. Keep an eye on them - do not let them burn.
  7. I like to serve these with some pesto and a few drops of vinegar glaze.
Note: The lemon juice really helped to brighten up the taste of the garlic and ricotta. I was surprised by the difference - I would definitely add a lemon to every filling variation of this I make.
0 Comments

Goat Cheese, Blackberry, and Honey Pops

1/1/2015

0 Comments

 
  • 2 cups milk
  • 1 1/4 cups heavy cream
  • 1 cup sugar
  • 1 tbsp plus 1 tsp cornstarch
  • 4 oz goat cheese
  • 2 pinches salt
  • 2 cups blackberries
  • 1/3 cup honey
  • 1 tbsp lemon zest (about 2 large lemons)
  1. Combine milk and cream in a pot. Reserve about 1/4 cup of the mixture and whisk in cornstarch to make a slurry. Add sugar to milk and bring to a rolling boil for 4 minutes. Add cornstarch slurry to milk mixture and stir well for about a minute until mixture is slightly thickened.
  2. Combine goat cheese and salt in a bowl. Turn off heat and add goat cheese and salt to the milk mixture. Whisk to incorporate, and cool mixture completely.
  3. In a small pan, cook berries 5 to 10 minutes until softened, pressing gently to release the juices. Turn off heat. Add honey and lemon zest, and cool completely.
  4. When both mixtures are cool, fill molds 3/4 of the way with goat cheese base. Spoon approximately 1 tablespoon of blackberry sauce on top, leaving a bit of space for expansion during freezing. Use a spoon, pop stick or chopstick to swirl the sauce throughout the pop. Freeze according to mold instructions.
  5. Leftover base and sauce can be refrigerated for up to 5 days.
0 Comments
    Picture

    Sweet Enough

    Part of the reason I started baking was because I like my goodies to be less obviously sweet - I want to taste the flavor, not just the sugar. So most of these recipes will have the sugar dialed down.

    This site also acts as my mobile recipe box, so instructions are often pared down to a minimum - very few frills but for some hints and suggestions!

    RSS Feed

    Categories

    All
    Alcohol
    Almond
    Apple
    Avocado
    Baklava
    Banana
    Bars
    Biscotti
    Blackberry
    Blueberry
    Bread
    Buttercream
    Cake
    Candy
    Carrot
    Cheese
    Cherry
    Chicken
    Chickpea
    Chinese
    Chocolate
    Cider
    Cobbler
    Coconut
    Coconut Milk
    Cookie
    Corn
    Cranberry
    Cream
    Cream Cheese
    Creme Brulee
    Crumb
    Crust
    Cupcake
    Custard
    Dates
    Decoration
    Dip
    Dough
    Doughnut
    Dumpling
    Easy Peasy
    Egg
    Filling
    Flowers
    Frosting
    Fruit
    Garnish
    Gelee
    Granola
    Green Tea
    Honey
    Ice Cream
    Icing
    Jam
    Lamb
    Lemon
    Lime
    Lobster
    Lotus Seed
    Macaron
    Mango
    Marshmallow
    Meringue
    Mochi
    Muffin
    Nectarine
    Nutella
    Nuts
    Oat
    Oats
    Onion
    Orange
    Pancake
    Panna Cotta
    Peach
    Peanut Butter
    Pear
    Pecan
    Phyllo
    Pie
    Pistachio
    Plum
    Popsicle
    Pound Cake
    Pumpkin
    Quiche
    Raspberry
    Red Bean
    Rhubarb
    Rice
    Ricotta Cheese
    Rugelach
    Sauce
    Savory
    Scone
    Sesame
    Shortbread
    Soup
    Sponge
    Sponge Cake
    Strawberry
    Streusel
    Tahini
    Tart
    Tofu
    Topping
    Torte
    Vegetable
    Vinaigrette
    Walnut
    Watermelon
    Yogurt
    Zucchini

    Archives

    September 2021
    March 2021
    February 2021
    December 2020
    November 2020
    October 2020
    July 2020
    May 2020
    April 2020
    March 2020
    October 2019
    December 2018
    October 2018
    August 2018
    April 2017
    July 2016
    May 2016
    March 2016
    February 2016
    January 2016
    December 2015
    November 2015
    October 2015
    September 2015
    July 2015
    June 2015
    May 2015
    April 2015
    February 2015
    January 2015
    November 2014

© 2019 Jacqueline Teng | DragonWarden