DragonWarden
  • Adventures
  • The Oven
  • The Un-Tea Party
  • Secret Ingredients
  • About

Chocolate Olive Oil Torte with Cardamom, Pears, and Hazelnuts

10/17/2019

0 Comments

 
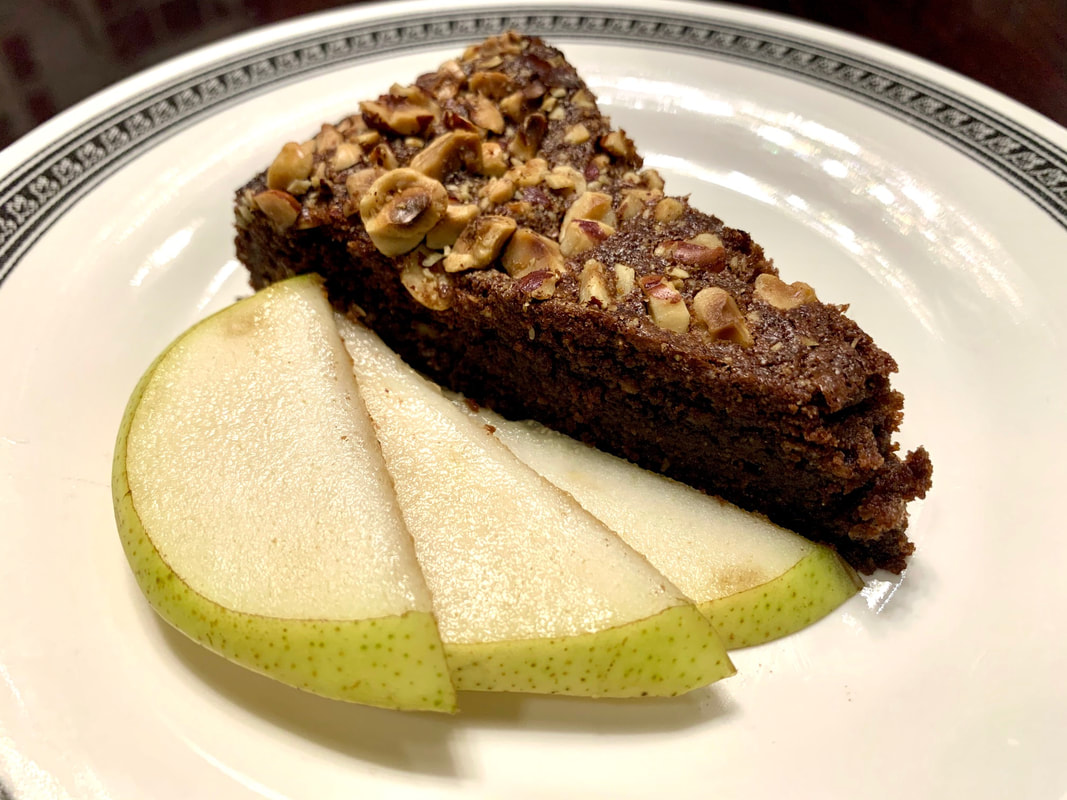
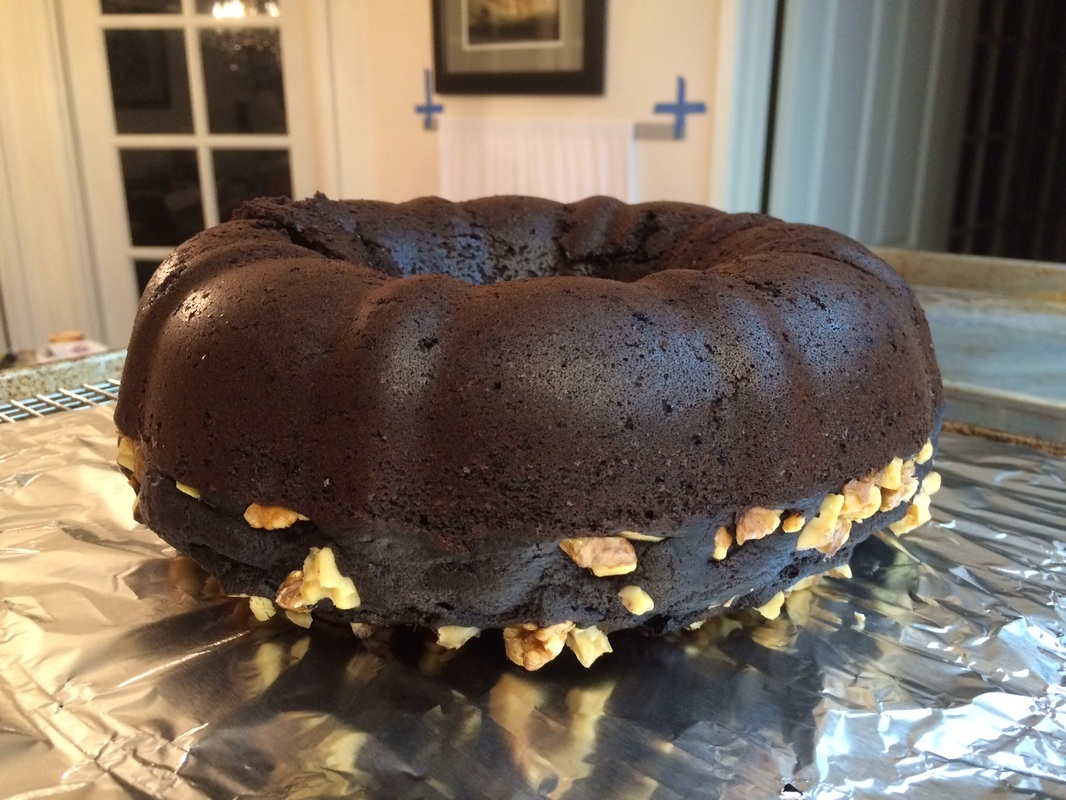
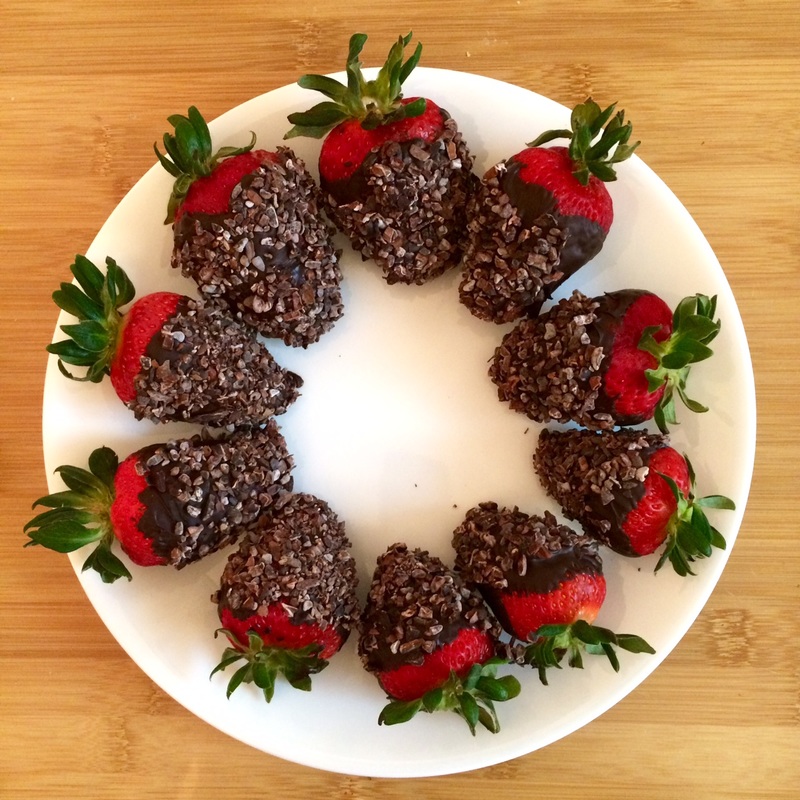
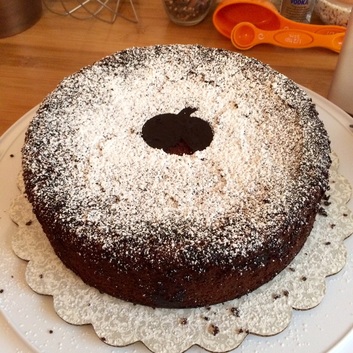
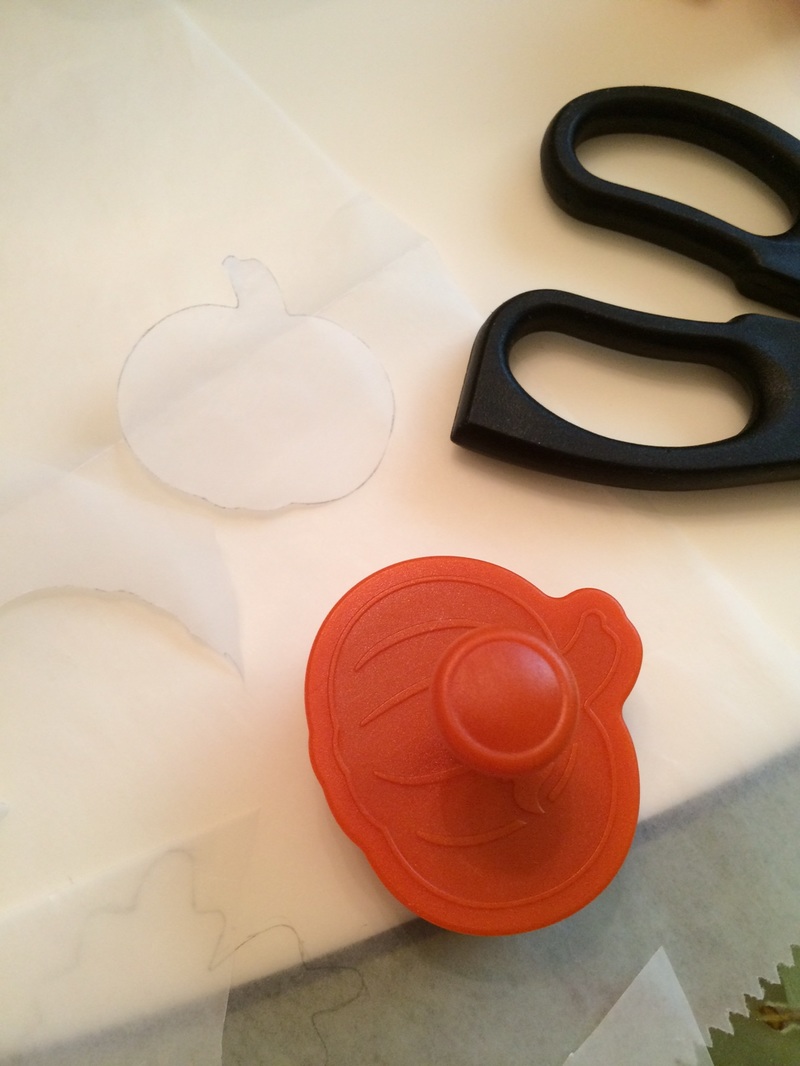
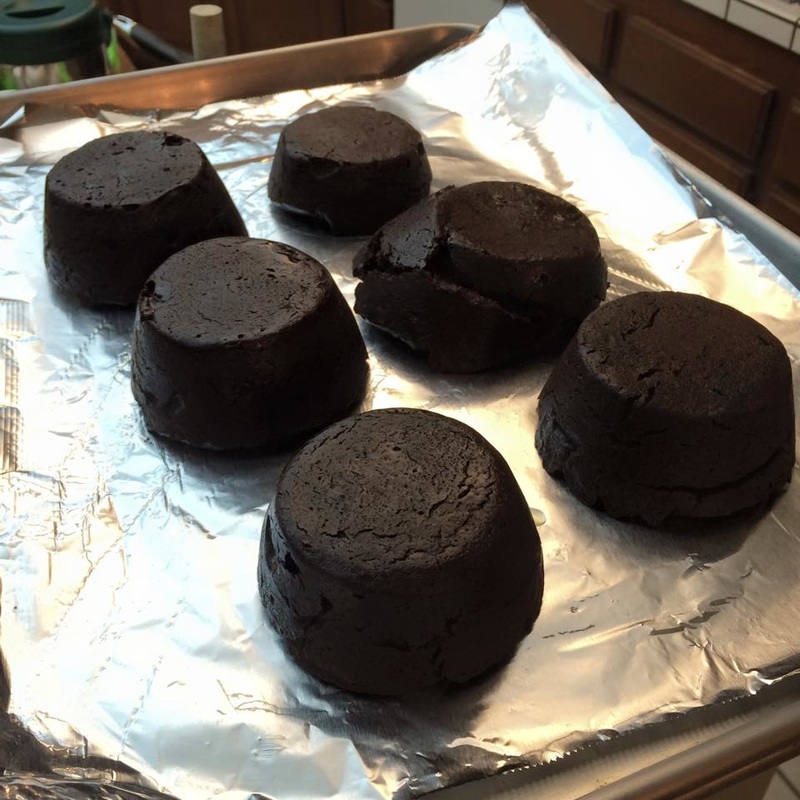
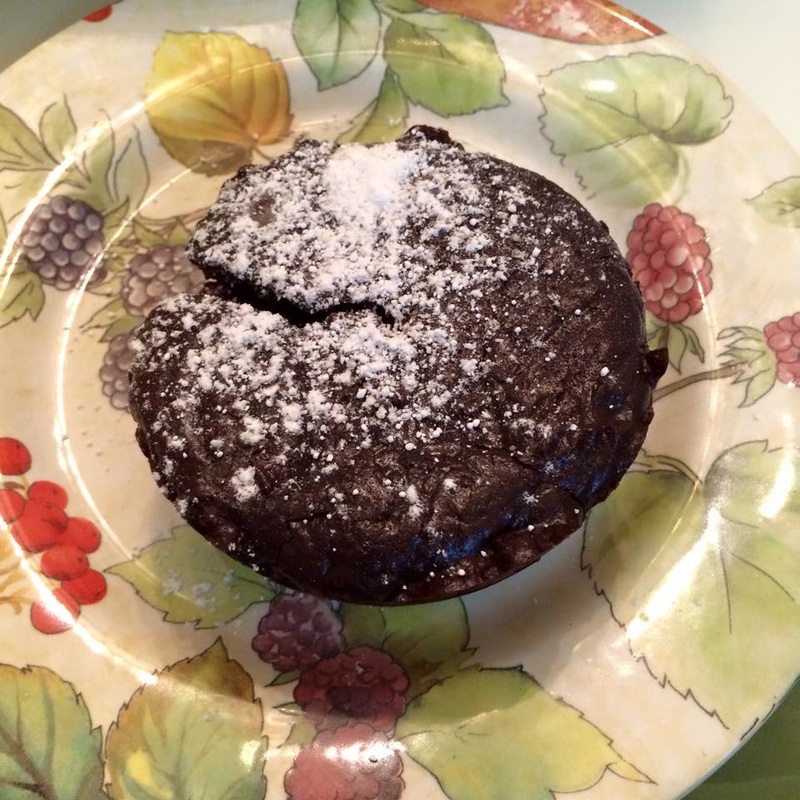
I don't even remember how I stumbled across this recipe from Tending the Table anymore, but it was perfect for my needs at the time as I had a friend over who had a gluten allergy. And how can you go wrong with dark chocolate?

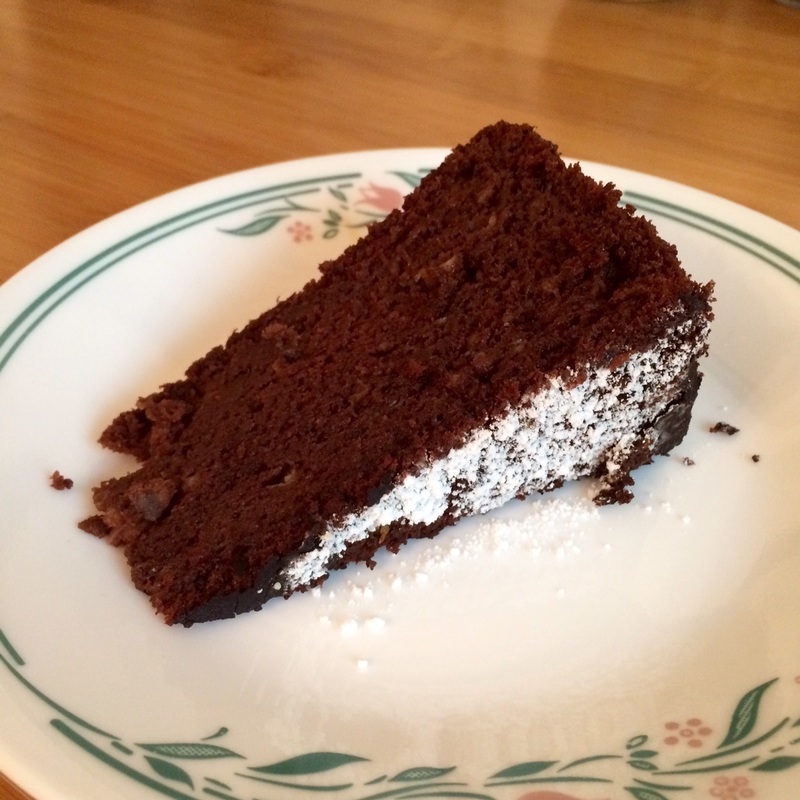
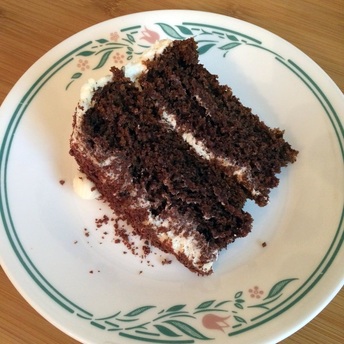
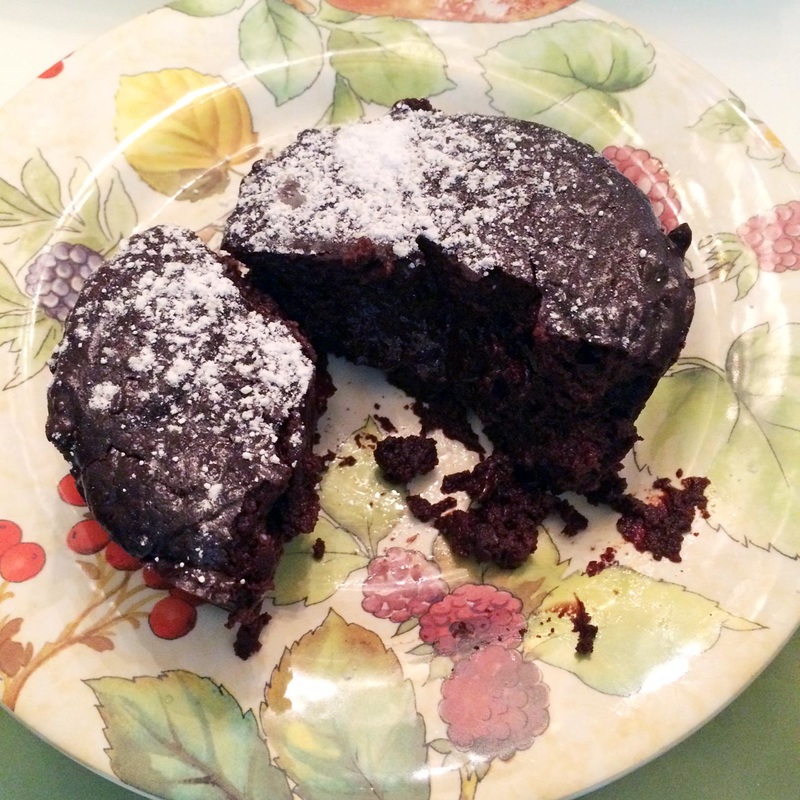
It was beautifully decadent, a little bit like a dense brownie except without all the carb guilt, and nicely balanced on sweetness. I didn't want to specially buy coconut sugar just for this, so followed an online guide that indicated one could substitute light brown sugar at about a 2/3 ratio, and it came out beautifully. This is also one of those magical baked goods that is even more delicious after it has sat in the fridge for a bit.
Picture
  • 9" cake pan with removable bottom
  • ¾ cup bittersweet chocolate chips
  • ⅔ cup California Olive Ranch Arbosana Olive Oil
  • ¾ cup coconut sugar or 1/2 cup light brown sugar, loosely packed
  • 1 ¼ cup almond meal
  • 3 eggs, divided
  • 1 teaspoon vanilla
  • ¼ teaspoon salt
  • ¼ teaspoon ground cardamom
  • 2 Anjou pears, thinly sliced (or, if they're not in season, any other firmer pear)
  • ½ cup hazelnuts, chopped
  1. Preheat the oven to 350° F.
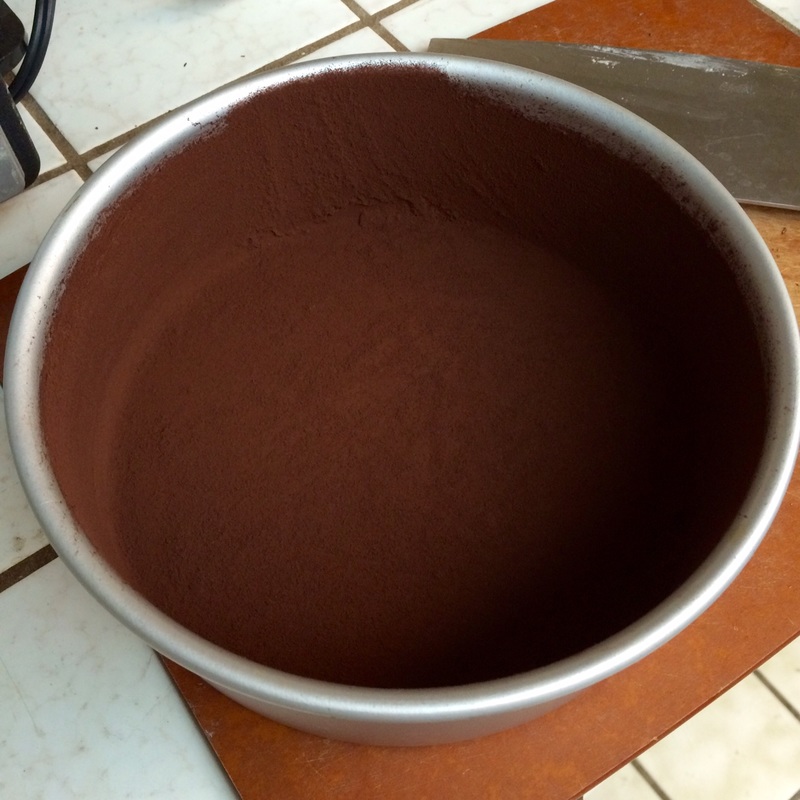
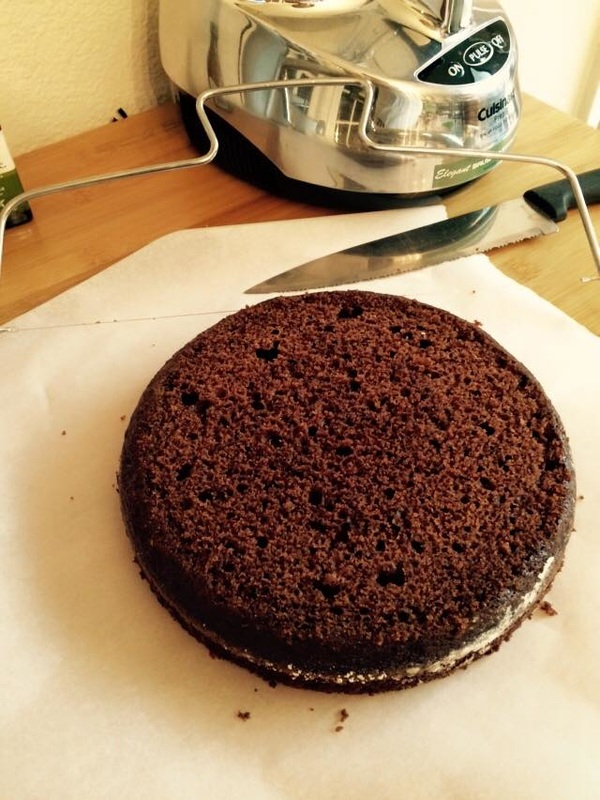
  2. Line the bottom of a 9-inch cake pan with a removable bottom with parchment. Grease the pan lightly with olive oil.
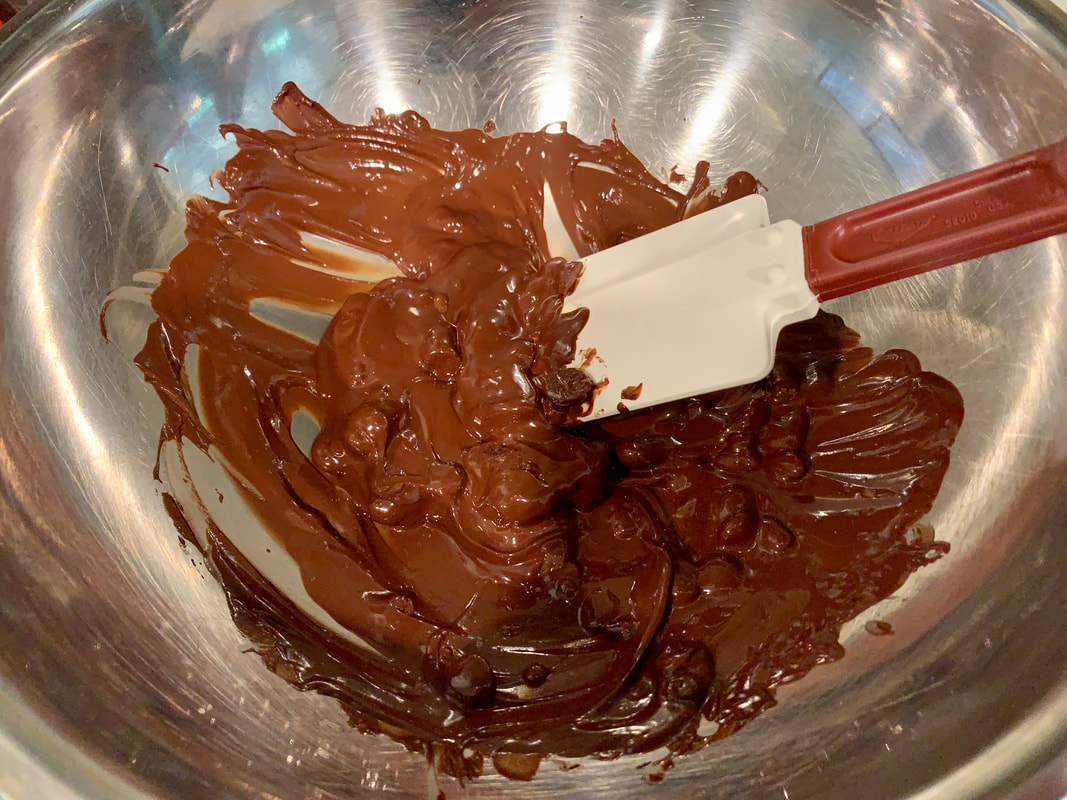
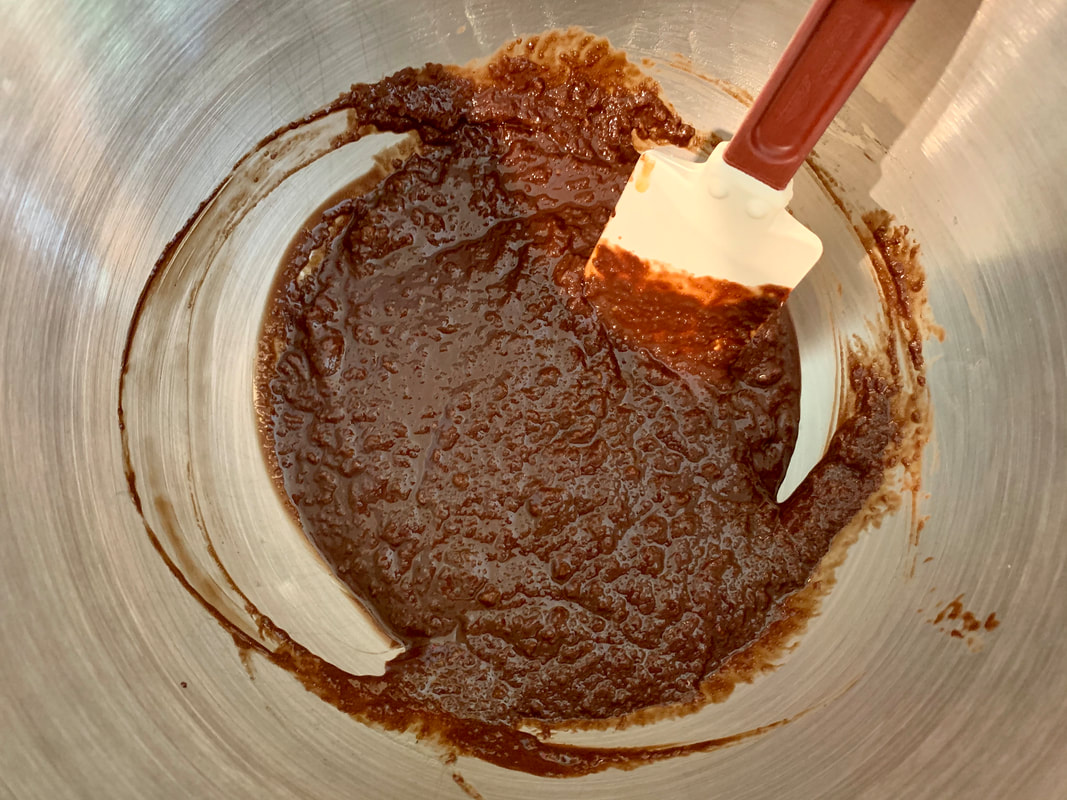
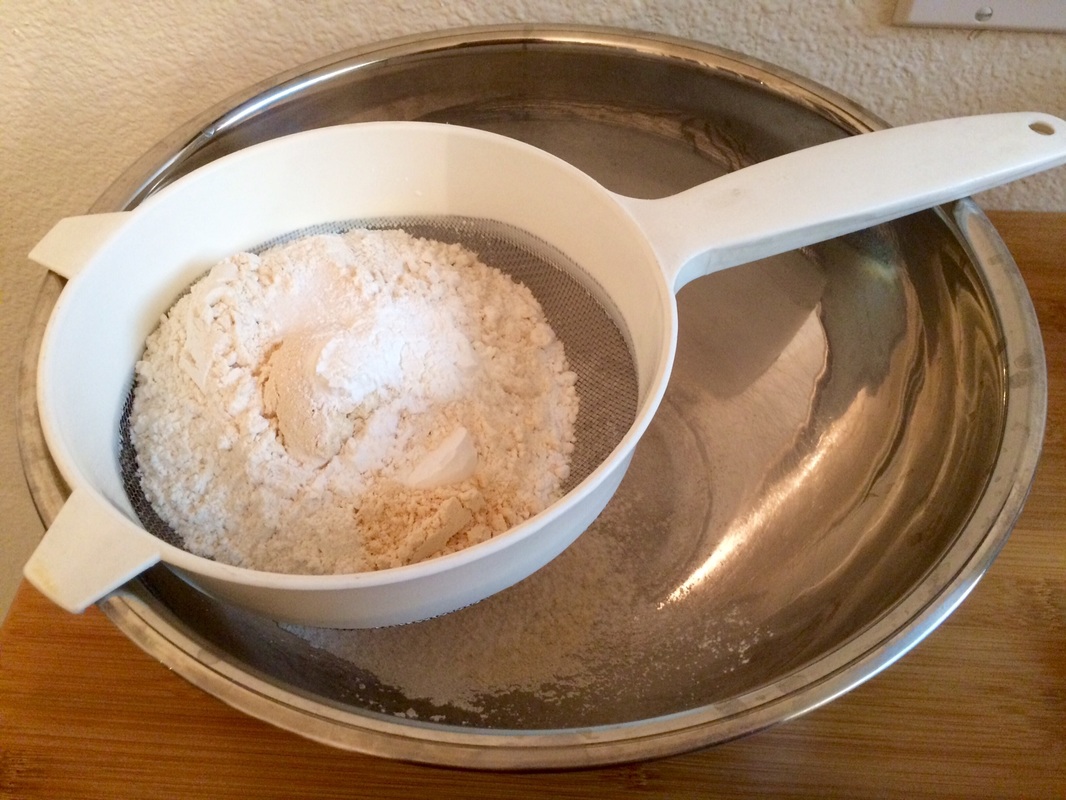
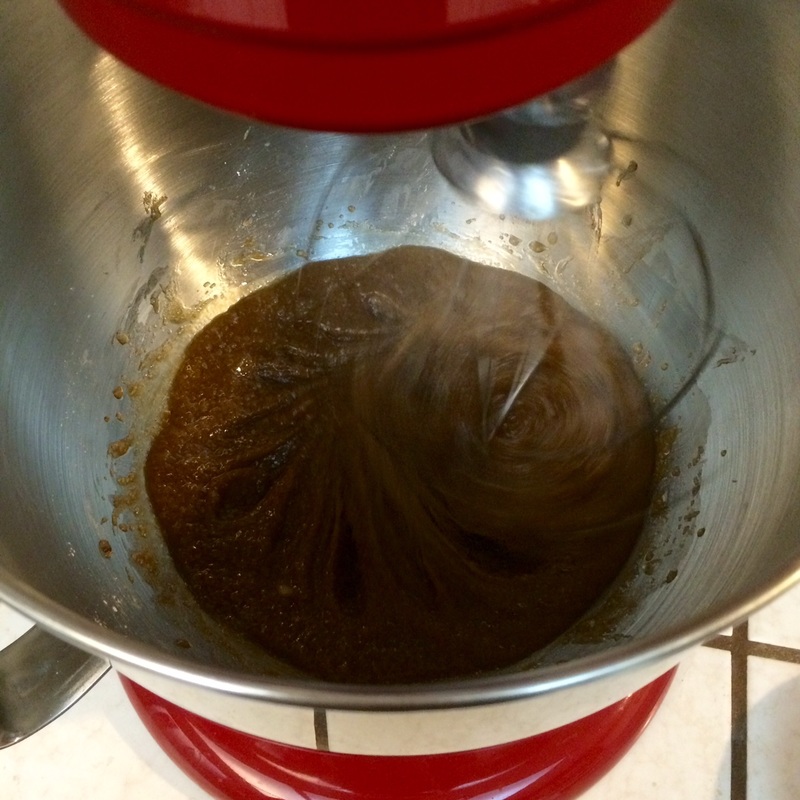
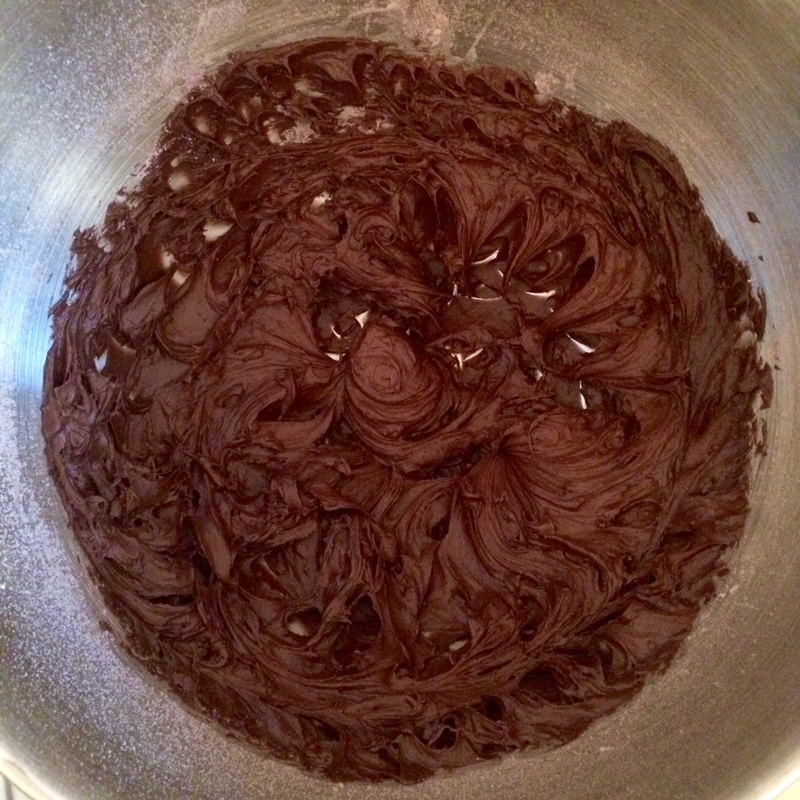
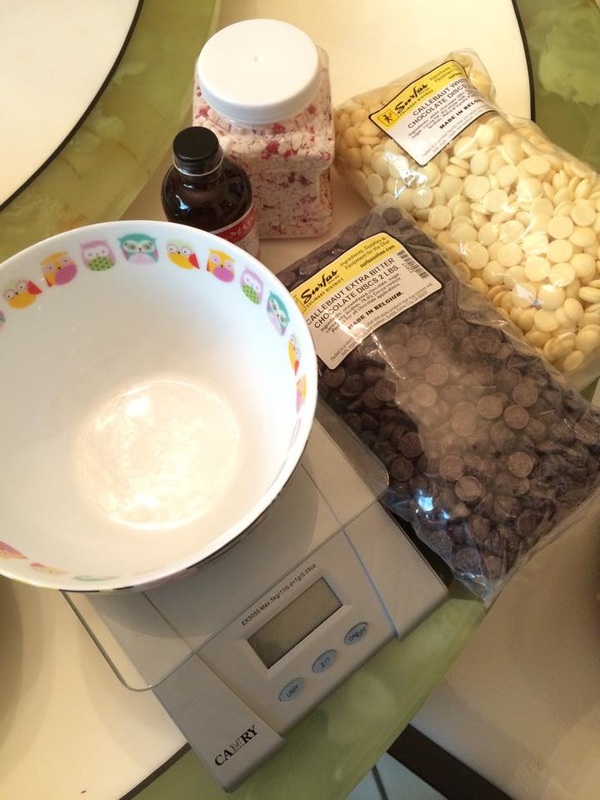
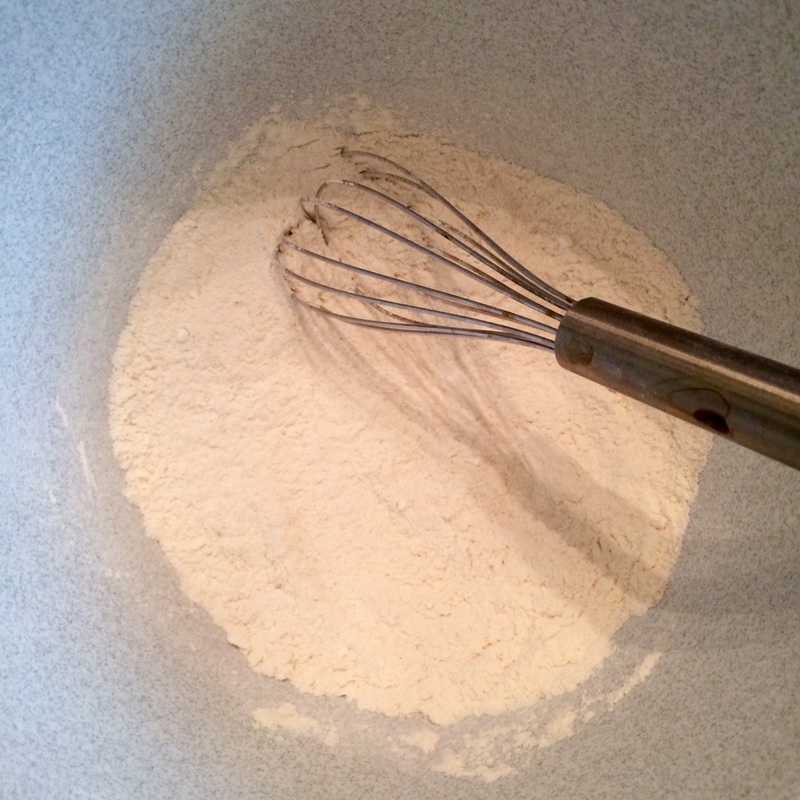
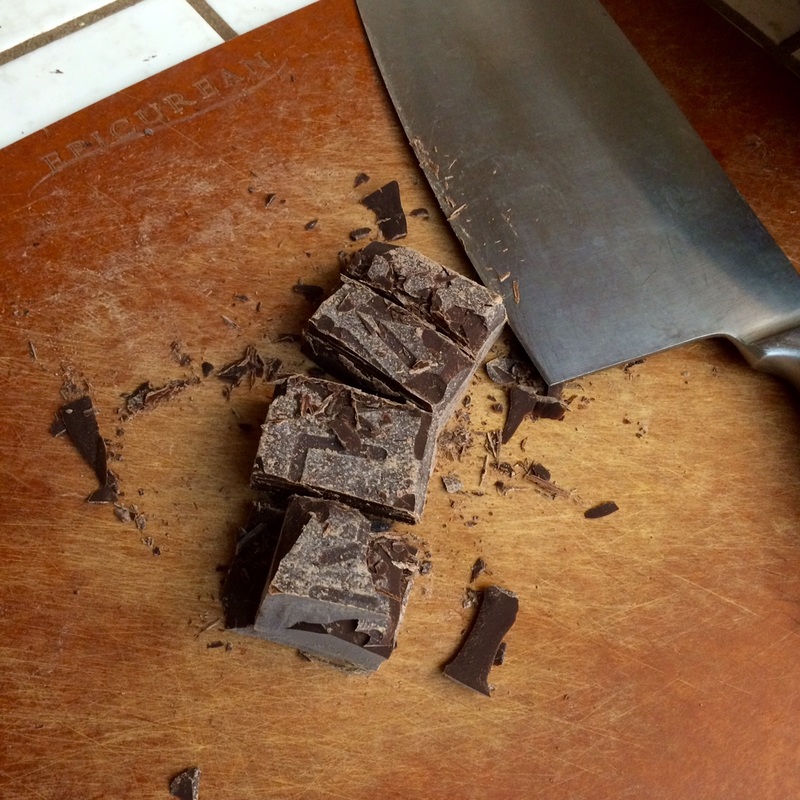
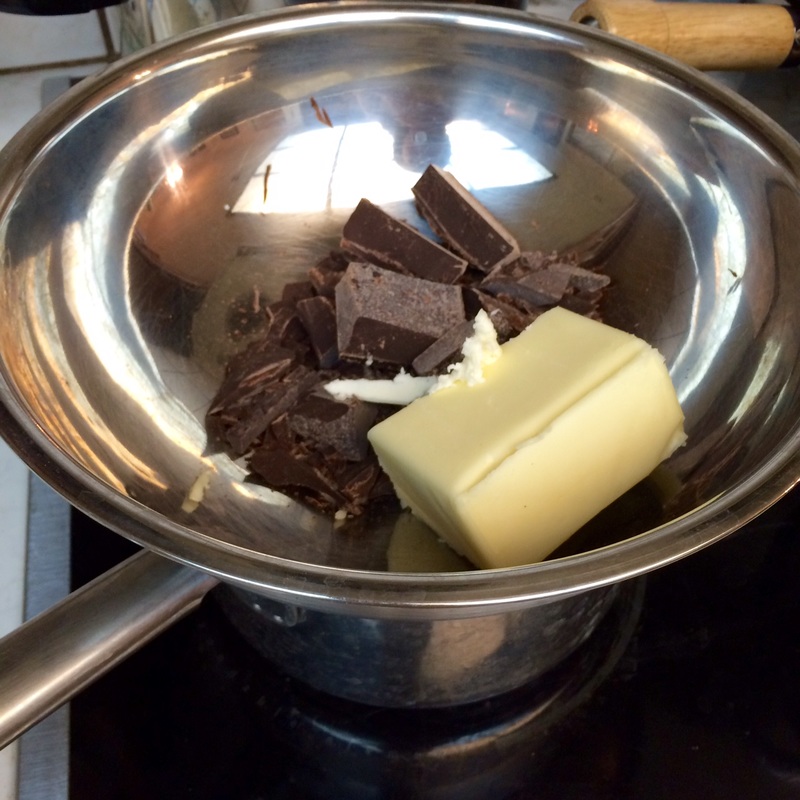
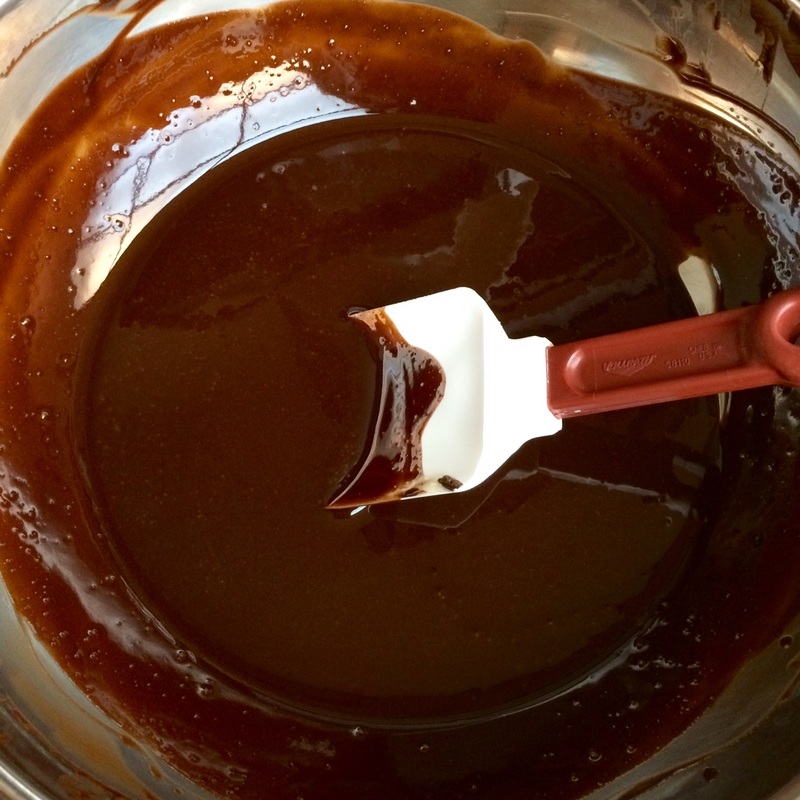
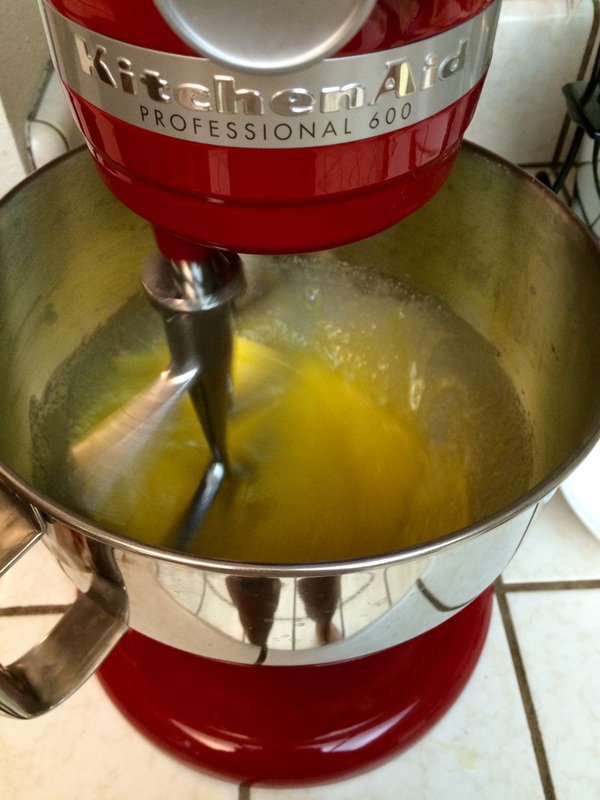
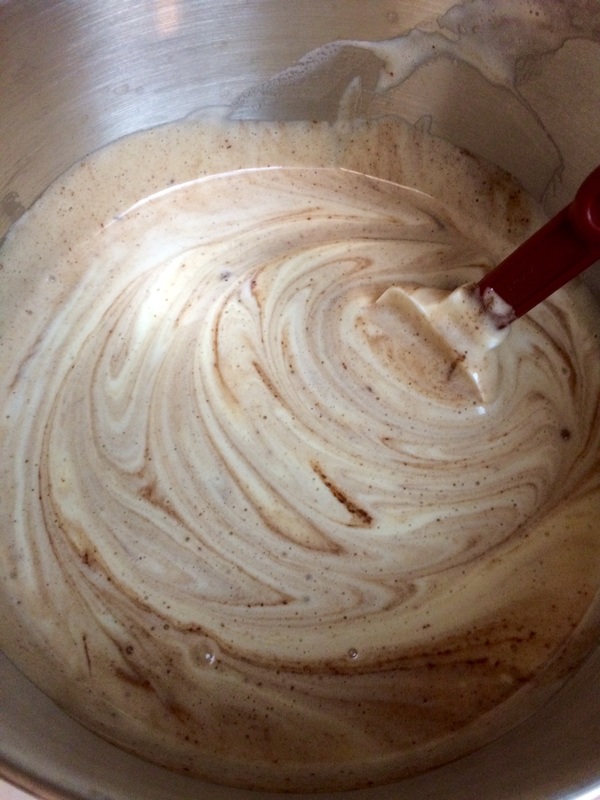
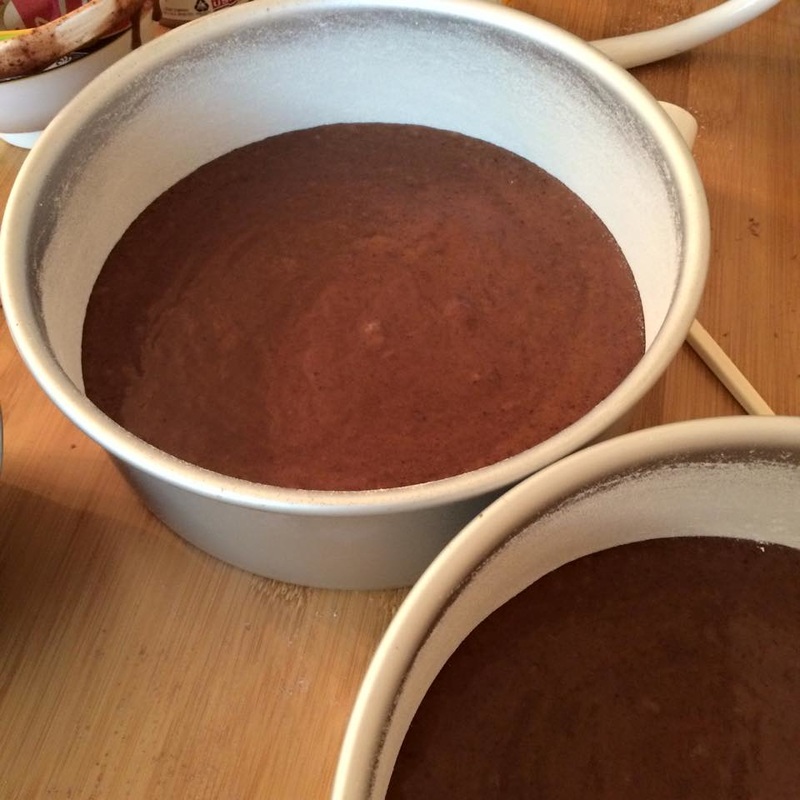
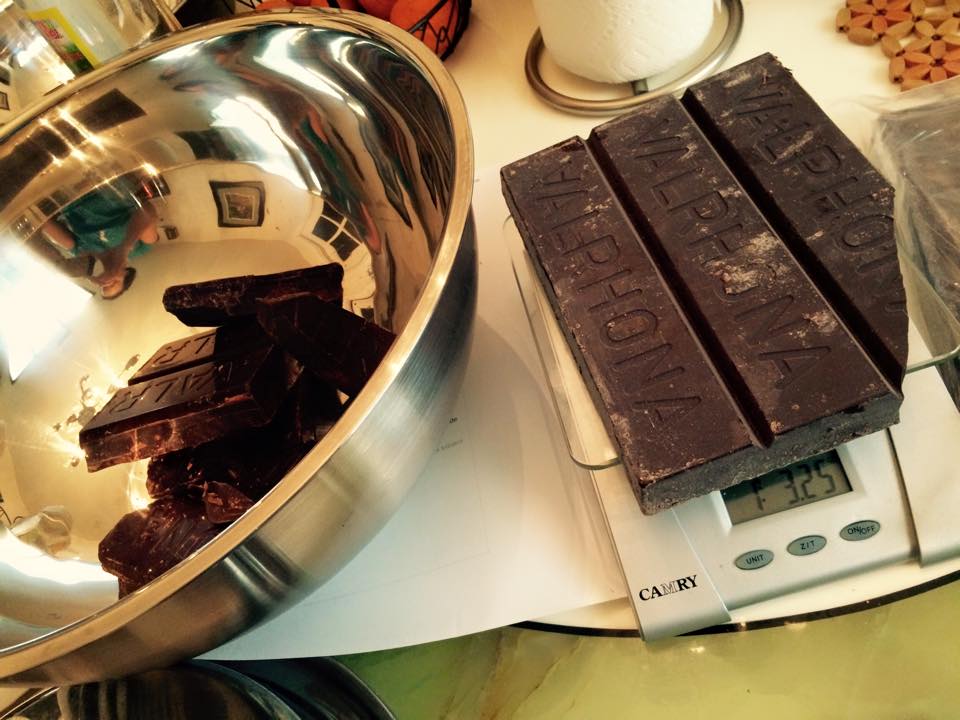
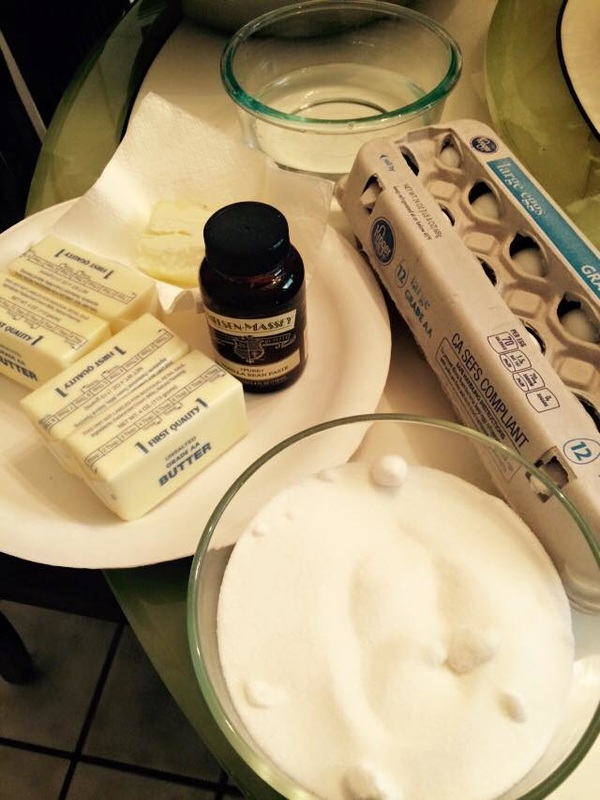
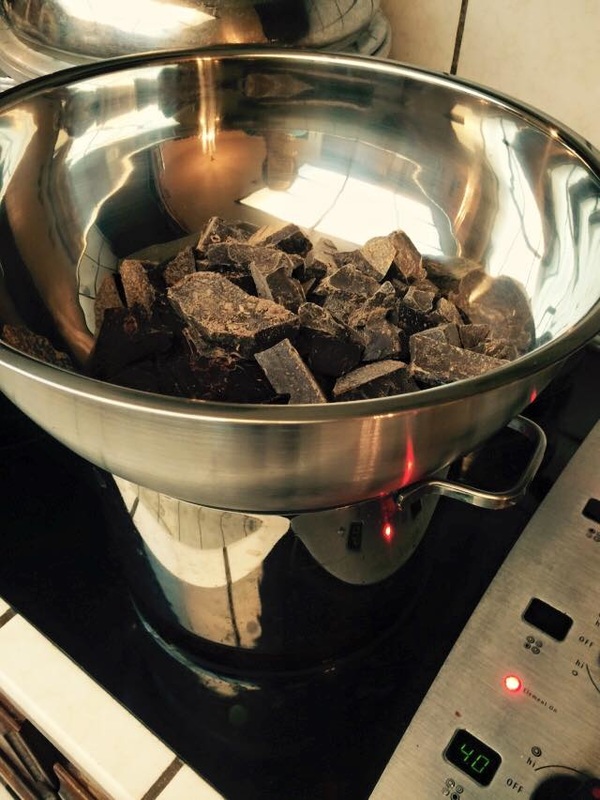
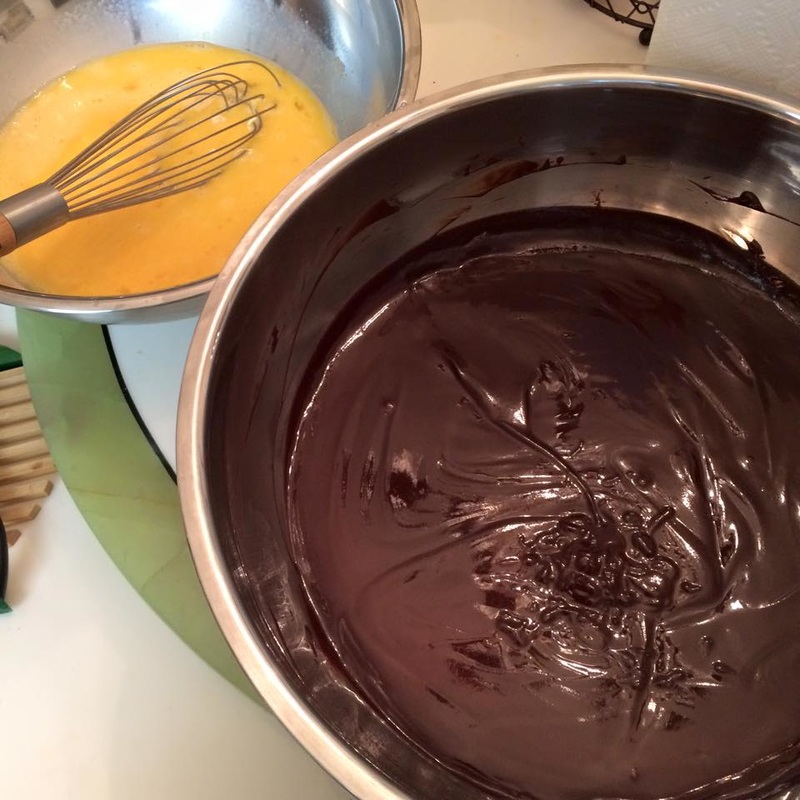
  3. In a double boiler set over simmering water, melt the chocolate. Meanwhile, in a medium bowl, combine the olive oil, coconut sugar, almond meal, egg yolks, vanilla, salt and cardamom. Stir well to combine. Once the chocolate is melted add it to the bowl and mix to combine.
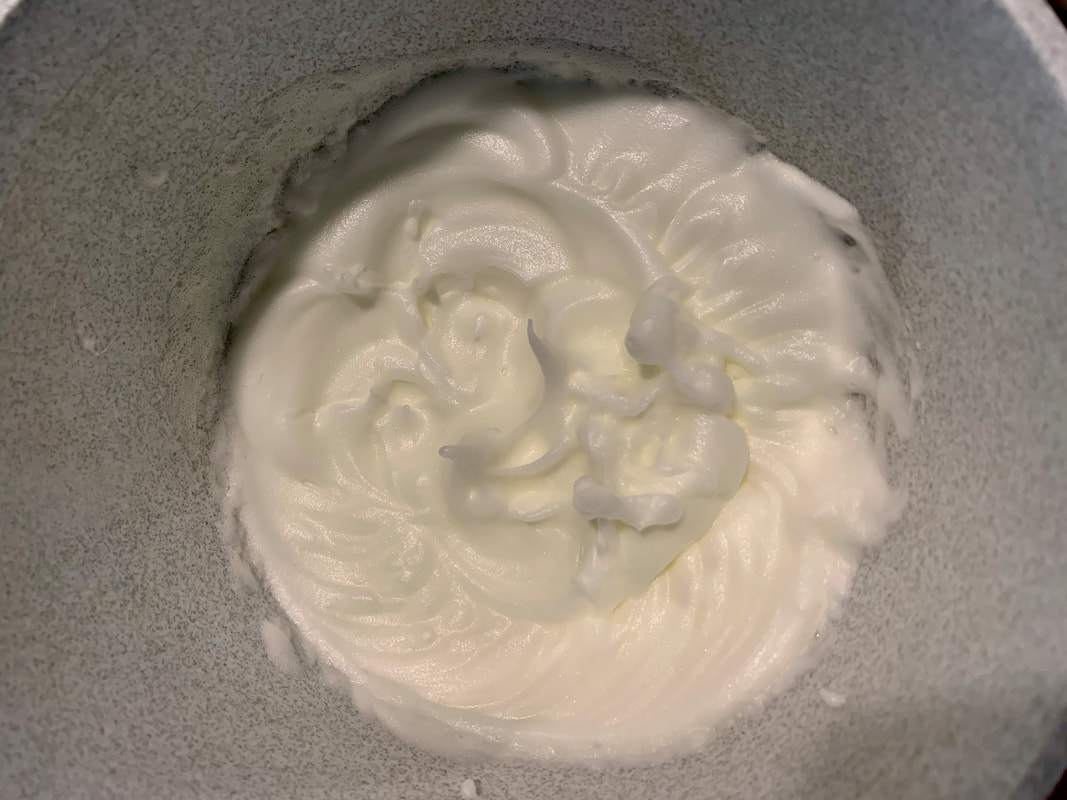
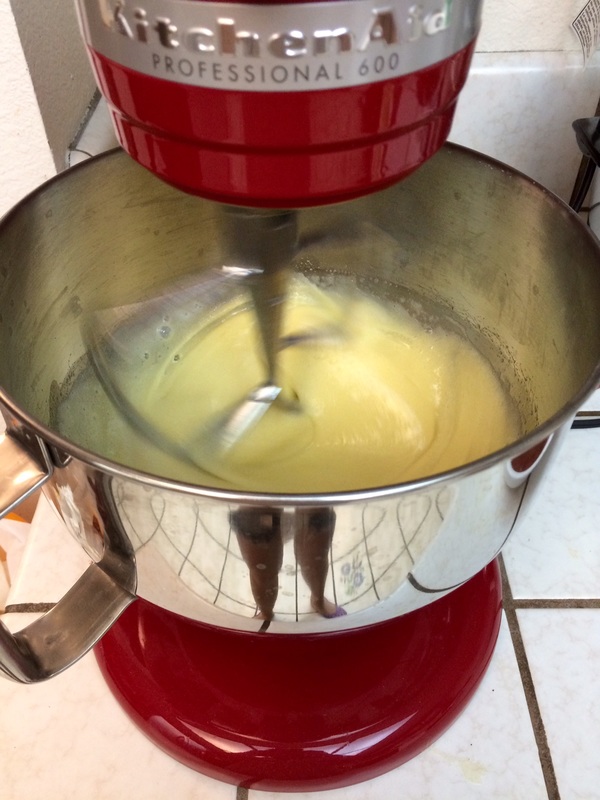
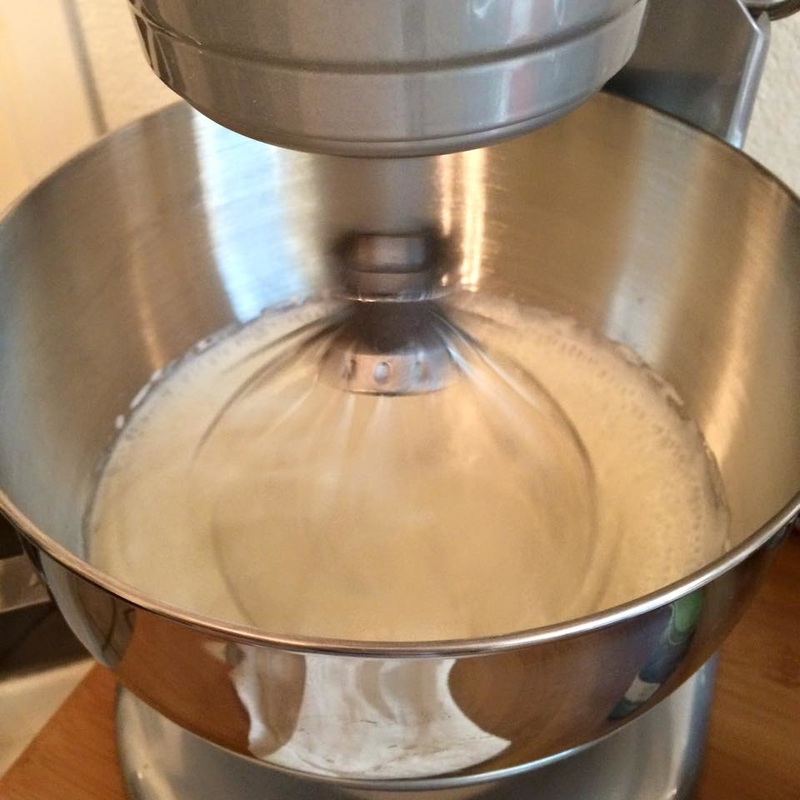
  4. In the bowl of stand mixer fitted with the whisk attachment, whip the egg whites until stiff peaks form.
  5. Fold the egg whites into the batter until completely incorporated and smooth.
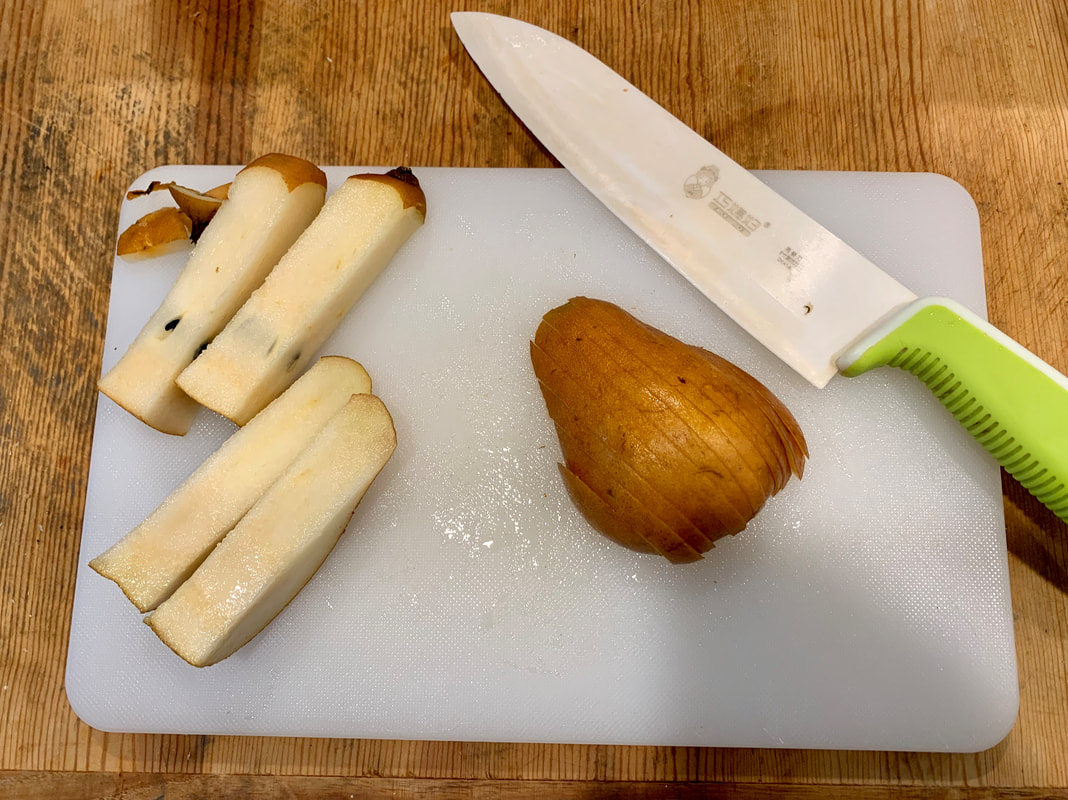
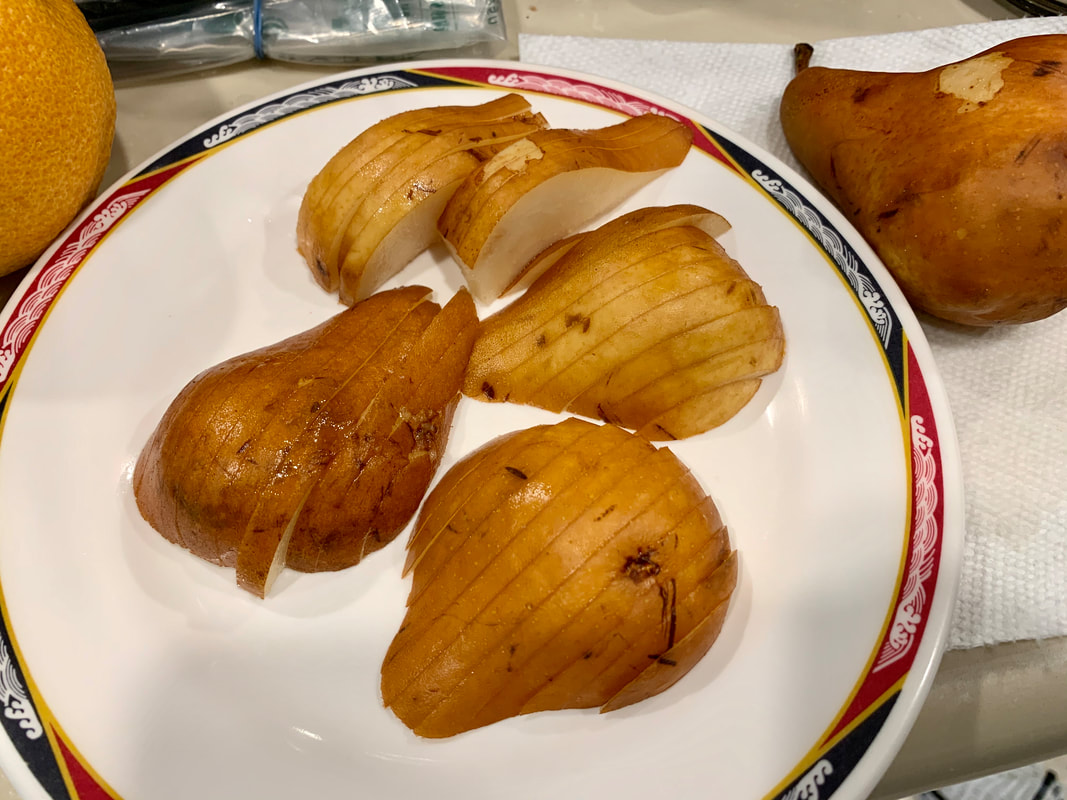
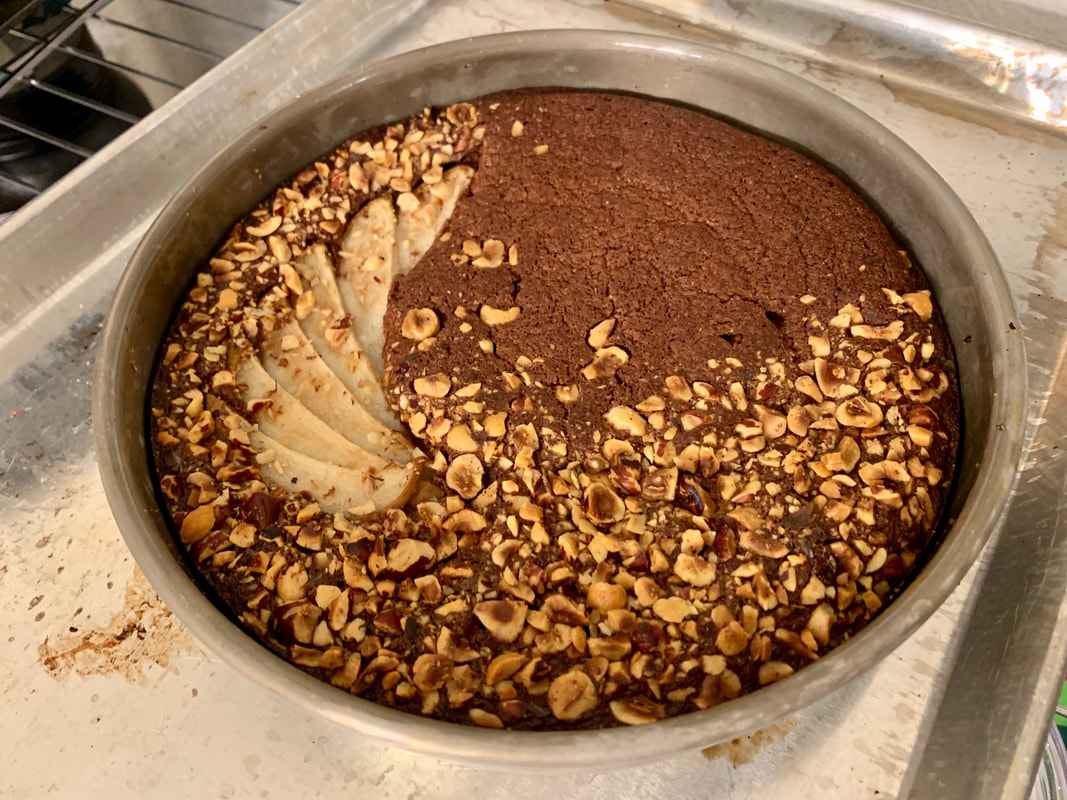
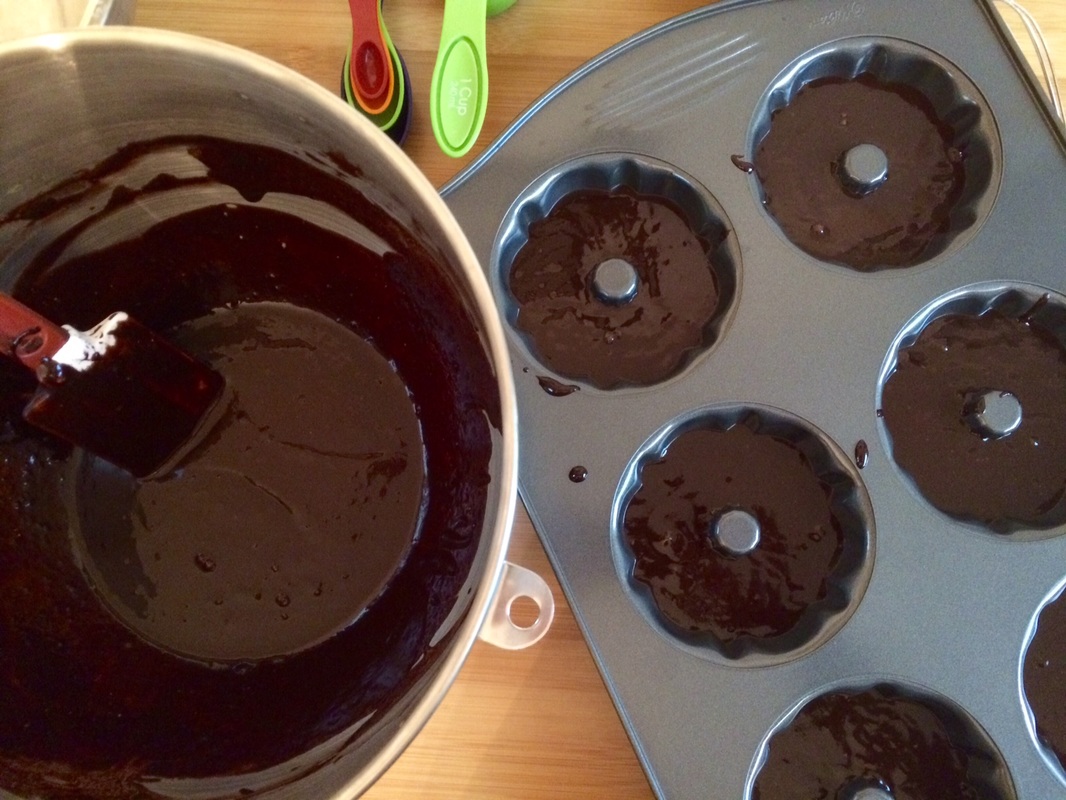
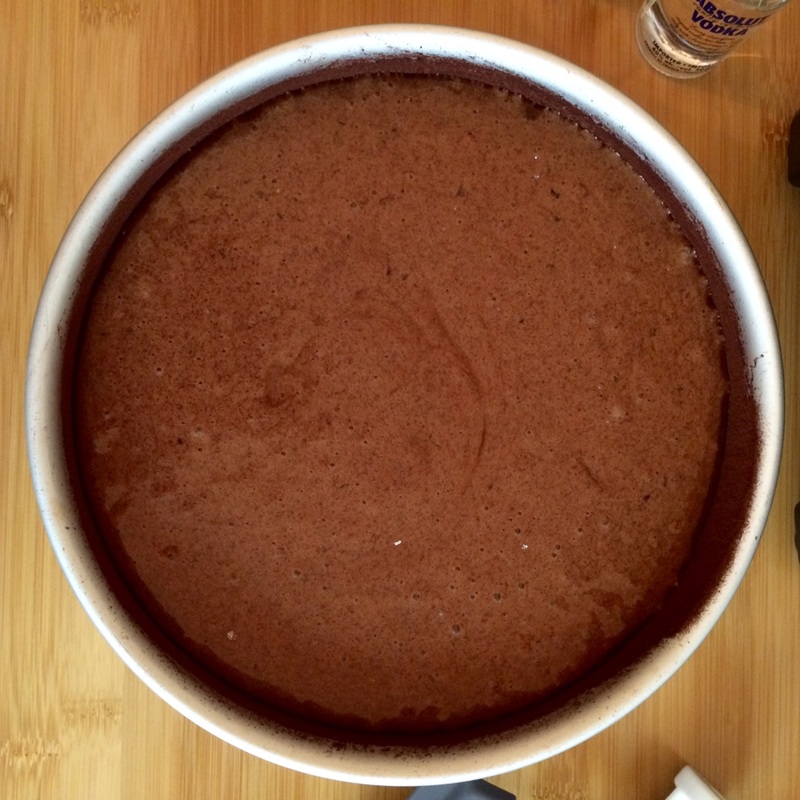
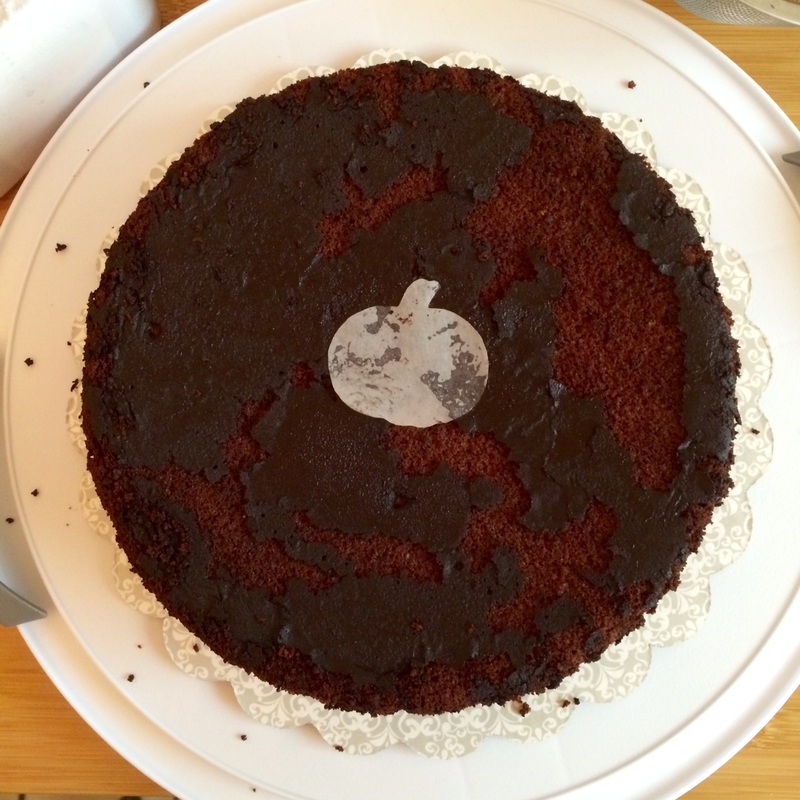
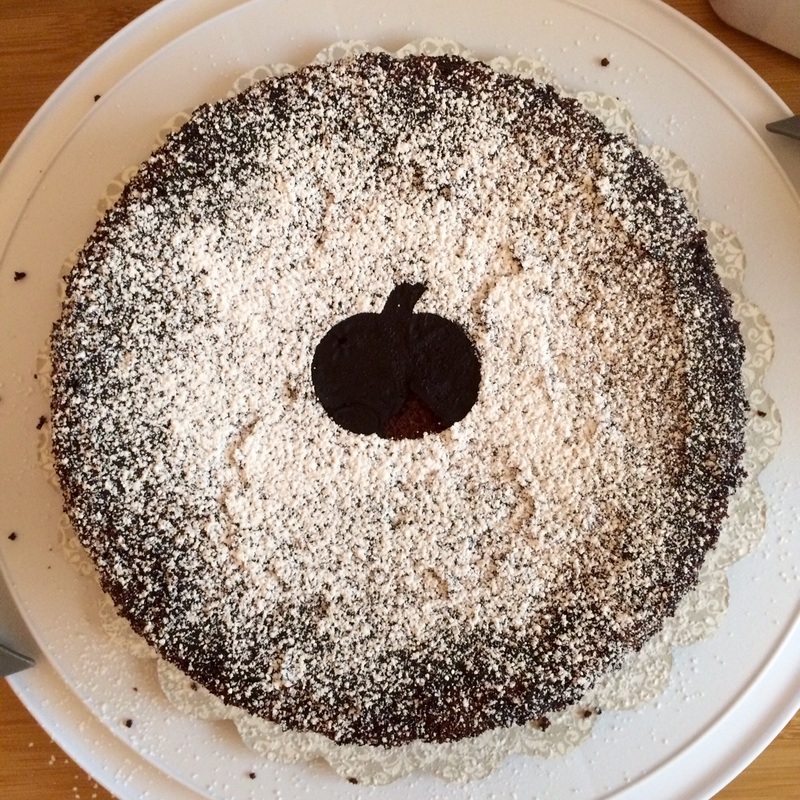
  6. Transfer the batter to the prepared pan and smooth the top with a spatula. Arrange the sliced pears on top and sprinkle with the chopped hazelnuts.
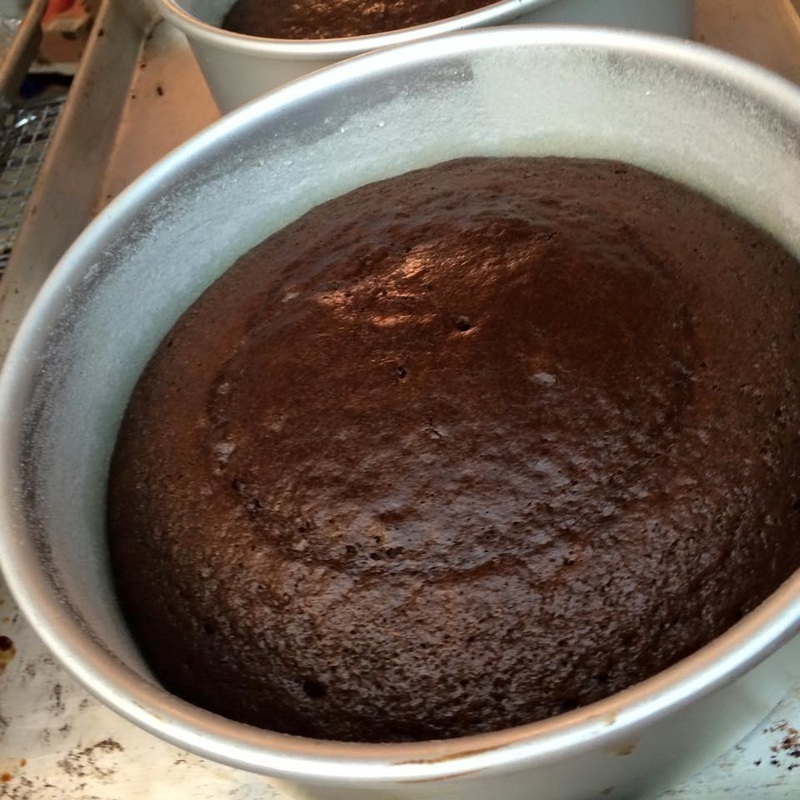
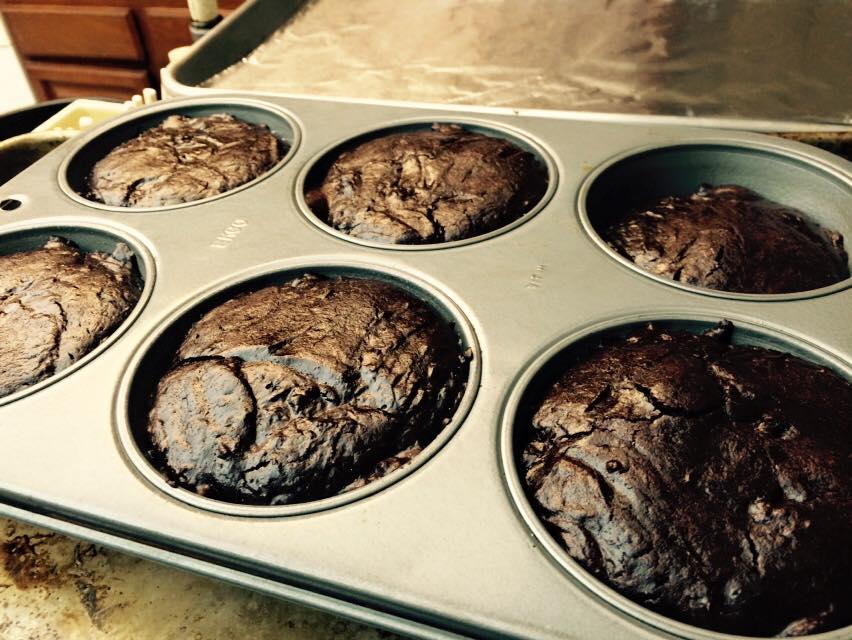
  7. Bake for 45-50 minutes or until a toothpick inserted into the middle comes out mostly clean.
  8. Allow to cool before serving, or chill in the refrigerator before serving.
0 Comments

Extraordinary Cakes: Decadent Yogi

5/12/2016

0 Comments

 
This is from Extraordinary Desserts' bake book Extraordinary Cakes, which I've replicated here as an easy reference to myself since I always bake from my phone. I would highly recommend picking up their book - as complicated as many of the recipes may seem, once I wrapped my mind around the ingredients lists and components, they haven't taken me more than 3 hours to both make and do ongoing clean-up (and as you can see, results in some seriously beautiful and decadent desserts!). Even better, they're not to the usual saccharinely American-sweet standards - I would suggest making it to the letter first and then adjust from there to your own taste.

As for this particular recipe, I've seriously made it 3 times in less than 2 weeks - that's how quickly it's been disappearing. The cake is wonderfully moist, even after sitting out overnight with no cover, and the chocolate crisp is a huge hit amongst all age groups. Even the frosting is quickly becoming my favorite - I'm usually not a huge fan of frosting (especially the infamous buttercream) but this didn't have nearly as much cloying butter and the 100% cocoa powder helped to cut the sweetness to something that complements the cake.

Picture
Chocolate Cakes
  • 1 10" bundt pan or a 6-cup bundt pan
  • Vegan butter stick, room temperature (for greasing)
  • 2 tbsp coconut flour
  • 2 cups all-purpose flour or (gluten-free) 1 cup brown rice flour + 1 cup sorghum flour
  • 1-1/2 tsp baking powder
  • 1 tsp baking soda
  • 1/2 tsp salt
  • 2 tbsp instant coffee granules
  • 2/3 cup cocoa powder, sifted
  • 1/3 cup grapeseed or vegetable oil
  • 3/4 cup (packed) brown sugar
  • 3/4 cup turbinado sugar
  • 1/3 cup pureed banana (about 1 small banana)
  • 2 tsp corn starch or potato starch
  • 2 tsp vanilla extract
Chocolate Frosting
  • 1/4 cup + 2 tbsp (3/8 cup) vegan butter, room temperature
  • 2-1/4 cups sifted powdered sugar
  • 1/4 cup + 2 tbsp sifted cocoa powder
  • 3 tbsp soy milk
  • 1 tsp vanilla extract
Chocolate Crunch
  • 2 oz (1/3 cup) vegan chocolate chips
  • 2 tsp grapeseed or vegetable oil
  • 1 cup puffed brown rice cereal
Chocolate Cakes
  1. ​Preheat oven to 300 F. Generously grease the cavity or cavities of the bundt pan with the softened butter stick.
  2. Sift together both flours, baking powder, baking soda, and salt.
  3. Bring 1-3/4 cups water to a boil in a saucepan over medium-high heat. Remove from heat and whisk in instant coffee. When fully combined, whisk coffee mixture into cocoa powder.
  4. In a stand mixture with a whisk attachment, combine oil, both sugars, banana, potato starch, and vanilla. Whip on medium until very well combined, 3-5 mins. Remove bowl from mixer and, using rubber spatula, fold in sifted dry ingredients in 3 additions, alternating with coffee-cocoa mixture.
  5. If using a 10" bundt pan, pour batter into pan. If using 6-cup bundt pan, use a 1/2 cup dry measure to fill each cavity with 1/2 cup of batter.
  6. Place cake pan on rack in center of oven and bake until an inserted knife comes out clean, about 30 mins for smaller cakes, 50 mins for 10" cake. Cakes should appear moist and spongy. Allow cakes to cool completely.
  7. When fully cooled, remove cakes from pan and wrap tightly in plastic wrap. Can be made 1 day in advance and stored at room temperature.
Chocolate Frosting
  1. Whip the butter on medium-high speed for about 3 mins. It will appear fluffier.
  2. Combine the powdered sugar and cocoa powder and add to the butter. Whip on medium speed for about 2 mins. Add the soy milk and vanilla and whip until well combined.
  3. Cover the bowl with plastic wrap and hold at room temperature until ready to frost the cakes, but for no longer than 3 hours before using.
Chocolate Crunch
  1. Line a baking sheet with parchment paper or Silpat.
  2. Melt the chocolate chips in a heatproof mixing bowl set over a pan of simmering water (do not allow the bowl to touch the water), stirring occasionally. Remove from heat, and using a rubber spatula, mix in oil until smooth and homogeneous. While chocolate mixture is warm but not hot, fold in cereal until well incorporated.
  3. Using a metal spatula, spread mixture as thinly as possible onto prepared baking sheet. Place Chocolate Crunch in refrigerator until firm, about 15 mins. Break up crunch into larger pieces and reserve in refrigerator until ready to use, or for up to 4 hours.
After cake assembly:
  1. Refrigerate the decorated cakes for 2 hours to set. When ready, place frosted cakes on a serving platter, and allow to come to room temperature for 1-2 hours before serving.
0 Comments

Chocolate-dipped Strawberries with Cacao Nibs

3/20/2016

0 Comments

 
This isn't a very precise recipe - there's a lot of eyeballing involved because I think everyone knows what they should do with leftover chocolate or strawberries. However, I've typed this up to provide some tips on melting chocolate, which can be tricky or daunting, particularly if using any random chocolate as opposed to the specially formulated kinds advertised as being easy to melt for dipping. I absolutely love the crunch that the cacao nibs add - because they blend right into the chocolate's flavor, the added texture reminds me of Magic Shells ... except with your own customized flavor of chocolate.
Picture
  • quality chocolate (percentage to taste)
  • strawberries
  • cacao nibs
  • (optional) powdered sugar
  1. Rinse any dirt and detritus off the strawberries. Pat dry and then let them continue to air dry on a paper towel (make sure they are dry before dipping them - water and chocolate don't mix). Cover a cooking sheet or some plates with parchment paper or foil.
  2. If using a microwave, heat the chocolate in a microwave-safe bowl at medium power for 20 seconds at a time. Make sure to scrape and stir the chocolate each time before heating again. Do so until MOST of the chocolate is melted - at that point, just keep stirring, and the remaining little pieces should melt themselves without the microwave's help. If, partway through dipping the strawberries the chocolate gets too thick, heat it again at medium power for 10 seconds.
  3. If using a stove and the bain marie method, pour about an inch's worth of water into a small pot, and then use a metal bowl that can sit on top of the pot without the bottom touching the water. Heat the pot until the water is lightly simmering (this may be less than you think - when you cover the pot with the bowl, the higher pressure can bring the water to a higher boil than anticipated). Put the chocolate into the bowl, and make sure to mix it while it melts. When removing the bowl, have a kitchen towel handy - steam will have gathered on the bottom of the bowl, and it can drip down and burn you if you don't mop it up immediately. Remember to be careful not to let any steam or drips of water get inside the bowl. (I like to keep the pot simmering on the stove while I dip the strawberries - if the chocolate gets too thick as it cools, I just set the bowl back on the pot for a few seconds, stirring, and then I'm ready to dip again.)
  4. Pour the cacao nibs into a small bowl. Dip the strawberries in the melted chocolate to coat them, then dip one side of the strawberries into the cacao nibs. (I find you don't really need more than one side to be covered, otherwise they can be overwhelming.) Set the strawberry, non-nibbed side down, on the parchment paper to cool and set.
  5. Once you have dipped and covered all the strawberries, if you are impatient to eat them, you can move the cookie sheet or plates to the refrigerator or freezer for a few minutes. Dust with powdered sugar if you wish for presentation.
Notes: It's easy to burn chocolate, which is why there is so much care to make sure you don't overheat it, and to constantly stir it around. However, there's no need to worry about tempering the chocolate, so it's a fairly straightforward process to melt it.

If you have leftover chocolate (and want to save it as opposed to simply licking it off the bowl), you can pour it out onto a parchment-lined plate or just a piece of foil and leave it in the fridge to harden for some homemade chocolate pieces. Clean-up of the chocolate bowl can be a tough process - I've found the best way is to first wipe out the bowl with a paper towel before the chocolate gets too set, and then to make sure to wash it with hot water. If you use cold water, the chocolate will merely set, and smear under scrubbing without coming off. If I'm handwashing after using the bain marie method, I just use the hot water from the pot to rinse out the bowl.
0 Comments

Peppermint Bark

12/12/2015

0 Comments

 
I'm actually not a fan of mint myself (not because of the taste, but because they can give me headaches), so I've never taste-tested these myself. But I had some friends request some over the holidays, and all reports I received from them were that it was AMAZING, so this recipe appears to be a raging success!
Picture
  • 8 ounces high-quality semisweet chocolate, broken into pieces
  • 1/2 teaspoon peppermint extract, divided
  • 8 ounces high-quality white chocolate, broken into pieces
  • 25 peppermint candies, crushed (or if you buy the candies already crushed, just scatter as much as you'd like throughout)

  1. Line a 9" x 9" inch pan with foil or parchment paper, smoothing out wrinkles; set aside.
  2. Place the semisweet chocolate in the top of a double boiler over just barely simmering water, stirring frequently and scraping down the sides with a rubber spatula to avoid scorching. When the chocolate is melted, stir in 1/4 teaspoon of the peppermint extract. Pour the melted chocolate into the prepared pan, and spread evenly over the bottom of the pan. Sprinkle half of the crushed peppermints over the chocolate layer. Put in the refrigerator while you make the second layer. (Note: Leaving it a little tacky instead of chilled rock-hard will allow the two layers to bond more completely, so that they don't separate when you break up the bark.)
  3. Place the white chocolate in the top of a double boiler over just barely simmering water, stirring frequently and scraping down the sides with a rubber spatula to avoid scorching. When the chocolate is melted, stir in the remaining 1/4 teaspoon peppermint extract. Pour the white chocolate directly over the semisweet chocolate layer; spread evenly. Sprinkle the remaining crushed candy over the top and gently press in. Refrigerate until completely hardened. 
  4. Remove from pan and peel off the paper or foil; break into small pieces to serve.
Notes: Do not let any water - even the steam from the bottom of the double boiler - get into the chocolate, as this may cause the chocolate to seize. White chocolate has a lower melting point than regular chocolate; I recently had a batch become thick and lumpy when I tried to put it over the same heat settings as I had melted the dark chocolate, and it would never become liquid. You can try and "save" it by adding some fat to re-emulsify it - I happened to have some cocao butter on hand from some other projects, and this seemed to do the trick. Otherwise, you can try regular butter or some vegetable oil. It may be a ratio of as much as a tablespoon for every 6 oz of white chocolate, but add a little at a time first and see how it goes.
0 Comments

Chocolate Plum Cake

10/30/2015

0 Comments

 
I've had this recipe, taken from Epicurious, in the back of my mind for literally months. Long enough that I had one batch of plums go bad and then a second batch on the verge of going bad before I finally bit the bullet and carved out some time to try it.

As with most cakes that use fruit purees, this was wonderfully moist. I think most people might also call it "dense", but I've certainly eaten much denser chocolate cakes before. This one felt springy and fluffy, if not exactly light. I decided to be lazy when I made this, and not only just used a regular cake pan rather than a springform (making sure to butter and dust it with cocoa powder VERY thoroughly) but eschewed the whipped top that the original recipe calls for. To be festive, I made a little pumpkin stencil out of parchment paper and sifted the top with powdered sugar.
Picture
  • 9" cake pan
  • Unsweetened cocoa powder (for dusting)
  • 3/4 cup (1 1/2 sticks) unsalted butter, plus more for pan
  • 1 pound ripe or very ripe plums, coarsely chopped (for a total of 1 1/2 cups once pureed)
  • 6 ounces bittersweet chocolate (70–72% cacao), coarsely chopped
  • 5 large eggs, room temperature
  • 1 cup sugar
  • 3/4 cup all-purpose flour
  • 1 tablespoon baking powder
  • 1/4 teaspoon kosher salt
  • 1 1/2 cups cold heavy cream
  1. Butter bottom and sides of pan and thoroughly dust with cocoa powder.
  2. Purée plums in a blender until very smooth (you need 1 1/2 cups; reserve any additional purée for another use). If plums are not ripe enough to form a very smooth purée, strain through a fine-mesh sieve.
  3. Combine chocolate and 3/4 cup butter in a large heatproof bowl. Set bowl over a medium saucepan of barely simmering water (do not let bowl touch water). Stir until chocolate is melted and smooth. Remove bowl from saucepan. Stir plum purée into chocolate mixture until well combined.
  4. Preheat oven to 350 F.
  5. Using an electric mixer on medium speed, beat eggs and sugar in another large bowl until pale and tripled in volume, 10–12 minutes. Using a rubber spatula, fold about 1/3 of the egg mixture into chocolate mixture to lighten, then fold chocolate mixture into remaining egg mixture until combined.
  6. Combine flour, baking powder, and salt in a medium bowl, then fold dry ingredients into chocolate mixture until combined. (You may wish to sift gradually into the mixture while folding thoroughly in between, as the dry ingredients tend to clump especially badly in this type of batter.)
  7. Pour batter into prepared pan and smooth surface. Bake cake until center is set and sides are beginning to brown, about 55 minutes. Transfer to a wire rack and let cake cool completely in pan (cake will sink a little in the center as it cools).
  8. Unmold cake (run a knife around the edge to help release, if needed) and transfer to a platter.
  9. (Optional) For whipped cream top: Using an electric mixer on medium-low speed, beat cream in a large bowl until soft peaks form. Mound whipped cream in center of cake, then dust with cocoa powder.
0 Comments

Black Magic Chocolate Cake (w/ condensed tomato soup)

4/28/2015

0 Comments

 
This recipe came from some really old-skool book on really really crazy recipes - such as using Campbell's condense tomato soup in a cake. But the poster claimed that it produced an amazingly rich and moist chocolate cake, so I swallowed my skepticism long enough to give it a shot.

Boy am I glad I did. The cake really WAS amazingly moist, and if it weren't for the lingering scent of cooked tomatoes in the kitchen, I would never have known what the main ingredient was. One note, make sure you grab a low-sodium soup. If you can't find a low-sodium alternative though, if you're planning on icing the cake, even something as mildly sugared as the Chinese-bakery style whipped frosting works quite well to offset the sodium.
Picture
  • 1 3/4 cups flour (or 1 3/4 cups plus 2 T cake flour)
  • 2 cups sugar
  • 3/4 cup cocoa
  • 2 tsp baking soda
  • 1 tsp baking powder
  • 2 eggs
  • one 10-oz can low sodium condensed tomato soup (such as Campbell's)
  • 1 cup buttermilk
  • 1/2 cup oil
  • 1 tsp vanilla

  1. Pre-heat oven to 350 F.
  2. Sift and then whisk together the dry ingredients.
  3. In another bowl, put all the wet ingredients and beat until it is well mixed.
  4. Pour into a greased and floured 9x13 pan or 2 round cake pans.
  5. Bake until a skewer inserted into the center of the cake comes out clean. (See below for time guidelines.)
Note: I've put this into various sizes of vessels and they all came out beautifully, whether I made the rounds separately or cut a thick cake in half, etc. So, a general rule of thumb:
2 round cake pans: start checking around 30 mins
9" x 13" pan: 35 - 40 mins
6" pan x 3" height: 50 mins
5" ramekin: 35 mins

0 Comments

Flourless Chocolate Cake (from Blue Point)

4/9/2015

0 Comments

 
The Blue Point is a restaurant in San Diego that purportedly hired its dessert chef away from Disney. I can believe it. They were kind enough when I asked for the recipe to not only email it to me, but cut it down to "home portions" - but beware, this is still a VERY big batch of batter!
Picture
  • 1-1/4 lb semi-sweet chocolate chips (for very dark, 70%, for somewhat sweeter, at most 60%)
  • 1-1/4 lb unsweetened baking chocolate
  • 1 tsp salt
  • 1 lb + 2 oz butter (cut into pieces)
  • 1-1/4 cups water
  • 1 lb + 2 tbsp granulated sugar
  • 12 whole eggs
  • 1 tbsp vanilla extract
Servings: about 18 mini-cakes or 36 cupcakes
  1. In a mixing bowl whisk eggs thoroughly and set aside for later use.
  2. In another mixing bowl combine both kinds of chocolate, butter, water, sugar, and salt over a double boiler. Cook until all ingredients have melted.
  3. Whisk the mixture to a smooth consistency (no lumps), remove the bowl from heat, and set aside to cool for 20 mins at room temperature. Once slightly cooled, gently whisk in the eggs and add the vanilla, place in a covered container, and refrigerate for a day until mixture has set before using.
  4. For more even baking, take mixture out of refrigerator and set outside to warm up closer to room temperature. Scoop into a silicone mold and bake in a pre-heated oven at 350 degrees for 15-20 mins, rotating the sheet pan after 10 mins. Set aside to cool before storing.
Cake mix will last up to 4 days in the refrigerator, or you can bake off the whole mix and freeze the cakes once baked. Thaw them out to room temperature before using. You can serve them warm by microwaving them for 30 seconds.
0 Comments

Best Big, Fat, Chewy Chocolate Chip Cookie

4/9/2015

0 Comments

 
These cookies were both humongous and unaccountably cute. I just loved the fact that they were these fat little mounds, and I may never pick up a flat cookie again. They were a big hit - lightly crisped on the outside, chewy on the inside without being too dense, and of course, PLENTY of chocolate with two cups of it stuffed inside.
Picture
  • 2 cups all-purpose flour
  • 1/2 teaspoon baking soda
  • 1/2 teaspoon salt
  • 3/4 cup unsalted butter, melted
  • 1 cup packed brown sugar
  • 1/4 - 1/2 cup white sugar
  • 1 tablespoon vanilla extract
  • 1 egg + 1 egg yolk
  • 2 cups chocolate chips or 1 cup chips and 1 cup chopped chocolate (if using chopped, sift out the powdered chocolate)
  1. Grease cookie sheets or line with parchment paper. Measure out flour using the scoop-and-level method (should be about 120-125 grams).
  2. Sift together the flour, baking soda and salt; set aside.
  3. In a medium bowl, cream together the melted butter, brown sugar and white sugar until well blended. Beat in the vanilla, egg, and egg yolk until light and creamy.
  4. Mix in the sifted ingredients until just blended. Stir in the chocolate chips by hand using a wooden spoon.
  5. Drop cookie dough 1/4 cup at a time onto the prepared cookie sheets. Cookies should be about 3 inches apart. Refrigerate the cookies for at least 30 minutes, ideally 3 hours or longer.
  6. Preheat the oven to 325 F. Bake for 15 to 17 minutes, or until the edges are lightly toasted. Cool on baking sheets for a few minutes before transferring to wire racks to cool completely.
0 Comments

Red Velvet Cupcakes

4/9/2015

0 Comments

 
This might almost be more of a really decadent chocolate cupcake instead of specifically red velvet, but regardless of the subtleties of taste, it's been fantastic as both a cake and cupcake; moist, and full of flavor. However, due to the amount of chocolate, it DOES get very dark, especially if you use 70% like I usually do. That's why I prefer the gel food coloring, which is even more intense than pouring whole bottles of liquid food coloring in.
Picture
  • 2 1/2 cups cake flour
  • 1/2 cup unsweetened cocoa powder
  • 1 teaspoon baking soda
  • 1/2 teaspoon salt
  • 1 cup butter, softened
  • 1.5 cups sugar
  • 4 eggs
  • 1 cup sour cream
  • 1 1/2 cup buttermilk
  • a few drops of red gel food coloring
  • 1 tsp vanilla paste
  • vanilla cream cheese frosting

  1. Preheat oven to 350 degrees F. Mix flour, cocoa powder, baking soda and salt in medium bowl. Set aside.
  2. Beat butter and sugar in large bowl with electric mixer on medium speed 5 minutes or until light and fluffy. Beat in eggs, one at a time. Mix in sour cream, buttermilk, food color and vanilla. Gradually beat in flour mixture on low speed until just blended. Do not overbeat. Spoon batter into 30 paper-lined muffin cups, filling each cup 2/3 full.
  3. Bake 20 minutes or until toothpick inserted into cupcake comes out clean. Cool in pans on wire rack 5 minutes. Remove from pans; cool completely. Frost with Vanilla Cream Cheese Frosting.
0 Comments

Ganache Filling for Chocolate Truffles

4/8/2015

0 Comments

 
Picture
  • 8 oz chocolate, chopped
  • 1/2 cup heavy cream
  • 1-2 tbsp extracts (optional)
Servinges: 60 candies or so

  1. Scald cream and pour over chopped chocolate.
  2. Let sit and then stir until smooth. Mixture will thicken as it cools.
  3. Use extracts to flavor.
0 Comments
<<Previous
    Picture

    Sweet Enough

    Part of the reason I started baking was because I like my goodies to be less obviously sweet - I want to taste the flavor, not just the sugar. So most of these recipes will have the sugar dialed down.

    This site also acts as my mobile recipe box, so instructions are often pared down to a minimum - very few frills but for some hints and suggestions!

    RSS Feed

    Categories

    All
    Alcohol
    Almond
    Apple
    Avocado
    Baklava
    Banana
    Bars
    Biscotti
    Blackberry
    Blueberry
    Bread
    Buttercream
    Cake
    Candy
    Carrot
    Cheese
    Cherry
    Chickpea
    Chinese
    Chocolate
    Cider
    Cobbler
    Coconut
    Coconut Milk
    Cookie
    Corn
    Cranberry
    Cream
    Cream Cheese
    Creme Brulee
    Crumb
    Crust
    Cupcake
    Custard
    Dates
    Decoration
    Dip
    Dough
    Doughnut
    Dumpling
    Easy Peasy
    Egg
    Filling
    Flowers
    Frosting
    Fruit
    Garnish
    Gelee
    Granola
    Green Tea
    Honey
    Ice Cream
    Icing
    Jam
    Lamb
    Lemon
    Lime
    Lobster
    Lotus Seed
    Macaron
    Mango
    Marshmallow
    Meringue
    Mochi
    Muffin
    Nectarine
    Nutella
    Nuts
    Oat
    Oats
    Onion
    Orange
    Pancake
    Panna Cotta
    Peach
    Peanut Butter
    Pear
    Pecan
    Phyllo
    Pie
    Pistachio
    Plum
    Popsicle
    Pound Cake
    Pumpkin
    Quiche
    Raspberry
    Red Bean
    Rhubarb
    Rice
    Ricotta Cheese
    Rugelach
    Sauce
    Savory
    Scone
    Sesame
    Shortbread
    Soup
    Sponge
    Sponge Cake
    Strawberry
    Streusel
    Tart
    Tofu
    Topping
    Torte
    Vegetable
    Vinaigrette
    Walnut
    Watermelon
    Yogurt
    Zucchini

    Archives

    November 2020
    October 2020
    July 2020
    May 2020
    April 2020
    March 2020
    October 2019
    December 2018
    October 2018
    August 2018
    April 2017
    July 2016
    May 2016
    March 2016
    February 2016
    January 2016
    December 2015
    November 2015
    October 2015
    September 2015
    July 2015
    June 2015
    May 2015
    April 2015
    February 2015
    January 2015
    November 2014

© 2019 Jacqueline Teng | DragonWarden