DragonWarden
  • Adventures
  • The Oven
  • The Un-Tea Party
  • Secret Ingredients
  • About

Peach Lavender Cobbler

2/22/2021

0 Comments

 
This recipe was an unexpected hit as not just a fruit cobbler, but potentially as a standalone scone - two for the price of one! While I couldn't tell it had lavender in it at all by the time everything was cooked (perhaps if I had made the topping alone as a scone or lived dangerously and upped the amount of lavender in it?), everything about it was scrumptious. My one adjustment? Too much salt in the topping portion. So I've toned that part down quite a bit.
Picture
Filling
  • 4_1/2 pounds freestone peaches — peeled, pitted and diced (10 cups)
  • 2_1/2 tbsp instant tapioca or corn starch
  • 1/3 cup sugar
  • 1/2 tsp kosher salt
  • 1/2 tsp fresh lemon juice
Topping
  • 1 tsp dried lavender blossoms
  • 1 cup all-purpose flour
  • 1/2 cup plus 2 tablespoons rolled oats
  • 1/4 cup granulated sugar
  • 1 tbsp baking powder
  • 1/2 tsp kosher salt
  • Finely grated zest of 1 lemon
  • 5 tbsp unsalted butter, diced
  • 1/2 cup heavy cream, plus more for brushing
  • 1/4 cup buttermilk
  • 2 tablespoons turbinado sugar
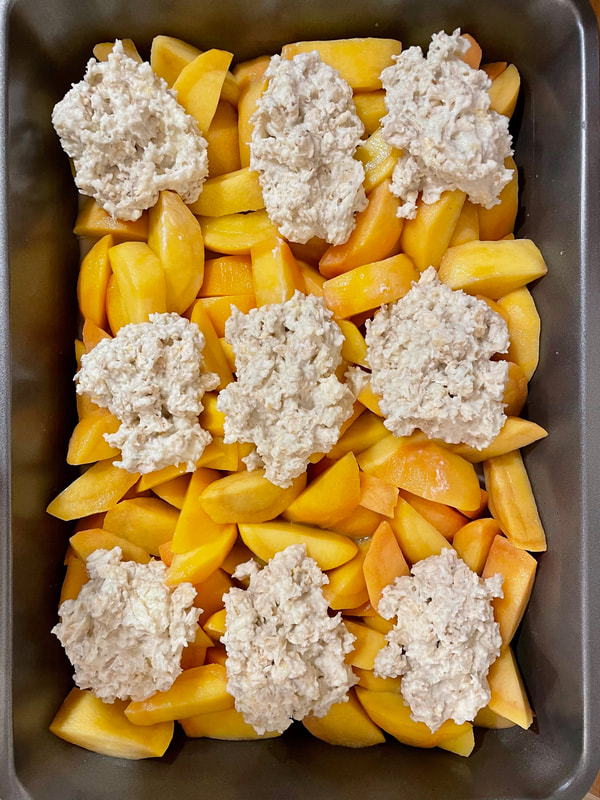
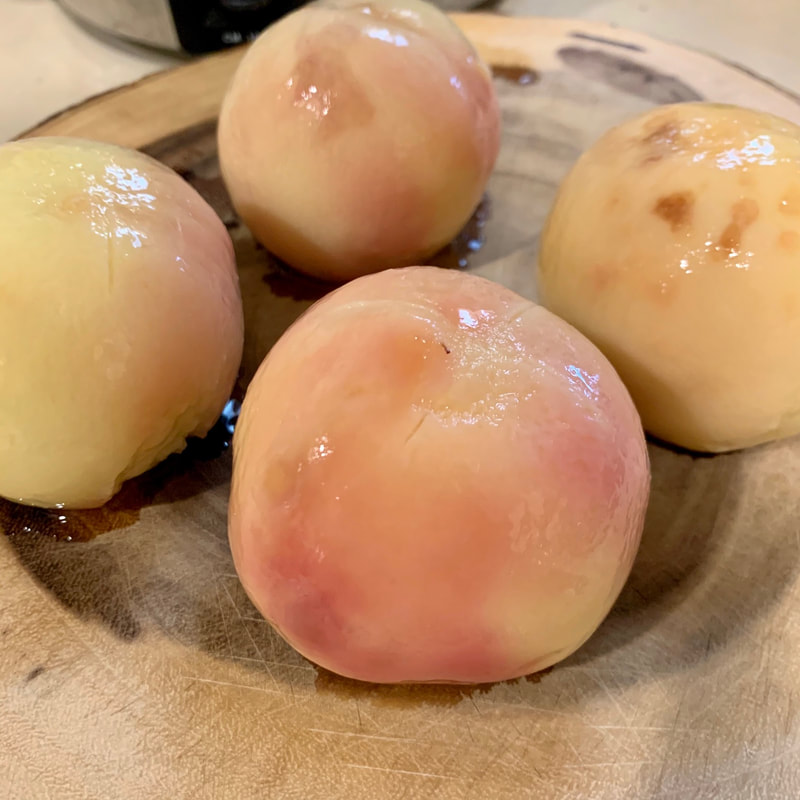
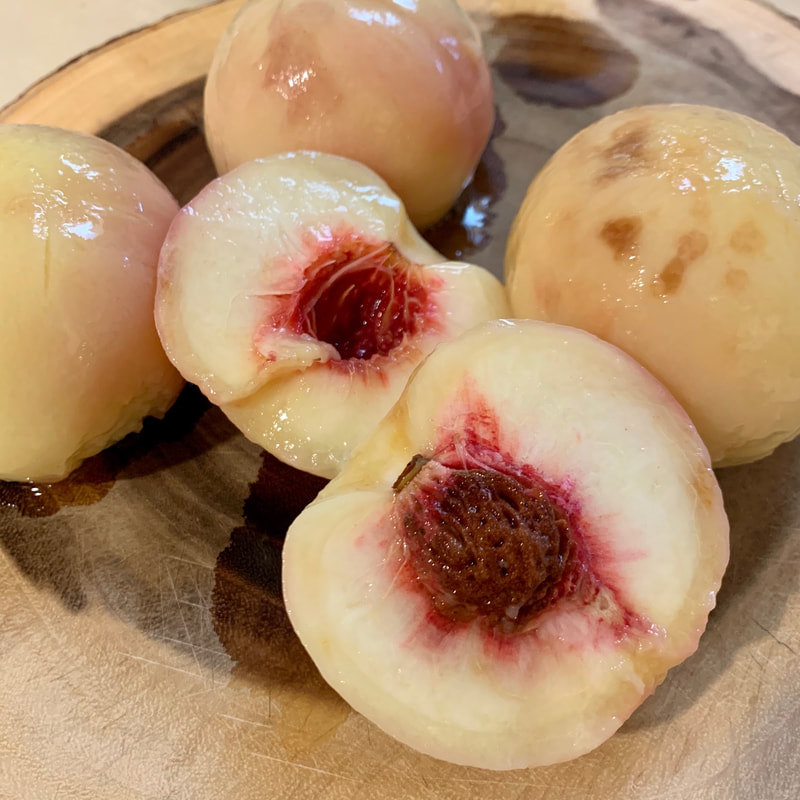
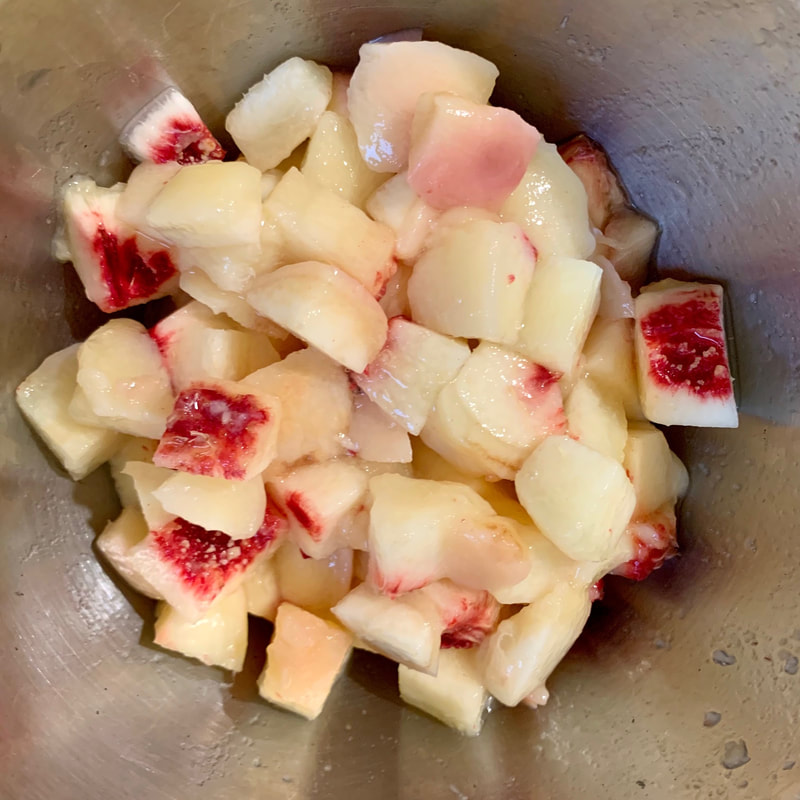
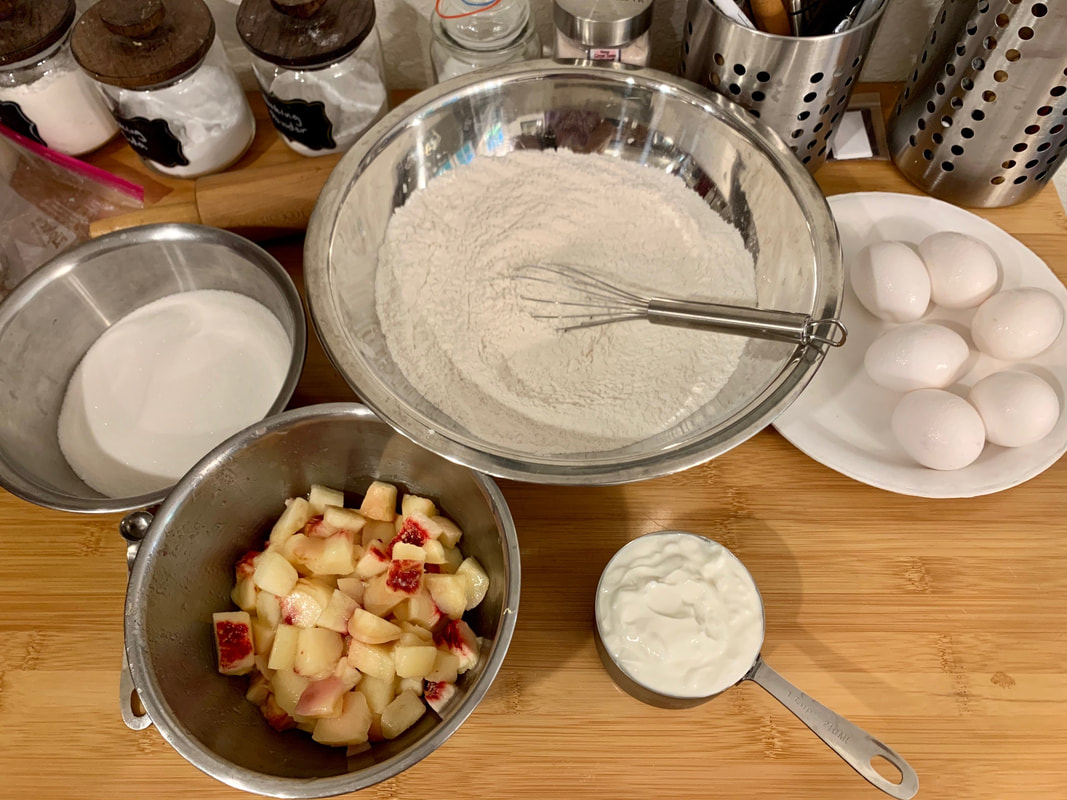
  1. Preheat the oven to 400°. In a bowl, mix the peaches, tapioca, sugar, salt and lemon juice. Transfer the filling to a 9-by-13-inch baking dish.
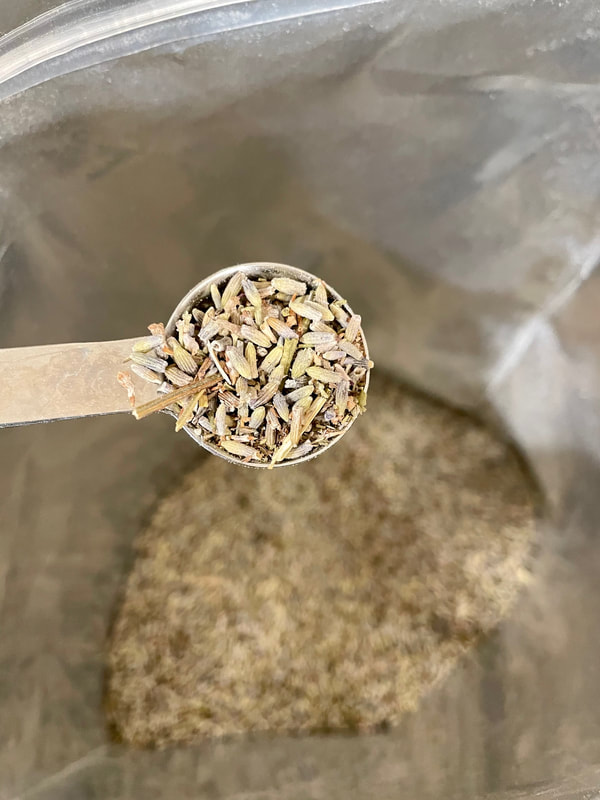
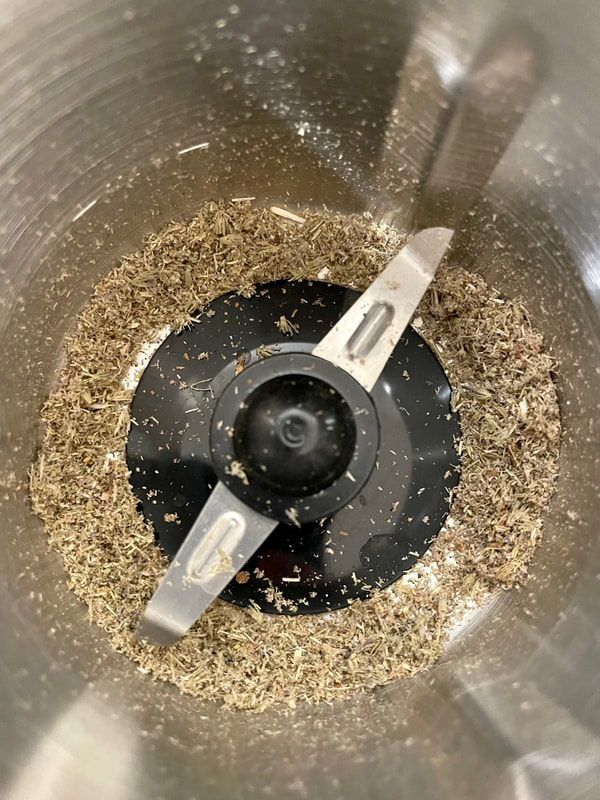
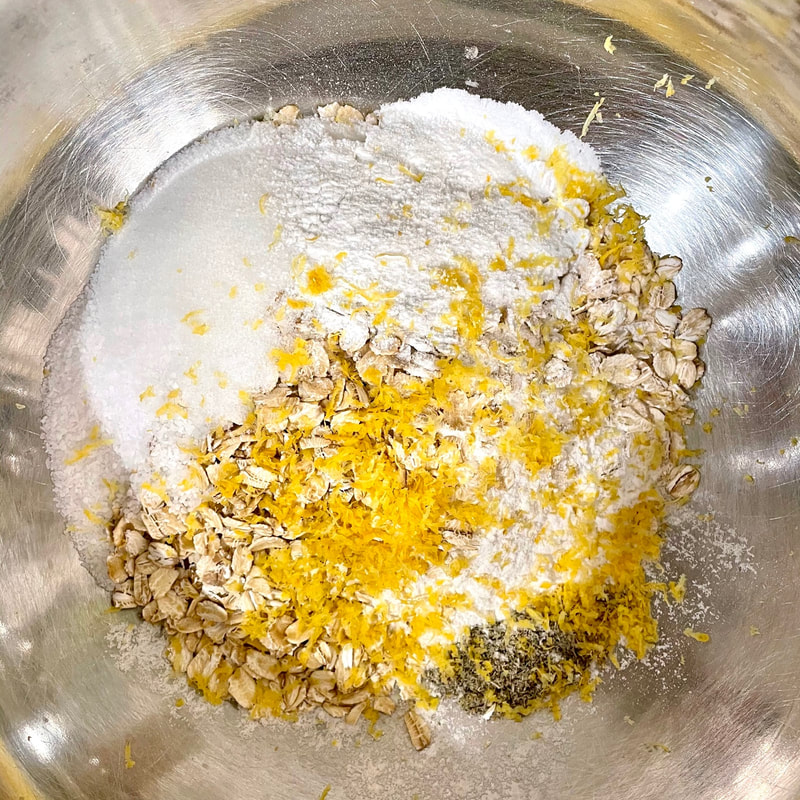
  2. Using a spice grinder or a mortar and pestle, grind the lavender to a powder. In a bowl, combine the lavender, flour, oats, granulated sugar, baking powder, salt and lemon zest. Cut in the butter using a pastry blender or two knives, until the mixture resembles coarse meal. Add the 1/2 cup of cream and the buttermilk; stir until the dough is just moistened.
  3. Using two spoons, form 3-tablespoon mounds of the topping and arrange them evenly over the peaches. Brush with cream and sprinkle with the turbinado sugar. Bake the cobbler for 50 minutes, until the topping is golden brown and the fruit is bubbling. Let cool slightly before serving.
0 Comments

Peach Pound Cake

7/30/2020

0 Comments

 
It's strange, but while I looooooove pound cakes, this is the very first time I've made on! And quite by accident - I've bookmarked plenty of recipes but kept bumping other stuff up the priority ladder. But then due to a miscommunication between my mother and me, we suddenly had and overabundance of Costco-sized pallets of peaches, and I was trying to figure out what to do with the last of them before they went bad when this recipe happened to land in my inbox. So I decided to give it a whirl - and it seems like such a simple cake, but it turned out so great that even my mom, who is totally not supposed to be eating stuff like this, was sneaking out 1/8" slices of the cake whenever my back was turned!
Picture
Cake:
  • 1 1/2 cups (3 sticks) unsalted butter, at room temperature
  • 2 cups sugar
  • 6 large eggs at room temperature
  • 3 cups all-purpose flour plus extra to coat the pan
  • 1/2 teaspoon salt
  • 1/4 teaspoon baking soda
  • 1 cup sour cream *
  • 2 teaspoons vanilla extract
  • 2 cups fresh peaches peeled, pitted and diced
Glaze:
  • 1 1/2 cups powdered sugar sifted
  • 1-3 tablespoons milk or cream
Cake:
  1. Preheat oven to 325 degrees. Spray a 12 cup bundt pan with nonstick cooking spray and add a few tablespoons of all-purpose flour to pan, shake it around to coat well, then tap out and discard any excess.
  2. In the bowl of an electric stand up mixer, gradually beat butter until it's creamy.  Add sugar and beat at medium speed for 5-7 minutes, until mixture is pale, light, and fluffy. Add eggs, one at a time, beating just until the yolk disappears and is incorporated into the batter.
  3. In a medium bowl, mix together flour, salt, and baking soda.  Add to butter mixture, alternating with sour cream, beginning and ending with the flour mixture.  Beat batter on low just until blended after each addition.  
  4. With the mixer on low, stir in vanilla and peaches and continue to beat for about 1 minute. Using a large rubber spatula or wooden spoon, give the batter a final stir and make sure the peaches are mixed evenly throughout the batter.
  5. Pour the batter into prepared pan, filling the pan only 3/4 full, and bake in preheated oven for 1 hour and 20 minutes to 1 hour and 40 minutes, testing until a wooden skewer or cake tester, inserted into the center of the cake just comes out clean, without any crumbs. Cool pan on a wire rack for 10-15 minutes, then inverts the pan onto a plate, removing cake from pan and cool completely.
* Note: I didn't have sour cream on hand but I did have plain yogurt, which I substituted. The cake was still delicious and baked beautifully.
​

Glaze:
  1. ​Add powdered sugar to a medium bowl.  Add milk or cream to powdered sugar, 1 tablespoon at a time as needed, mixing well after each addition, until you reach desired, pourable consistency. Pour over completely cooled cake. Let cake sit for the glaze to set, then serve.
0 Comments

Ricotta Almond Peach Crumble Cake

8/21/2018

0 Comments

 
I first found this recipe in my inbox via the Tasting Table's newsletter. It seemed like a quick and easy experiment that would give me an excuse to play with the fruit of the season, and so I eked out a two hour period one night to throw this together.

This cake is proof that you can know a person for your whole life and still learn something new about them. I had no idea that my father didn't like peaches until I made this cake, and he asked me what it was and baldly stated when I told him, "Oh. I don't like peaches." Shock and horror on my part ensued.

But this cake was also the first part of a 2-part proof that my father could learn something new too - as in, he actually does like peaches. If they're included in the right way. He pretty much single-handedly finished off the entire thing. On top of that, he claimed that it actually became even better when it was stored in the fridge overnight - I suspect because the chill and the moisture helped to counter the natural mealy-texture of the almond flour. Not to mention that it was super-easy to make.

So, a win-win-win all around!

Picture
For the cake:
  • 1/2 cup (1 stick) soft, unsalted butter
  • 1_1/3 cups sugar
  • Zest from 1 lemon
  • 3 eggs
  • 1_1/2 cups ricotta
  • 1_3/4 cups all-purpose flour
  • 1/2 cup almond flour
  • 2 teaspoons baking powder
  • 1/2 teaspoon salt
  • 2 to 3 fresh peaches, diced
For the crumb:
  • 1_1/2 cups cake flour
  • 1/2 cup sugar
  • 1/2 cup raw almonds, coarsely chopped
  • 1/2 cup unsalted butter, melted and cooled

The cake:
  1. Preheat oven to 350º. Line a 9-inch springform pan with parchment paper and butter it or spray it with nonstick spray.
  2. In a stand mixer or with a handheld beater, cream butter, sugar and lemon zest for 1 to 2 minutes. Add eggs, scrape down the bowl and mix until thoroughly combined. Mix in ricotta.
  3. In separate bowl, combine the flours, baking powder, and salt. In 2 to 3 batches, gently mix into butter mixture without overbeating. When fully combined, fold in peaches with a spatula.
  4. Pour batter into prepared pan and set aside while making the crumb.
The crumb:
  1. Combine cake flour, sugar and almonds in a bowl. Use your hands to mix together.
  2. Pour in melted butter and gently toss until soft clumps form. Continue until no more flour is visible, and a crumble has formed with small and large crumbs.
  3. Distribute crumble evenly over cake batter and bake for 60 to 70 minutes, rotating halfway. The cake is done when a cake tester comes out clean.
  4. Let cake fully cool before removing from the pan and serving.

Note: The original crumb recipe called for 2 cups of flour, but I felt that 1) the crumb became an overwhelming layer and 2) the crumb really needed a long time to toast correctly. As it was, I was making the cake late at night, and it was already pushing 1:30 am and I decided to pull it out before the crumb layer was really done, even if the cake was already just right. So hopefully reducing the flour content helps with these two points.
0 Comments
    Picture

    Sweet Enough

    Part of the reason I started baking was because I like my goodies to be less obviously sweet - I want to taste the flavor, not just the sugar. So most of these recipes will have the sugar dialed down.

    This site also acts as my mobile recipe box, so instructions are often pared down to a minimum - very few frills but for some hints and suggestions!

    RSS Feed

    Categories

    All
    Alcohol
    Almond
    Apple
    Avocado
    Baklava
    Banana
    Bars
    Biscotti
    Blackberry
    Blueberry
    Bread
    Buttercream
    Cake
    Candy
    Carrot
    Cheese
    Cherry
    Chicken
    Chickpea
    Chinese
    Chocolate
    Cider
    Cobbler
    Coconut
    Coconut Milk
    Cookie
    Corn
    Cranberry
    Cream
    Cream Cheese
    Creme Brulee
    Crumb
    Crust
    Cupcake
    Custard
    Dates
    Decoration
    Dip
    Dough
    Doughnut
    Dumpling
    Easy Peasy
    Egg
    Filling
    Flowers
    Frosting
    Fruit
    Garnish
    Gelee
    Granola
    Green Tea
    Honey
    Ice Cream
    Icing
    Jam
    Lamb
    Lemon
    Lime
    Lobster
    Lotus Seed
    Macaron
    Mango
    Marshmallow
    Meringue
    Mochi
    Muffin
    Nectarine
    Nutella
    Nuts
    Oat
    Oats
    Onion
    Orange
    Pancake
    Panna Cotta
    Peach
    Peanut Butter
    Pear
    Pecan
    Phyllo
    Pie
    Pistachio
    Plum
    Popsicle
    Pound Cake
    Pumpkin
    Quiche
    Raspberry
    Red Bean
    Rhubarb
    Rice
    Ricotta Cheese
    Rugelach
    Sauce
    Savory
    Scone
    Sesame
    Shortbread
    Soup
    Sponge
    Sponge Cake
    Strawberry
    Streusel
    Tahini
    Tart
    Tofu
    Topping
    Torte
    Vegetable
    Vinaigrette
    Walnut
    Watermelon
    Yogurt
    Zucchini

    Archives

    September 2021
    March 2021
    February 2021
    December 2020
    November 2020
    October 2020
    July 2020
    May 2020
    April 2020
    March 2020
    October 2019
    December 2018
    October 2018
    August 2018
    April 2017
    July 2016
    May 2016
    March 2016
    February 2016
    January 2016
    December 2015
    November 2015
    October 2015
    September 2015
    July 2015
    June 2015
    May 2015
    April 2015
    February 2015
    January 2015
    November 2014

© 2019 Jacqueline Teng | DragonWarden