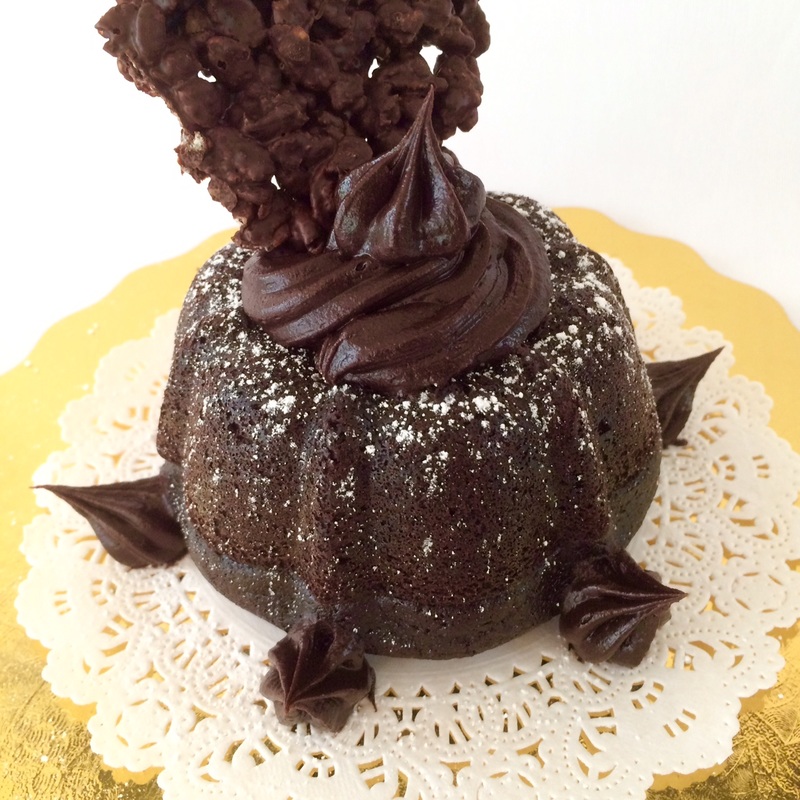
This is from Extraordinary Desserts' bake book Extraordinary Cakes, which I've replicated here as an easy reference to myself since I always bake from my phone. I would highly recommend picking up their book - as complicated as many of the recipes may seem, once I wrapped my mind around the ingredients lists and components, they haven't taken me more than 3 hours to both make and do ongoing clean-up (and as you can see, results in some seriously beautiful and decadent desserts!). Even better, they're not to the usual saccharinely American-sweet standards - I would suggest making it to the letter first and then adjust from there to your own taste.
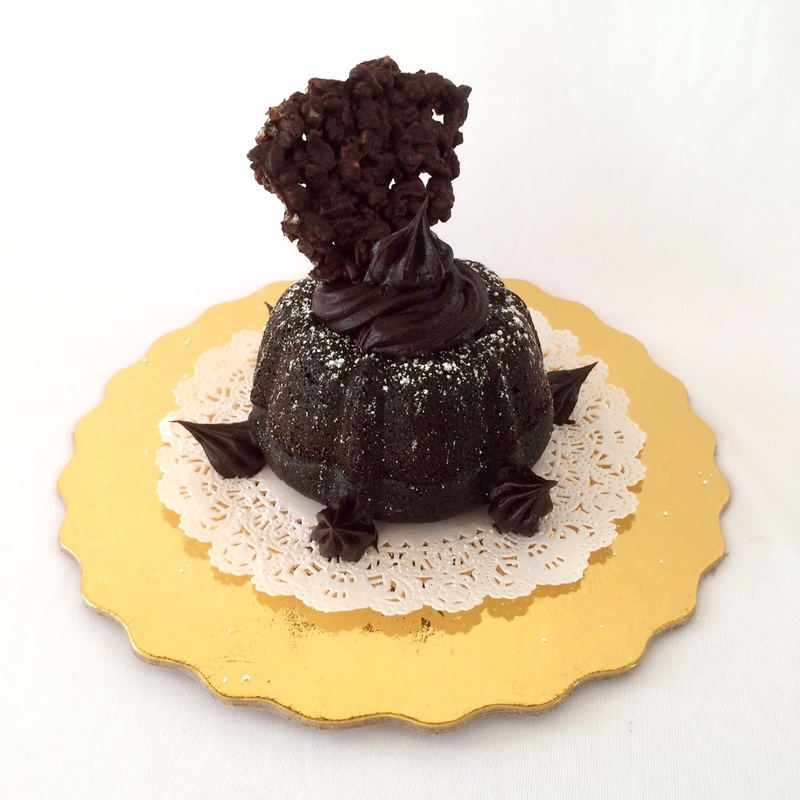
As for this particular recipe, I've seriously made it 3 times in less than 2 weeks - that's how quickly it's been disappearing. The cake is wonderfully moist, even after sitting out overnight with no cover, and the chocolate crisp is a huge hit amongst all age groups. Even the frosting is quickly becoming my favorite - I'm usually not a huge fan of frosting (especially the infamous buttercream) but this didn't have nearly as much cloying butter and the 100% cocoa powder helped to cut the sweetness to something that complements the cake.
As for this particular recipe, I've seriously made it 3 times in less than 2 weeks - that's how quickly it's been disappearing. The cake is wonderfully moist, even after sitting out overnight with no cover, and the chocolate crisp is a huge hit amongst all age groups. Even the frosting is quickly becoming my favorite - I'm usually not a huge fan of frosting (especially the infamous buttercream) but this didn't have nearly as much cloying butter and the 100% cocoa powder helped to cut the sweetness to something that complements the cake.
 | Chocolate Cakes
|
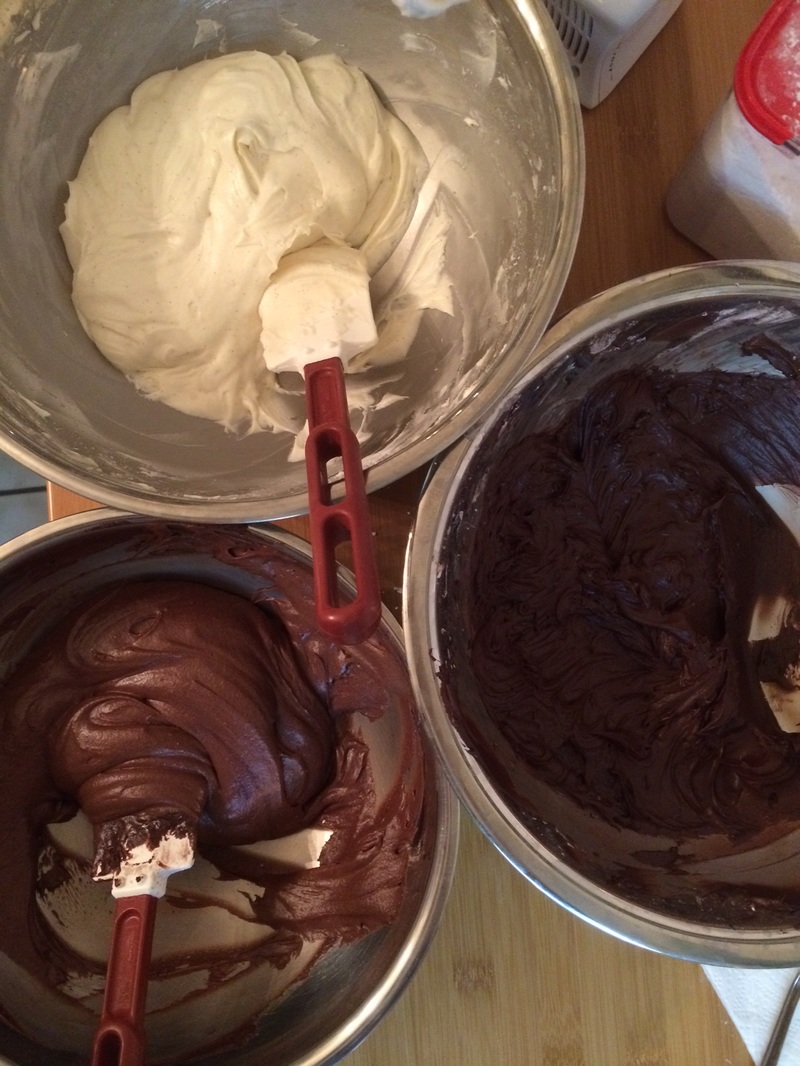
Chocolate Frosting
- 1/4 cup + 2 tbsp (3/8 cup) vegan butter, room temperature
- 2-1/4 cups sifted powdered sugar
- 1/4 cup + 2 tbsp sifted cocoa powder
- 3 tbsp soy milk
- 1 tsp vanilla extract
- 2 oz (1/3 cup) vegan chocolate chips
- 2 tsp grapeseed or vegetable oil
- 1 cup puffed brown rice cereal
Chocolate Cakes
- Preheat oven to 300 F. Generously grease the cavity or cavities of the bundt pan with the softened butter stick.
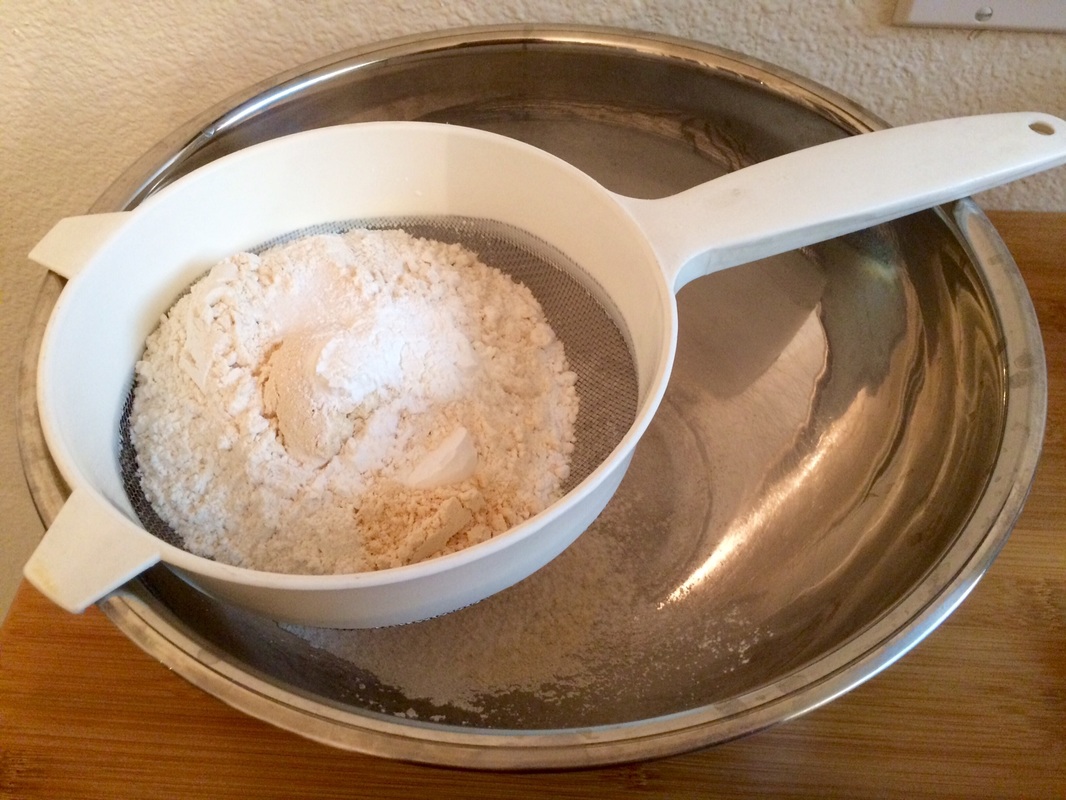
- Sift together both flours, baking powder, baking soda, and salt.
- Bring 1-3/4 cups water to a boil in a saucepan over medium-high heat. Remove from heat and whisk in instant coffee. When fully combined, whisk coffee mixture into cocoa powder.
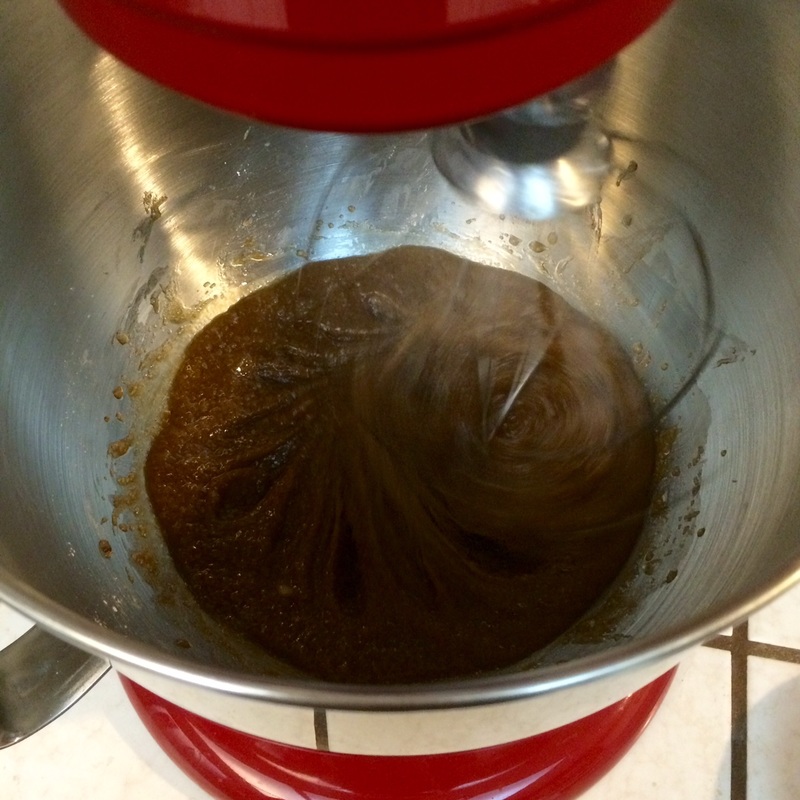
- In a stand mixture with a whisk attachment, combine oil, both sugars, banana, potato starch, and vanilla. Whip on medium until very well combined, 3-5 mins. Remove bowl from mixer and, using rubber spatula, fold in sifted dry ingredients in 3 additions, alternating with coffee-cocoa mixture.
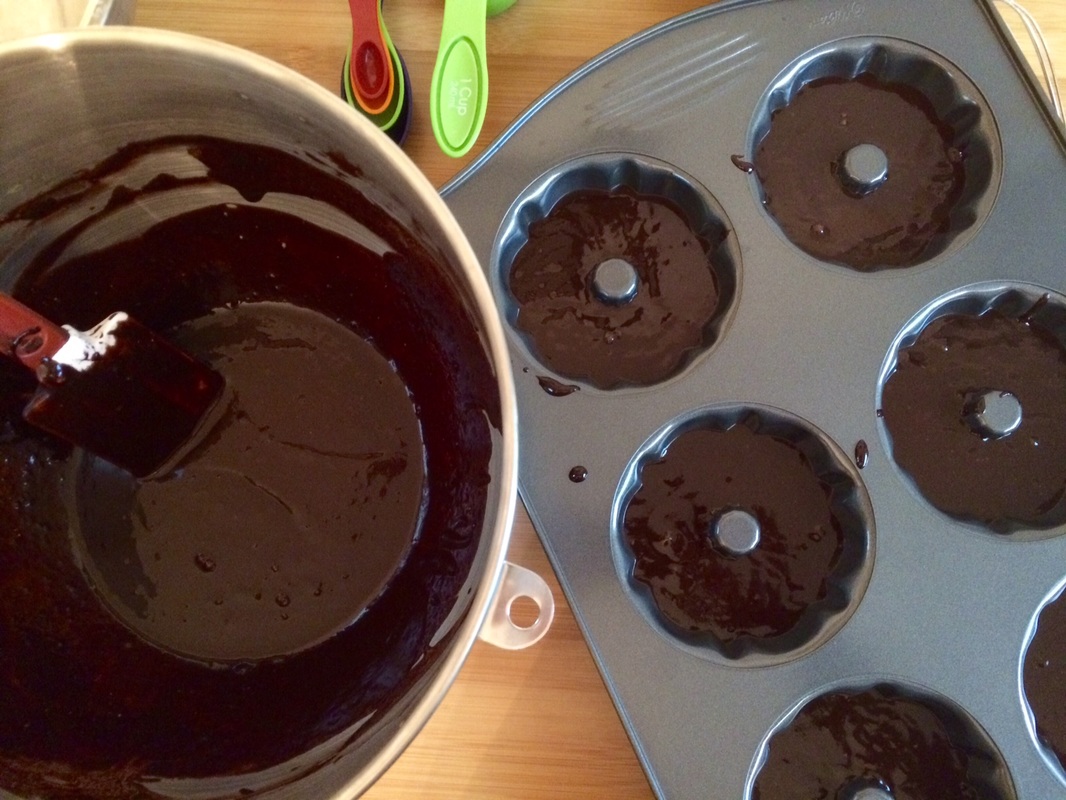
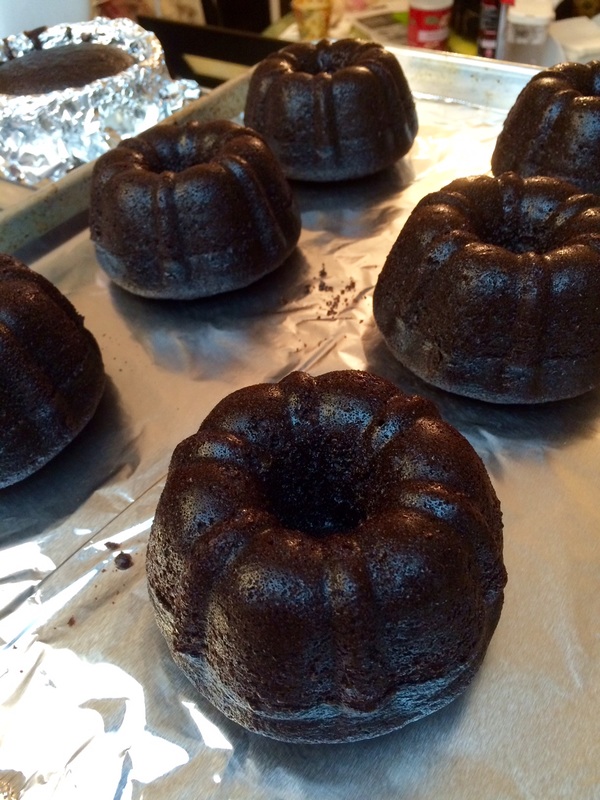
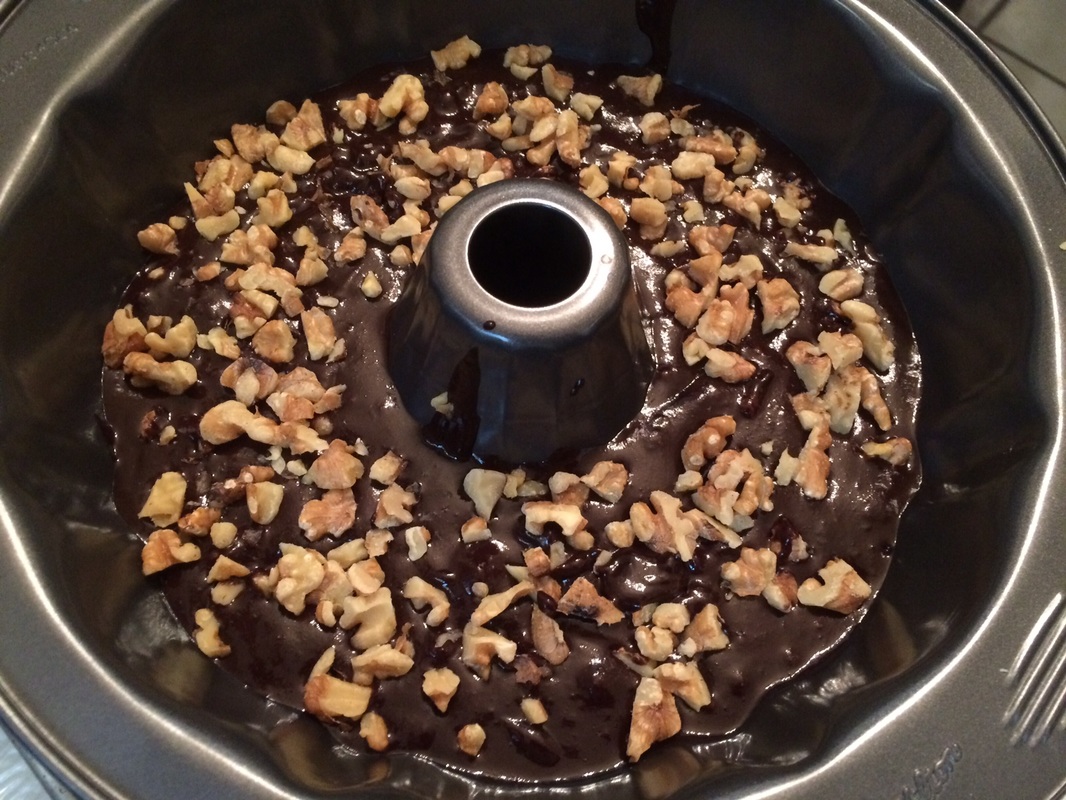
- If using a 10" bundt pan, pour batter into pan. If using 6-cup bundt pan, use a 1/2 cup dry measure to fill each cavity with 1/2 cup of batter.
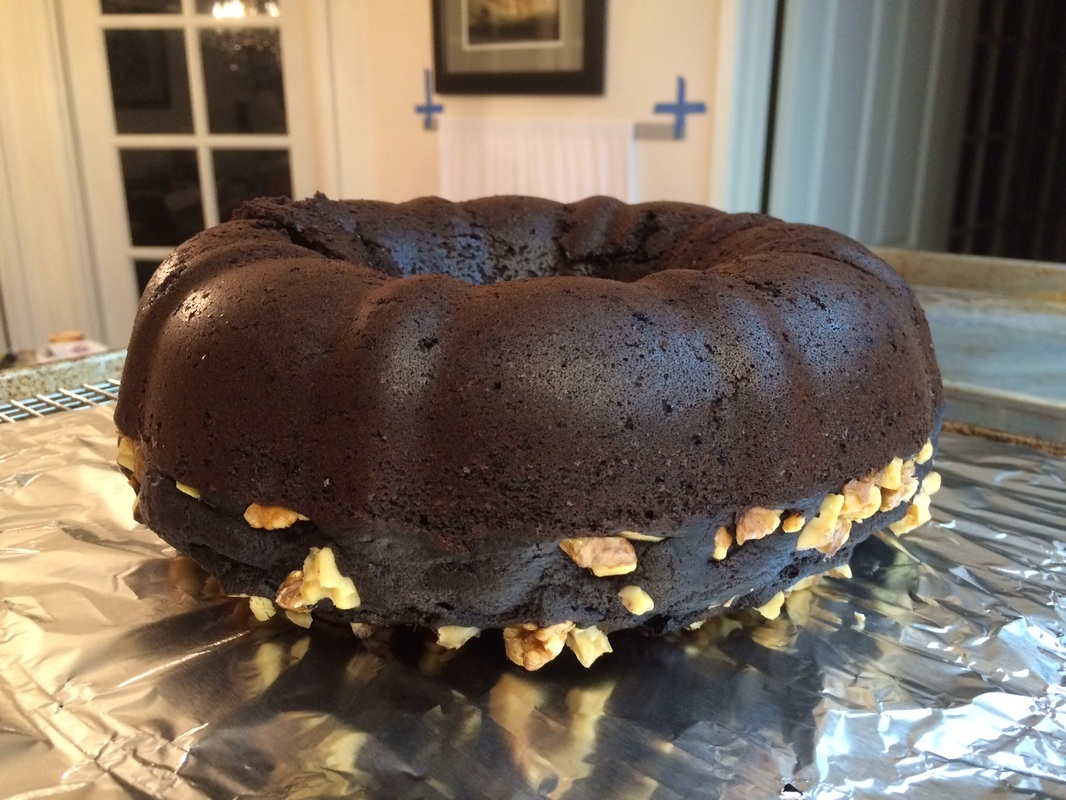
- Place cake pan on rack in center of oven and bake until an inserted knife comes out clean, about 30 mins for smaller cakes, 50 mins for 10" cake. Cakes should appear moist and spongy. Allow cakes to cool completely.
- When fully cooled, remove cakes from pan and wrap tightly in plastic wrap. Can be made 1 day in advance and stored at room temperature.
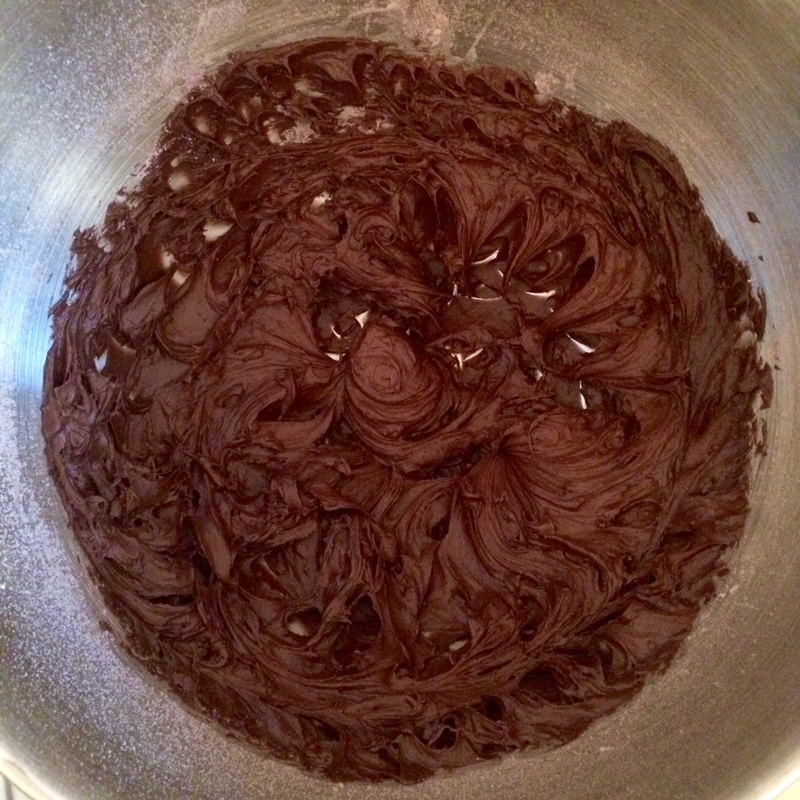
- Whip the butter on medium-high speed for about 3 mins. It will appear fluffier.
- Combine the powdered sugar and cocoa powder and add to the butter. Whip on medium speed for about 2 mins. Add the soy milk and vanilla and whip until well combined.
- Cover the bowl with plastic wrap and hold at room temperature until ready to frost the cakes, but for no longer than 3 hours before using.
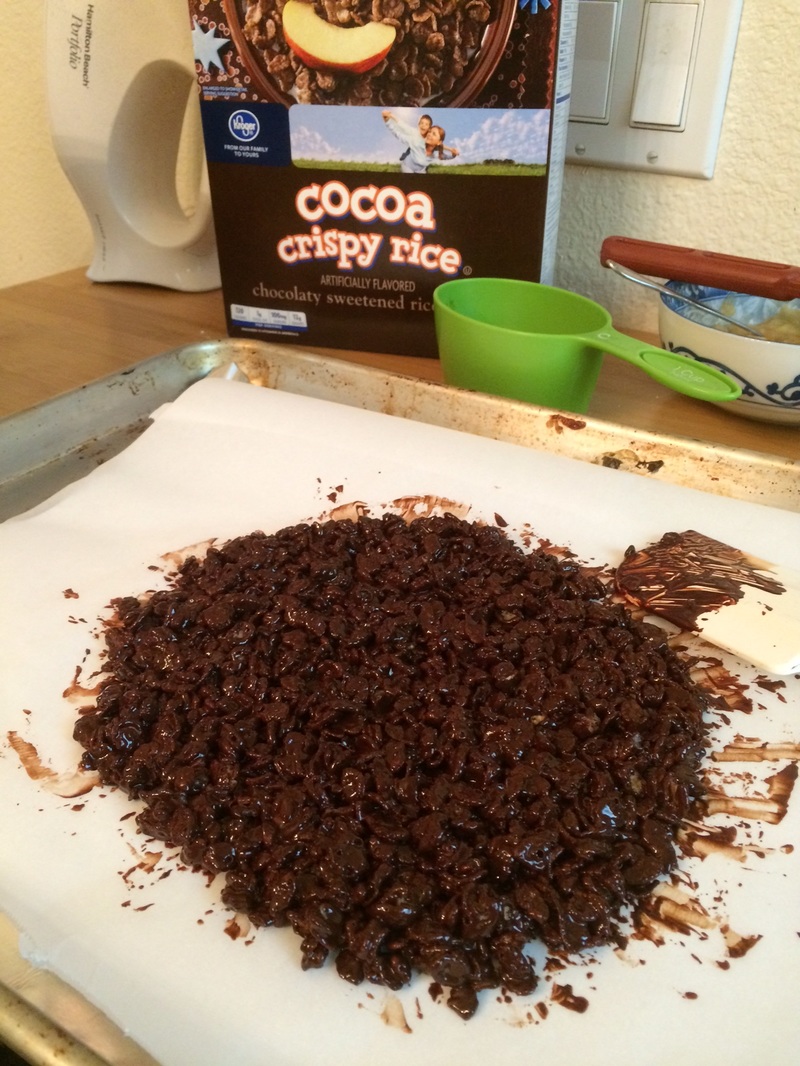
- Line a baking sheet with parchment paper or Silpat.
- Melt the chocolate chips in a heatproof mixing bowl set over a pan of simmering water (do not allow the bowl to touch the water), stirring occasionally. Remove from heat, and using a rubber spatula, mix in oil until smooth and homogeneous. While chocolate mixture is warm but not hot, fold in cereal until well incorporated.
- Using a metal spatula, spread mixture as thinly as possible onto prepared baking sheet. Place Chocolate Crunch in refrigerator until firm, about 15 mins. Break up crunch into larger pieces and reserve in refrigerator until ready to use, or for up to 4 hours.
- Refrigerate the decorated cakes for 2 hours to set. When ready, place frosted cakes on a serving platter, and allow to come to room temperature for 1-2 hours before serving.


 RSS Feed