DragonWarden
  • Adventures
  • The Oven
  • The Un-Tea Party
  • Secret Ingredients
  • About

Cranberry Tart

2/1/2021

0 Comments

 
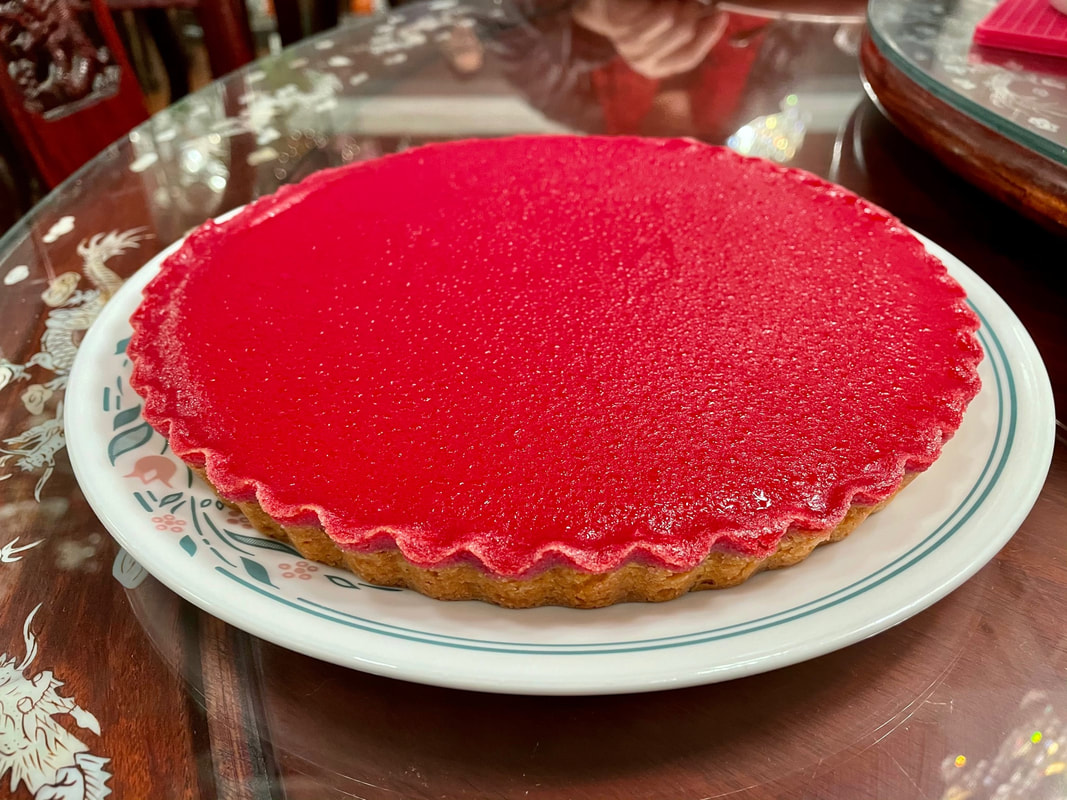
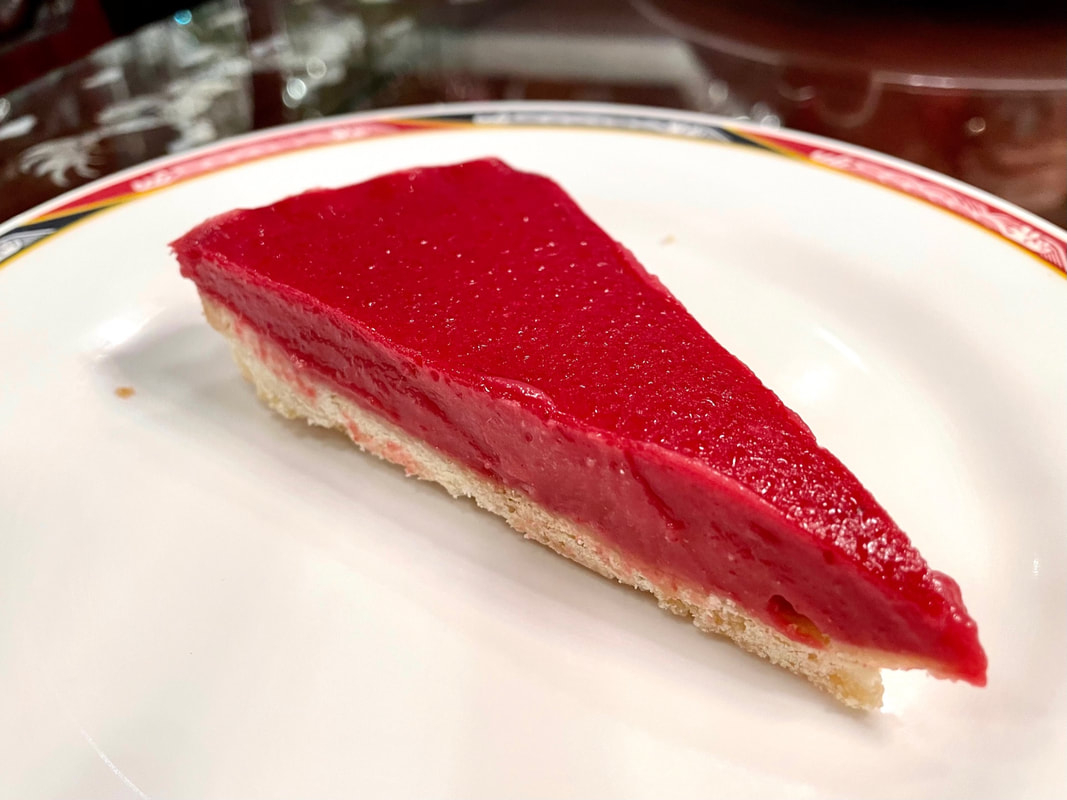
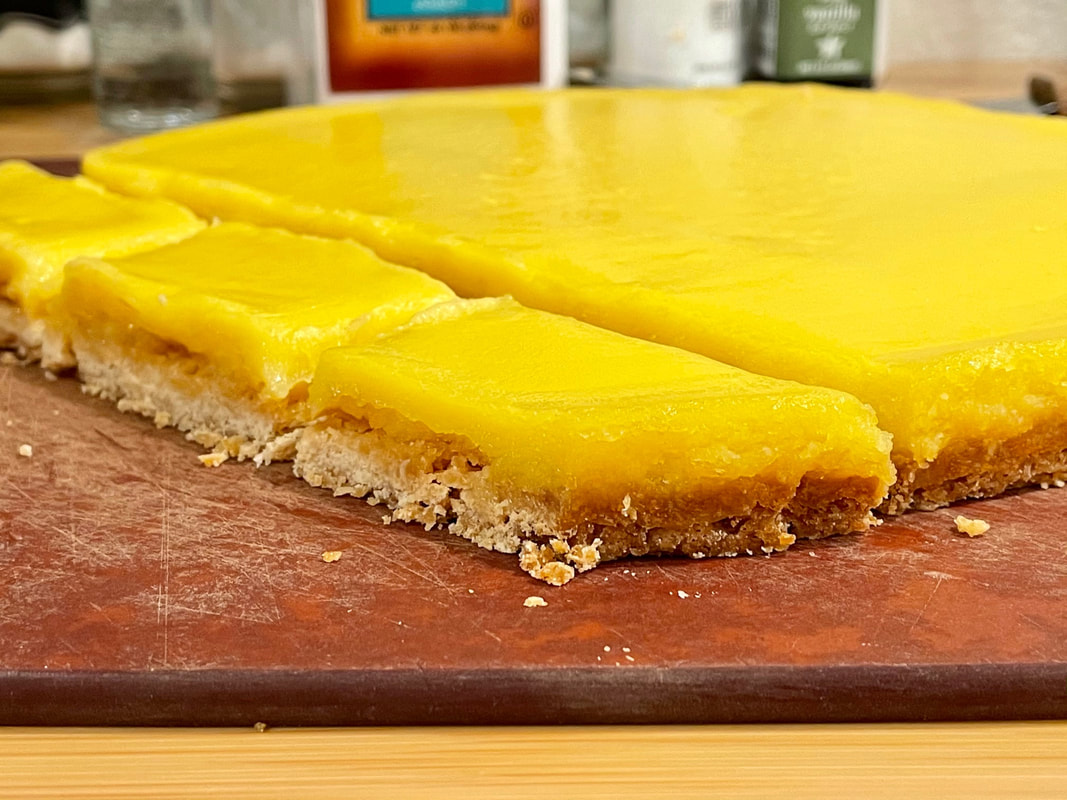
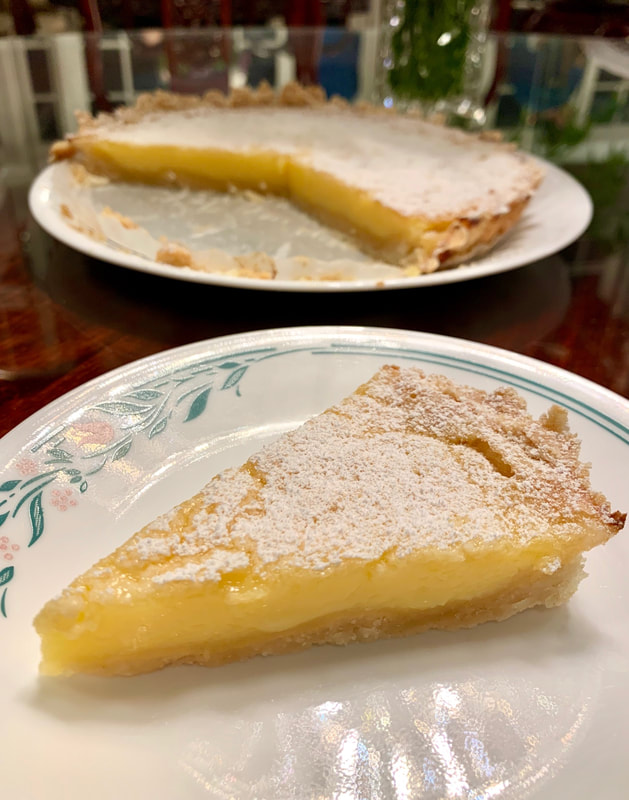
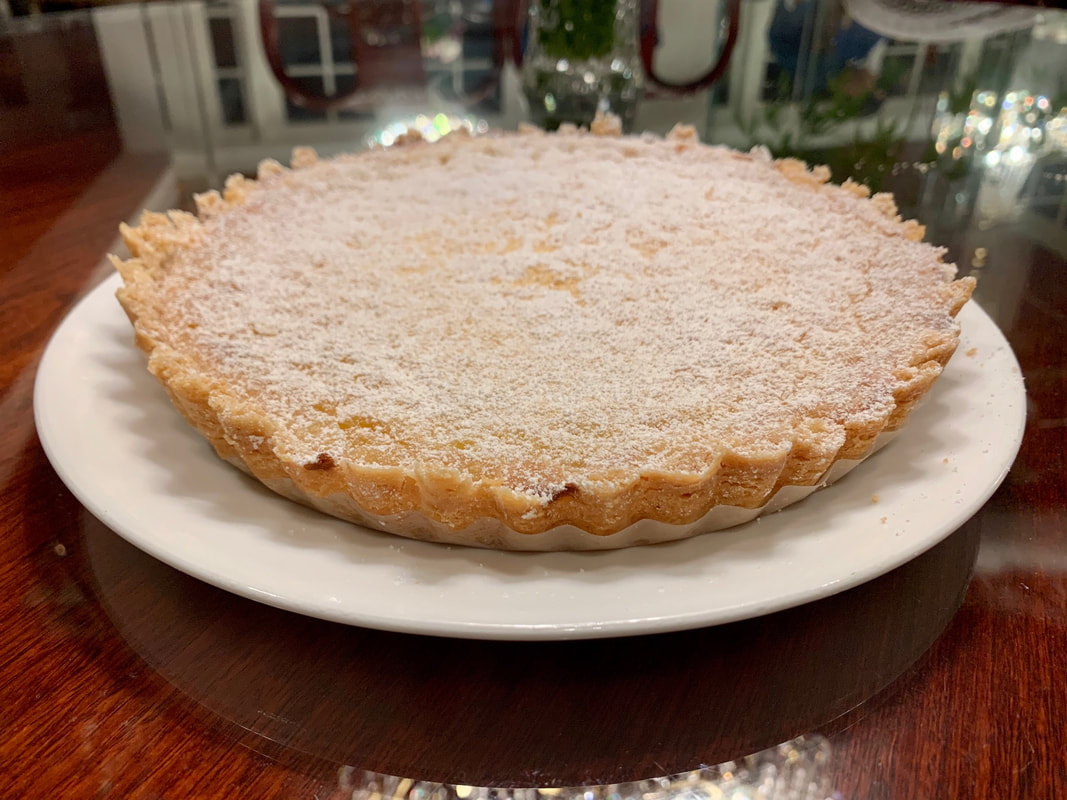
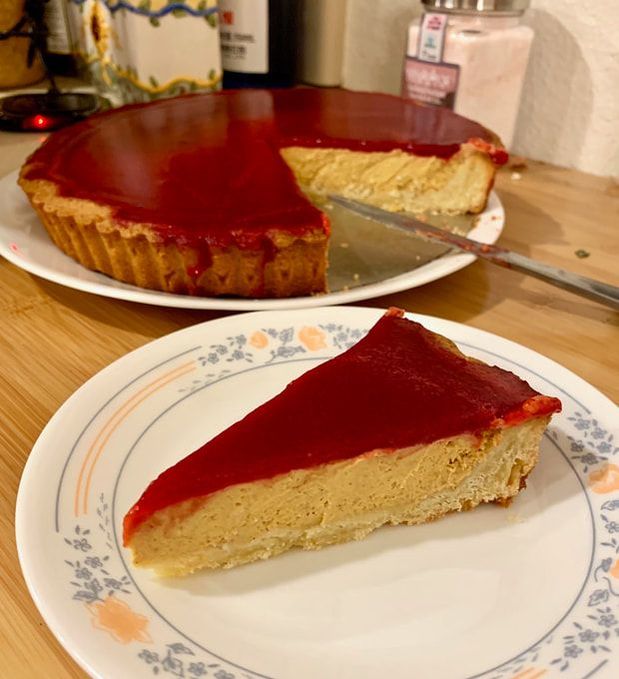
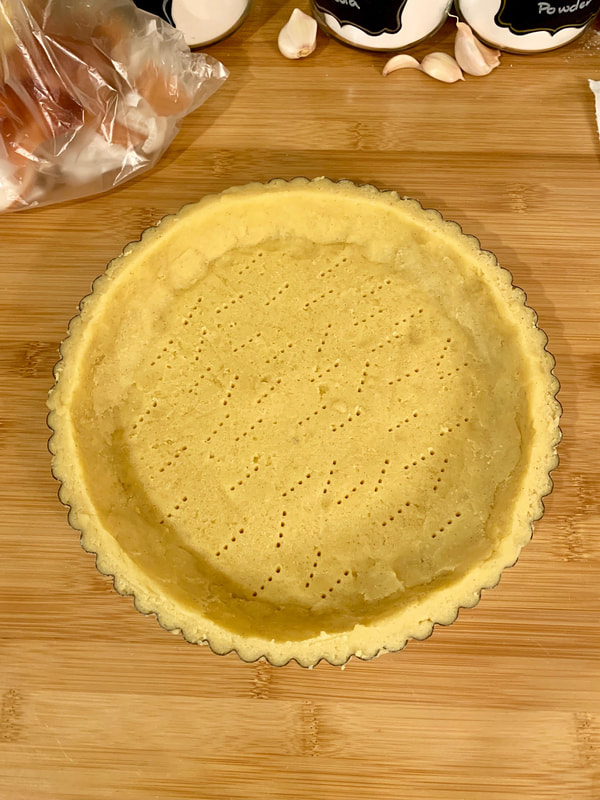
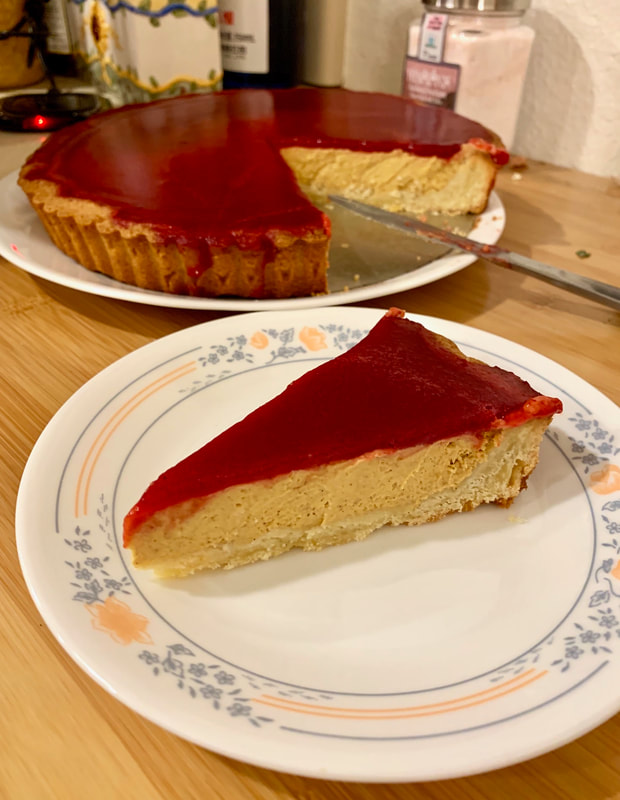
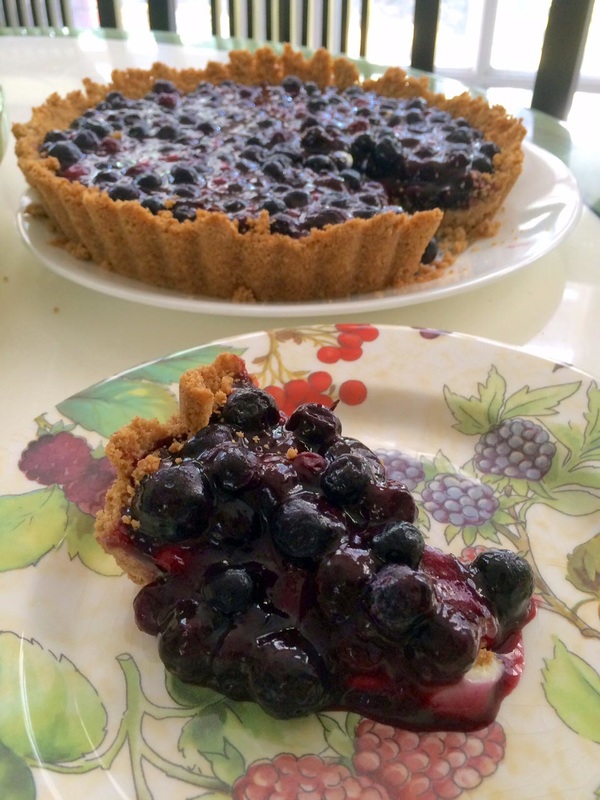
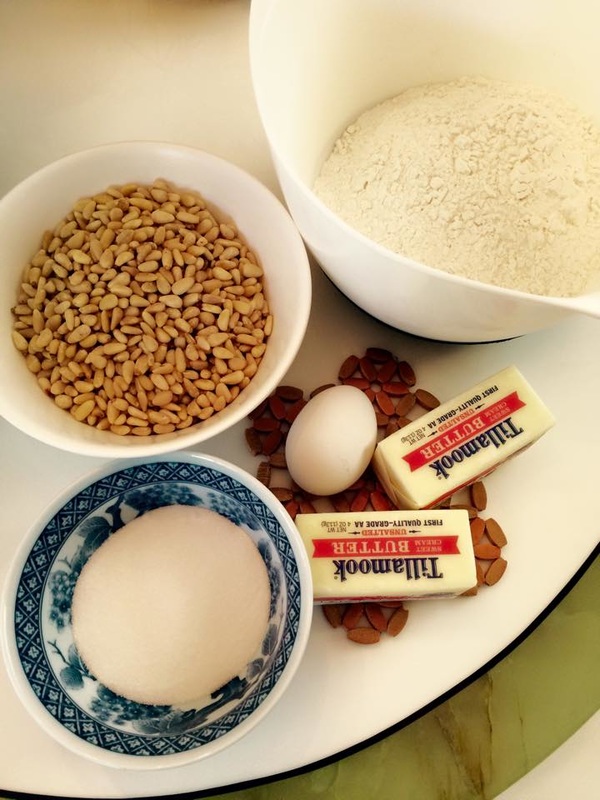
If you love tart desserts but are tired of always defaulting to lemon-based sweets, this cranberry tart is perfect. While the original recipe called for a nut-based crust, it seemed too finicky and the reviews seemed to indicate a bit of trouble getting it just right ... so I just subbed in the shortbread crust from the extremely lemony lemon bars which worked absolutely beautifully.
Picture
  • one portion of shortbread crust
  • 12 ounces (340 grams) cranberries
  • 1 cup (225 grams) sugar
  • Peel (orange part only) and juice of 1 orange (about 1/2 cup)
  • 1 tsp corn starch
  • 8 tbsp (113 grams) room temperature butter, cubed
  • 2 eggs + 2 egg yolks (or 3 whole eggs)
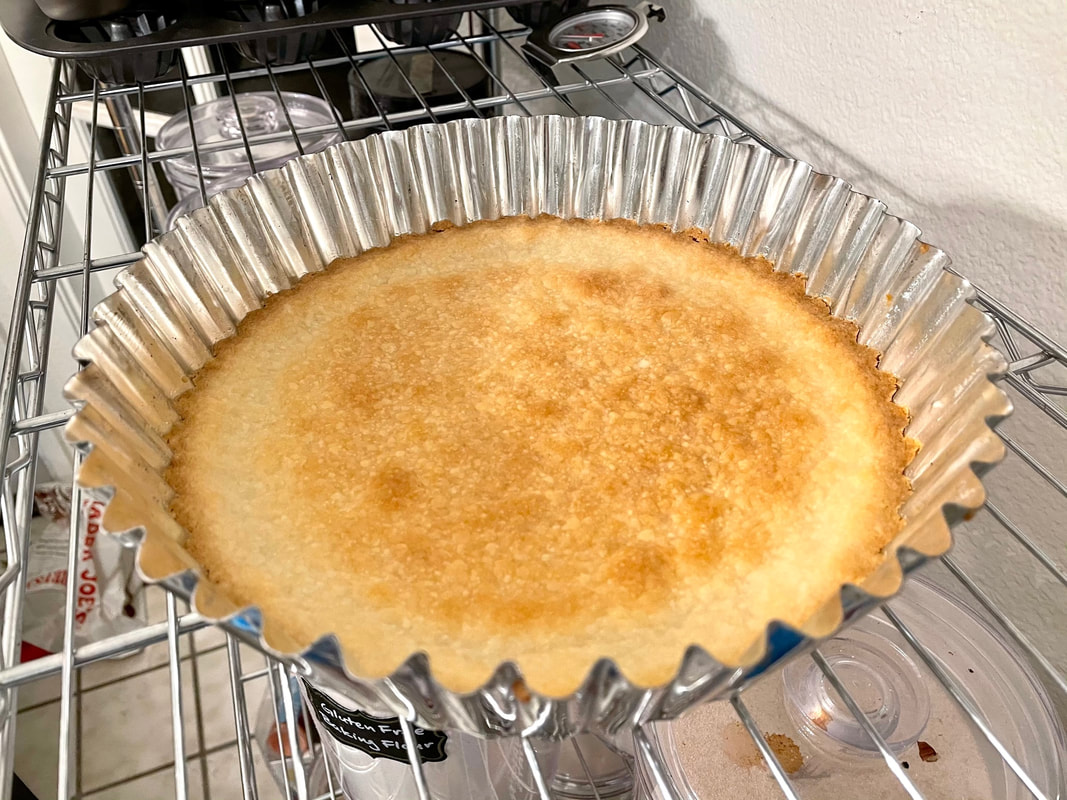
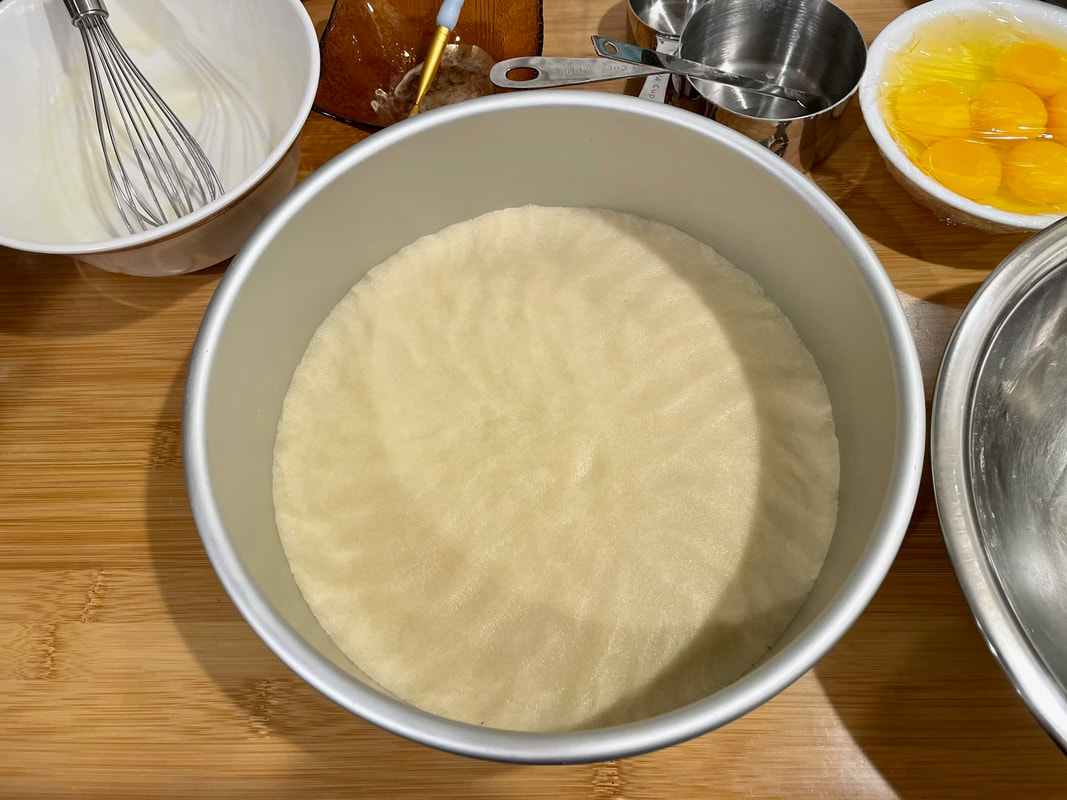
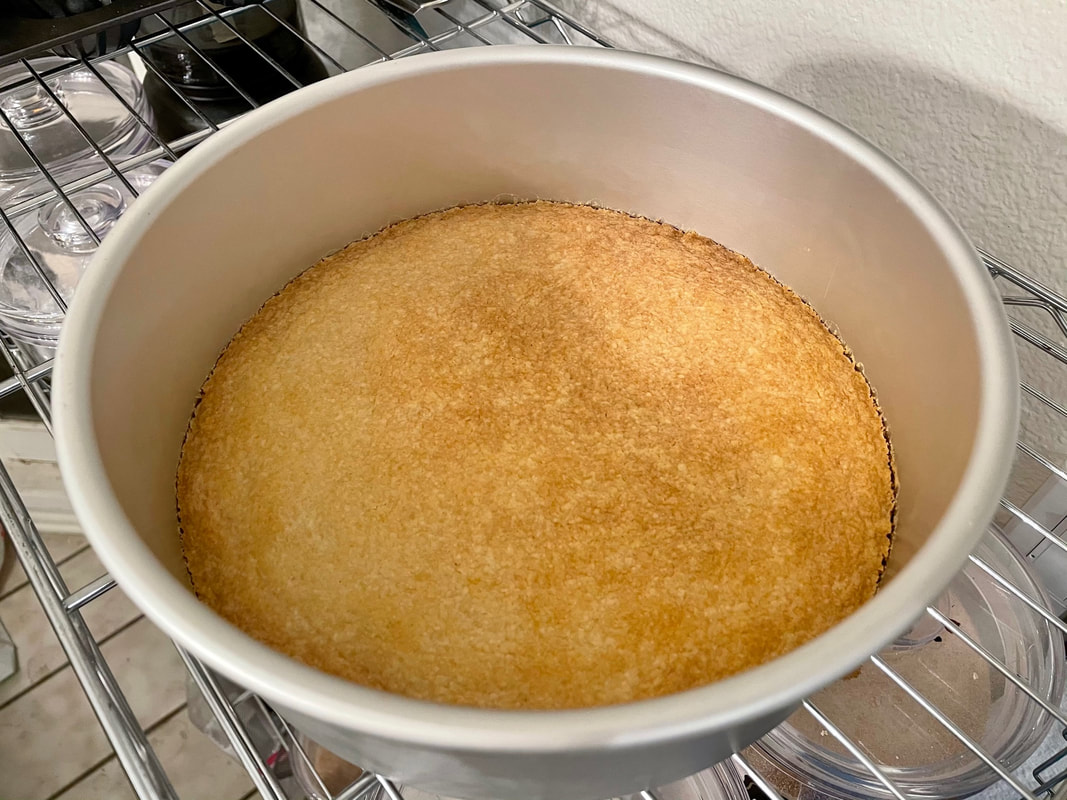
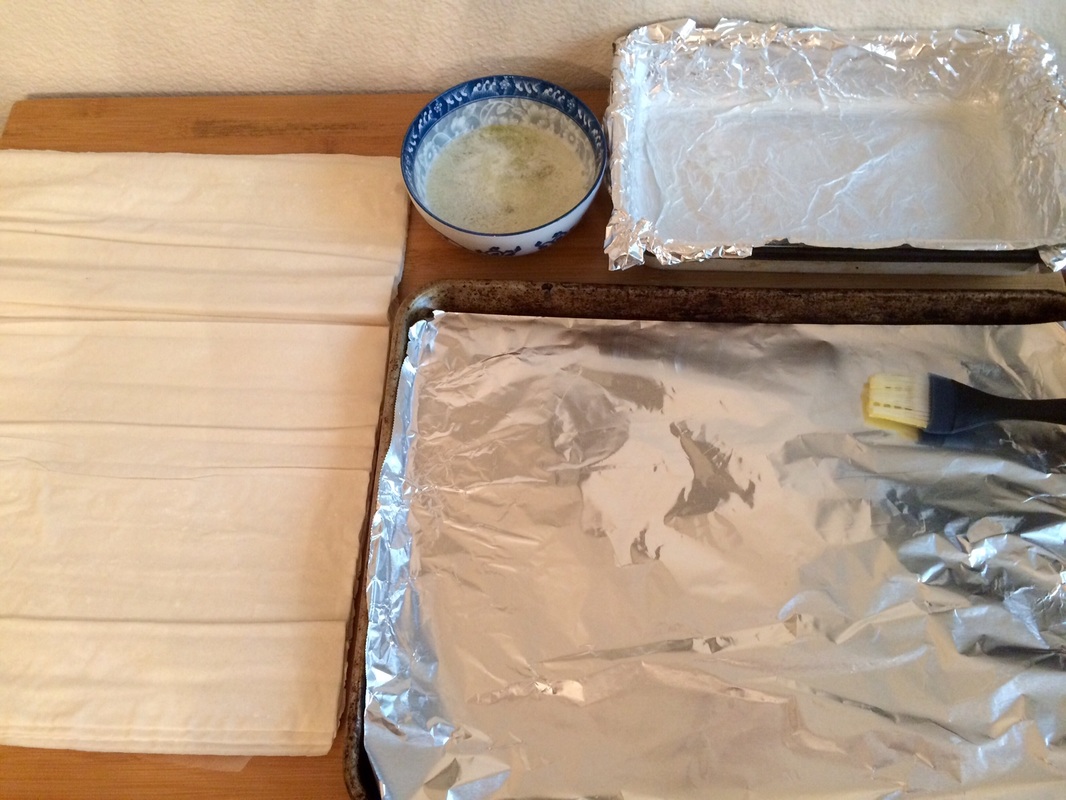
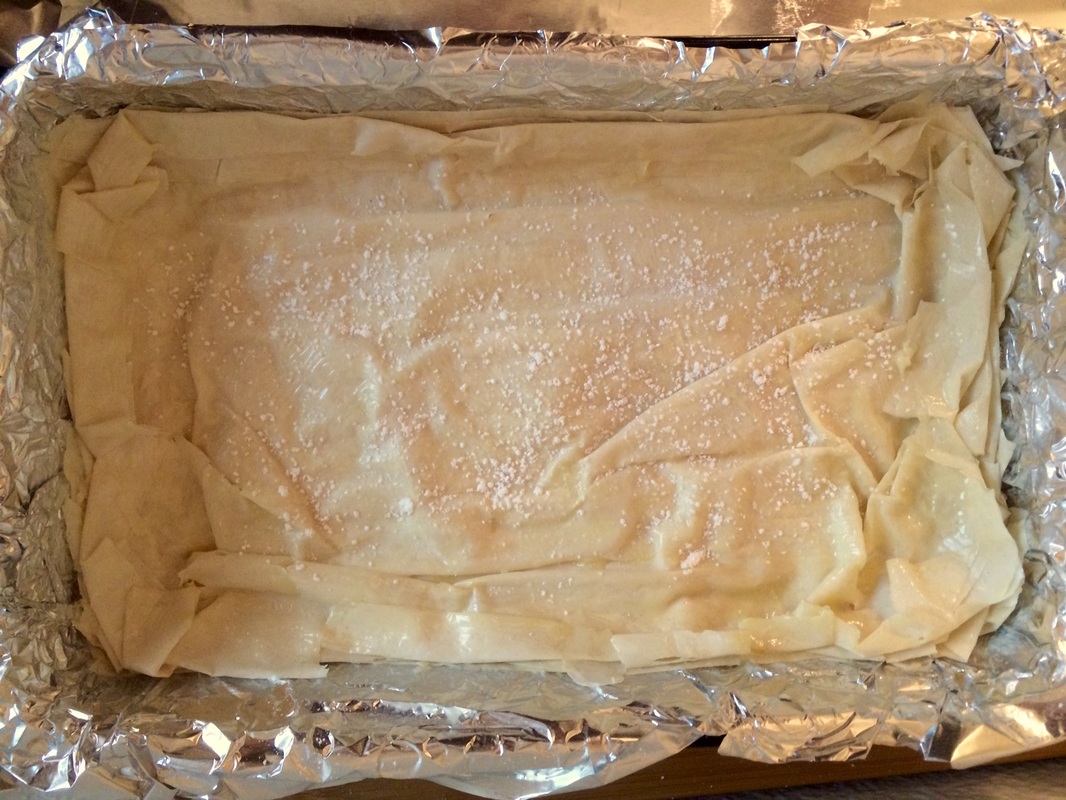
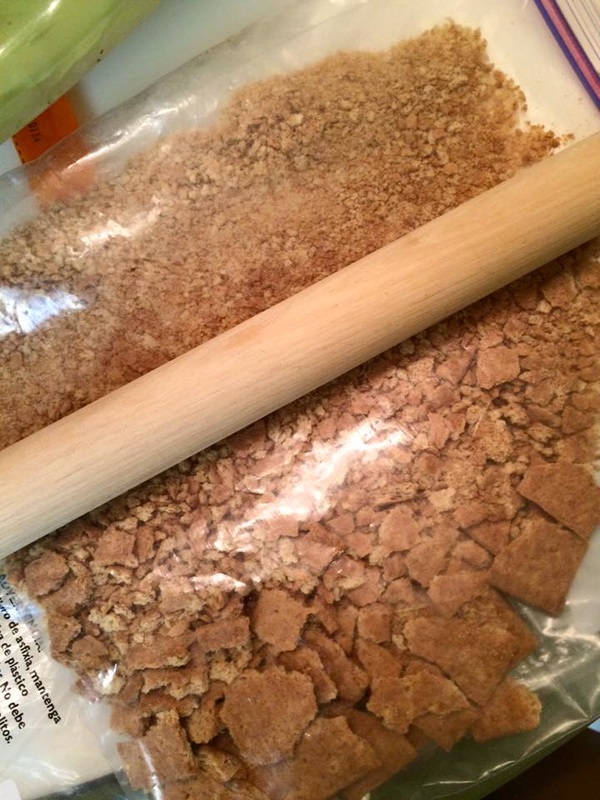
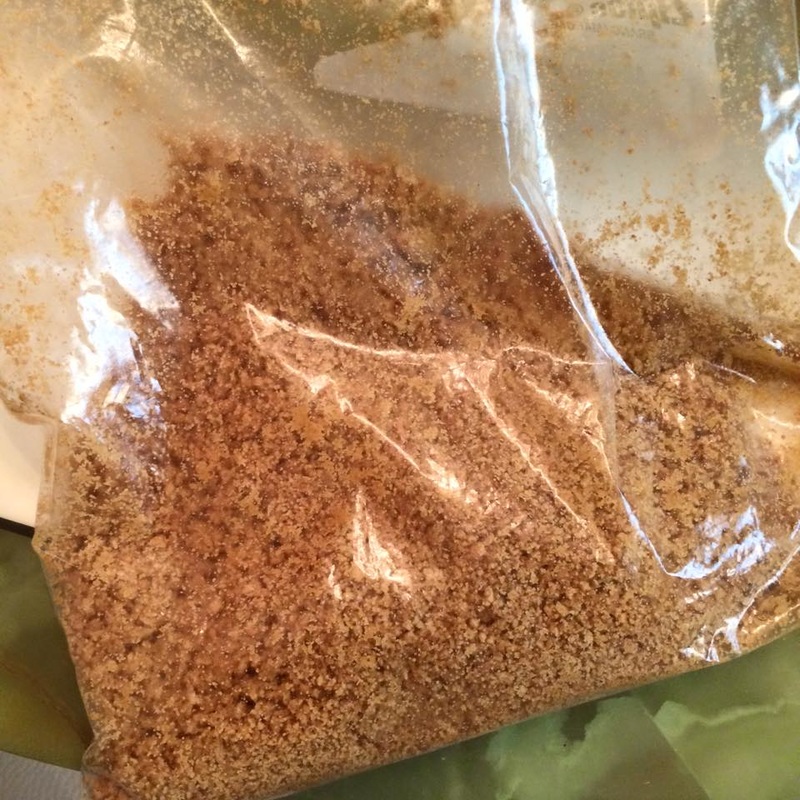
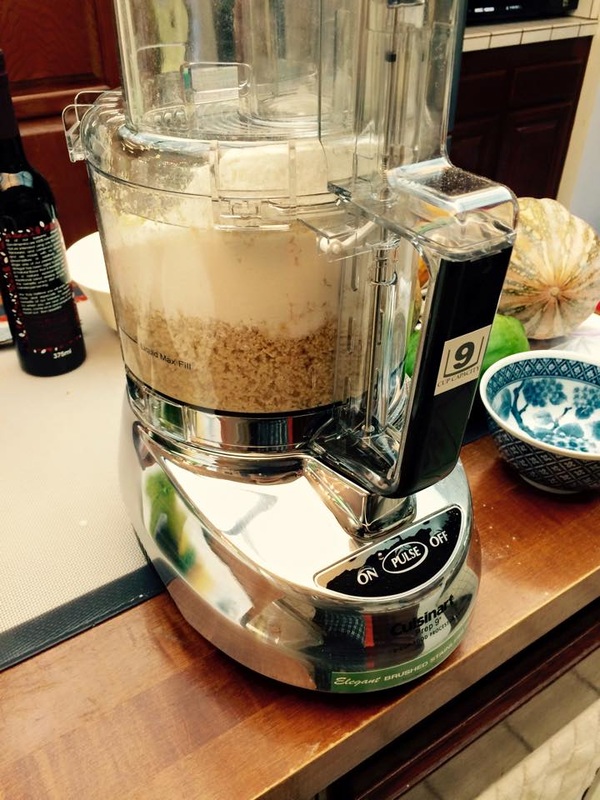
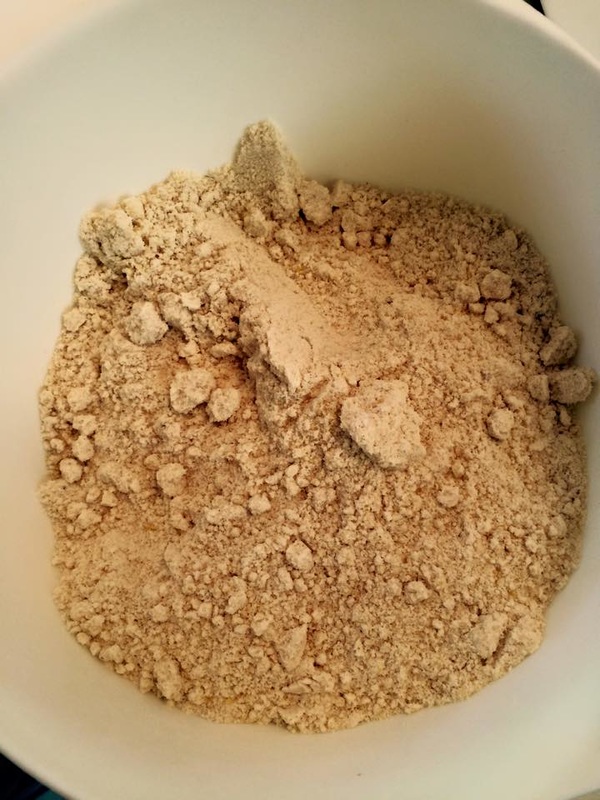
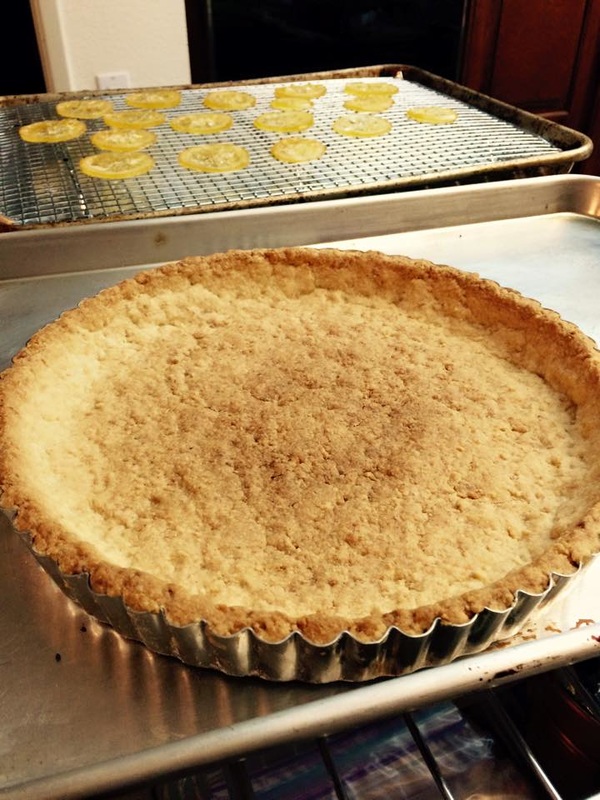
  1. Make the shortbread crust.​
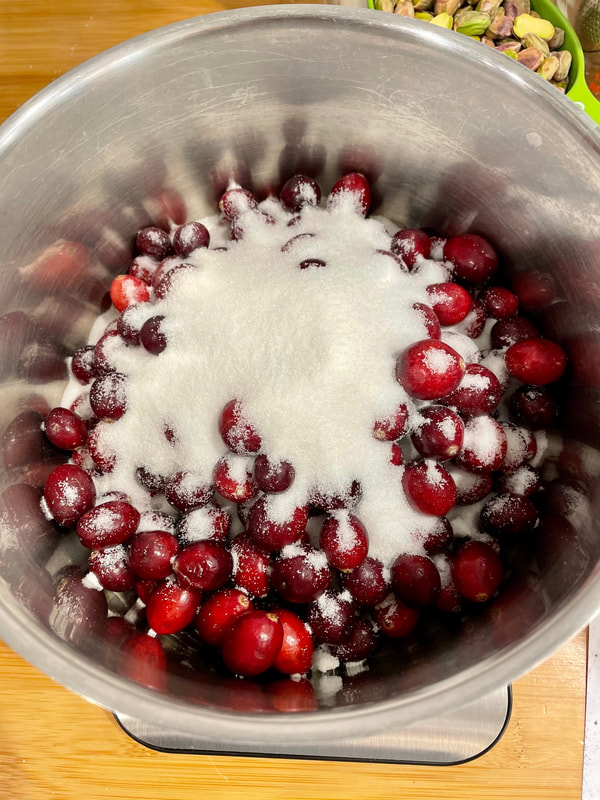
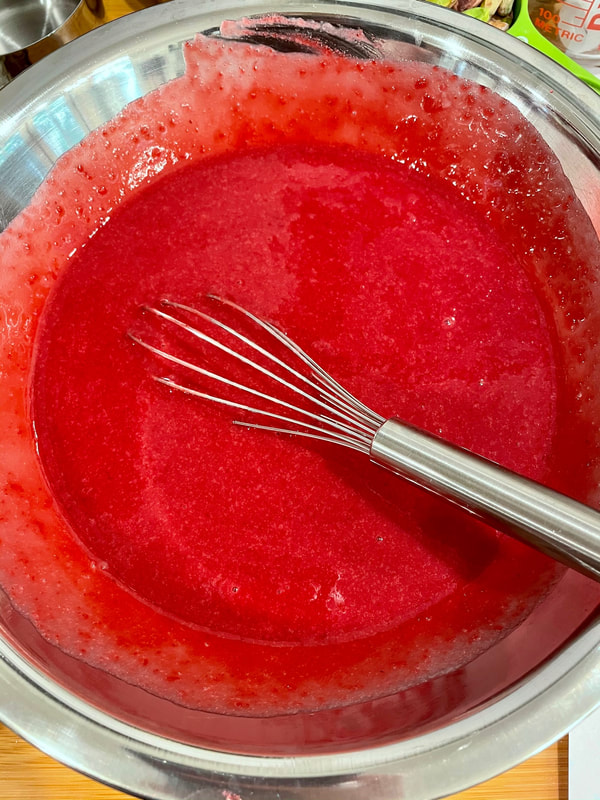
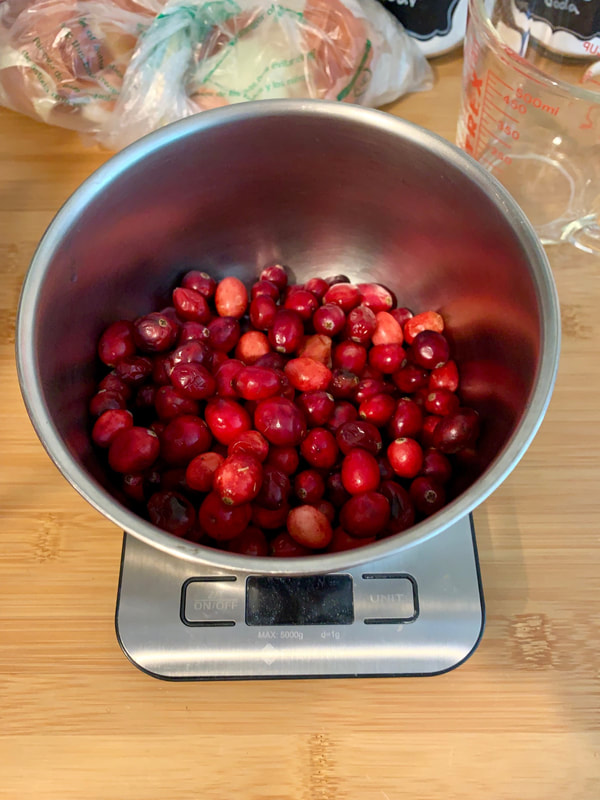
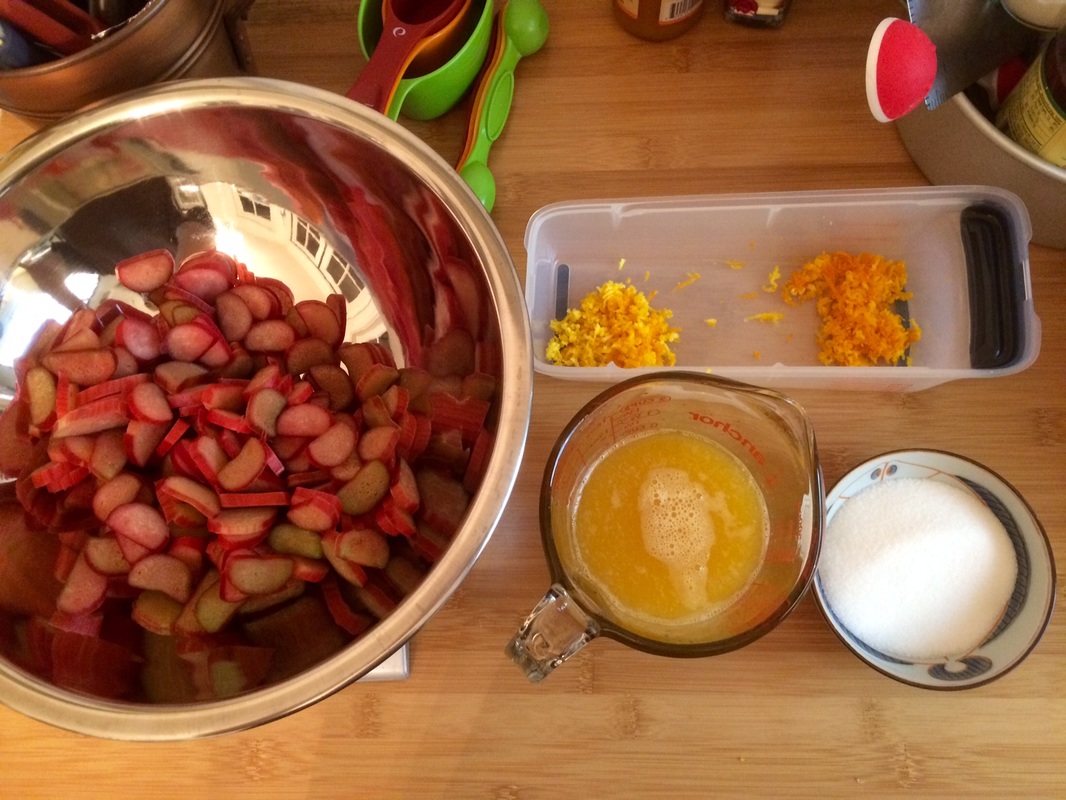
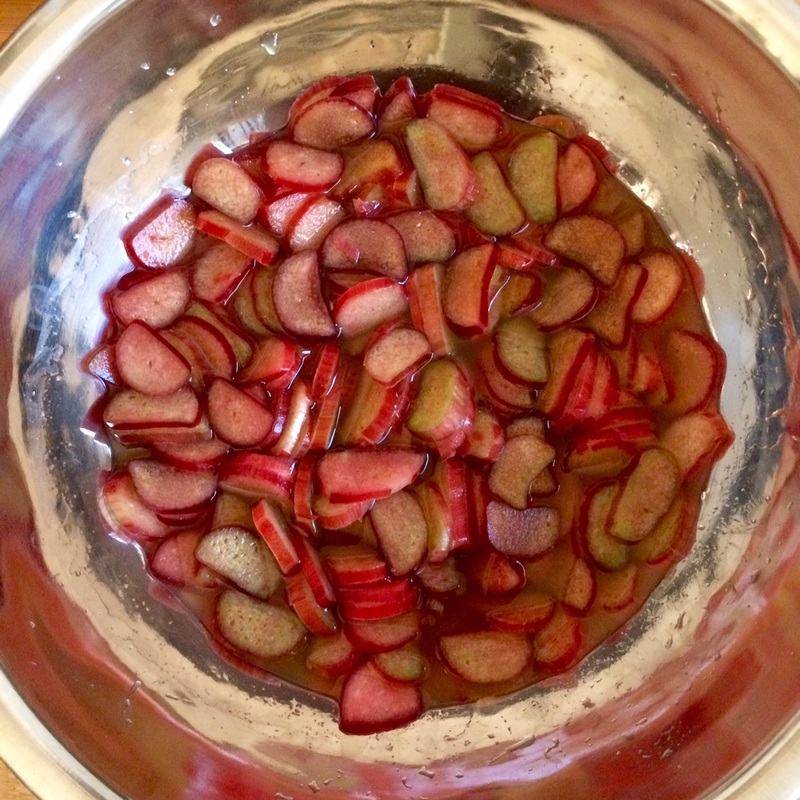
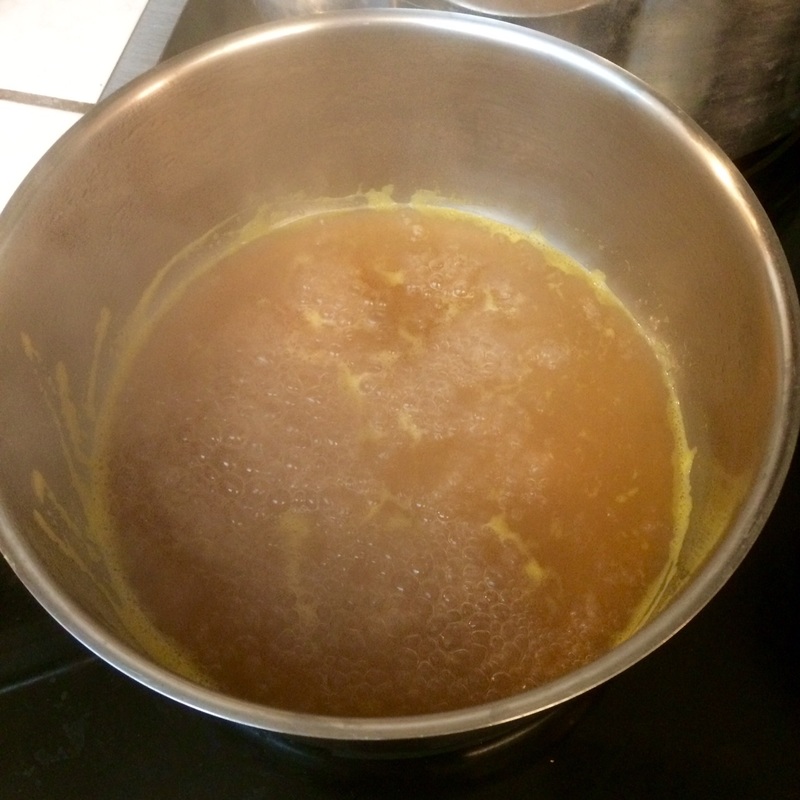
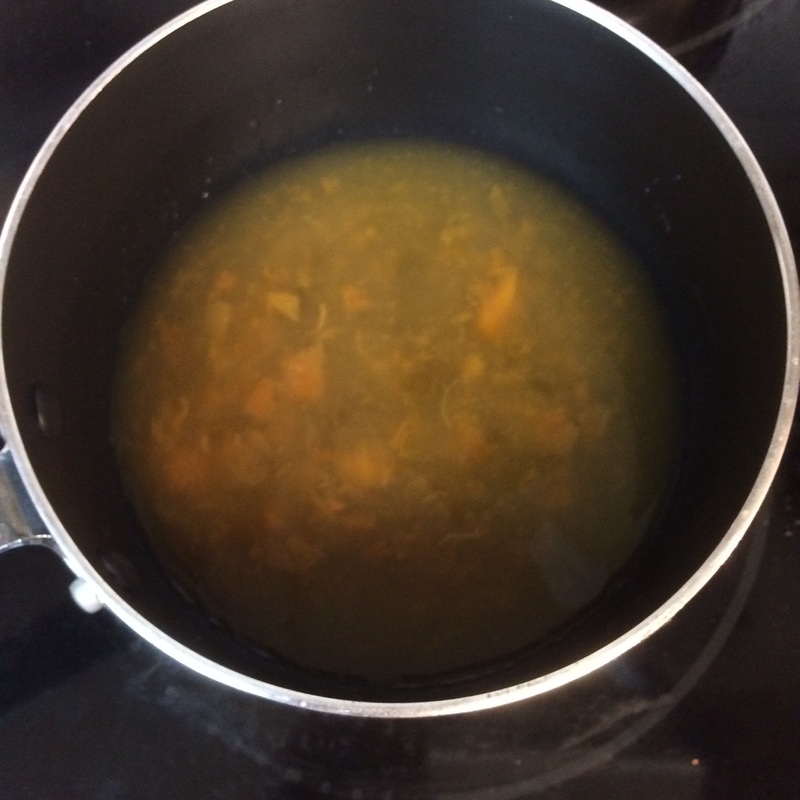
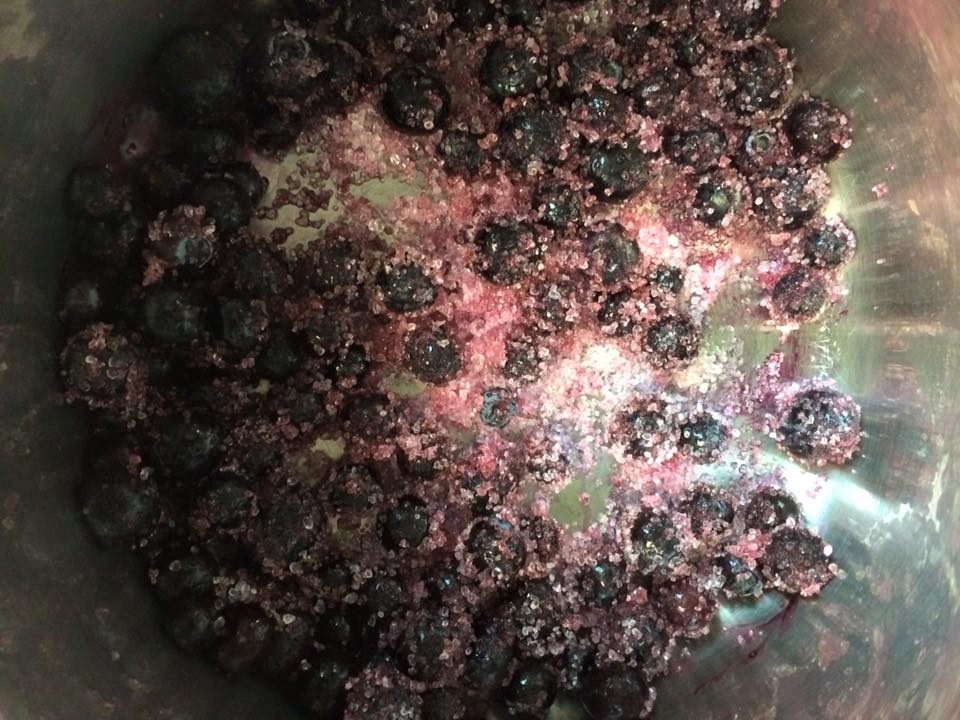
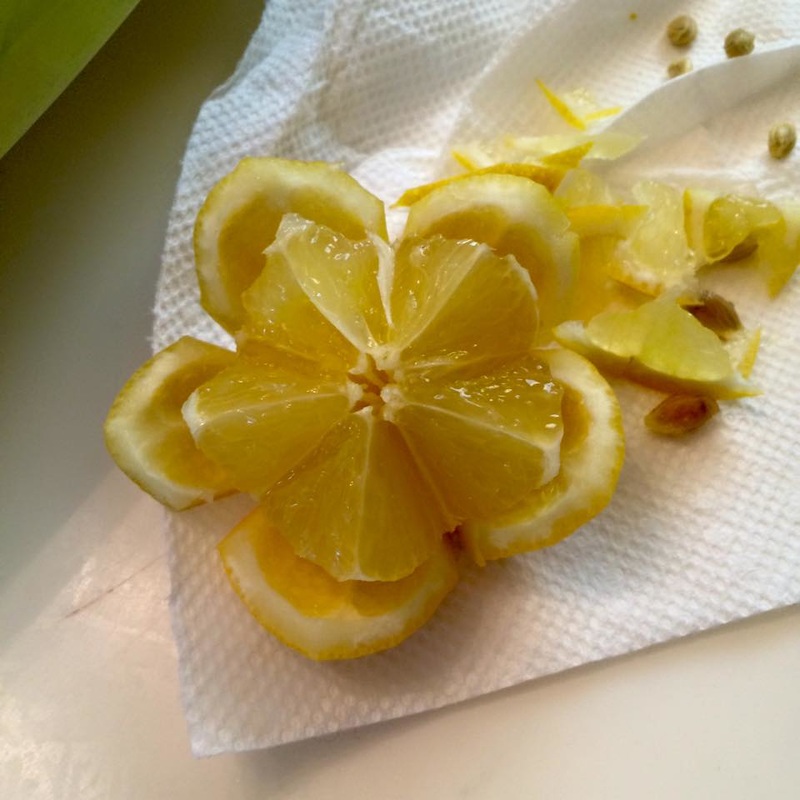
  2. While the crust bakes and cools, make the cranberry curd: Put cranberries, sugar and orange juice and peel in a saucepan over medium heat. Simmer until cranberries have popped and softened, about 10 minutes (do not let the mixture cook down - you will want enough to cover the entire surface of the crust).
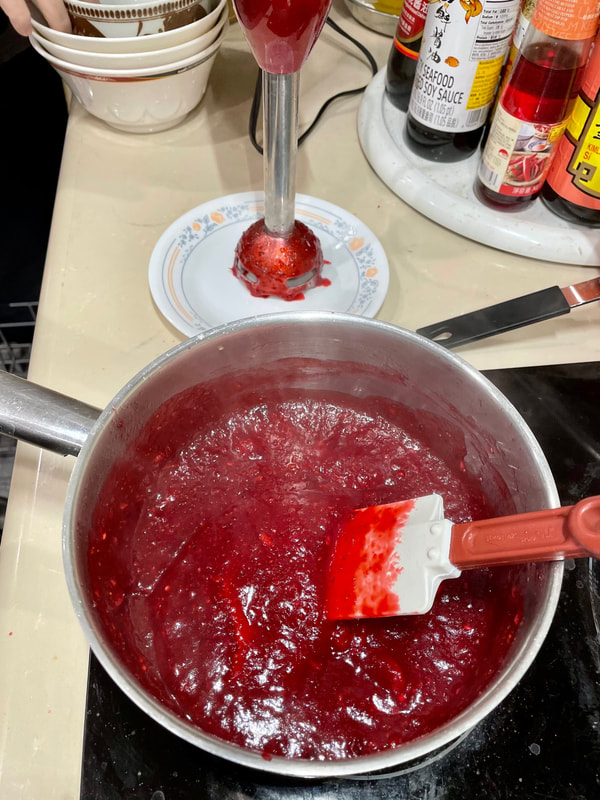
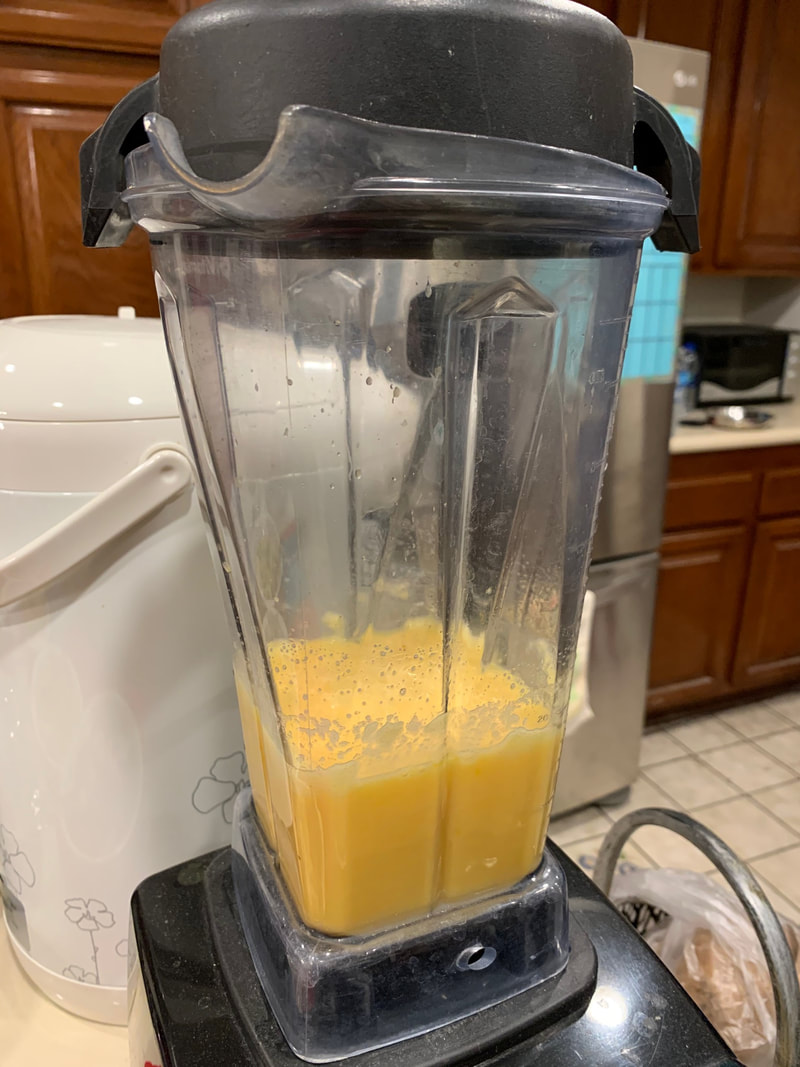
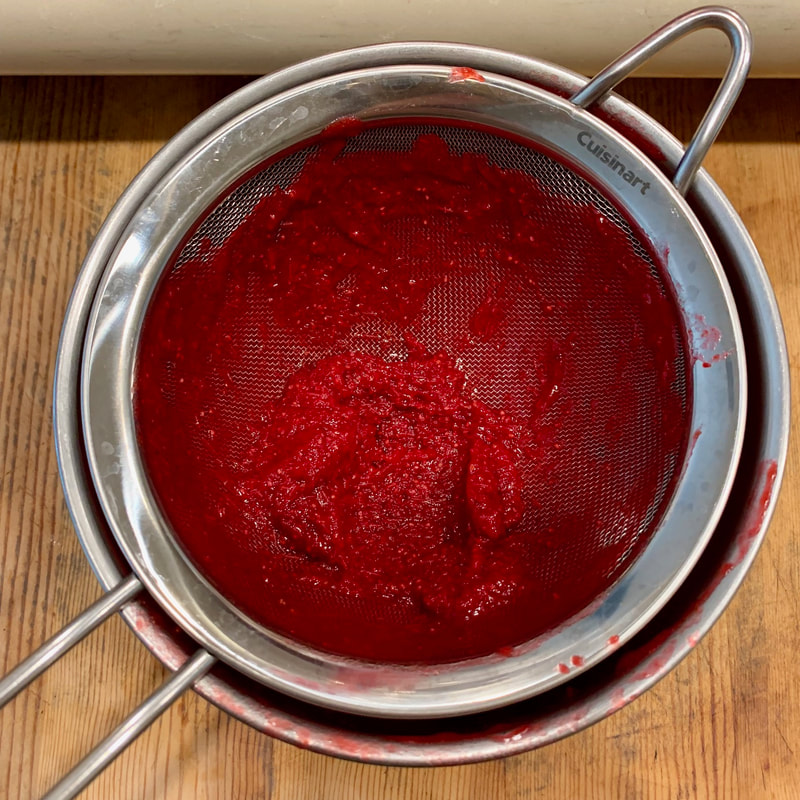
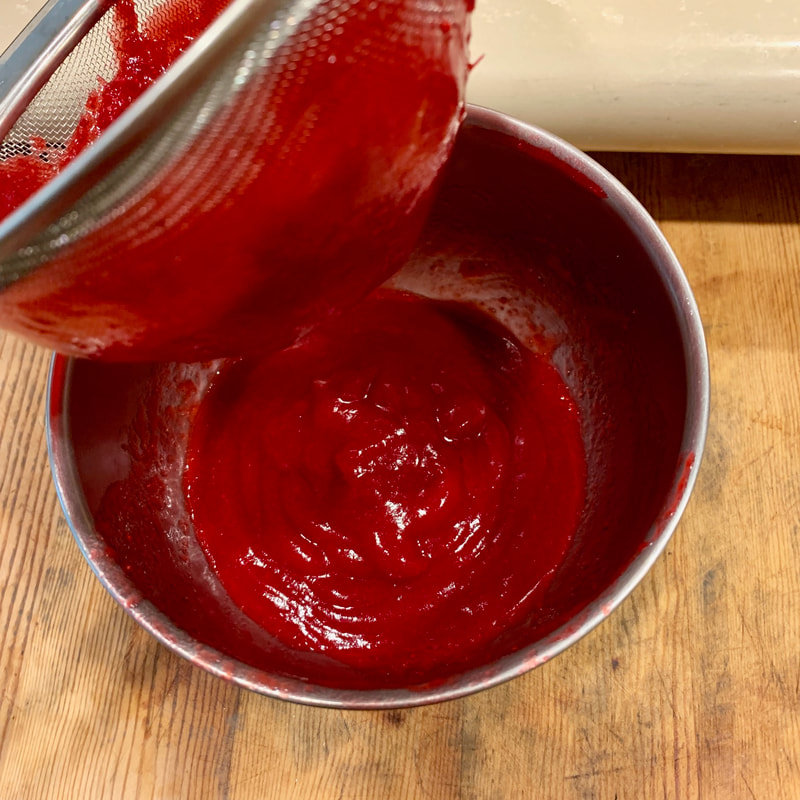
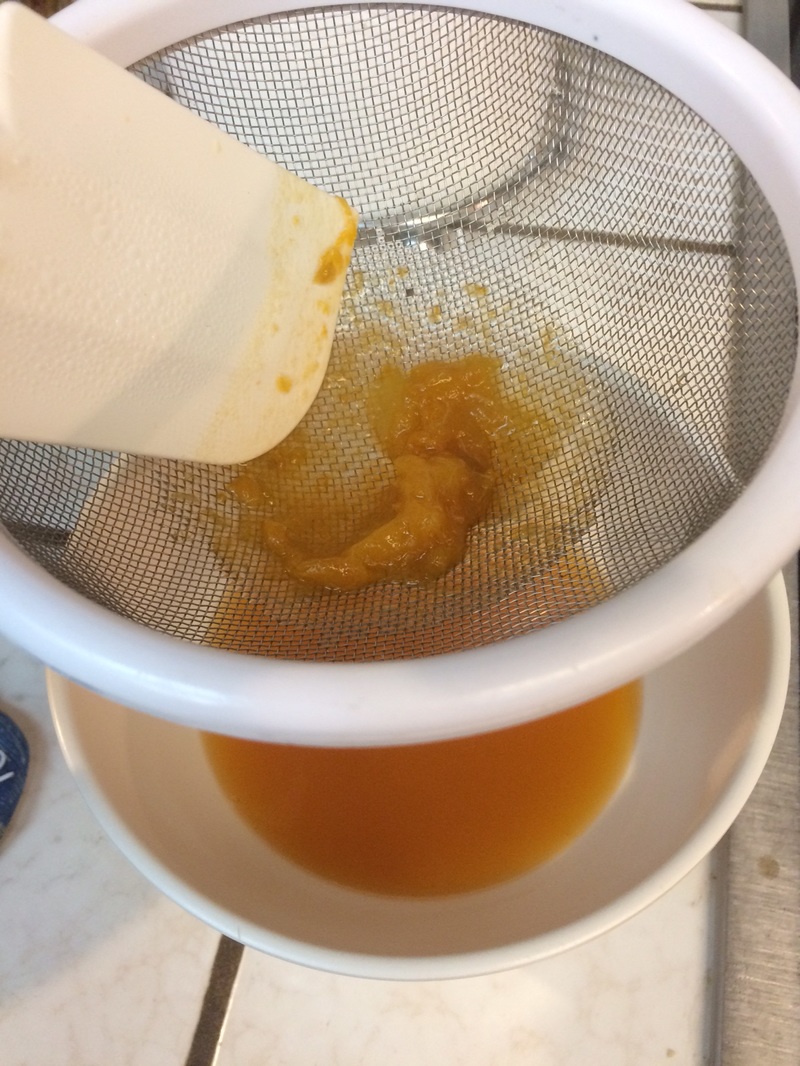
  3. For the most vibrant color, purée the cooked cranberry and orange mixture with an immersion blender or in a food processor or blender. Press the resultant puree through a fine-mesh sieve. (This should yield 1 - 1.5 cups of liquid if it wasn't cooked down too much.)
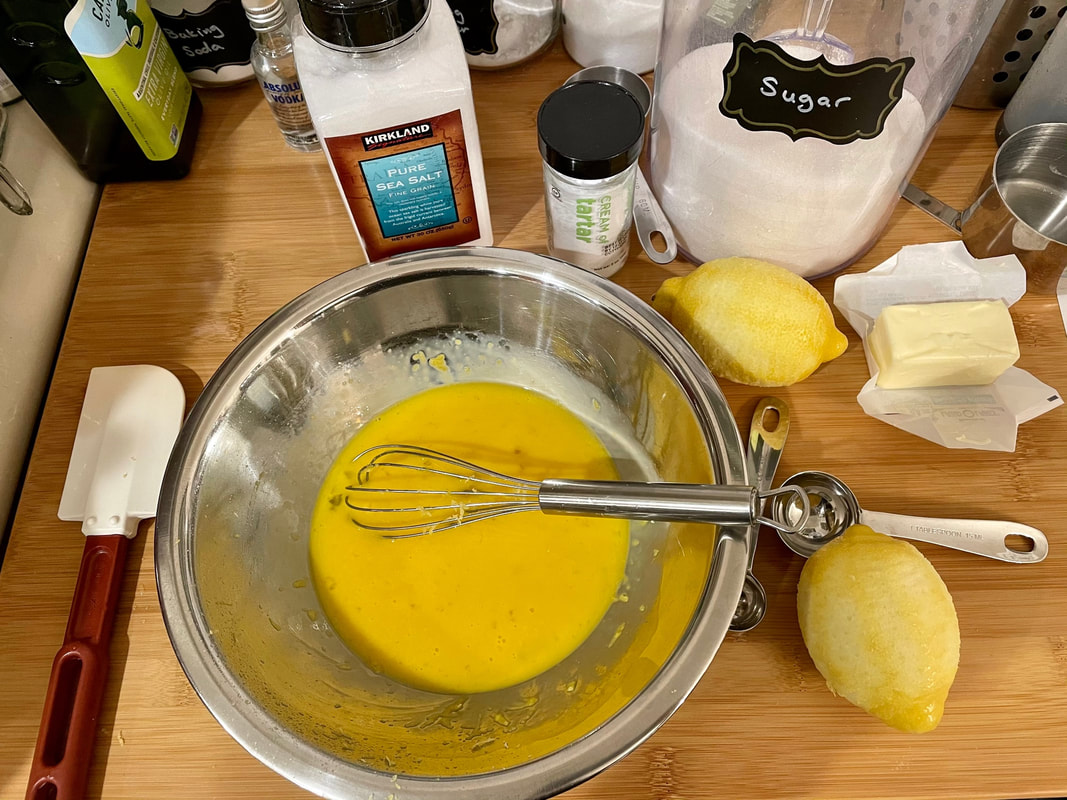
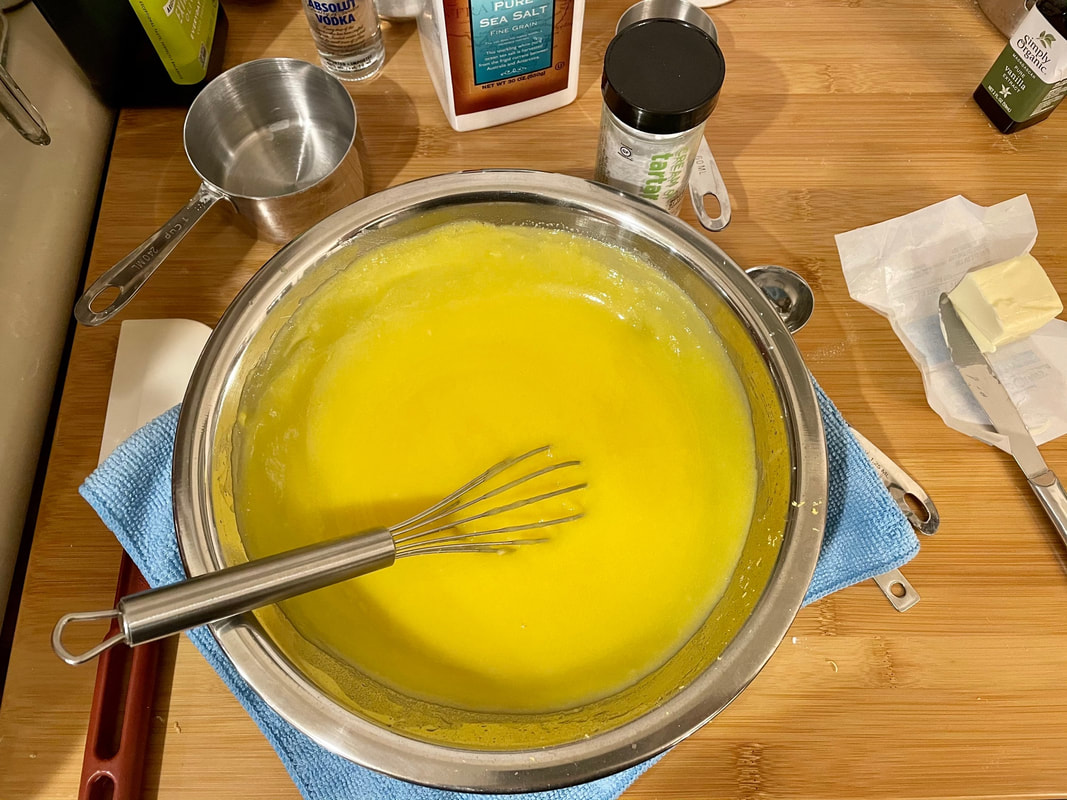
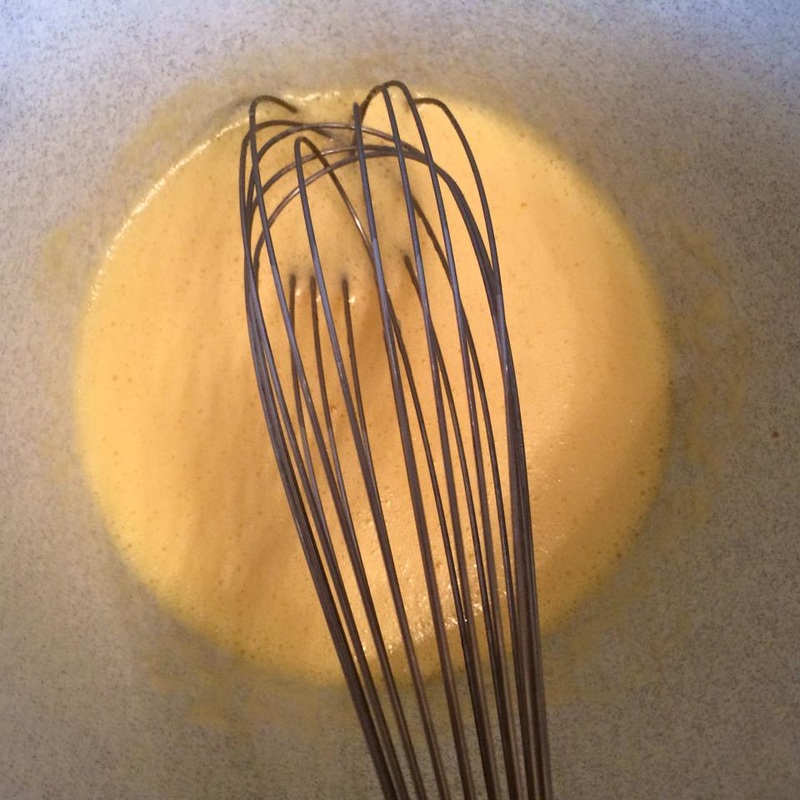
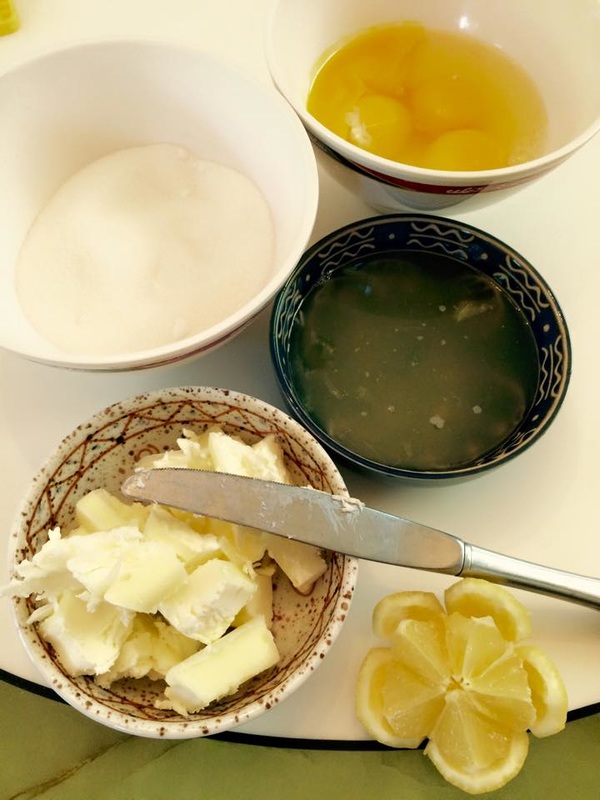
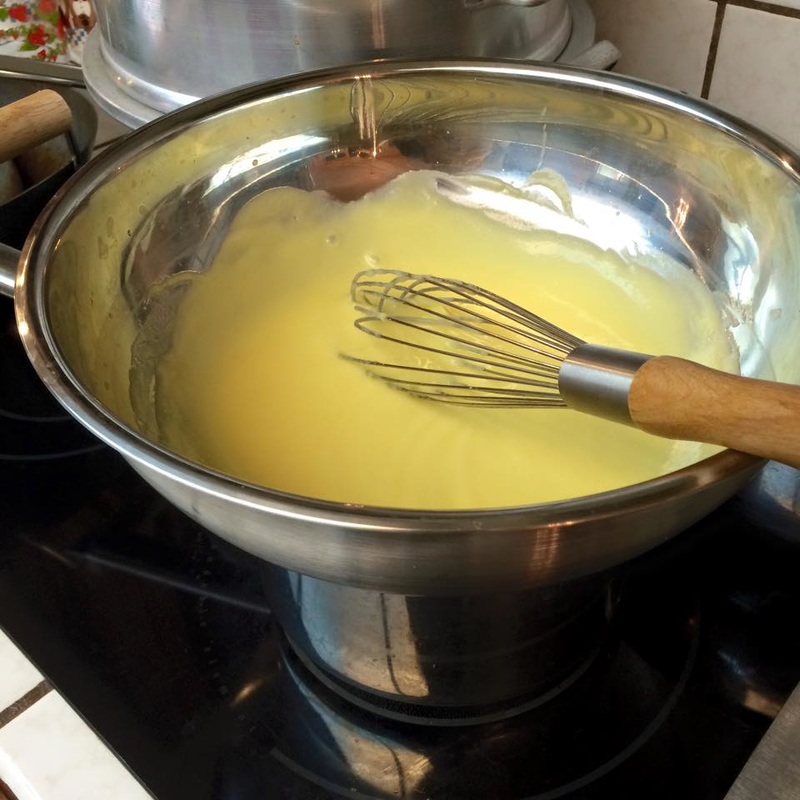
  4. Put eggs and egg yolks into a bowl and beat lightly. Slowly whisk a cup of warm cranberry liquid into the eggs to temper, then combine both and whisk together. Add corn starch and whisk well. Wipe out pot if necessary, return liquid to pot and cook over low heat until nearly bubbling and thickened, about 10 minutes. Whisk the butter into the warm liquid one cube at a time, making sure each cube combines completely before adding the next one.
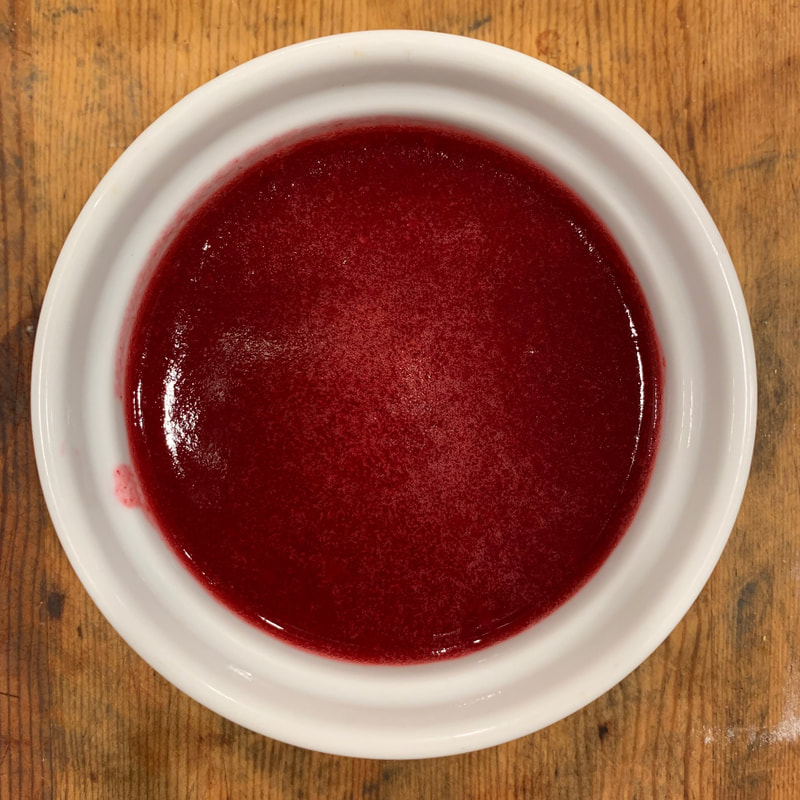
  5. If using immediately, let cool to room temperature. If working ahead, cool to room temperature, cover with plastic wrap (press wrap against curd) and refrigerate. (Curd may be cooked up to 1 day ahead.)
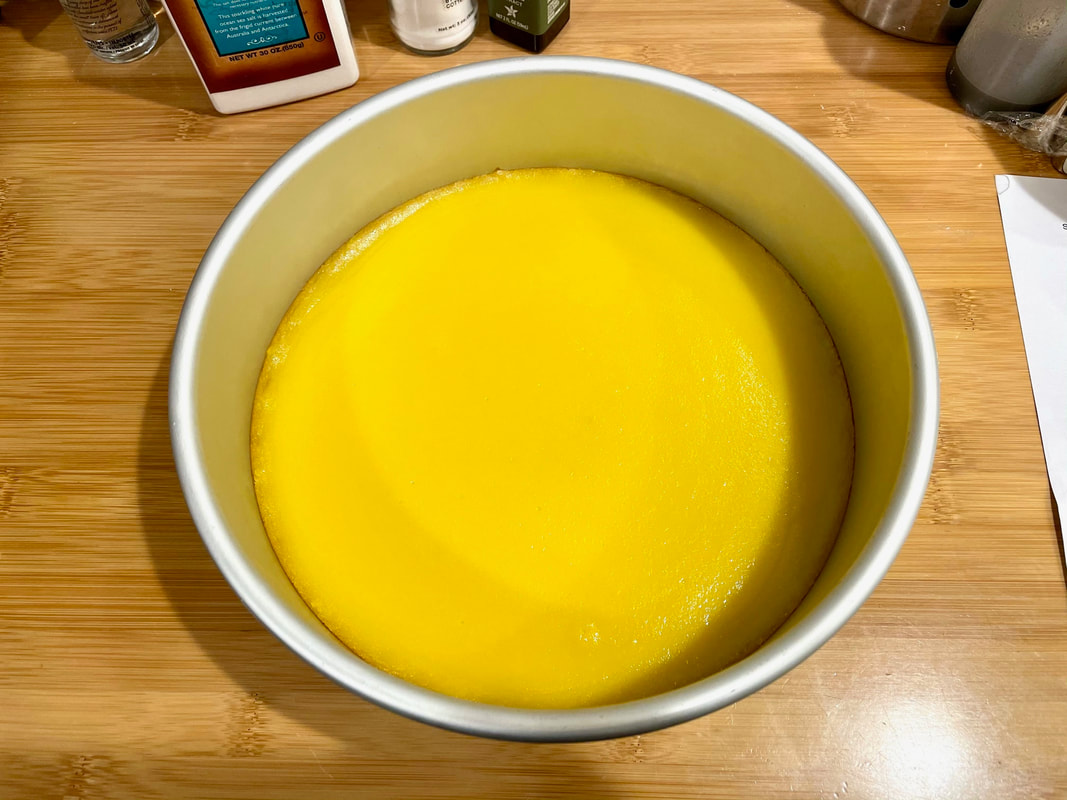
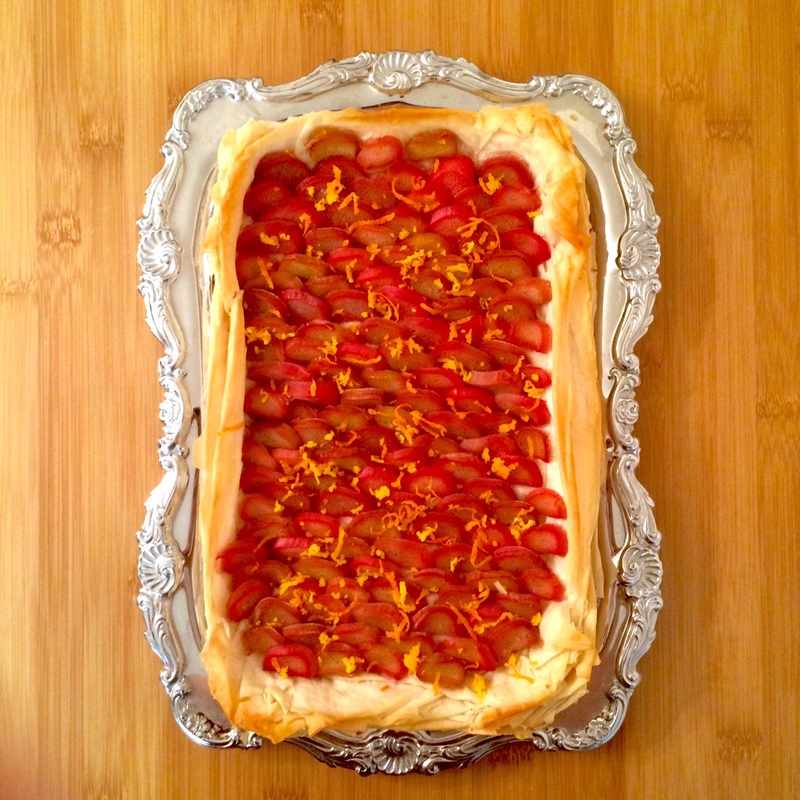
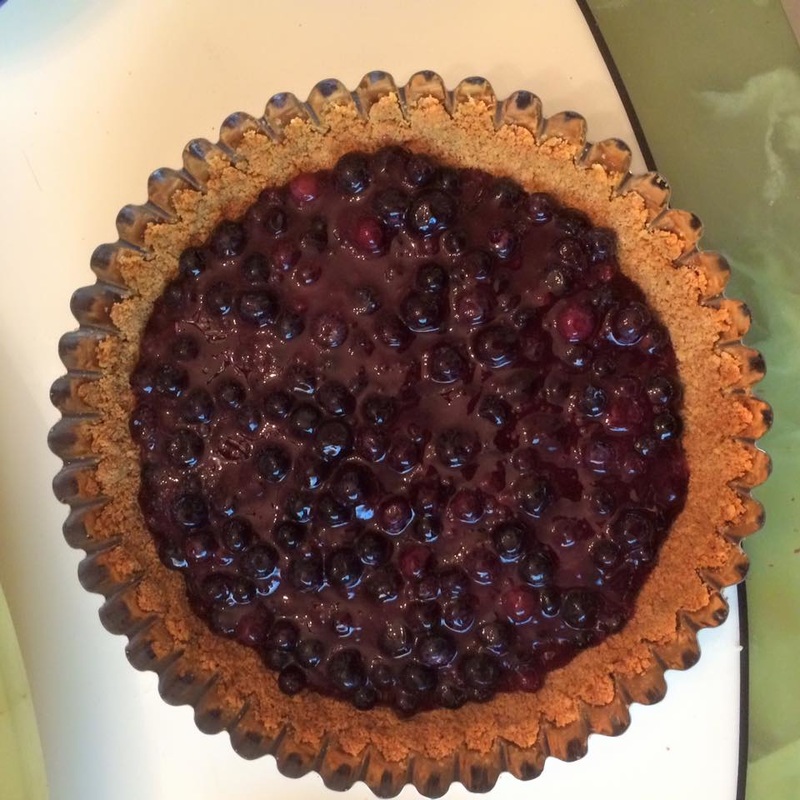
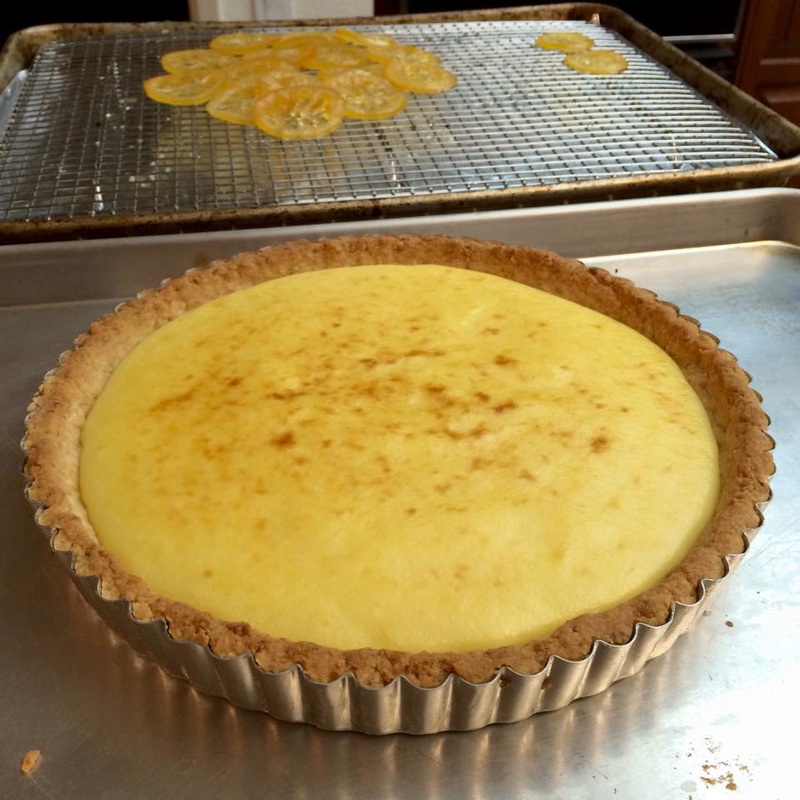
  6. Pour cooled cranberry curd into the cooled prebaked tart shell and smooth top with a spatula. Bake at 350 degrees for 10 minutes to set curd. Cool on a rack. Store at room temperature for up to 2 days.
Notes: It's recommended that you do not pour the curd into the crust until the day of serving. Otherwise, the curd might make the crust soggy. For a 12" tart, you may double the filling amount.
0 Comments

Lemon Bars

11/27/2020

0 Comments

 
This started out as an experiment as I had read a Cook's Illustrated article on how to make an intensely lemon-y lemon bar without the fillers starting to get in the way. It's a tough balance between the liquid - the lemon juice - and the dry ingredients - the flour - because you can't really increase one without increasing the other. Adding more lemon means it becomes a runny mess unless you add more flour, but adding more flour simply cuts into the lemony taste.

Unfortunately, I've since lost the link to the Cook's Illustrated article, but it talked about a secret ingredient - cream of tartar. And from its detailed descriptions, I worked backwards from a standard lemon bar recipe and reconstructed the following for a crisp, crunchy shortbread topped with a truly lemony curd.
Picture
  • one portion of shortbread crust
  • ⅔ cup lemon juice (about 3-4 lemons)
  • 3 eggs + 3 egg yolks
  • 1 cup sugar
  • ¼ tsp salt
  • 2 tsp cream of tartar
  • 2 tsp zest
  • 2 tbsp flour
  • 4 tbsp butter, cut into four 1 tbsp chunks
  1. Make one portion of the shortbread crust.
  2. While the shortbread is cooling, combine all filling ingredients except the butter in a double boiler over medium heat. Continuously whisk while the double boiler is simmering, until the mixture has thickened to about a custard consistency, with faint trails left behind by the whisk.
  3. Remove the mixture from the heat and whisk in the butter one tbsp at a time, mixing until all the butter has been incorporated. Strain through a sieve into a clean bowl.
  4. Pour over the shortbread crust in about a ½” thick layer and return to the oven for about 10 minutes. The filling should have only the slightest wobble to it when you shake it.
  5. Let cool completely, remove from pan, then cut into rectangular pieces.
0 Comments

Shortbread Lemon Tart Recipe

3/26/2020

0 Comments

 
Beautifully lemony, I found this recipe here. Even better, it achieves the easy-peasy rating because you literally throw all the ingredients into a blender and a food processor and you're done! Per usual, I've adjusted the sugar levels a bit - not only do I usually apportion only 1 cup of sugar for something cake-sized these days, but I felt it really lets the brightness of the lemon shine through. 
Picture
Lemon Filling:
  • 4 large eggs
  • 1/3 cup fresh lemon juice
  • 1 cup granulated sugar
  • 1 tablespoon lemon zest
  • 1 tablespoon orange zest
  • 1/3 cup butter, melted
  • powdered sugar, for topping
Shortbread Crust:
  • 2 cups all-purpose flour
  • 1/2 cup powdered sugar
  • 3/4 cup cold butter, cut into cubes
  1. Preheat the oven to 350ºF.
  2. In a blender, combine the eggs, lemon juice, granulated sugar, lemon zest and orange zest.  Process on high until smooth.  Add the butter, replace the cover, and blend again on high until smooth.  Set aside.
  3. In a food processor, combine the flour and powdered sugar.  Pulse a few times to combine.  Add the butter and continue to pulse until the mixture looks sandy and the butter is fully incorporated into the flour and sugar.
  4. Place an 11-inch tart pan on a baking sheet.  Pour the crust mixture into the pan.  Press the mixture firmly and evenly into the bottom and up the sides of the pan. (You can use the bottom of a cup to help press the crust more evenly on the bottom of the pan.)
  5. Pour the filing into the crust, then transfer the tart into the oven.  Bake until the center is almost set, 30-35 minutes. 
  6. Cool the tart completely.  When ready to serve, sprinkle powdered sugar over the top and cut into slices.
0 Comments

Lemon Ricotta Cake

3/26/2020

0 Comments

 
Originally from this page, this is a remarkable cake where it's neutral enough to go with just about any flavor (both sweet OR savory, to my surprise!) while still having enough character to be consumed on its own. One of my friends dumped gravy and cheese dip all over it and said it was just as good as with the macerated strawberries! I personally liked it just by itself or with a bit of strawberries, and another friend simply consumed it with some of the homemade whipped cream. Along with its simple, no-fuss recipe, this makes a fantastic staple to come back to over and over again.
Picture
Ingredients
  • 1_1/3 cups (188g) all-purpose flour (scoop and level to measure)
  • 2 tsp baking powder
  • 1/4 tsp salt
  • 1 cup (200g) granulated sugar
  • 1/2 cup (113g) unsalted butter, softened
  • 2_1/2 Tbsp lemon zest
  • 3 large eggs
  • 1 tsp vanilla extract
  • 1_1/2 cups (356g) whole milk ricotta cheese
Topping
  • 1 lb. fresh strawberries, diced or sliced
  • 3_1/2 Tbsp (42g) granulated sugar, divided
  • 1 cup (235ml) heavy cream
​For the cake:
  1. Preheat oven to 350 degrees. Butter a 9-inch springform pan, line bottom with a round of parchment paper and butter parchment.
  2. In a medium mixing bowl whisk together flour, baking powder and salt, set aside.
  3. In the bowl of an electric stand mixer fitted with the paddle attachment cream together sugar, butter and lemon zest until pale and fluffy.
  4. Mix in eggs one at a time (mixture will appear lumpy), blend in vanilla.
  5. Add in half of the flour mixture and mix just until combined, add ricotta and mix just until combined. 
  6. Add in last half of the flour mixture and mix just until combined. Gently fold batter to ensure ingredients are evenly incorporated. 
  7. Pour batter into prepared springform pan and spread into an even layer. Bake in preheated oven until cake is set (a toothpick can come out moist but no batter), about 45 - 50 minutes.
  8. Let cake cool 10 minutes then run a knife around edge to loosen any edges that may have stuck slightly, remove springform ring and continue to let cool.
  9. Once cool, slice and serve with macerated strawberries and whipped cream.
For the strawberries and whipped topping:
  1. In a medium mixing bowl toss strawberries with 2 Tbsp of the sugar. Cover and let rest in refrigerator while cake is baking and cooling.
  2. In a separate medium mixing bowl using an electric hand mixer whip heavy cream until soft peaks form. 
  3. Add 1_1/2 Tbsp sugar and whip until stiff peaks form. Store in refrigerator until ready to serve.
0 Comments

Pumpkin Cheesecake Tart with Cranberry Gelee

12/20/2018

0 Comments

 
For once, I was actively hunting for something new to make when I stumbled across this recipe. The inspiration was the very first Thanksgiving feast I would be making on my lonesome, and I wanted to top it off with a dessert that was traditionally-themed without being completely traditional. This was, arguably, the biggest hit not only of the night's feasting (and not just because it was sweet) but nearly out of all the things I have ever baked for my family. Even my father, the most famous scrooge of the family, prompted me no less than three times as to when I was going to make it again!
Picture
Pastry:
  • 6 tablespoons blanched almonds
  • 1 1/2 cups plus 1 tablespoon all-purpose flour
  • 1 1/2 sticks (6 ounces) unsalted butter, at room temperature
  • 3/4 cup plus 2 tablespoons confectioners' sugar
  • 1 large egg
  • 3/4 teaspoon pure vanilla extract
  • Pinch of salt
Filling:
  • 12 ounces cream cheese, at room temperature
  • 1/2 cup packed light brown sugar
  • 1/2 teaspoon cinnamon
  • 1/4 teaspoon ground ginger
  • 1/8 teaspoon ground allspice
  • 1/8 teaspoon ground cardamom
  • 1/8 teaspoon ground cloves
  • Pinch of freshly ground white pepper
  • Pinch of freshly grated nutmeg
  • Pinch of salt
  • 1 1/4 cups canned pumpkin puree (10 ounces)
  • 1/4 cup heavy cream
  • 3 tablespoons pure maple syrup
  • 1 1/2 teaspoons pure vanilla extract
  • 2 large eggs, at room temperature
Gelee:
  • 2 cups fresh cranberries (1/2 pound)
  • 1/2 cup sugar
  • 1/4 cup orange juice
  • 1 1/2 teaspoons unflavored gelatin
  1. In food processor, pulse almonds until coarsely ground. Add 1/2 cup of the flour and process to a fine powder; transfer to a bowl. In food processor, pulse the butter and confectioners' sugar until creamy. Pulse in egg and vanilla. Pulse in remaining 1 cup plus 1 tablespoon of flour, almond flour, and salt until a soft dough forms. Pat pastry into a disk, wrap in plastic, and refrigerate until firm, at least 1 hour.
  2. Preheat oven to 325° F. On lightly floured surface, roll out pastry to 14-inch round about 1/8 inch thick. Roll pastry into 11 1/2-inch fluted tart pan with removable bottom. Gently press pastry into the rim. Fold in overhanging dough and press to reinforce the sides; sides should be twice as thick as the bottom. Trim off excess pastry and refrigerate until firm.
  3. Line pastry with parchment paper or foil and fill with pie weights or dried beans/rice. Bake pastry for about 25 minutes, or until set. Remove parchment/foil and weights and bake for 10 minutes longer, until crust is golden and cooked through. Let cool slightly.
  4. In a large bowl, combine cream cheese, brown sugar, ground spices, nutmeg and salt. Using electric mixer, beat at medium speed until smooth. Beat in pumpkin puree until smooth. Beat in cream, maple syrup, vanilla and eggs at low speed until blended.
  5. Put crust on large, sturdy baking sheet and set in oven. Pour pumpkin custard into crust (make sure to leave a little space at the top for the gelee). Bake for 30 to 35 minutes, until custard is just set but still slightly jiggly in center. Cover edge with foil if crust starts to brown too much. Transfer to a rack and let cool completely.
  6. In medium saucepan, combine cranberries with 1/2 cup of water and cook over moderate heat until they begin to pop, about 5 minutes. Let cool. Transfer to blender and puree until smooth. Strain puree through a fine sieve. Rinse out saucepan.
  7. Add sugar and 1/4 cup of water to saucepan and bring to a boil, stirring, until dissolved. Let cool. Stir in orange juice and cranberry puree.
  8. In small bowl, sprinkle gelatin over 2 tablespoons of water and let stand until softened, 5 minutes. Microwave for 10 seconds, or until completely melted. Whisk gelatin into cranberry mixture and pour gelée over the pumpkin custard; shake gently to even it out. Refrigerate tart until set, at least 1 hour and up to 2 days. Remove the tart ring and serve.
Note: Remember to leave a little space at the top of the custard for the gelee. While you can get away with not doing so because the gelee should be a super-thin layer anyway, it was also very easy for the gelee to spill over the edges when I didn't account for it. While the custard will initially come out of the oven all puffed-up, it will settle in once it cools down, and should still have enough space for the gelee after being baked.

I discovered that I had an excess of filling and gelee after filling the tart to the brim. So have some ramekins ready and you can toss the extra in to be baked at the same time. Then you can "taste-test" guilt-free before the tart ever gets served!

0 Comments

Rhubarb Tart

5/10/2016

0 Comments

 
Long story short, I attempted this recipe due to the convergence of a challenge from an old friend (who, after seeing my koi pond pie, commented that I should next make something reflecting my namesake/internet handle) and another friend having spied cheap rhubarb for sale in another state and hand-carrying a pound's worth of stalks back for me. I then promptly ended up doing a whole bunch of substitutions, both intentional and unintentional, and in the end determined that this is really just a sweet rather than savory pizza-like dessert that is pretty forgiving of whatever you want to do with it. Thus, if you wish to try it, I wish you many happy experiments!
Picture
  • 1 cup fresh orange juice
  • 1 tablespoon fresh lime juice
  • 1/2 cup sugar
  • 3/4 pound rhubarb stalks, thinly sliced diagonally (1/8 inch)
  • 1 sheet frozen puff pastry (from a 17 1/4-ounces package), thawed (see note below
  • 1/2 teaspoon grated orange zest
  1. Preheat oven to 400°F with rack in middle.
  2. Stir together orange juice, lime juice, and sugar in a bowl. Add rhubarb and let stand, stirring occasionally, 10 minutes.
  3. Meanwhile, cut pastry in half lengthwise, then roll out each piece into an 11-by 7-inch rectangle on a lightly floured surface with a floured rolling pin. Arrange pastry rectangles side by side on an ungreased large baking sheet.
  4. Make a 1/2-inch border around each pastry rectangle by lightly scoring a line parallel to each edge (do not cut all the way through). Prick pastry inside border all over with a fork.
  5. Strain rhubarb mixture through a sieve set over a bowl, reserving liquid. Top 1 pastry rectangle (within border) with half of rhubarb, overlapping slices slightly. Repeat with remaining pastry and rhubarb.
    Bake until pastry is puffed and golden (underside of pastry should also be golden), about 30 minutes.
    Meanwhile, boil reserved rhubarb liquid in a small saucepan, skimming foam if necessary, until reduced to about 1/4 cup, 15 to 18 minutes.
  6. Transfer tarts to a rack. Brush rhubarb and pastry with glaze and sprinkle with zest.
Note: The first time I made this, I had leftover phyllo sheets in the fridge that I wanted to use up, so I substituted that for the puff pastry. It actually worked really well, though the process ate up my time like you wouldn't believe. (Note that, due to the toughness of baked phyllo, you may want to "cut" the tart using kitchen shears rather than a fork and knife.) Also, I accidentally burned the orange-lime glaze when I turned away from the stove for the crucial last minute - as a substitute, I spooned out some apricot reserves into a saucepan, added some water, then stirred as it simmered. Once the bubbles started looking syrupy, I strained the liquid into a bowl and used that as a substitute glaze - which actually worked beautifully.
0 Comments

Pecan Pie / Tart

11/21/2015

 
My brother adores pecan pie, but they almost unilaterally call for corn syrup in their recipes, which is just ... bleh. This is one of the rare ones that does not ask for corn syrup - and from the way he devoured it on his birthday (in place of a cake), I'd say it did quite well without it. 

(Though this is usually done in a pie crust, I have also substituted the pine nut tart crust for the usual pie crust. One note is that you can't just cook the tart crust first as usual; it may burn if you just put it into the oven with the rest of the filling for 30 minutes. I took the halfway road and cooked the crust for 10 minutes at 350 F, poured the filling in, covered the edges with foil, and then popped it back into the oven to finish.)
Picture
  • 1 9" pie crust
  • 1 egg wash (1 egg + 1 tsp water)
  • 2 eggs
  • 1/2 cup melted butter
  • 1 cup light brown sugar
  • 1/4 cup white sugar
  • ​1 tablespoon all-purpose flour
  • 1 tablespoon milk
  • 1 teaspoon vanilla extract
  • 1 cup chopped pecans

  1. Preheat oven to 425 degrees F.​ To prevent the filling from making the bottom crust a soggy mess, I like to blind bake the pie crust partway and help seal the bottom with an egg wash. Line the bottom and sides of the crust with foil or parchment paper and fill with pie weights or dried beans - make sure to not only cover all over the bottom but up the sides also. Bake for 12 minutes. Remove the pie weights and lining, brush egg wash all over crust, put a heat shield on the edges of the crust, then return to the oven for another 3 minutes. Remove and set aside while you make the filling.
  2. In a large bowl, beat eggs until foamy, and slowly stir in melted butter. Stir in the brown sugar, white sugar and the flour; mix well. Last add the milk, vanilla and nuts.
  3. Pour into the pie shell. Bake in preheated oven for 10 minutes. (Depending on your oven, the nuts on top might get a little burnt-looking. You may wish to cover the entire pie with foil instead of just the crust edges as a heat shield at this time. Make sure you make slits in the top of the foil to allow steam to vent.) Then reduce temperature to 350 degrees and bake for 35 - 40 minutes. Let pie cool completely before serving.

Blueberry Custard Pie or Tart

7/3/2015

 
This was adapted from a Country Living recipe. The first attempt was both weirdly my least-favorite but my family's most-favorite baking attempt ever - I simply could not get over the weird snot-thick consistency of the blueberry topping that came from the original recipe's 3 tbsp of cornstarch, though my father and brother literally gobbled up over half the tart in the space of a morning. A second try not only improved the texture but the appearance considerably, and after substituting lactose-free milk for whole milk, I was also able to enjoy it tablet free! With the sweetness dialed down somewhat and a few extra steps added to improve custard and topping consistency, the second one disappeared nearly as quickly as the first.
Picture
  • 1 graham cracker crust, either store-bought or hand-made
The custard:
  • 1.25 cups whole milk
  • 2 large egg yolks
  • 1/4 cup sugar
  • 2 tbsp cornstarch
  • 1/2 tsp vanilla extract
  • 1 tbsp unsalted butter
The blueberry topping:
  • 4 cups fresh or frozen blueberries
  • 1/3 cup sugar
  • 1.5 tbsp cornstarch
  • 3/4 cups water
  • 1 tbsp lemon juice
  • 1 tbsp butter
  1. In a saucepan, cook the milk, egg yolks, sugar, and cornstarch over medium heat, stirring constantly, until mixture boils and thickens. Stir in vanilla and butter. Transfer custard to a shallow dish to cool.
  2. Meanwhile, in a saucepan, mix 1 cup of blueberries with sugar over medium to high heat. Stir occasionally, until the blueberries start to soften and burst and become a slurry. Mix the cornstarch into the water, then pour into the saucepan. Bring to a boil while continuing to stir, until the mixture thickens. Stir in lemon juice and butter, then remove from heat and let cool. Gently stir in remaining 3 cups of berries.
  3. Once the custard is near room temperature, spread it into the bottom of the graham cracker crust. Top with the berry mixture and refrigerate until set.
Note: If you're going to use lactose-free milk instead of whole milk, you might want to dial down the sugar amount for the custard slightly, as lactose-free milk tends to be sweeter. The filling can be made a day ahead and refrigerated separately. To prevent the custard from forming a film, press cling film all over the surface.

Pine Nut Crust for Tarts (from Bouchon)

4/9/2015

0 Comments

 
This is an absolutely amazing crust. The pine nuts were expensive, but totally worth it, and with a food processor and a stand mixer, everything was done in 10 minutes. In fact, the toughest part was just getting everything divided up evenly and wrapped well, and then cleaning up.
  • 10 oz (2 cups) pine nuts
  • 1/3 cup sugar
  • 1 lb (3 cups) all-purpose flour
  • 8 oz unsalted butter @ room temperature
  • 1 large egg
  • 1 tsp pure vanilla extract
Servings: enough for 3x 9" tarts
  1. Place pine nuts in a food processor and pulse a few times. Add sugar and flour and continue to pulse until the nuts are finely ground. Transfer mixture to a large bowl.
  2. Add butter, egg, and vanilla extract and mix to incorporate all the ingredients (highly recommend a mixer with a paddle attachment for even incorporation of butter, otherwise the crust will easily fall apart when baked).
  3. Divide dough into 3 equal parts. Wrap each piece in plastic wrap and refrigerate for at least 10 minutes before using. (Extra dough can be frozen, wrapped well, for up to 1 month.)
0 Comments

Lemon Tart (Tarte au Citron from Bouchon)

4/9/2015

0 Comments

 
I first had a taste of this at Bouchon itself, and with the pine nut crust, it was simply amazing. It's actually a relatively easy/quick thing to make; the hardest part is probably just having to stand and stir in front of the stove for 8 minutes. The original recipe has an amazingly intense lemon/tart taste, so for those who may want to be a little less overwhelmed by that, see the note at the bottom. But in its original form, it won me first place at a citrus-themed festival, so it can't have been too bad!
Picture
  • butter and flour for the tart pan
  • 1/3 recipe Pine Nut Crust
  • 2 large eggs, cold
  • 2 large egg yolks, cold
  • 3/4 cup sugar
  • 1/2 cup fresh lemon juice
  • 6 tbsp (3 oz) cold unsalted butter, cut into 6 pieces
Servings: 9" tart
  1. For the crust: Preheat oven to 350 F. Generously butter and flour a 9" fluted tart pan w/ a removable bottom and refrigerate it while the oven preheats.
  2. Remove the tart pan from the refrigerator. Use your fingertips to press the chilled pine nut dough evenly over the bottom and up the sides of the pan. Trim off any excess dough.
  3. Bake the crust for 10-15 mins, then rotate it and bake for another 10-15 mins, or until it is golden brown. Remove the crust from the oven and let it cool while you make the filling.
  4. For the sabayon: Bring about 1.5" of water to a boil in a pot that is slightly smaller than the diameter of the bowl you will be using for the sabayon. Meanwhile, in a large metal bowl, whisk the eggs, yolks, and sugar for about 1 min, or until the mixture is smooth.
  5. Set the bowl over the pot and, using a large whisk, whip the mixture while you turn the bowl (for even heating). After about 2 mins, when the eggs are foamy and have thickened, add 1/3 of the lemon juice, whisk, then continue adding another 1/3 until all the lemon juice is gone. Continue whisking vigorously, still turning the bowl, until the mixture is thickened and light in color and the whisk leaves a trail in the bottom of the bowl. (The trails should stay for a bit, instead of immediately disappearing.) The total cooking time should be 8-10 mins.
  6. Turn off the heat and leave the bowl over the water. Whisk in the butter a piece at a time. The sabayon may loosen slightly, but it will thicken and set as it cools. Pour the warm sabayon into the tart crust and place the pan on a baking sheet.
  7. Preheat the broiler. While the sabayon is still warm, place the tart under the broiler. Leaving the door open, brown the top of the sabayon, rotating the tart if necessary for even color; this will take only a few seconds, so do not leave the oven. Remove the tart from the broiler and let it sit for at least 1 hour. Serve at room temperature or cold.
This tart can be quite strong in flavor. Use 1/3 cup of lemon juice and 1/2 cup of sugar instead if you wish something less tart and sweet. Even though I made the tart successfully without adding any additional liquids after cutting out the lemon juice, you may wish to add just enough water to help bring the liquid volume back up to the original 1/2 cup that was asked for in the recipe, as then you won't need to watch so carefully for over-cooking on the stove.
0 Comments
<<Previous
    Picture

    Sweet Enough

    Part of the reason I started baking was because I like my goodies to be less obviously sweet - I want to taste the flavor, not just the sugar. So most of these recipes will have the sugar dialed down.

    This site also acts as my mobile recipe box, so instructions are often pared down to a minimum - very few frills but for some hints and suggestions!

    RSS Feed

    Categories

    All
    Alcohol
    Almond
    Apple
    Avocado
    Baklava
    Banana
    Bars
    Biscotti
    Blackberry
    Blueberry
    Bread
    Buttercream
    Cake
    Candy
    Carrot
    Cheese
    Cherry
    Chickpea
    Chinese
    Chocolate
    Cider
    Cobbler
    Coconut
    Coconut Milk
    Cookie
    Corn
    Cranberry
    Cream
    Cream Cheese
    Creme Brulee
    Crumb
    Crust
    Cupcake
    Custard
    Dates
    Decoration
    Dip
    Dough
    Doughnut
    Dumpling
    Easy Peasy
    Egg
    Filling
    Flowers
    Frosting
    Fruit
    Garnish
    Gelee
    Granola
    Green Tea
    Honey
    Ice Cream
    Icing
    Jam
    Lamb
    Lemon
    Lime
    Lobster
    Lotus Seed
    Macaron
    Mango
    Marshmallow
    Meringue
    Mochi
    Muffin
    Nectarine
    Nutella
    Nuts
    Oat
    Oats
    Onion
    Orange
    Pancake
    Panna Cotta
    Peach
    Peanut Butter
    Pear
    Pecan
    Phyllo
    Pie
    Pistachio
    Plum
    Popsicle
    Pound Cake
    Pumpkin
    Quiche
    Raspberry
    Red Bean
    Rhubarb
    Rice
    Ricotta Cheese
    Rugelach
    Sauce
    Savory
    Scone
    Sesame
    Shortbread
    Soup
    Sponge
    Sponge Cake
    Strawberry
    Streusel
    Tart
    Tofu
    Topping
    Torte
    Vegetable
    Vinaigrette
    Walnut
    Watermelon
    Yogurt
    Zucchini

    Archives

    November 2020
    October 2020
    July 2020
    May 2020
    April 2020
    March 2020
    October 2019
    December 2018
    October 2018
    August 2018
    April 2017
    July 2016
    May 2016
    March 2016
    February 2016
    January 2016
    December 2015
    November 2015
    October 2015
    September 2015
    July 2015
    June 2015
    May 2015
    April 2015
    February 2015
    January 2015
    November 2014

© 2019 Jacqueline Teng | DragonWarden