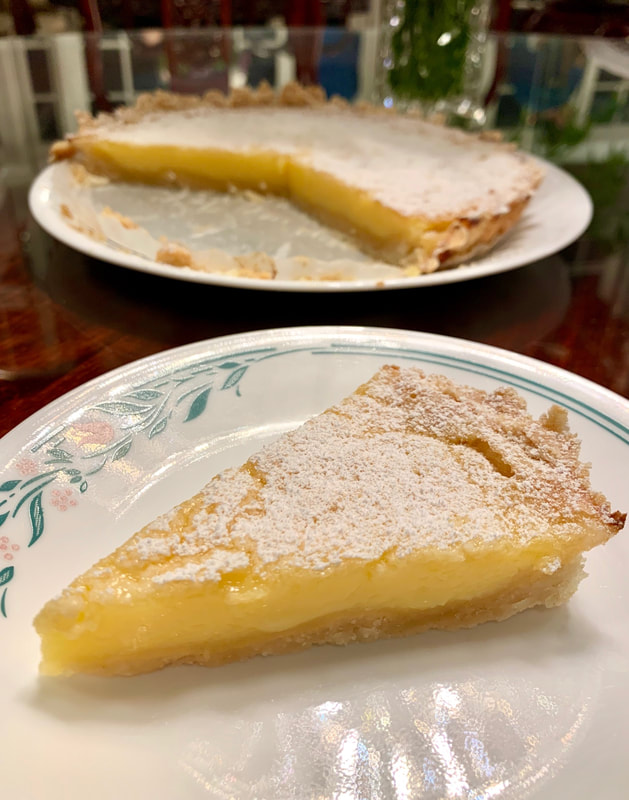
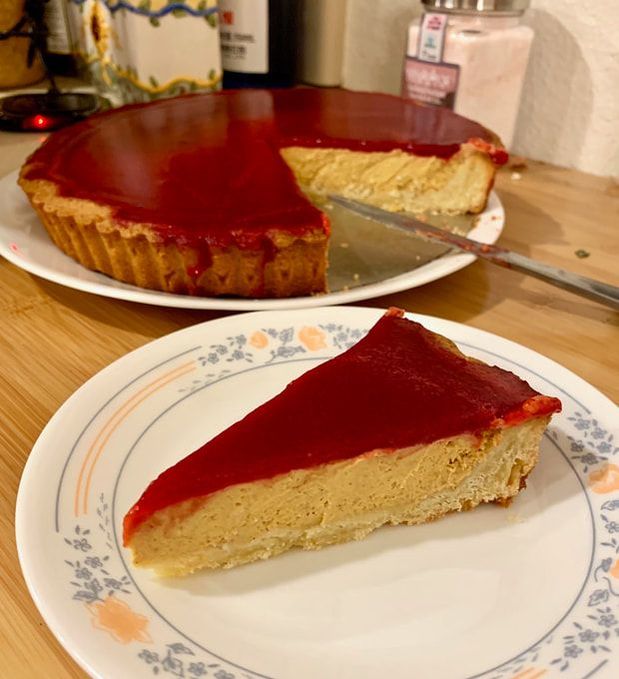
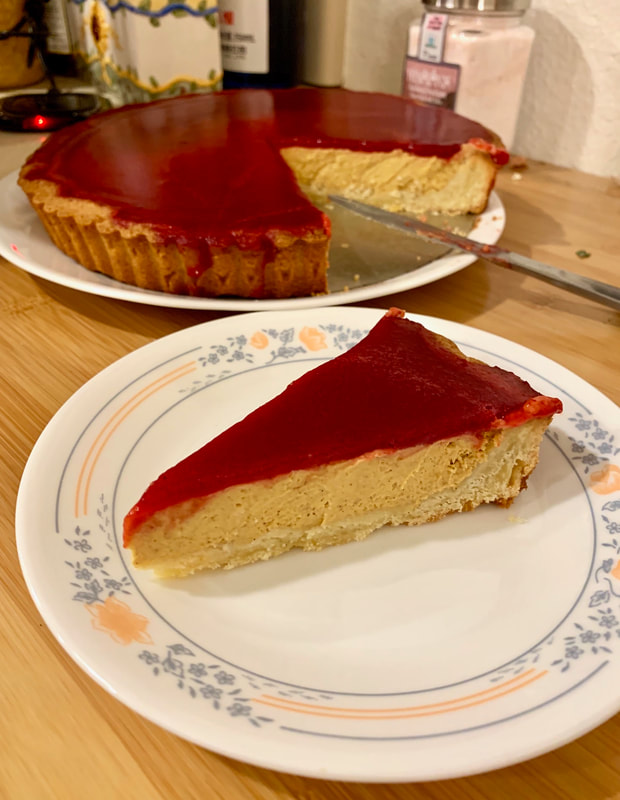
Beautifully lemony, I found this recipe here. Even better, it achieves the easy-peasy rating because you literally throw all the ingredients into a blender and a food processor and you're done! Per usual, I've adjusted the sugar levels a bit - not only do I usually apportion only 1 cup of sugar for something cake-sized these days, but I felt it really lets the brightness of the lemon shine through.
 | Lemon Filling:
|
- Preheat the oven to 350ºF.
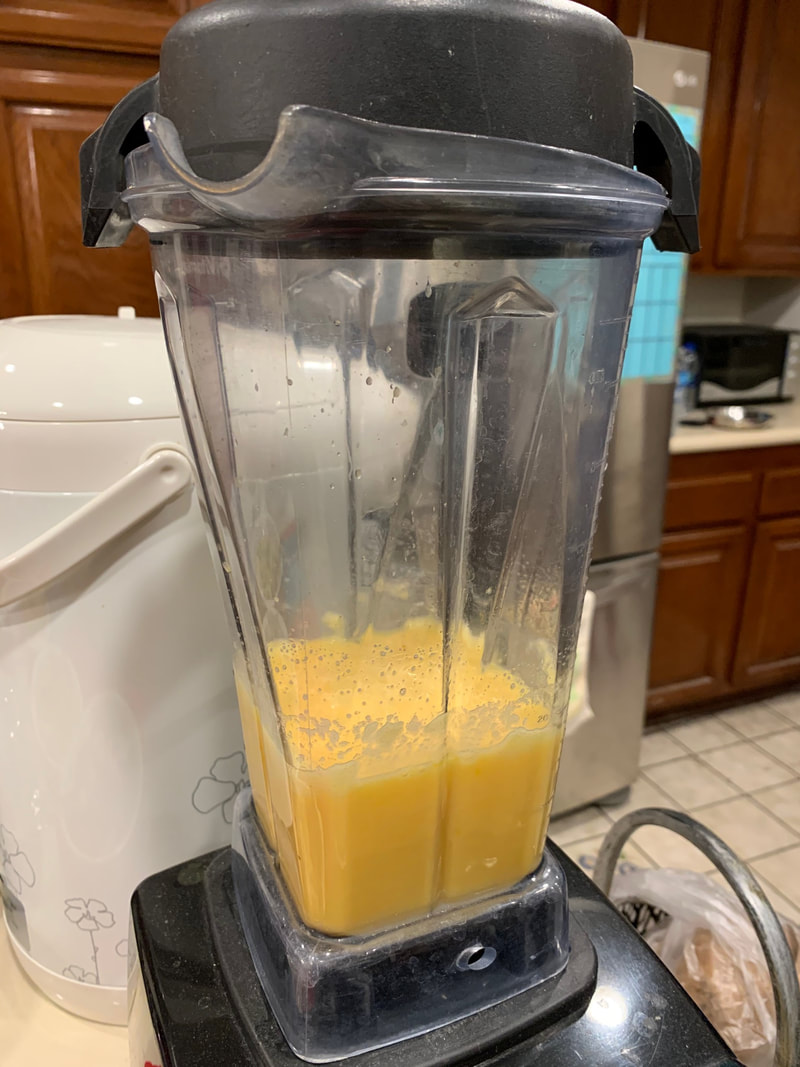
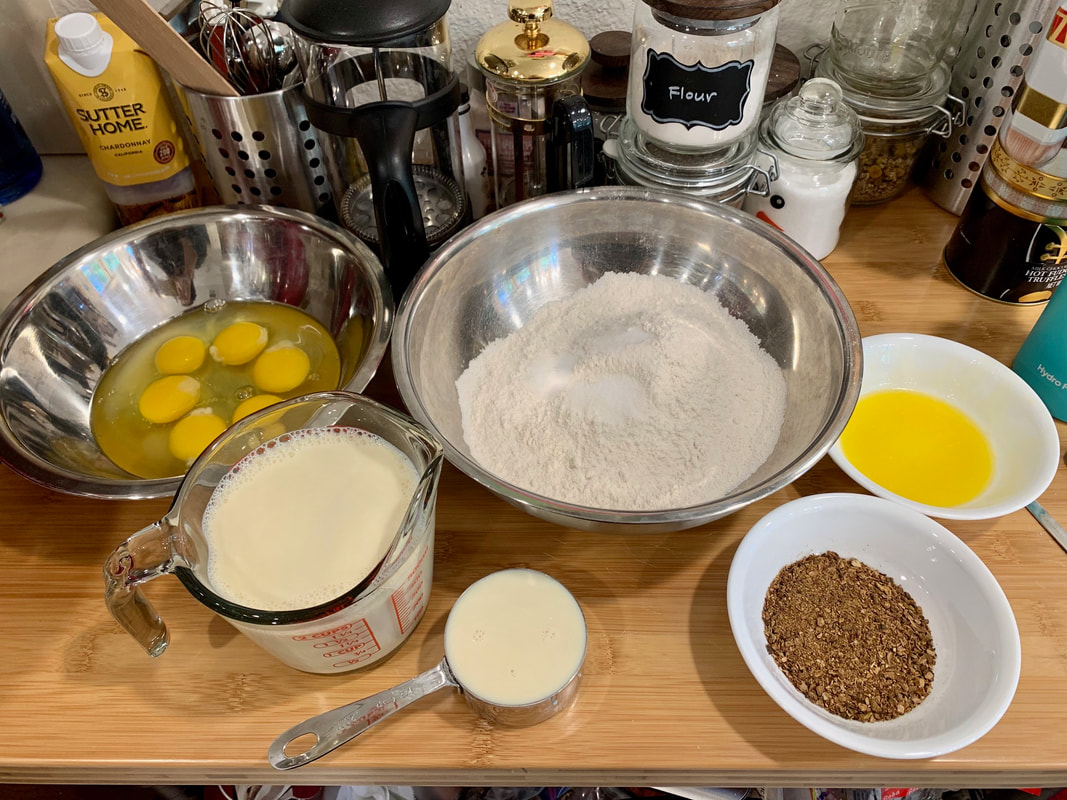
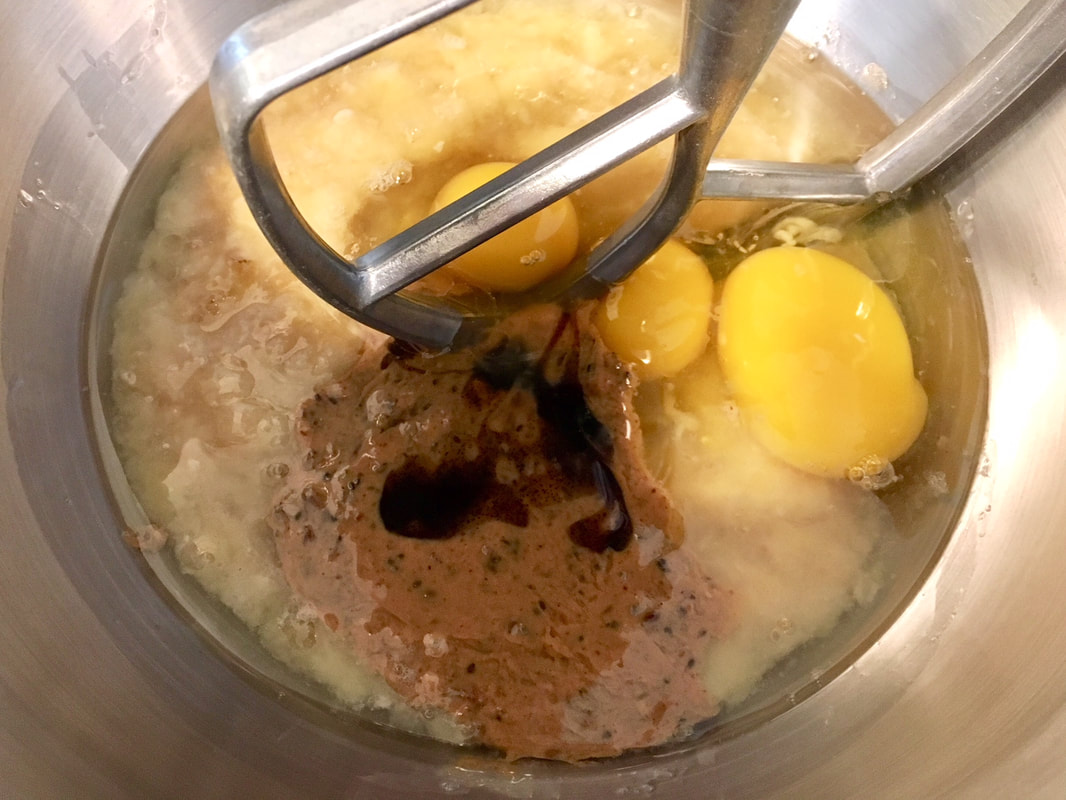
- In a blender, combine the eggs, lemon juice, granulated sugar, lemon zest and orange zest. Process on high until smooth. Add the butter, replace the cover, and blend again on high until smooth. Set aside.
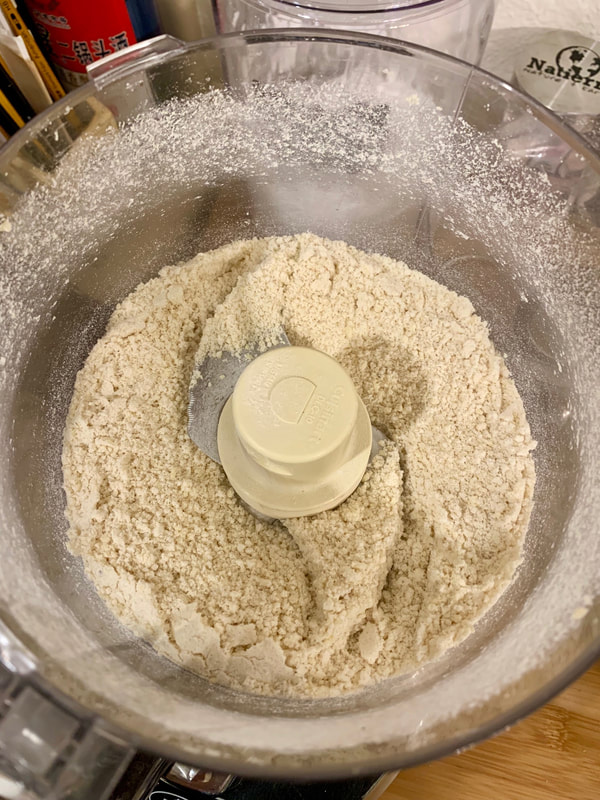
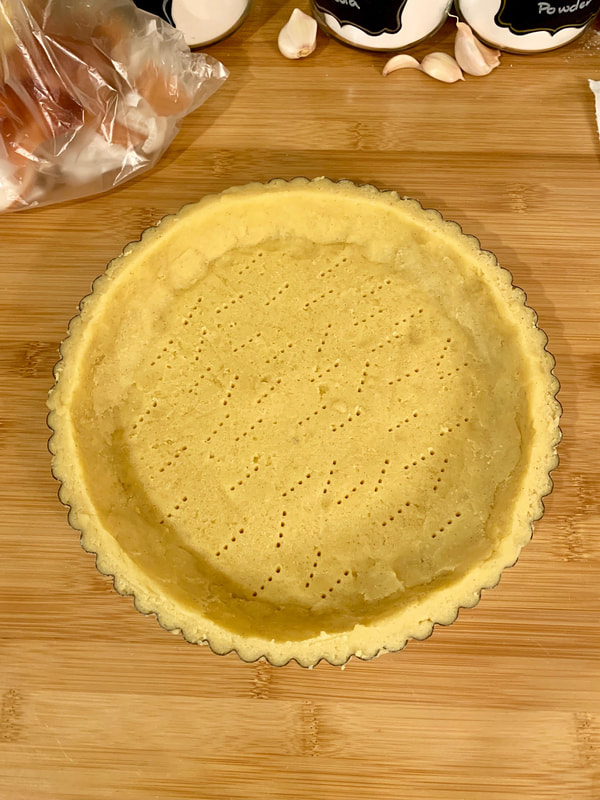
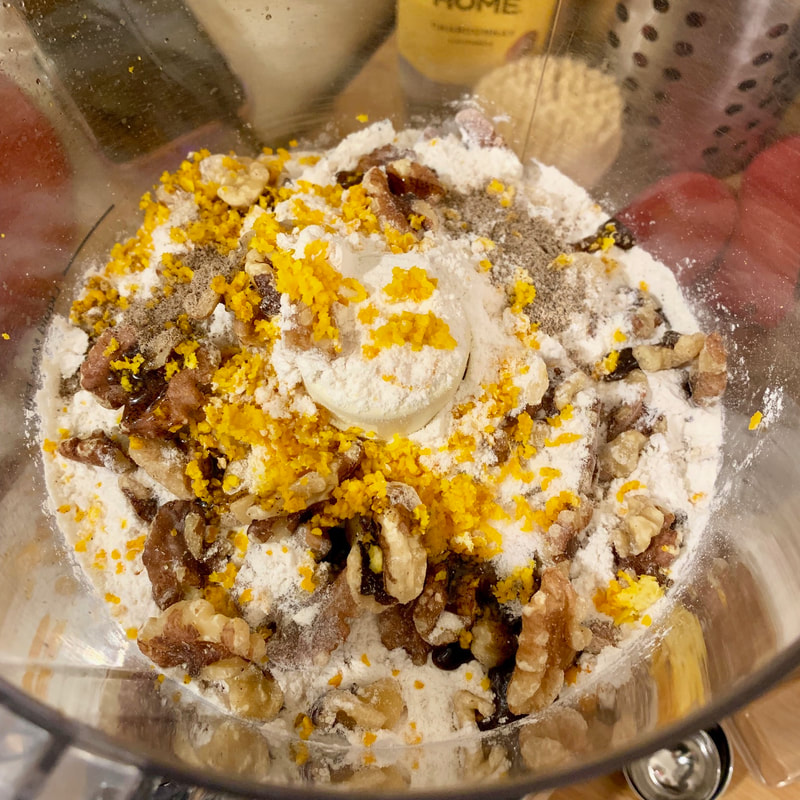
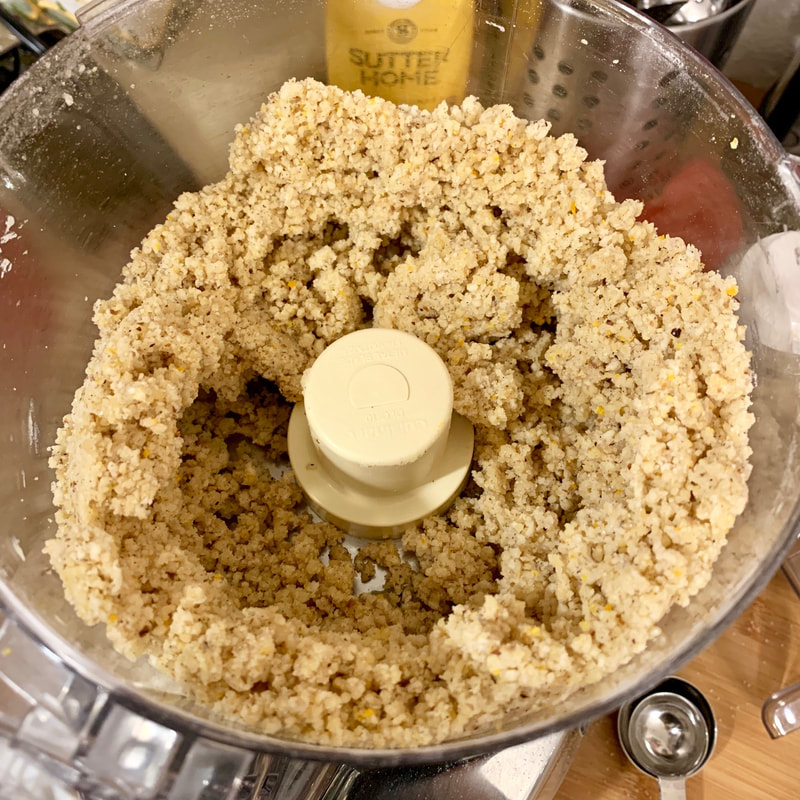
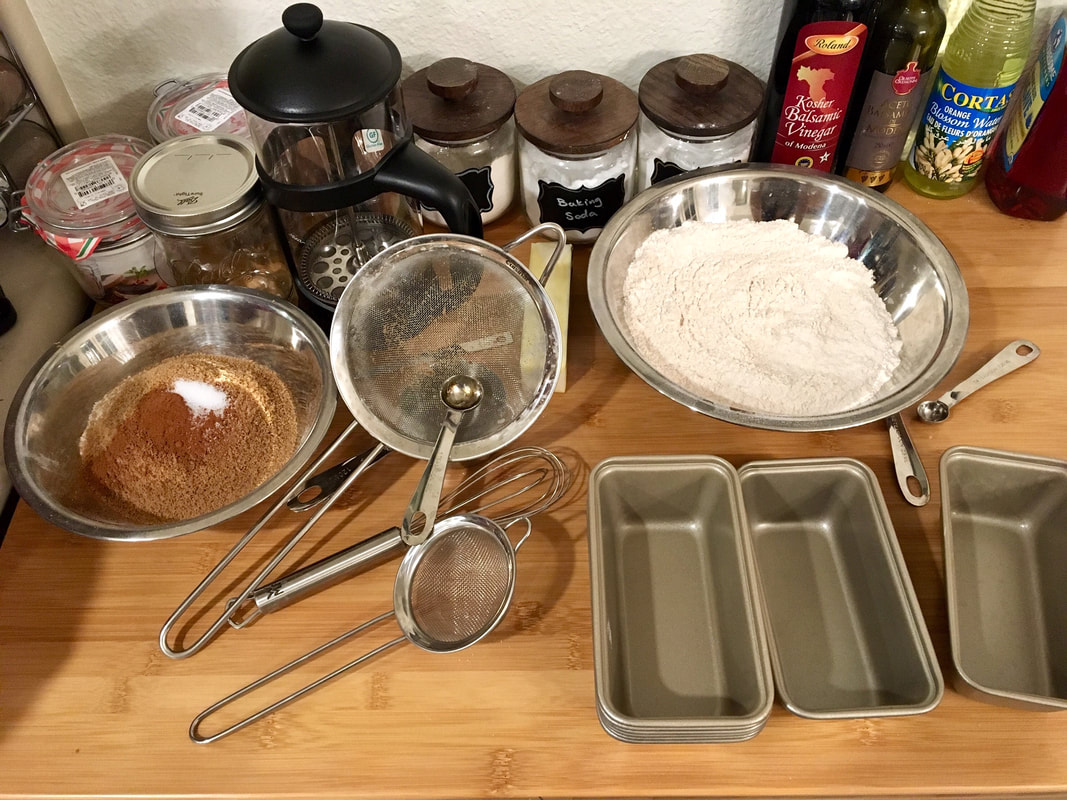
- In a food processor, combine the flour and powdered sugar. Pulse a few times to combine. Add the butter and continue to pulse until the mixture looks sandy and the butter is fully incorporated into the flour and sugar.
- Place an 11-inch tart pan on a baking sheet. Pour the crust mixture into the pan. Press the mixture firmly and evenly into the bottom and up the sides of the pan. (You can use the bottom of a cup to help press the crust more evenly on the bottom of the pan.)
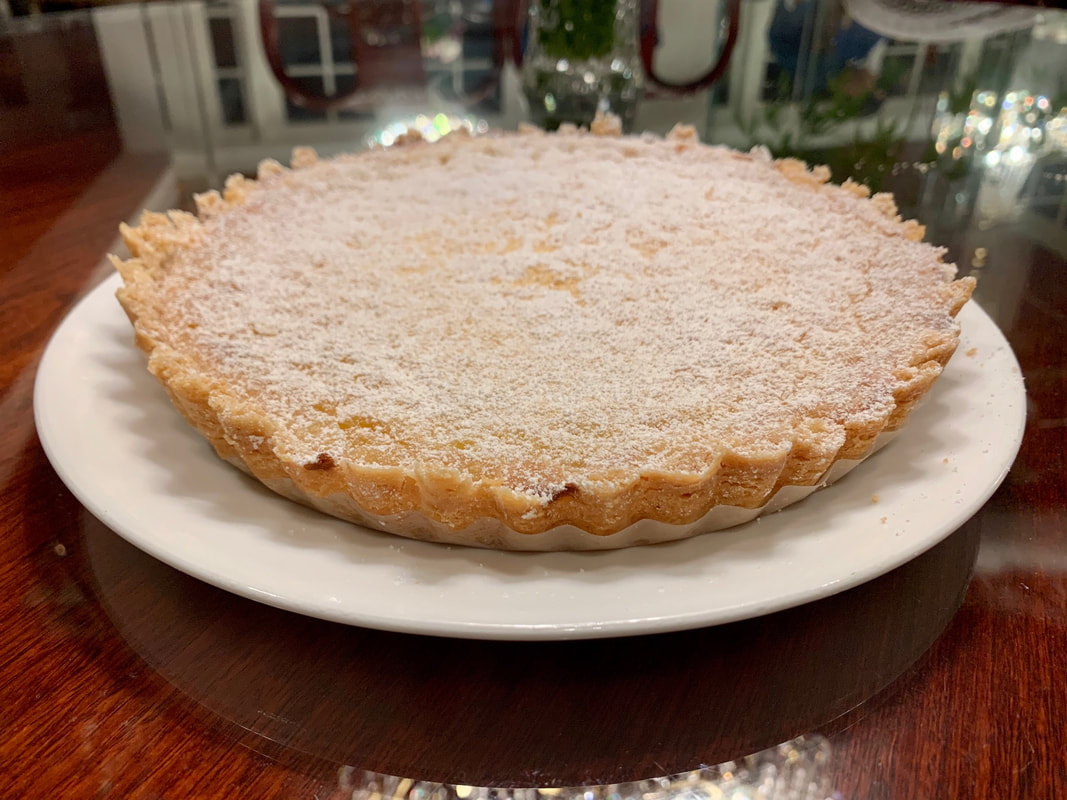
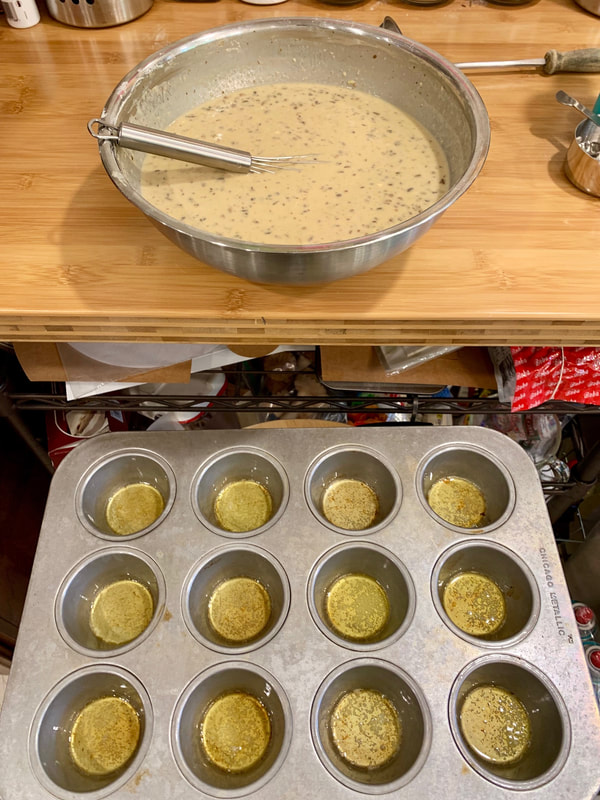
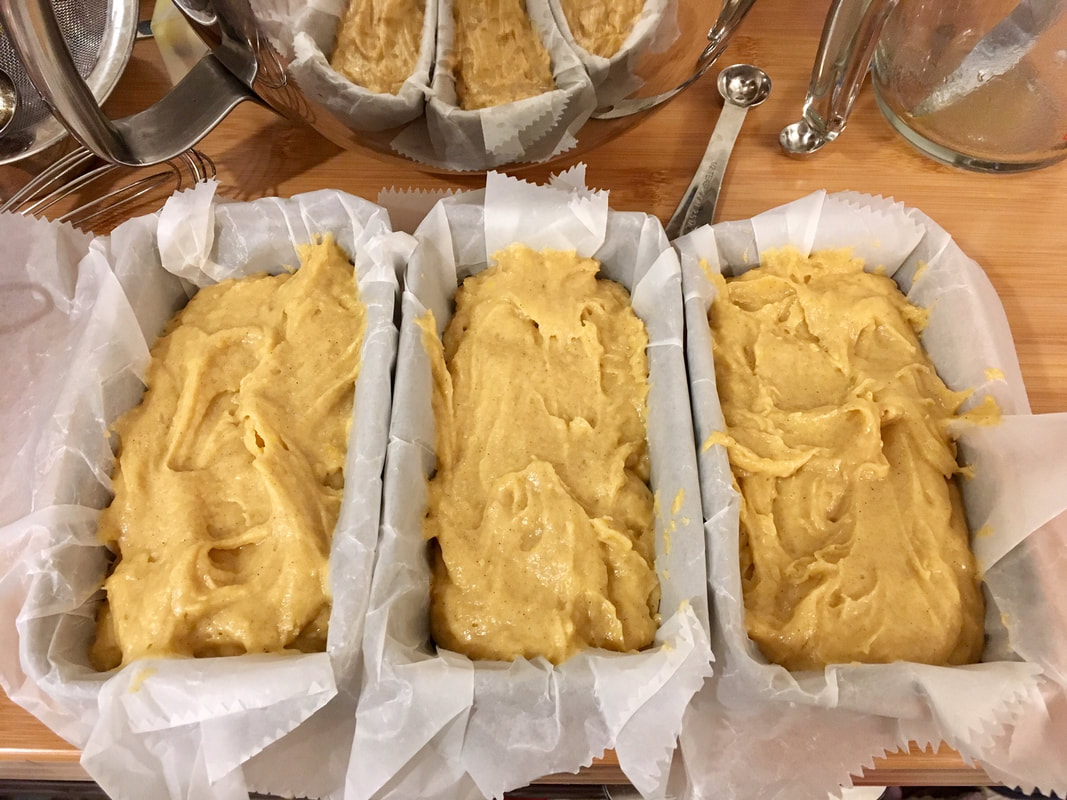
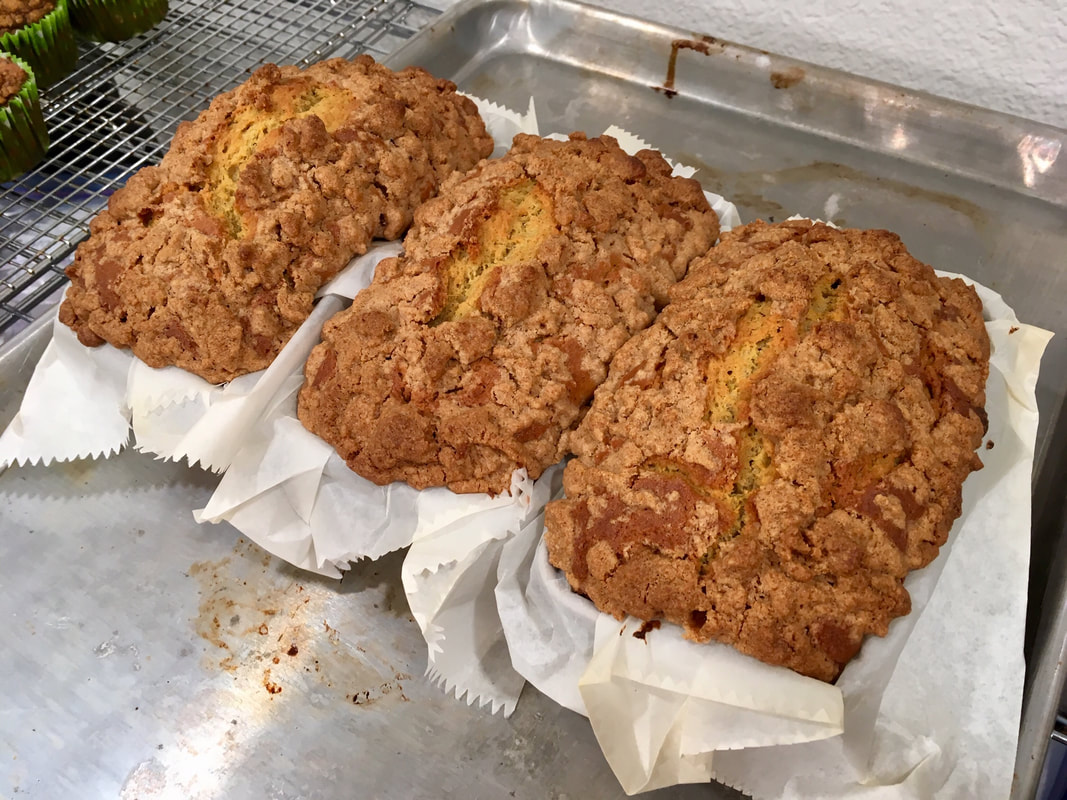
- Pour the filing into the crust, then transfer the tart into the oven. Bake until the center is almost set, 30-35 minutes.
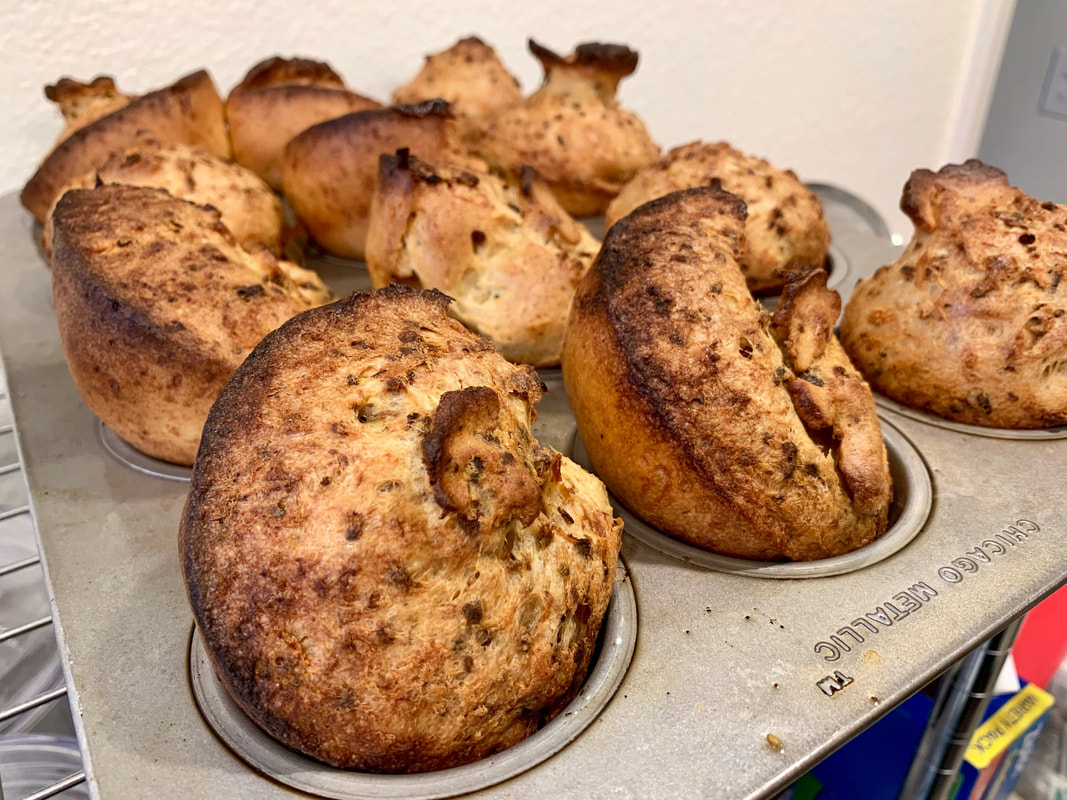
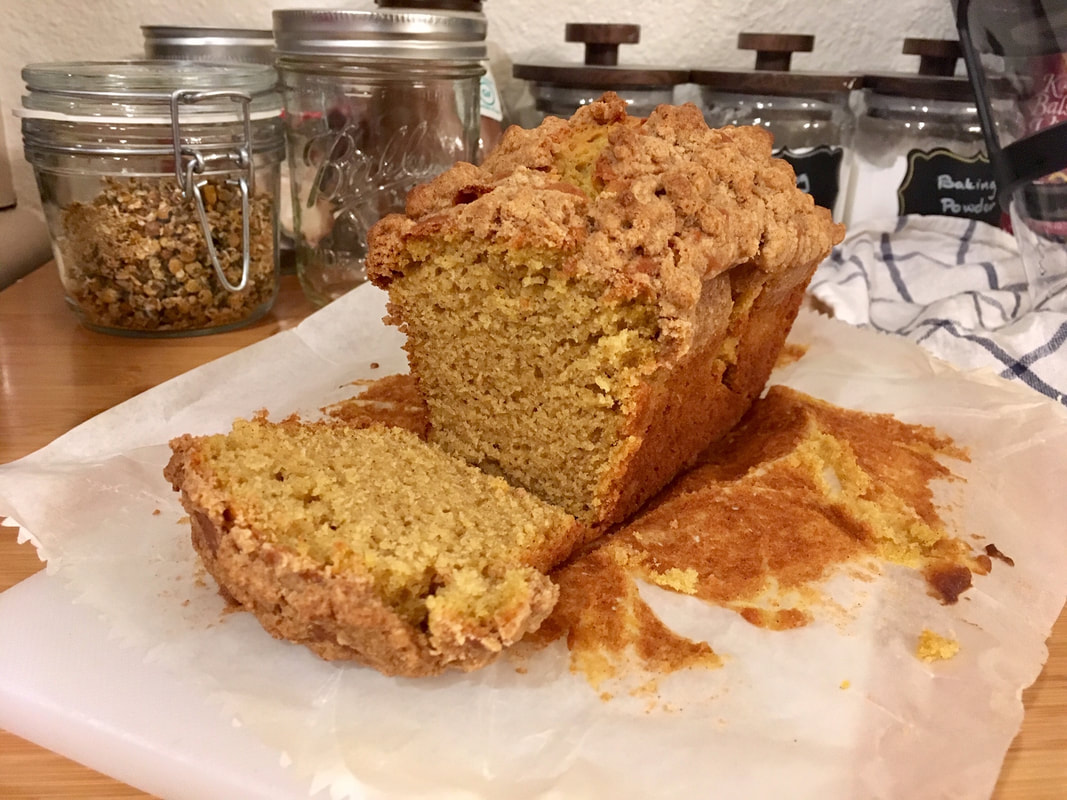
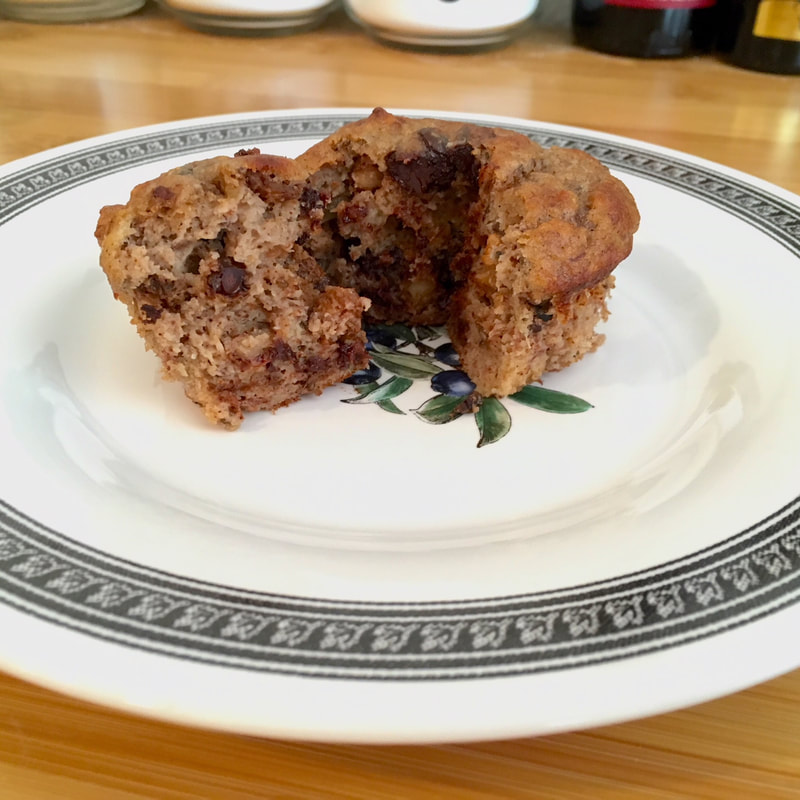
- Cool the tart completely. When ready to serve, sprinkle powdered sugar over the top and cut into slices.


 RSS Feed