- In large un-greased mixing bowl, whisk flour, yeast, and salt together. Pour in cool water and gently mix together with a rubber spatula or wooden spoon. The dough will seem dry and shaggy, but keep working till all the flour is moistened and becomes sticky. If needed, use your hands. Shape into a ball in the bowl as best you can.
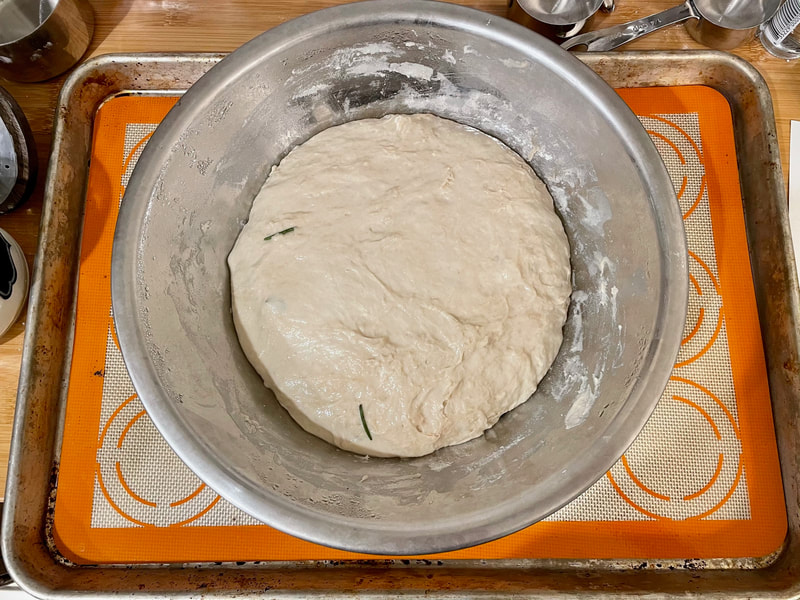
- Cover dough tightly with plastic wrap or aluminum foil and set on counter at room temperature. Allow to rise for 2-3 hours. The dough will just about double in size, stick to the sides of the bowl, and have a lot of air bubbles.
- You can continue with step 4 immediately, but for absolute best flavor and texture, let covered dough rest in refrigerator for at least 12 hours and up to 3 days. The dough will puff up, but may begin to deflate after 2 days. That’s fine and normal.
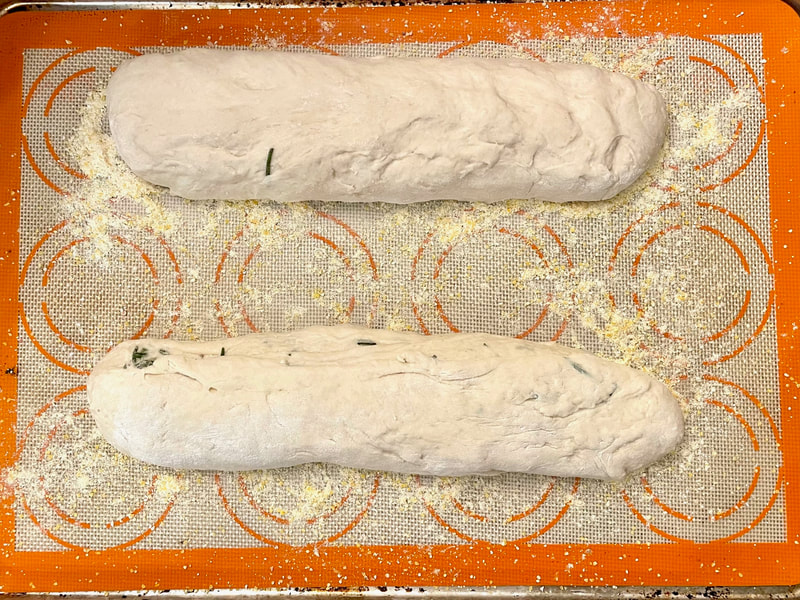
- Lightly dust a large nonstick baking sheet (with or without rims and make sure it’s nonstick) with flour and/or cornmeal. Turn cold dough out onto a floured work surface. Using a sharp knife or bench scraper, cut dough in half. Place dough halves on prepared baking sheet. Using floured hands, shape into 2 long loaves about 9×3 inches each (doesn’t have to be exact) about 3 inches apart. Loosely cover and allow to rest for 45 minutes.
- Preheat oven to 475°F (246°C).
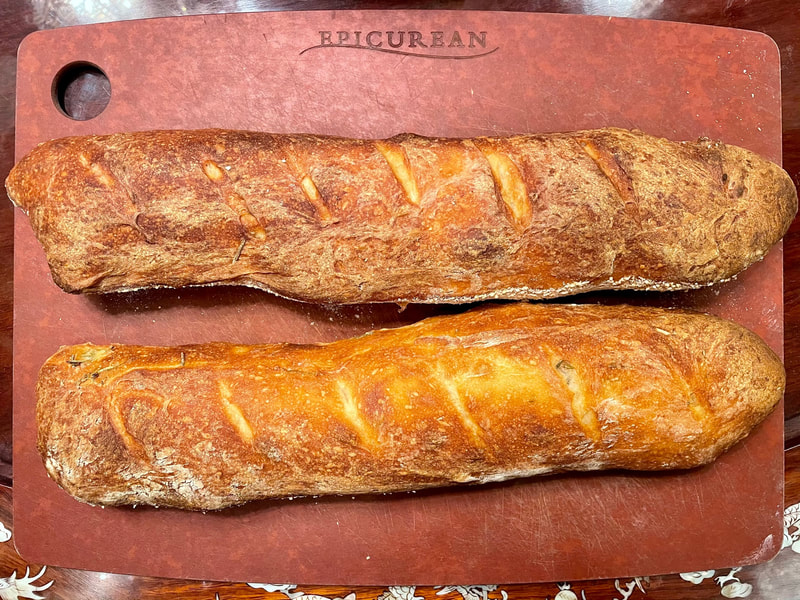
- When ready to bake, using very sharp knife or bread lame (or even kitchen shears), score bread loaves with 3 slashes, about 1/2 inch deep. If shaped loaves flattened out during the 45 minutes rest, use floured hands to narrow them out along the sides again.
- Optional for a slightly crispier crust: After oven is preheated and bread is scored, place a shallow metal or cast iron baking pan or skillet (such as a metal 9×13 baking pan) on the bottom oven rack. Carefully and quickly pour 3-4 cups of boiling water into it. Place the scored dough/baking pan on a higher rack and quickly shut the oven, trapping the steam inside. The steam helps create a crispier crust.
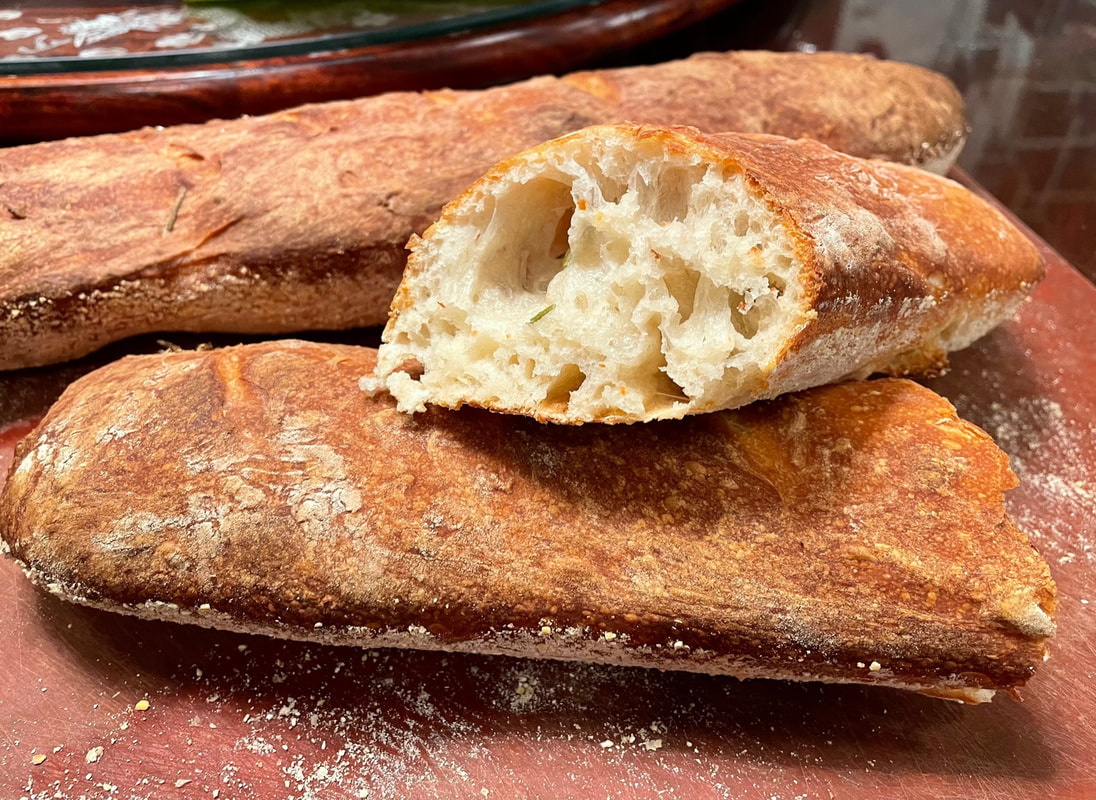
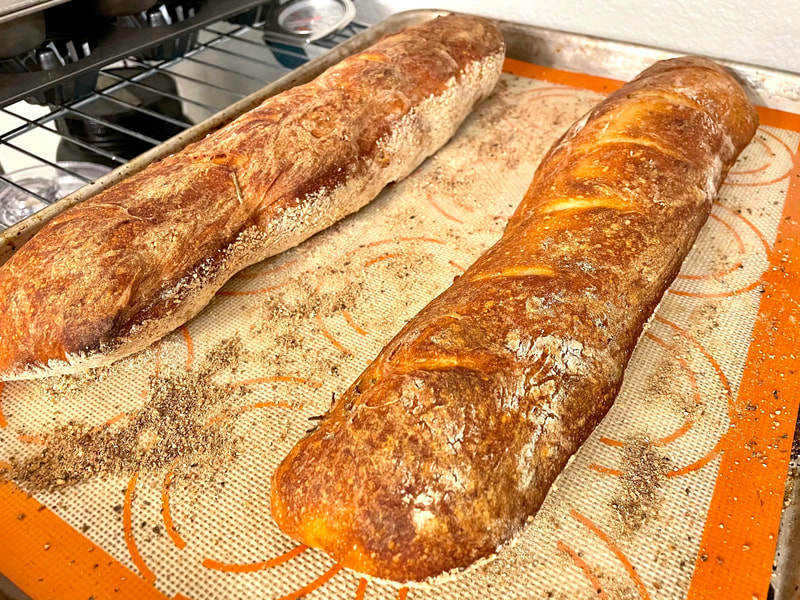
- Place the pan with the shaped and scored dough in preheated oven on center rack. Bake for 20-25 minutes or until crust is golden brown. Gently tap loaves – if they sound hollow, the bread is done.
- Remove bread from oven and allow to cool for at least 5 minutes before slicing and serving. Store leftovers loosely covered at room temperature for up to 5 days or in refrigerator for up to 10 days.
Notes:
Make Ahead & Freezing Instructions: Dough can sit in refrigerator for up to 3 days. You can also bake the bread, allow it to cool, and freeze for up to 3 months. Thaw in refrigerator and allow to come to room temperature before serving. You can also freeze the dough. Complete the recipe through step 3. Wrap in plastic wrap and place in a freezer-friendly container. To bake, allow dough to thaw overnight in the refrigerator, or for 2-3 hours at room temperature. Continue with step 4 and the rest of the recipe instructions.
Flour: For absolute best flavor and chewy texture, I strongly recommend using bread flour. You can use a 1:1 substitution of all-purpose flour in a pinch with no other changes to the recipe. I recommend avoiding whole wheat flour in this dough. If necessary, use half bread flour and half whole wheat flour. The bread will taste a bit dense.
Round Loaf: If you want to shape the dough into a boule (round loaf) simply shape into a round ball instead of 2 loaves in step 4. Baking instructions are the same, but the loaf will take a few extra minutes in the oven.
Using a pizza stone: If you want to bake your bread loaves on a pizza stone, place pizza stone in the preheating oven. Transfer shaped and scored loaves to hot pizza stone and bake as directed.
No Nonstick Pan: If you don’t have a nonstick baking sheet, line it with parchment paper instead. Coat with a dusting of flour and/or cornmeal before placing the dough on top. Parchment paper can burn, so it’s best to check the box to see how much heat yours can tolerate. Lower your oven heat if necessary and bake the bread for longer until golden brown and when gently tapped, sound hollow.
Flavor ideas: Before pouring in the water in step 1, add any of the following ingredients/combination of ingredients to the dry ingredients in the bowl: 4 cloves minced garlic + 3 Tablespoons chopped rosemary, 3 Tablespoons your favorite fresh herb (chopped), 1 cup your favorite shredded cheese, a diced jalapeño, 3/4 – 1 cup dried cranberries and/or chopped nuts, 2 teaspoons garlic powder, etc.

 RSS Feed