I have my tried and true big fat chewy chocolate chip cookies recipe when I need to whip up a batch for friends, but as good as it is, I was getting a little bored of making it all the time. So, what's a natural complement to chocolate? Peanut butter.
So when the time came to make a batch for someone as a favor, I decided to do some research on peanut butter cookie recipes. The below is an adaptation from this recipe - as the recipe described, the original was indeed quite soft. But, I felt, it needed just a little more chewiness and oomph to it ... in short, it needed to be just like the big fat chewy chocolate chip cookie, except peanut-butter flavored. This was only further supported when I left some of the PB cookies out for a week and my brother said they were getting better as they hardened a bit on the outside. Thus, I threw in a little bit of this and that and came up with the below recipe.
So when the time came to make a batch for someone as a favor, I decided to do some research on peanut butter cookie recipes. The below is an adaptation from this recipe - as the recipe described, the original was indeed quite soft. But, I felt, it needed just a little more chewiness and oomph to it ... in short, it needed to be just like the big fat chewy chocolate chip cookie, except peanut-butter flavored. This was only further supported when I left some of the PB cookies out for a week and my brother said they were getting better as they hardened a bit on the outside. Thus, I threw in a little bit of this and that and came up with the below recipe.
 |
|
- Preheat the oven to 350 F. Line 2 baking pans with parchment paper, if desired.
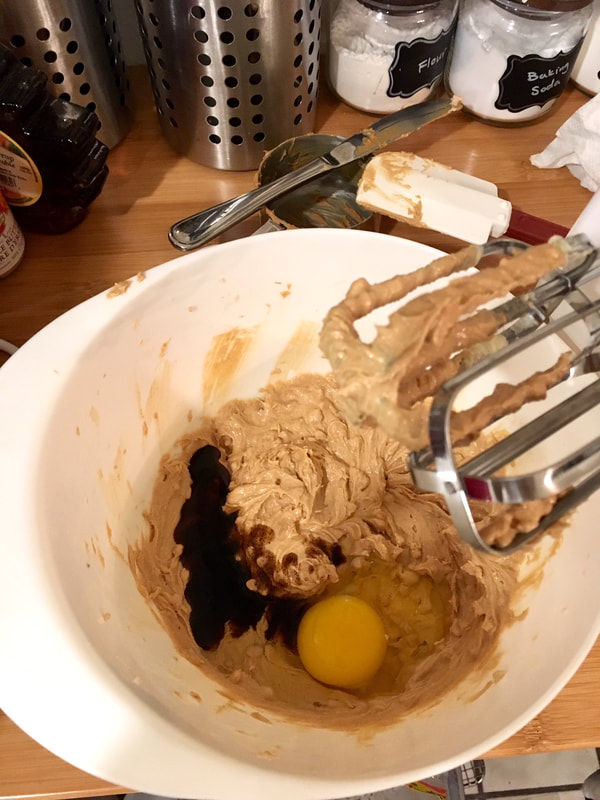
- In a large mixing bowl, cream together the peanut butter, butter, sugar and brown sugar. Beat together until smooth & creamy best if using a stand mixer or hand mixer.
- Add the egg and vanilla extract and continue to mix until well combined.
- In a small mixing bowl, whisk together the flour, baking soda and salt. Stir in the flour mixture to the butter and sugar mixture and mix until well combined.
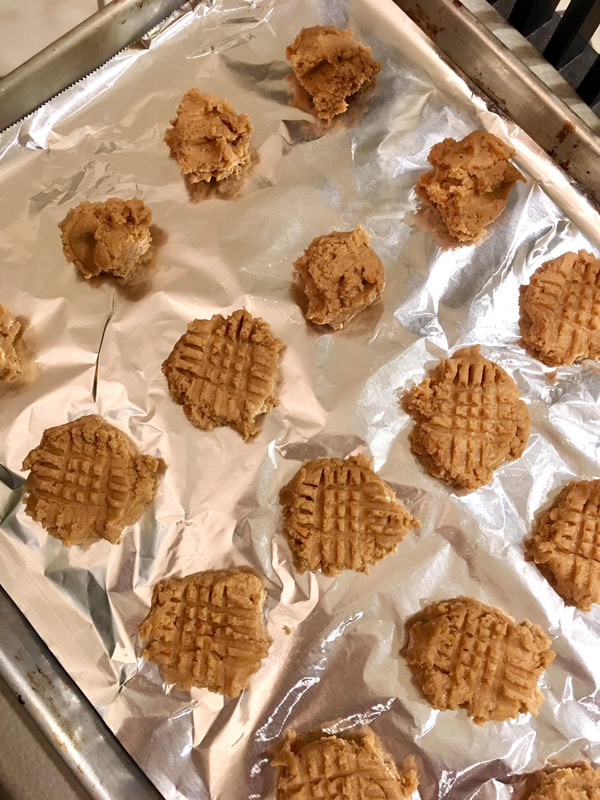
- Using a cookie dough scooper or making the dough into 1 inch balls. Roll in white granulated sugar if you desire and place on to baking sheet.
- Using a fork, press down on each ball of dough to slightly flatten and creating a criss-cross pattern.
- Bake for 8-9 minutes. Let cool on the baking sheet for a few minutes and then transfer to a wire rack.
- These keep well for a couple of days in an airtight container.


 RSS Feed